How do you draw shoulders step by step?
Short answer
Drawing shoulders requires understanding the underlying skeletal structure, specifically the clavicle and scapula. By establishing a central neck column and attaching the collarbones at an angle, you create a realistic frame. Use simple geometric shapes like circles for joints and cylinders for arms to build volume and ensure anatomical accuracy.
On this page
How to draw shoulder anatomy basics
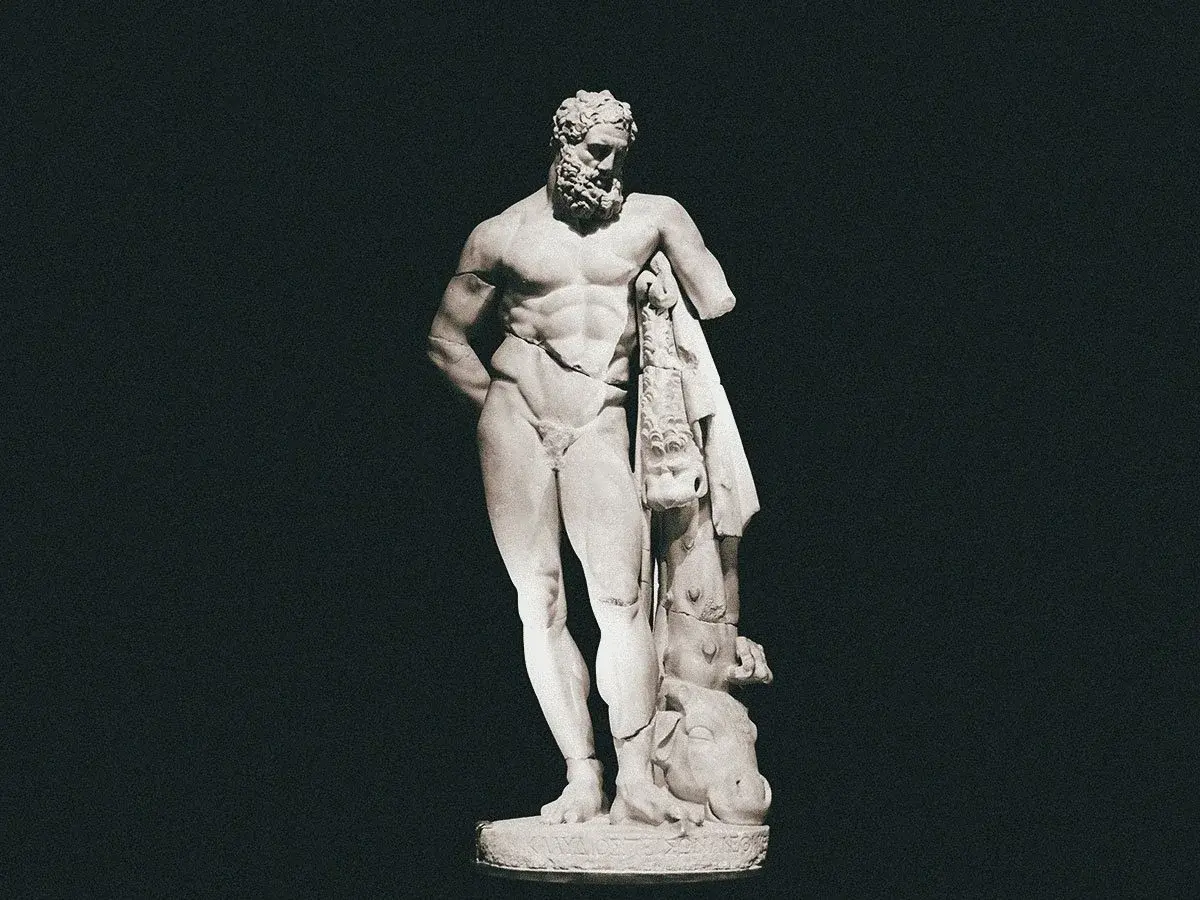
The shoulder is not a single muscle but a complex arrangement of bones and joints that connect the arm to the torso. The primary skeletal landmarks are the clavicles, or collarbones, which extend outward from the top of the sternum. These bones act as a structural bridge, dictating the width and slope of the shoulders. Beneath the skin, the scapulae, or shoulder blades, sit on the back of the rib cage and move in tandem with the arms.
To begin drawing, visualize the shoulders as a horizontal bar resting atop the rib cage. The clavicles should form a slight "S" curve rather than a perfectly straight line. When the arms are at rest, the shoulders slope downward toward the outside of the body. Mastering this skeletal foundation prevents the common error of drawing shoulders that appear detached or floating above the chest cavity.
Step by step guide to drawing shoulders
Drawing shoulders effectively relies on a methodical approach that prioritizes structure over surface detail. Follow these steps to construct the shoulder area from a standard front-facing perspective:
- Draw a vertical line for the neck and a horizontal line for the collarbones, ensuring they meet at the top of the sternum.
- Place two small circles at the ends of the collarbones to represent the acromion process, which is the bony point of the shoulder.
- Connect the neck to these circles using the trapezius muscles, which form a gentle slope on either side.
- Attach the deltoid muscles by drawing an inverted teardrop shape that overlaps the top of the upper arm bone.
- Refine the contours by rounding off the sharp corners where the shoulder meets the chest and back.
How to draw shoulders in different poses
Shoulders change shape dramatically depending on the position of the arms and the torso. When a person raises their arms, the scapulae rotate upward, causing the collarbones to lift and the shoulders to appear higher. Conversely, when the arms are pulled back, the shoulder blades pinch together, creating more definition in the upper back. Observing these shifts is essential for creating dynamic, lifelike figures in motion.
When drawing shoulders in perspective, use foreshortening to convey depth. If one shoulder is closer to the viewer, it will appear larger and wider than the shoulder further away. Keep the following tips in mind for complex poses:
- Use ellipses instead of circles to represent the shoulder joints when the body is turned.
- Maintain the relative distance between the neck and the shoulder point to keep the proportions consistent.
- Sketch the rib cage first to serve as a guide for where the shoulders should sit in 3D space.
Common mistakes when drawing shoulders
One of the most frequent errors is drawing shoulders that are too narrow or too wide for the head. As a general rule of thumb, the width of the shoulders should be approximately two to three times the width of the head. Another common mistake is neglecting the slope of the trapezius muscles. Beginners often draw shoulders as perfectly horizontal lines, which makes the figure look stiff and unnatural.
Additionally, many artists fail to account for the thickness of the neck. The neck should connect to the torso at the base of the skull, and the trapezius muscles should flow smoothly from the neck to the outer edge of the shoulder. Avoid drawing the shoulder joint as a sharp, rigid corner. Instead, treat it as a rounded cap that allows for a wide range of motion. Always check your work by flipping the canvas or looking at it in a mirror to spot lopsided proportions.
Best exercises to improve shoulder drawing
Consistent practice is the only way to internalize the complex mechanics of the shoulder girdle. Start by sketching from life or using anatomical reference photos to identify the bony landmarks under the skin. Focus on drawing the shoulder area in isolation before attempting to integrate it into a full-body drawing. This targeted practice helps you understand how the deltoid muscle wraps around the humerus bone.
Try these exercises to build your skill set:
- Sketch the shoulder girdle from multiple angles, including top-down and side views, to understand its volume.
- Trace over photographs of athletes to identify the connection points between the neck, chest, and arms.
- Practice drawing the torso with and without the shoulder muscles to see how the skeletal structure influences the final silhouette.
- Use simple mannequins or wooden art models to study how the shoulder joint rotates during basic arm movements.
By dedicating time to these exercises, you will develop an intuitive sense of how shoulders function and how to render them with confidence in any artistic style.
Key facts
- The human shoulder width is typically measured as two to three head-lengths wide for an average adult male.
- The clavicle, or collarbone, acts as a horizontal anchor point that dictates the placement of the shoulder joints.
- Shoulders are not perfectly horizontal; they slope downward from the neck at an angle of approximately 15 to 20 degrees.
- The deltoid muscle is a large, triangular muscle that covers the shoulder joint and gives it its rounded, cap-like appearance.
- When drawing from the front, the shoulder joint sits slightly lower than the base of the neck.
- Avoid drawing shoulders as perfectly straight lines; they should follow the subtle curve of the trapezius muscles connecting to the neck.
The bottom line
Drawing accurate shoulders requires understanding the underlying skeletal structure, specifically the clavicle and the deltoid muscle. By focusing on the natural slope of the trapezius and maintaining proper width proportions relative to the head, you can create a realistic figure. Remember that shoulders are dynamic, shifting significantly with arm movement. Practice these foundational shapes consistently to improve your anatomical drawings and achieve a more natural, balanced human form.
People also ask
How do I draw shoulders on a female figure?
Female shoulders are generally narrower and have a more rounded, less muscular appearance than male shoulders. Focus on a softer slope from the neck and a slightly smaller deltoid mass to maintain anatomical accuracy.
Should I draw the shoulder as a circle or a square?
Start by using a circle or an oval to represent the shoulder joint. This helps establish the 3D volume of the joint before you refine the surrounding muscle contours.
Why do my shoulders look like they are floating?
This usually happens because the trapezius muscle is missing or incorrectly drawn. Connect the neck to the end of the shoulder with a diagonal line to ground the structure to the torso.
How does arm movement change the look of the shoulder?
When the arm is raised, the scapula rotates and the deltoid muscle shifts position. Observe how the shoulder cap moves upward and flattens against the side of the neck during overhead motions.
What is the most common mistake when drawing shoulders?
The most frequent error is making the shoulders too narrow or too high, resulting in a "shrugged" look. Always check the shoulder width against the width of the head to ensure proper proportions.
How do I draw shoulders from a side view?
From the side, the shoulder appears as an oval positioned slightly forward on the rib cage. Ensure the shoulder joint is placed toward the front of the torso rather than directly in the middle.
This answer was created with the help of AI research tools and reference sources. Spotted an error? Let us know — we correct mistakes quickly. See our editorial policy.