Can you bake air-dry clay?
Short answer
No, you should not bake air-dry clay in an oven. Air-dry clay is designed to harden through water evaporation at room temperature. Subjecting it to heat often causes the material to crack, warp, or even catch fire, especially if it contains synthetic binders or fibers that are not heat-resistant.
On this page
Why you should not bake air-dry clay
Air-dry clay is chemically distinct from polymer clay or ceramic clay. While polymer clay requires heat to cure, air-dry clay relies entirely on the natural evaporation of moisture to bond its particles together. Introducing high temperatures forces this moisture out too rapidly, which creates internal stress and results in significant structural damage.
Most commercial air-dry clays contain organic binders, cellulose fibers, or resins that can release toxic fumes when heated. Furthermore, the rapid expansion of trapped air bubbles inside the clay can cause the piece to shatter or explode in a conventional kitchen oven. Because these materials are not formulated for kiln firing or oven baking, the integrity of your project will be compromised if you attempt to speed up the drying process using heat.
How to dry air-dry clay properly
The most effective way to harden your project is to allow it to dry slowly in a stable, room-temperature environment. Patience is essential, as rushing the process is the primary cause of cracks and surface imperfections. By controlling the evaporation rate, you ensure that the clay shrinks uniformly rather than pulling apart at the seams.
- Place your finished piece on a non-porous surface like a plastic tray or a piece of glass.
- Ensure the area has good airflow but avoid placing the clay directly in front of a heater or air conditioner.
- Turn the piece over every 12 to 24 hours to ensure the bottom dries as evenly as the top.
- If the piece is thick, cover it loosely with a plastic bag for the first day to slow down the initial drying phase.
Common mistakes when drying clay
Many beginners attempt to speed up the drying process by using hair dryers, space heaters, or ovens. These methods are counterproductive because they dry the exterior of the clay much faster than the interior. This leads to a "skin" forming on the surface while the center remains wet, which inevitably causes deep, irreparable cracks as the inner moisture eventually tries to escape.
Another frequent error is placing the clay on a porous surface like cardboard or wood. These materials absorb moisture from the bottom of the clay, causing it to dry unevenly and potentially stick to the surface. Always use a smooth, non-absorbent base to allow the clay to release naturally as it shrinks. If you notice cracks forming, you can often fill them with a small amount of fresh clay mixed with water, but preventing them through slow drying is always superior.
How long does it take to dry?
The total drying time depends largely on the thickness of the piece and the humidity levels in your room. A small, thin ornament might feel solid within 24 hours, while a thick sculpture or a hollow vessel could take several days or even a full week to dry completely. You will know the clay is ready when it feels cool to the touch, which indicates moisture is still evaporating, or room temperature, which suggests it is fully cured.
- Thin items (under 1/4 inch): 24 to 48 hours.
- Medium items (up to 1 inch thick): 3 to 5 days.
- Large or solid sculptures: 7 to 10 days or longer.
- High humidity environments: Add 2-3 days to the standard drying time.
If your piece remains cold or feels slightly soft when pressed, it still contains moisture. It is vital to wait until the clay is completely hard throughout to prevent mold growth or structural failure before you attempt to paint or seal the surface.
Best alternatives for heat-curable projects
If you require a material that can be finished quickly, you should switch to polymer clay or professional-grade ceramic clay. Polymer clay is a synthetic plastic-based medium that remains soft indefinitely until it is baked in a standard home oven at low temperatures, typically between 265°F and 275°F. This allows for precise control and immediate finishing, making it ideal for jewelry and small figurines.
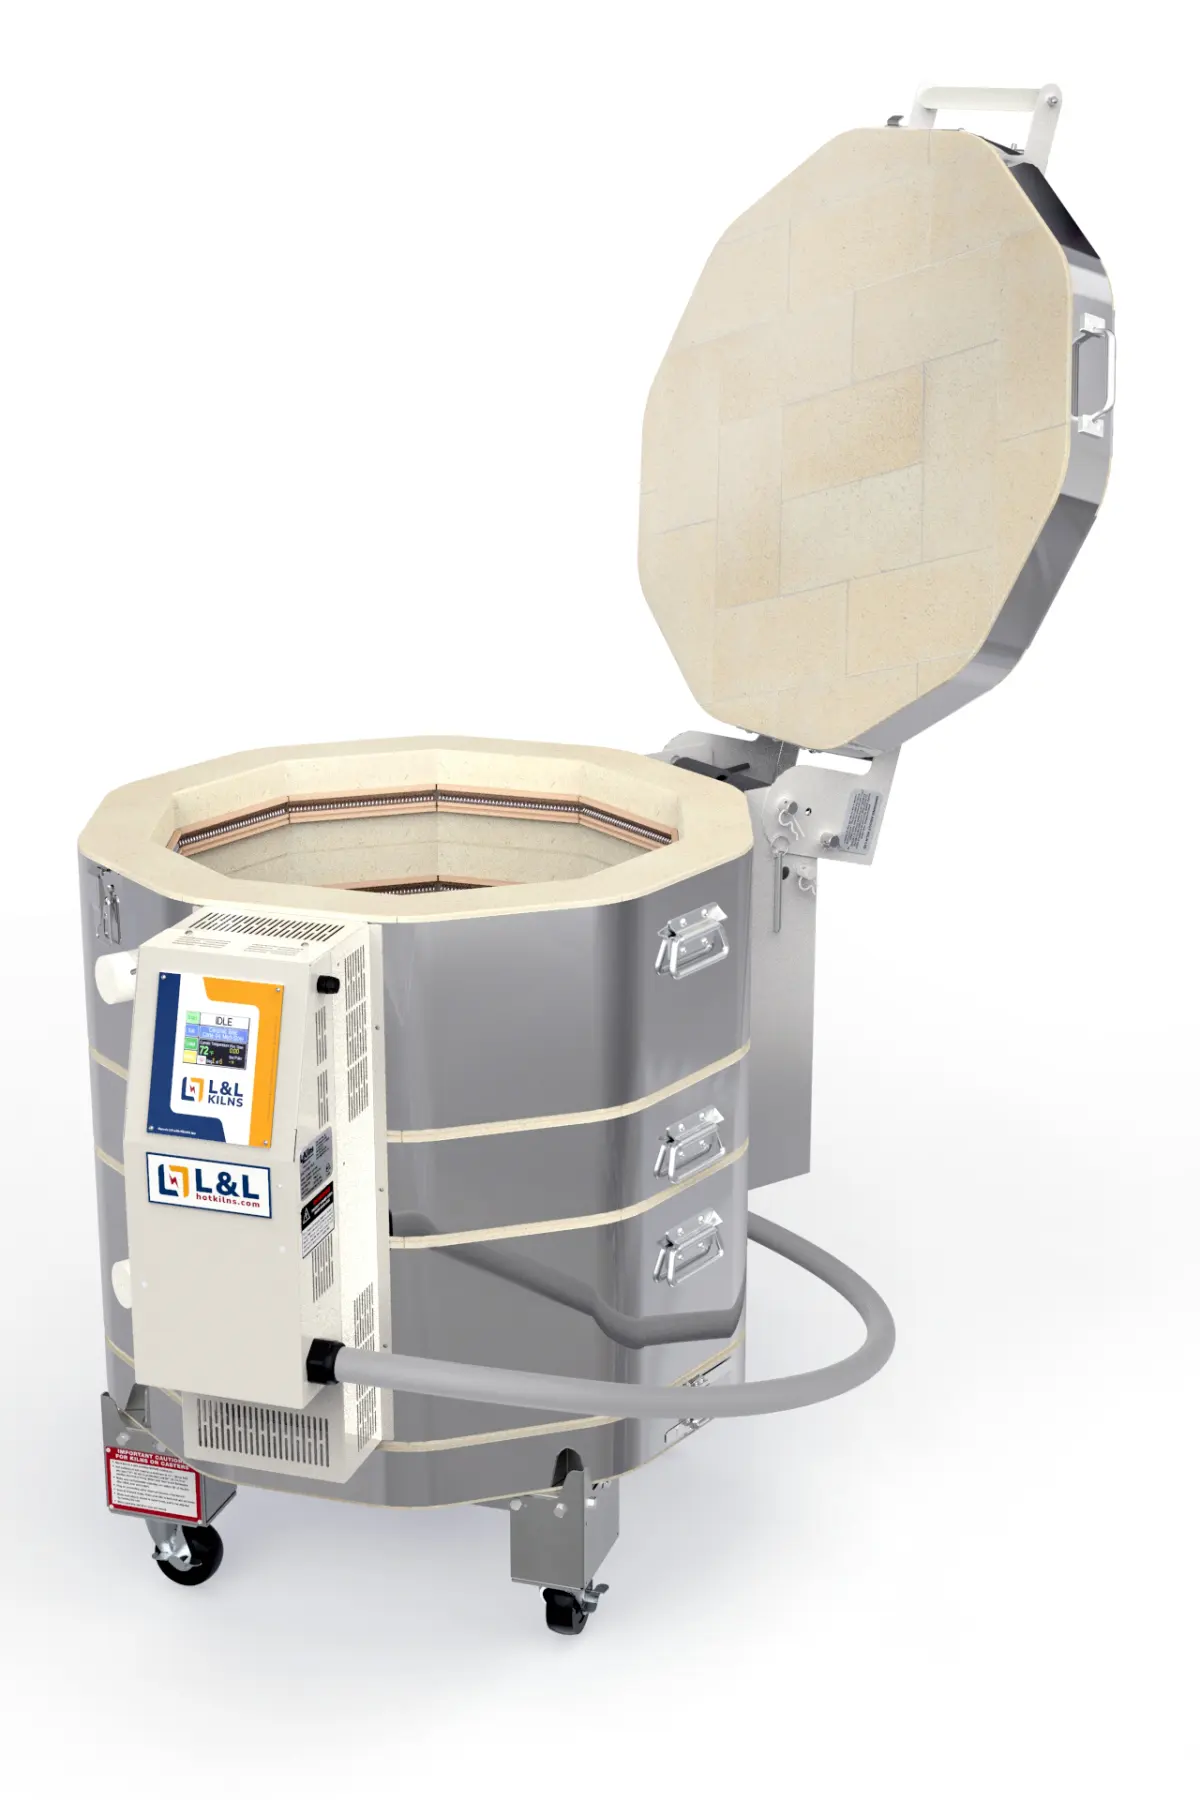
Ceramic clay, on the other hand, is designed for high-temperature kiln firing. This process vitrifies the material, turning it into stone-like ceramic that is durable and waterproof. If you are committed to using air-dry clay but need more durability, consider applying a high-quality acrylic sealer or varnish once the piece is fully cured. These sealants protect the work from moisture and dust, providing a professional finish that mimics the look of fired pottery without the need for high-heat equipment.
Key facts
- Air-dry clay is composed of natural minerals or polymers that harden through evaporation, not heat-induced chemical bonding.
- Placing air-dry clay in a standard oven often leads to cracking, warping, or scorching due to uneven moisture loss.
- High heat can cause the material to release toxic fumes, especially if the clay contains synthetic resins or plasticizers.
- If you must speed up the drying process, use a food dehydrator or an oven set to its lowest possible temperature, typically under 150°F (65°C).
- Always monitor the clay closely in an oven, as thin sections will dry and shrink significantly faster than thicker areas.
- Once air-dry clay has been heated, it becomes brittle and loses the slight flexibility that helps prevent breakage in finished pieces.
The bottom line
Baking air-dry clay is generally counterproductive and often ruins your hard work. Because this material is designed to harden through natural evaporation, applying heat frequently results in structural failure, such as deep cracks or warping. For the best results, allow your projects to air-dry slowly in a well-ventilated area. If time is limited, use a dehydrator on a low setting to ensure even, safe moisture removal.
People also ask
How long does it take for air-dry clay to harden naturally?
Most projects take between 24 and 48 hours to dry completely depending on the thickness and ambient humidity. Large or dense sculptures may require up to a week to ensure the center is fully cured.
Can I use a hair dryer to speed up the drying process?
A hair dryer can be used on a low, cool setting to move air around the piece. Avoid using high heat, as this will cause the surface to dry rapidly and crack before the interior moisture can escape.
Is air-dry clay waterproof once it is fully cured?
No, air-dry clay remains porous and will soften or dissolve if exposed to water. You must seal the finished piece with a waterproof varnish, acrylic sealer, or resin to protect it from moisture.
Can I paint air-dry clay before it is completely dry?
It is best to wait until the clay is bone-dry before applying paint. Painting damp clay can trap moisture inside, which may lead to mold growth or cause the paint to peel as the clay continues to shrink.
Why does my air-dry clay crack while it is drying?
Cracking usually occurs because the surface dries faster than the interior, or because the piece was not constructed with a wire armature. You can fill small cracks with a mixture of clay and water after the piece has dried.
Can I put air-dry clay in the microwave?
Microwaving is generally discouraged because it creates intense, uneven steam pockets that can cause the clay to explode or warp severely. If you attempt it, use a very low power setting and heat in short, 10-second bursts.
This answer was created with the help of AI research tools and reference sources. Spotted an error? Let us know — we correct mistakes quickly. See our editorial policy.