How do you make a macramé plant hanger?
Short answer
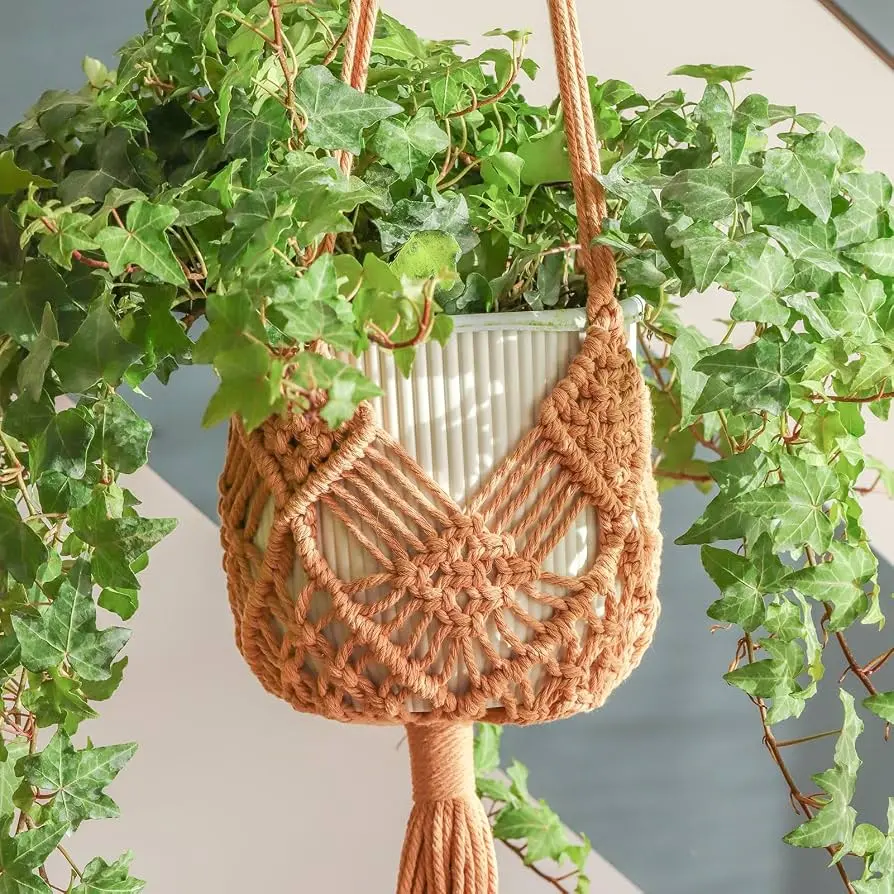
Making a macramé plant hanger involves cutting multiple lengths of cord, securing them to a ring, and using simple knots like the square knot or half-hitch to create a supportive net. By alternating these knots and spacing them evenly, you construct a durable cradle designed to hold and display a potted plant.
On this page
What materials are needed for macramé plant hangers
To begin your first project, you need specific supplies that ensure both durability and aesthetic appeal. The most important choice is your cord; cotton rope is the industry standard because it is soft, easy to knot, and holds its shape well. For beginners, a 3mm to 5mm single-twist or braided cotton cord is ideal, as it provides enough thickness to be visible while remaining manageable for small hands. You will also need a sturdy anchor point, such as a wooden ring, a metal hoop, or even a simple branch found in nature.
Beyond the rope and ring, you should keep a few basic tools nearby to ensure precision. A sharp pair of fabric scissors is essential for clean cuts, and a measuring tape is necessary to keep all your cord strands uniform in length. Some crafters also use masking tape to secure the ring to a table while working, which prevents the project from shifting. Having a dedicated workspace with good lighting will help you see the knot patterns clearly and maintain consistent tension throughout the process.
How to knot a basic plant hanger
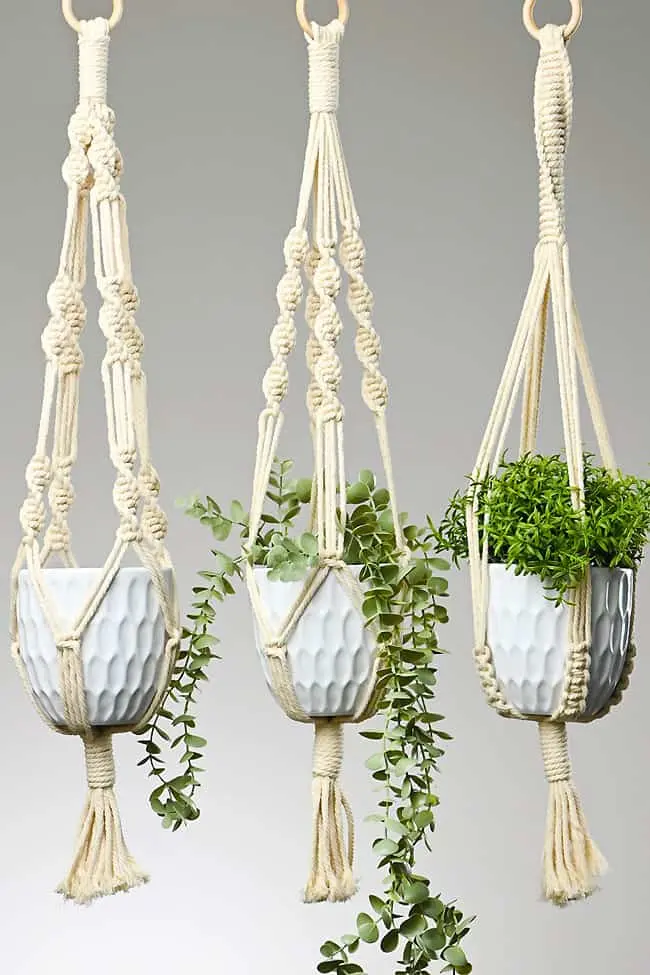
The foundation of any macramé hanger is a series of repetitive knots that provide structure. Most designs begin with the "lark’s head knot," which attaches your folded cords to the ring. Once attached, you will primarily use the "square knot" to create the body of the hanger. To tie a square knot, take two outer cords, cross the left over the center, pass the right under the center, and pull tight. Repeat this by crossing the right over first to complete the knot, which creates a flat, decorative square.
- Cut eight pieces of cord, each approximately 10 to 12 feet long, depending on your desired final length.
- Fold all cords in half and attach them to your ring using the lark’s head knot so that you have 16 working ends.
- Group the cords into sets of four and tie a series of square knots downward for about 6 inches to form the "neck" of the hanger.
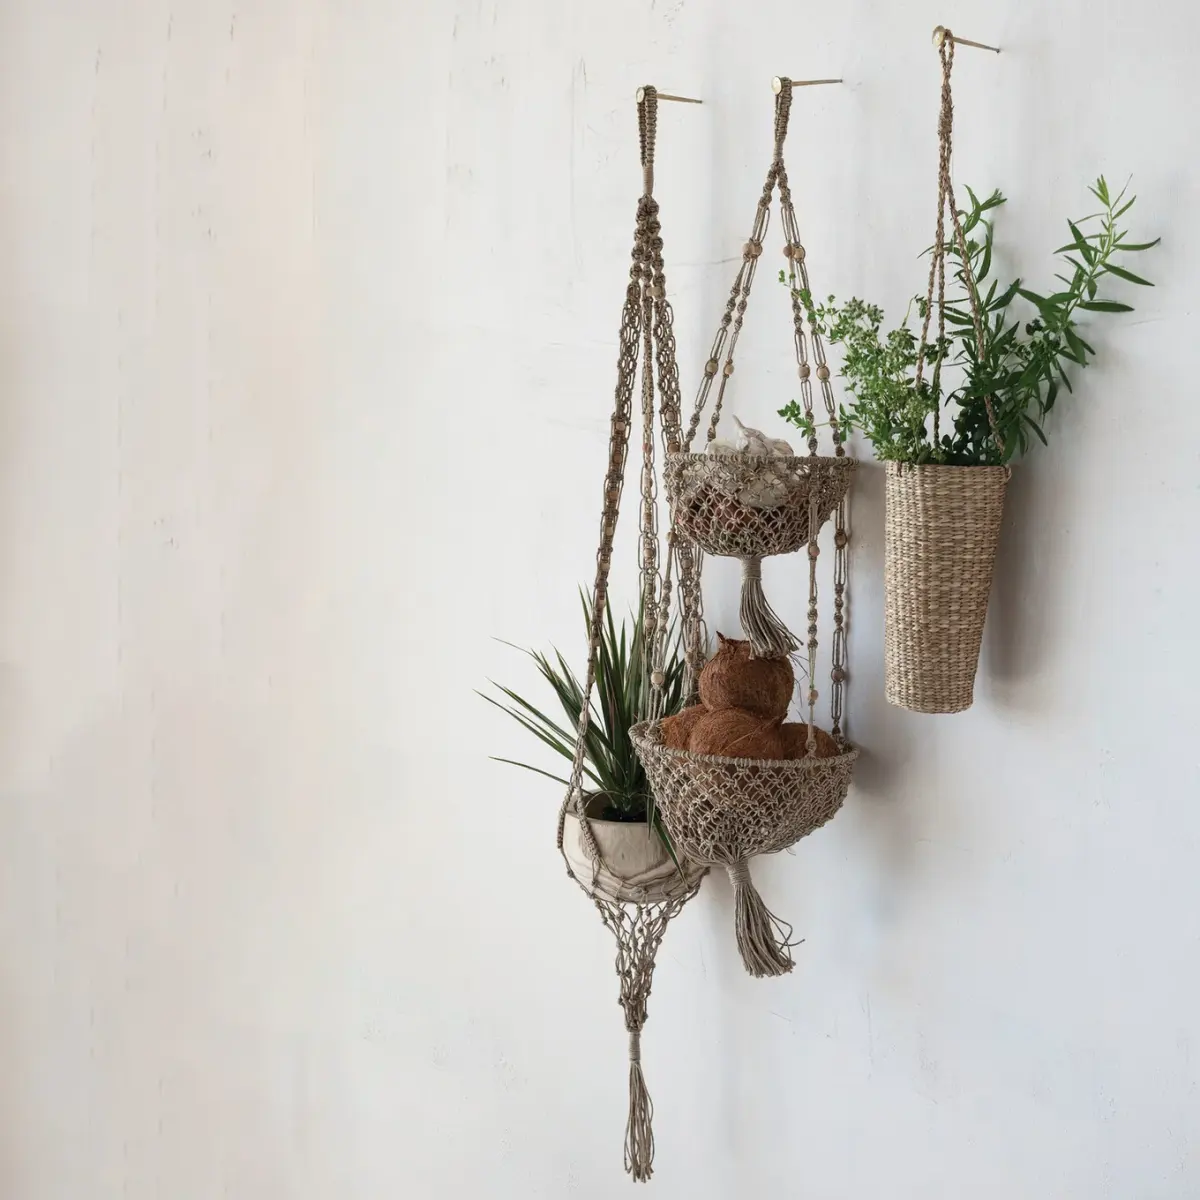
- Separate the cords and tie them to adjacent strands about 3 inches lower to create the net pattern that will cradle the pot.
How long does it take to make a macramé plant hanger
For a beginner, a standard single-tier plant hanger usually takes between two and four hours to complete. This timeframe includes the initial measuring and cutting of the cord, the repetitive knotting process, and the final trimming of the fringe. As you gain more experience with the square knot and the half-hitch, your speed will naturally increase, allowing you to finish a project in under ninety minutes. Complex designs featuring intricate patterns or beads may take significantly longer, often spanning multiple sessions.
Patience is key during your first attempt, as maintaining even tension is a skill that develops with practice. If you find yourself rushing, you are more likely to make mistakes that require undoing knots, which can be time-consuming and frustrating. It is often better to work in short, focused bursts rather than trying to finish the entire piece in one sitting. By pacing yourself, you ensure that each knot is uniform, resulting in a professional-looking hanger that will safely support the weight of your chosen plant.
Common mistakes when making macramé
One of the most frequent errors beginners encounter is inconsistent tension between knots. If some knots are pulled much tighter than others, the hanger will appear lopsided or crooked, which can cause the plant pot to sit unevenly. Always pull your cords with the same amount of force for every knot. Another common mistake is failing to account for the "take-up" of the cord; knotting consumes more length than you might expect, so always cut your cords slightly longer than your calculated estimate to avoid running out of material near the end.
- Measuring cords incorrectly, leading to strands that are too short to finish the base.
- Forgetting to test the hanger with the actual pot before finalizing the bottom knot.
- Using synthetic, slippery cords that allow knots to slide apart over time.
- Leaving the fringe at the bottom uneven or frayed without proper trimming.
- Attaching the hanger to a weak ring that cannot support the weight of a damp, heavy soil-filled pot.
Best tips for finishing your plant hanger
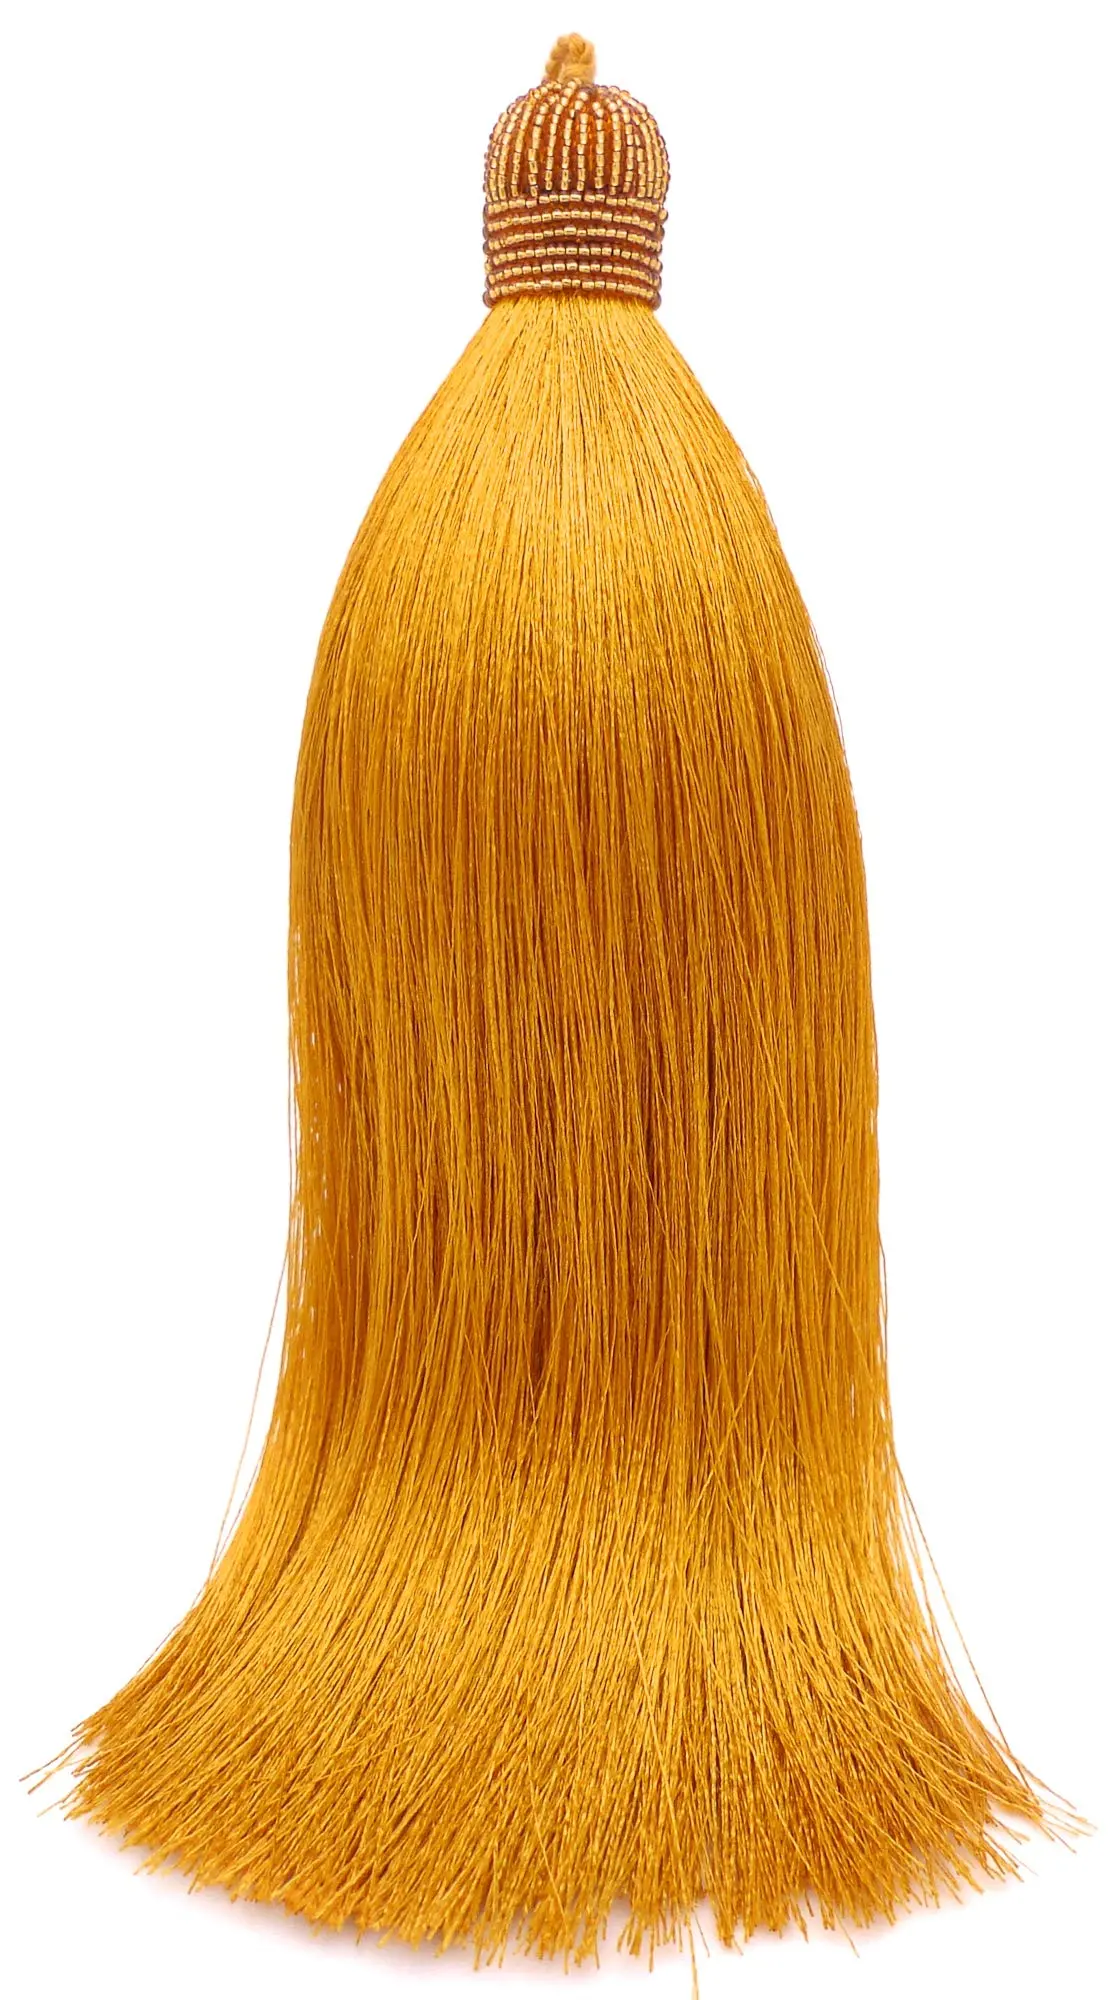
The final stage of your project is just as important as the knotting itself. Once you have reached the desired length, gather all the remaining cords together and tie a large, secure "gathering knot" or "wrapping knot" to create the base of the cradle. This knot must be tight enough to hold the weight of the pot securely. After the base is tied, trim the excess cord to your preferred length. Many crafters prefer a uniform, blunt cut, while others enjoy a tapered or layered look for a more bohemian aesthetic.
Before hanging your plant, perform a safety check by placing the pot inside the cradle and lifting it slightly to ensure the knots are secure and the weight is distributed evenly. If you notice any loose strands or slipping knots, tighten them before placing the hanger on a hook. Finally, you can use a fine-tooth comb to brush out the fringe at the bottom, which gives the hanger a soft, polished finish. With these steps completed, your handmade macramé plant hanger is ready to display your favorite greenery in your home.
Key facts
- Cotton cord is the preferred material for beginners due to its soft texture and ability to hold knots securely.
- A standard plant hanger typically requires eight lengths of cord, each measuring approximately 10 to 12 feet long.
- The square knot is the fundamental building block of most macramé designs and is essential for creating the mesh pattern.
- Always measure your plant pot diameter before starting to ensure the base knotting provides enough support for the weight.
- Using a wooden or metal ring at the top provides a sturdy anchor point for hanging the finished piece.
- Tape your anchor ring to a table or use a garment rack to keep the cords tensioned while you work.
The bottom line
Creating a macramé plant hanger is a rewarding craft that relies on simple, repetitive knotting techniques. By mastering the square knot and maintaining consistent tension, you can construct a durable and stylish display for your indoor greenery. Start with high-quality cotton cord and clear measurements to ensure success. With patience and practice, this traditional textile art transforms basic materials into functional home decor pieces.
People also ask
What is the best type of cord to use for beginners?
Three-ply or single-twist cotton cord in a 4mm or 5mm thickness is ideal. These materials are easy to manipulate, hold knots firmly, and provide a classic bohemian aesthetic.
How do I determine how long my cords should be?
A good rule of thumb is to cut your cords at least four times the desired finished length of the hanger. This accounts for the length lost as the cord is consumed by the knots.
Can I wash a macramé plant hanger?
Yes, most cotton hangers can be hand-washed in cool water with mild detergent. Lay them flat to air dry to prevent the cords from stretching or losing their shape.
What should I do if my knots are uneven?
Uneven knots often result from inconsistent tension during the tying process. Practice keeping your pull force uniform on every knot and use a measuring tape to ensure your spacing remains consistent.
How do I secure the bottom of the hanger?
The most common method is a gathering knot, which wraps a separate piece of cord around all the main strands. You can then trim the remaining fringe to your preferred length.
Do I need special tools to start macramé?
You only need a pair of sharp scissors, a measuring tape, and an anchor point like a ring or a sturdy hook. No needles, looms, or complex machinery are required for basic projects.
This answer was created with the help of AI research tools and reference sources. Spotted an error? Let us know — we correct mistakes quickly. See our editorial policy.