How do you make a beaded bracelet?
Short answer
Making a beaded bracelet involves selecting durable cord, choosing beads that fit your style, and securing the ends with appropriate knots or clasps. By measuring your wrist, stringing the beads in a desired pattern, and ensuring the tension is firm but flexible, you create a functional and personalized piece of jewelry.
On this page
What materials are needed for a beaded bracelet
To begin your project, you will need a few essential supplies. The most important choice is your stringing material, which can range from elastic cord for simple stretch bracelets to beading wire for more permanent, clasp-based designs. You will also need a selection of beads, such as glass, stone, or wood, and a pair of sharp scissors or wire cutters.
If you are using a clasp, you will require additional findings like crimp beads, jump rings, and a toggle or lobster claw closure. Having a bead mat or a soft cloth is highly recommended to prevent your beads from rolling away while you work. A measuring tape is also necessary to ensure the final product fits comfortably around your wrist.
- Elastic cord (0.5mm to 1.0mm thickness)
- Assorted beads (6mm to 8mm are easiest for beginners)
- Jewelry glue or clear nail polish
- Scissors
- Measuring tape
How to measure your wrist for a bracelet
Achieving the perfect fit requires an accurate measurement of your wrist circumference. Use a flexible measuring tape to wrap snugly around the area where you intend to wear the bracelet, usually just below the wrist bone. Note this number, as it serves as your baseline for the total length of the piece.
For a comfortable fit, you should generally add 0.5 to 1 inch to your actual wrist measurement. This extra space allows the bracelet to move slightly without feeling too tight or sliding off your hand. If you are making a stretch bracelet, you must account for the extra length needed to pull the piece over your knuckles.
- Wrap the measuring tape around your wrist bone.
- Record the measurement in inches or centimeters.
- Add 0.5 inches for a snug fit or 1 inch for a loose fit.
- Cut your cord at least 6 inches longer than your target length to leave room for tying knots.
How to string beads for a professional look
The process of stringing beads is where your personal design aesthetic comes to life. Begin by laying out your beads on a flat surface in the order you want them to appear. This allows you to visualize the pattern and make adjustments before you commit to stringing them onto the cord.
When you are ready, pick up your cord and begin threading the beads one by one. If you are using elastic, hold the ends of the cord with tape or a binder clip to prevent the beads from sliding off the other side. Maintain a consistent tension; if the beads are too loose, the cord will show, but if they are too tight, the bracelet may become stiff or snap under pressure.
- Alternate bead colors to create a repeating pattern.
- Use larger beads as focal points in the center.
- Keep your workspace well-lit to see the holes of the beads clearly.
- Periodically hold the bracelet against your wrist to check the progress.
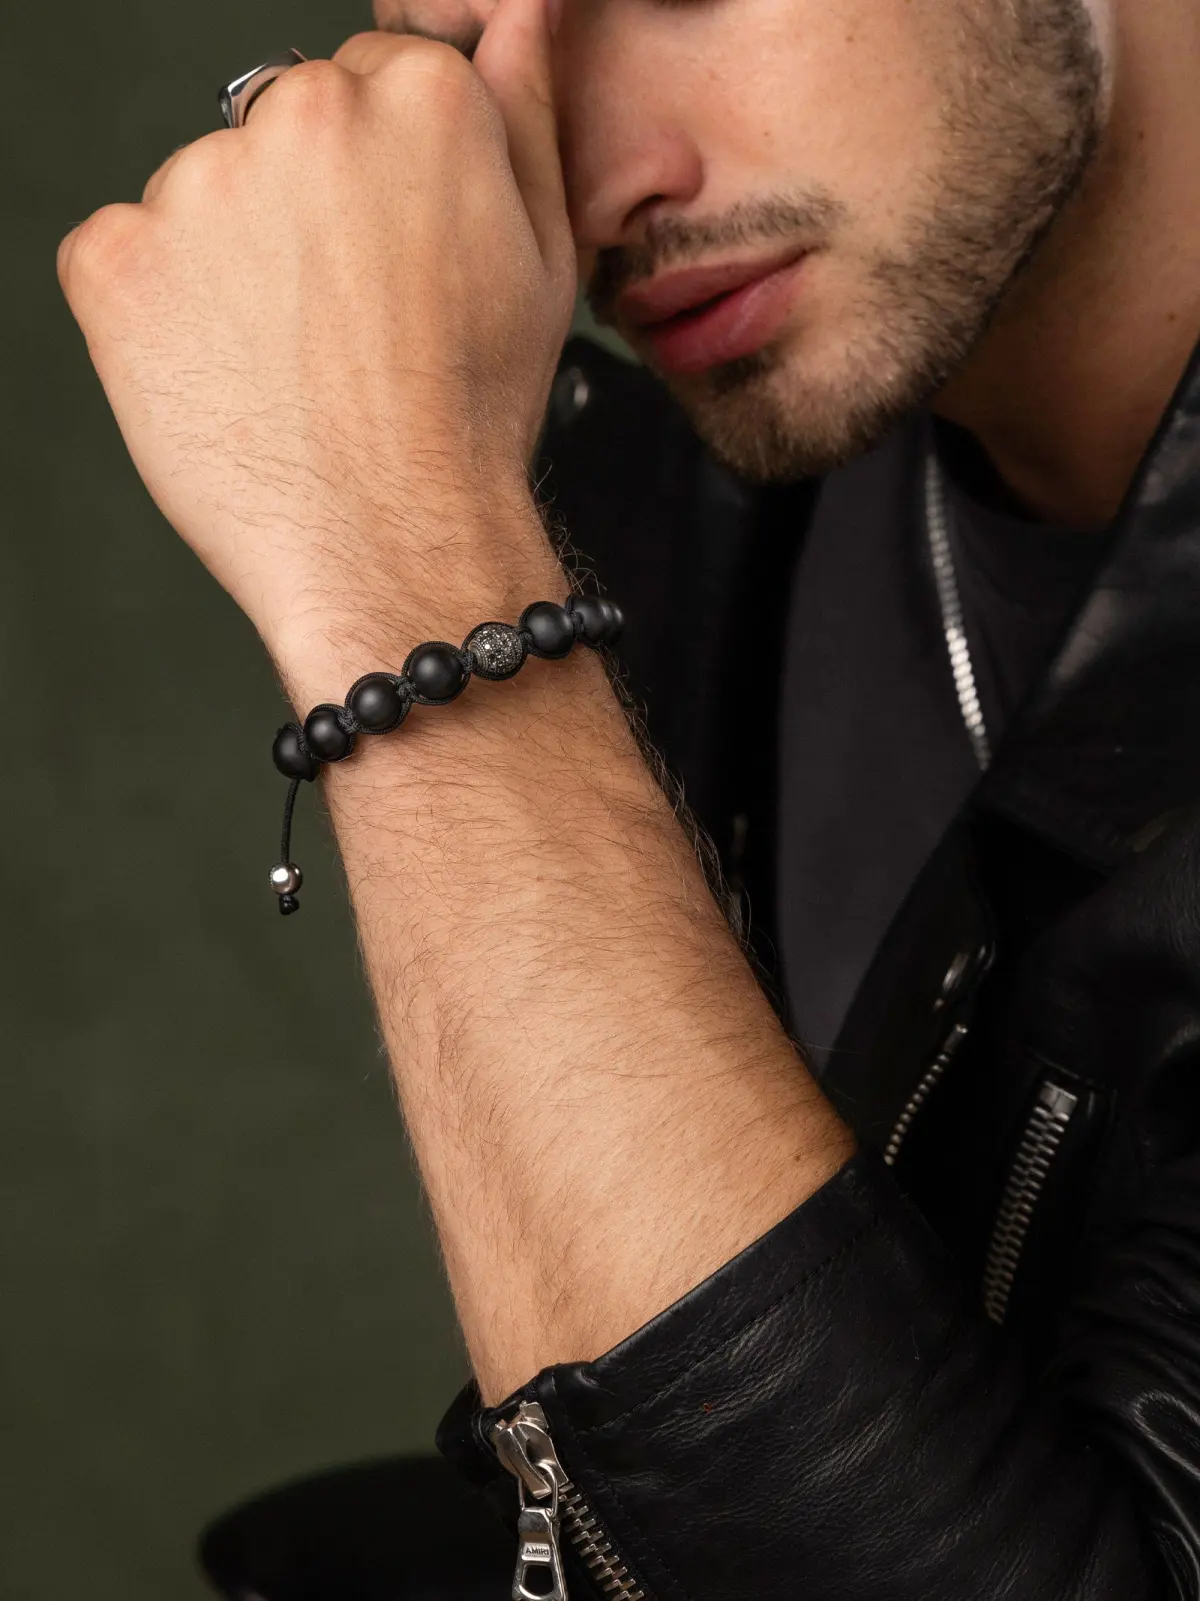
Common mistakes when making beaded bracelets
One of the most frequent errors beginners make is failing to secure the knot properly. On elastic cord, a simple overhand knot is rarely sufficient; you should use a surgeon’s knot, which involves looping the cord through the hole an extra time before pulling it tight. Adding a small drop of jewelry glue to the knot ensures it stays in place during daily wear.
Another common mistake is choosing the wrong cord thickness for the bead hole size. If the cord is too thick, it will not pass through the beads, and if it is too thin, the bracelet may break easily. Always test your cord by sliding a single bead onto it before you begin the full assembly. Finally, avoid over-stretching the elastic while working, as this can weaken the material and lead to premature snapping.
Best tips for finishing your bracelet
Finishing your bracelet correctly is the key to longevity. If you are using a clasp, ensure your crimp beads are flattened securely with pliers to prevent the wire from slipping out. If you are using elastic, once you have tied your surgeon’s knot, tuck the knot inside one of the larger beads to hide it from view.
Before you trim the excess cord, pull on the bracelet gently to test the security of your knot. If you notice any gaps between the beads, you may need to add one more bead or tighten the knot further. By taking these small, deliberate steps, you ensure that your handmade bracelet is not only beautiful but also durable enough to withstand regular use for a long time.
Key facts
- Elastic cord is the most common material for beginners because it does not require a clasp.
- Use a bead stopper or a piece of tape at one end of the cord to prevent beads from sliding off while you work.
- Measure your wrist with a flexible tape measure and add 0.5 to 1 inch to the total length for a comfortable fit.
- Use a needle or a stiffened cord end to thread beads faster and with greater precision.
- A surgeon’s knot, which involves looping the cord twice through the final knot, is the most secure way to tie elastic.
- Applying a tiny drop of clear nail polish or jewelry glue to the knot prevents it from unraveling over time.
The bottom line
Creating a beaded bracelet is an accessible craft that combines personal creativity with basic assembly techniques. By selecting the right cord, measuring your wrist accurately, and securing your knots with appropriate adhesives, you can produce durable and professional-looking accessories. Remember to handle elastic cord gently to maintain its tension, ensuring your finished piece remains comfortable and intact for long-term wear as you refine your skills.
People also ask
What is the best type of string for making beaded bracelets?
Stretch cord is ideal for beginners, while silk or nylon thread is better for bracelets that require a clasp. For high-end jewelry, many professionals prefer 49-strand stainless steel beading wire coated in nylon for durability.
How do I keep my beads from spilling while I am working?
Use a bead mat or a piece of felt to create a soft, textured surface that prevents beads from rolling away. Alternatively, place your beads in small, shallow bowls or a specialized bead tray with partitioned sections.
How do I determine the correct size for a bracelet?
The standard size for an adult woman's bracelet is 7 inches, while men’s bracelets typically measure 8 inches. Wrap a measuring tape snugly around your wrist and add half an inch to ensure the bracelet hangs comfortably without being too loose.
Can I use super glue to secure my knot?
While super glue can hold a knot, it often makes the cord brittle and prone to snapping. Jewelry cement or clear nail polish are better alternatives because they remain slightly flexible once dry.
What should I do if my bracelet feels too tight?
If the bracelet is too tight, you must cut the cord and re-string it using a few additional beads. Always test the fit by wearing the bracelet for a few minutes before trimming the excess cord ends.
Why does my elastic bracelet lose its shape over time?
Overstretching is the primary cause of elastic fatigue, which occurs when the cord is pulled beyond its limit. To prevent this, roll the bracelet onto your wrist rather than pulling it open like a rubber band.
This answer was created with the help of AI research tools and reference sources. Spotted an error? Let us know — we correct mistakes quickly. See our editorial policy.