How do you make a friendship bracelet?
Short answer
Making a friendship bracelet involves knotting embroidery floss in specific sequences to create intricate patterns. You secure multiple strands to a fixed point, then use forward and backward knots to build the design. With basic supplies like thread, scissors, and tape, anyone can master these decorative, woven accessories through repetitive practice.
On this page
What supplies do you need for friendship bracelets?
To begin crafting, you primarily need embroidery floss, which is a soft, multi-strand cotton thread available in a vast array of colors. You will also need a pair of sharp scissors for cutting the thread and a sturdy piece of tape or a safety pin to anchor your work to a flat surface or a cushion. Some crafters prefer using a clipboard to keep the threads taut, which helps maintain consistent tension throughout the process.
Beyond these essentials, you might consider using a ruler to measure your thread lengths accurately before you start. Most standard bracelets require strands that are approximately 30 to 36 inches long. If you are making a complex pattern, keeping a printed grid or a digital pattern guide nearby is highly beneficial. Having a small container to organize your loose threads will prevent tangling, which is a common frustration for beginners working with multiple colors simultaneously.
How to start a friendship bracelet for beginners
The most accessible design for those new to the craft is the "candy stripe" pattern. This simple design relies on a single forward knot technique repeated across every strand. By mastering this one movement, you gain the muscle memory required for more advanced projects like chevrons or diamonds. Consistency in your knotting pressure is the secret to a professional-looking finish.
- Cut four to six strands of floss in different colors, each about 36 inches long.
- Tie an overhand knot at one end, leaving a few inches of loose thread for tying the bracelet later.
- Tape the knotted end to a table and spread the strands out in your desired color order.
- Take the leftmost strand and make a "4" shape over the second strand, then pull it through to create a knot.
- Repeat this twice on each strand until the first color has moved to the far right.
How to knot friendship bracelets correctly
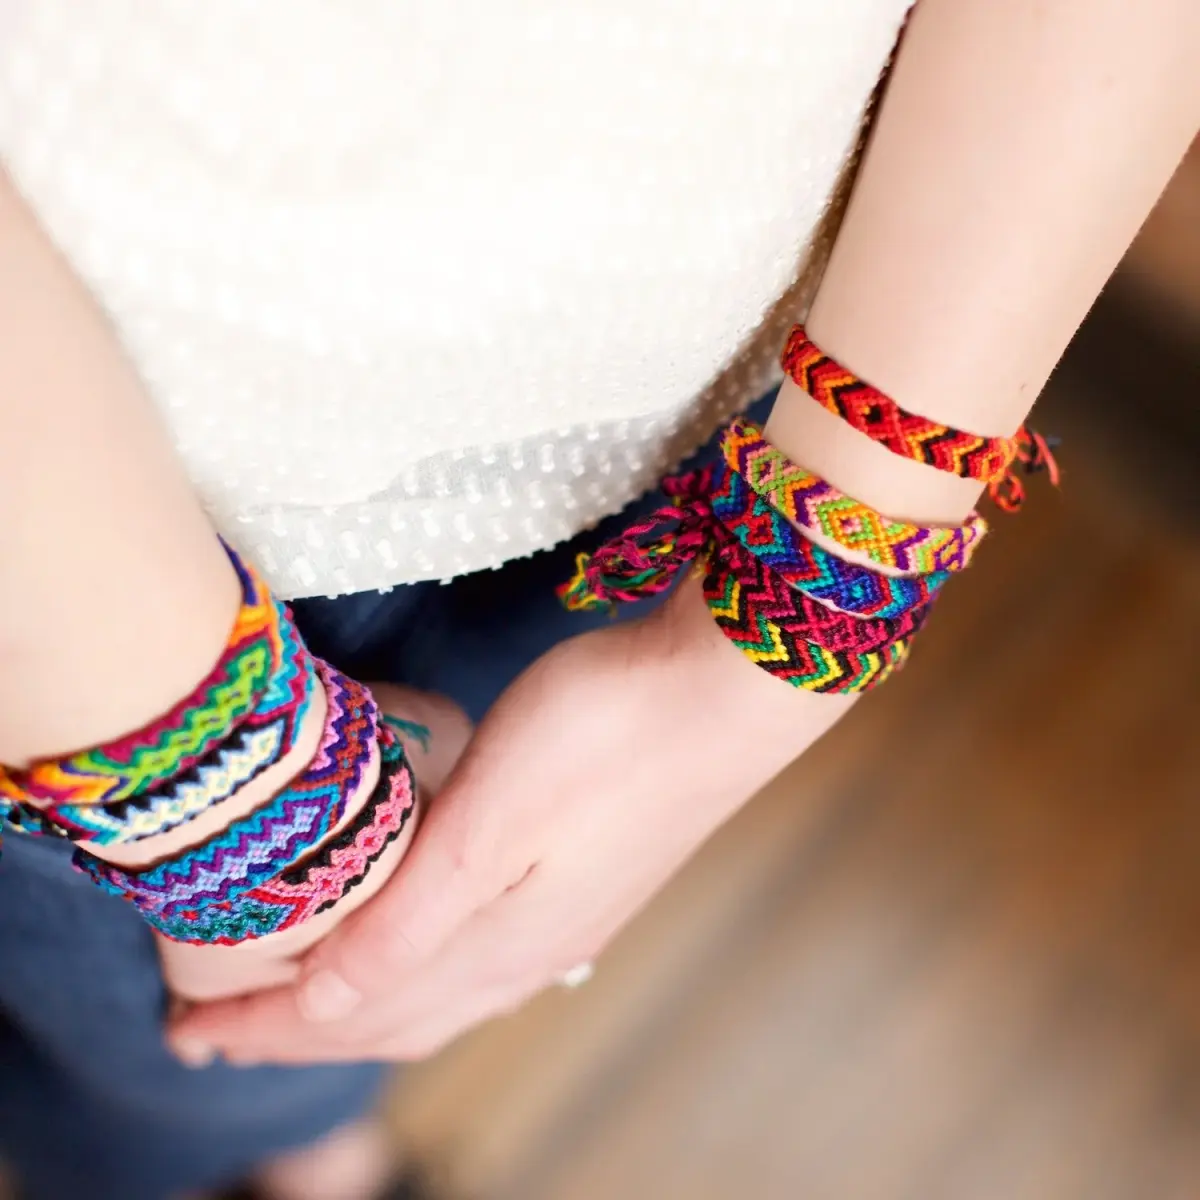
The foundation of every bracelet is the forward knot and the backward knot. A forward knot is created by crossing your working thread over the base thread to form a "4" shape, then looping it under and pulling it tight. A backward knot is the mirror image, where you form a "P" shape to pull the thread through. Understanding how these two knots interact allows you to change the direction of your colors.
When you are working through a pattern, pay close attention to the direction of each knot indicated in your guide. A common notation system uses arrows to show whether you should be knotting left-to-right or right-to-left. If you accidentally perform a forward knot when the pattern calls for a backward one, your color will appear in the wrong position. Always double-check your progress every few rows to ensure the pattern remains symmetrical and aligned correctly.
Common mistakes when making friendship bracelets
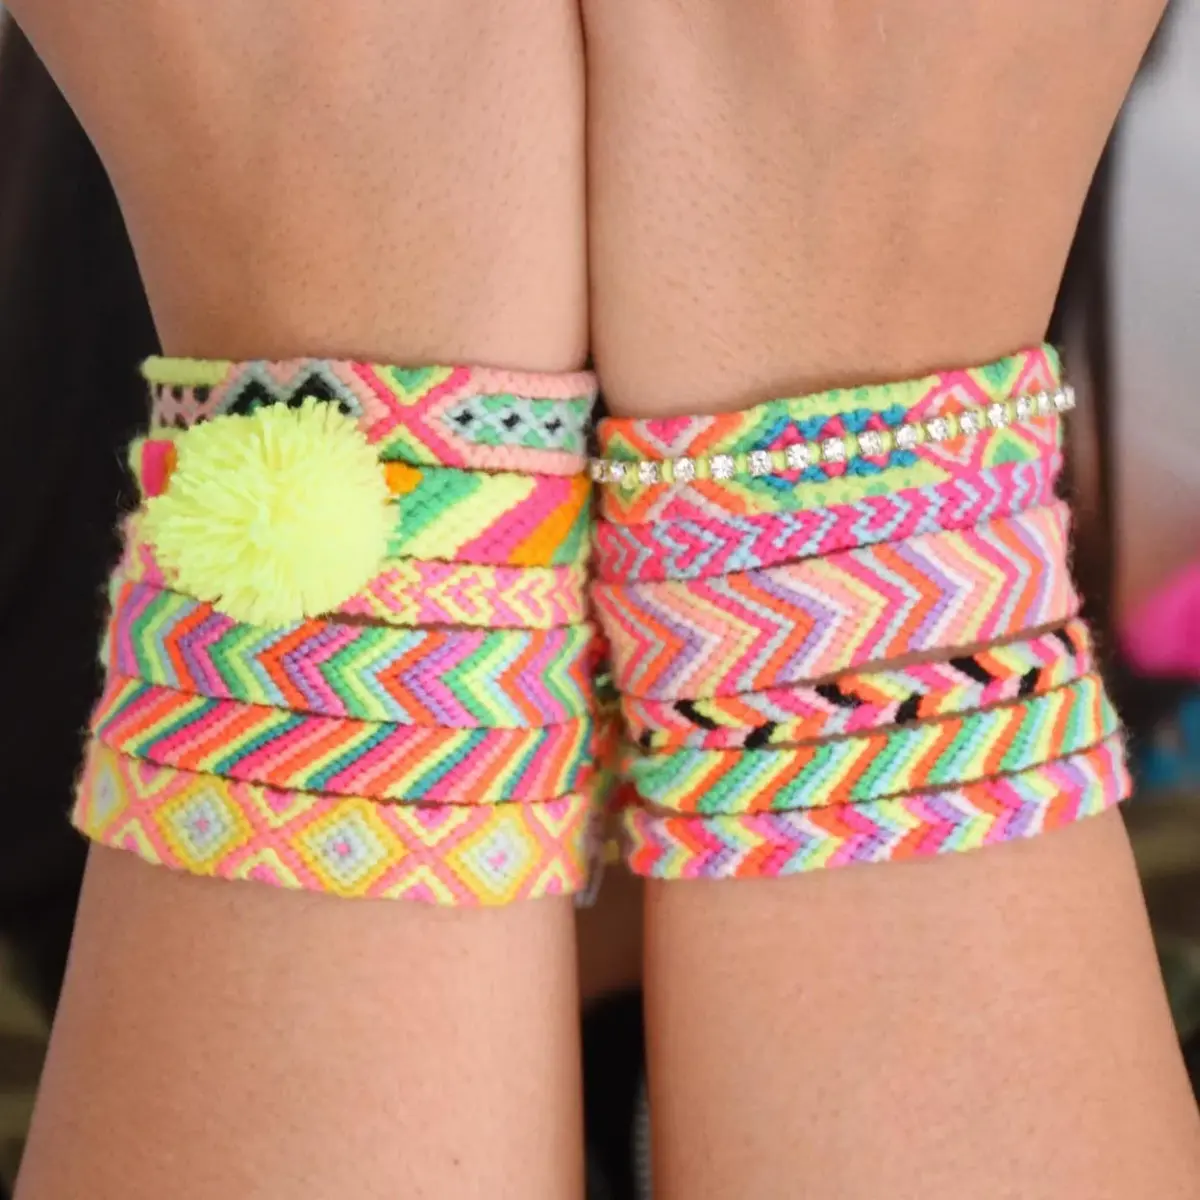
One of the most frequent errors is inconsistent tension, which causes the bracelet to look wavy or uneven. If you pull some knots tighter than others, the edges of the bracelet will ripple rather than lying flat. Additionally, beginners often lose track of their strand order, leading to "dropped" threads that ruin the intended design. It is helpful to lay your threads out in the exact order shown on your pattern after every single row.
- Avoid cutting your threads too short, as you cannot add length once you have started knotting.
- Do not pull the knots too aggressively, as this can snap the delicate cotton fibers of the embroidery floss.
- Ensure your workspace is well-lit so you can distinguish between similar colors and see the structure of your individual knots.
- If you make a mistake, use a sewing needle or a pin to gently pick apart the last few knots rather than cutting the thread.
How long does it take to finish a bracelet?
The time required to complete a bracelet depends entirely on the complexity of the pattern and your personal speed. A simple striped bracelet might take an experienced crafter thirty minutes, while a complex, multi-colored alpha pattern could take several hours or even days. Beginners should expect to spend more time initially as they learn to manage the tension and follow the knotting sequences. Do not rush the process, as the meditative nature of the repetitive knotting is part of the enjoyment.
As you gain experience, you will naturally develop a faster rhythm. Many crafters find that listening to music or podcasts helps them maintain a steady pace during longer projects. Regardless of the time spent, the result is a durable, personalized piece of jewelry that serves as a meaningful gift. Once you finish your bracelet, trim the excess ends to your preferred length and tie it securely around your wrist to complete your handmade creation.
Key facts
- Embroidery floss is the standard material for friendship bracelets because it is inexpensive, durable, and comes in hundreds of colors.
- The most common starting point is the "forward knot," which involves looping the thread over itself to create a secure hitch.
- A standard bracelet typically requires strands that are at least 30 inches long to account for the knots and wrist size.
- Using a clipboard or safety pin to anchor the top of your threads provides the necessary tension to keep knots uniform.
- The "candy stripe" is the most popular beginner pattern, created by tying each strand across the row in a consistent direction.
- You can finish a bracelet by braiding the remaining loose ends and tying them together to create a removable, adjustable closure.
The bottom line
Creating friendship bracelets is a rewarding craft that relies on simple, repetitive knotting techniques to produce intricate wearable art. By mastering the basic forward knot and maintaining consistent tension, you can progress from simple striped designs to complex geometric patterns. With minimal supplies like embroidery floss and a secure anchor, this accessible hobby offers a creative way to produce personalized gifts for friends and family.
People also ask
How do I prevent my bracelet from twisting while I knot?
Twisting usually occurs when you pull your knots too tightly or inconsistently. Maintain even tension on the base thread and ensure you complete two loops for every single knot to keep the structure flat.
What is the best way to keep my threads organized?
Use a piece of cardboard with numbered slits to hold your threads in place while you work. This prevents tangling and helps you keep track of the specific order required for complex patterns.
Can I use yarn instead of embroidery floss?
You can use yarn, but it will result in a much thicker and bulkier bracelet. Embroidery floss is preferred because its thin, smooth texture allows for intricate detail and a comfortable fit against the skin.
How do I fix a mistake in my pattern?
Use a small crochet hook or a needle to gently pry open the misplaced knot. Once loosened, you can slide the thread back and re-tie it correctly without having to undo the entire project.
How long does it take to make a basic bracelet?
A simple candy stripe bracelet typically takes between 30 and 60 minutes for a beginner. More complex designs, such as alpha patterns or chevron weaves, can take several hours depending on the width.
How should I clean a friendship bracelet?
Hand wash the bracelet in cool water with a tiny drop of mild soap. Lay it flat on a clean towel to air dry, as machine washing can cause the threads to fray or the colors to bleed.
This answer was created with the help of AI research tools and reference sources. Spotted an error? Let us know — we correct mistakes quickly. See our editorial policy.