Why is drawing hands so hard?
Short answer
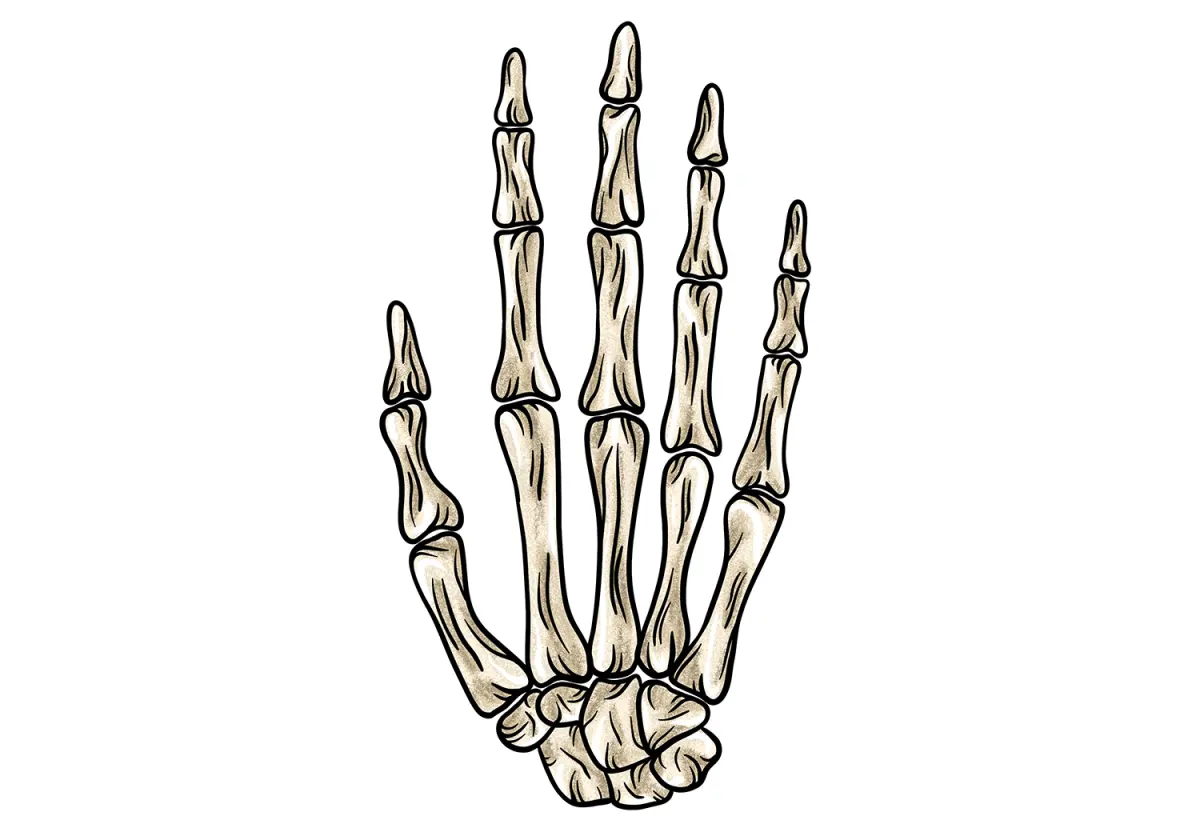
Drawing hands is notoriously difficult because they are complex, multi-jointed structures with high degrees of mobility. They possess twenty-seven bones and numerous tendons that create subtle surface shifts. Because humans are biologically hardwired to recognize hands, any slight error in proportion or articulation is immediately perceived as unnatural by the viewer.
On this page
Why is drawing hands so hard?
The primary reason hands challenge artists is their anatomical complexity. A human hand contains 27 individual bones, including the carpals, metacarpals, and phalanges, all connected by a web of ligaments and tendons. Unlike a torso or a limb, which can be simplified into basic geometric cylinders, the hand requires an understanding of how these small, independent parts interact during movement.
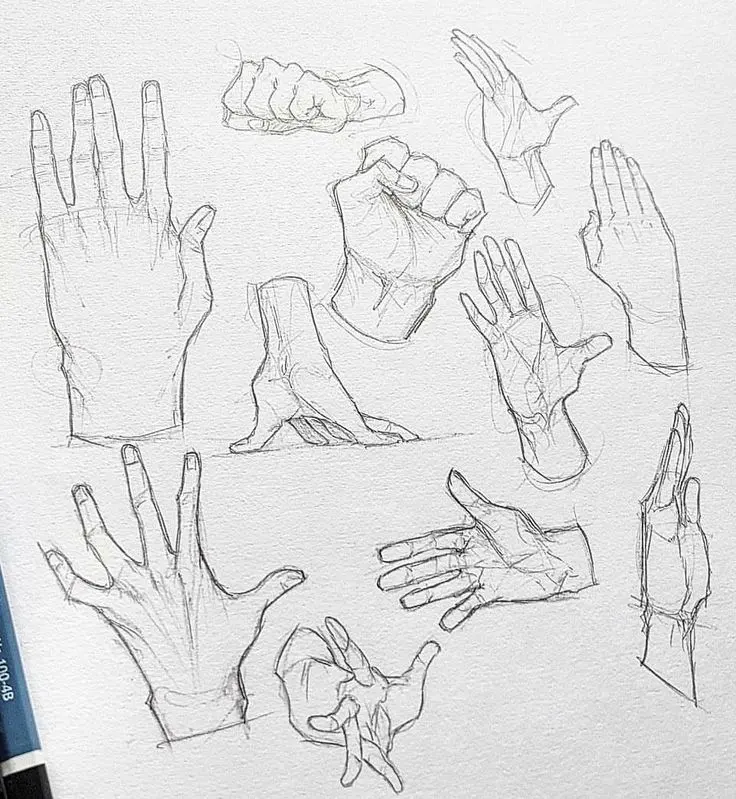
Furthermore, hands are constantly in motion, changing shape as fingers flex, extend, or rotate. This creates a phenomenon known as foreshortening, where the distance between joints visually compresses. When a finger points toward the viewer, the perspective shifts rapidly, making it difficult to maintain consistent volume. Because we use our hands daily, our brains are hyper-aware of their mechanics, making even minor anatomical inaccuracies stand out as jarring errors.
How to simplify hand anatomy for beginners
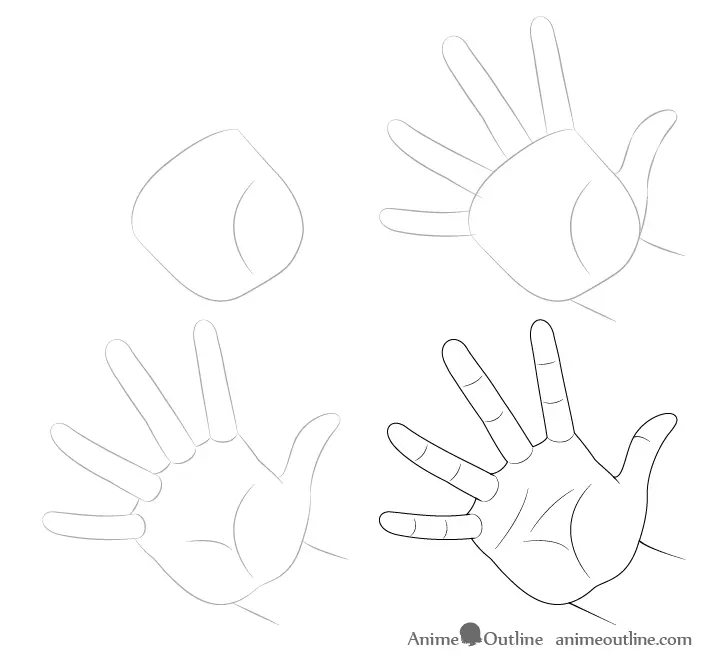
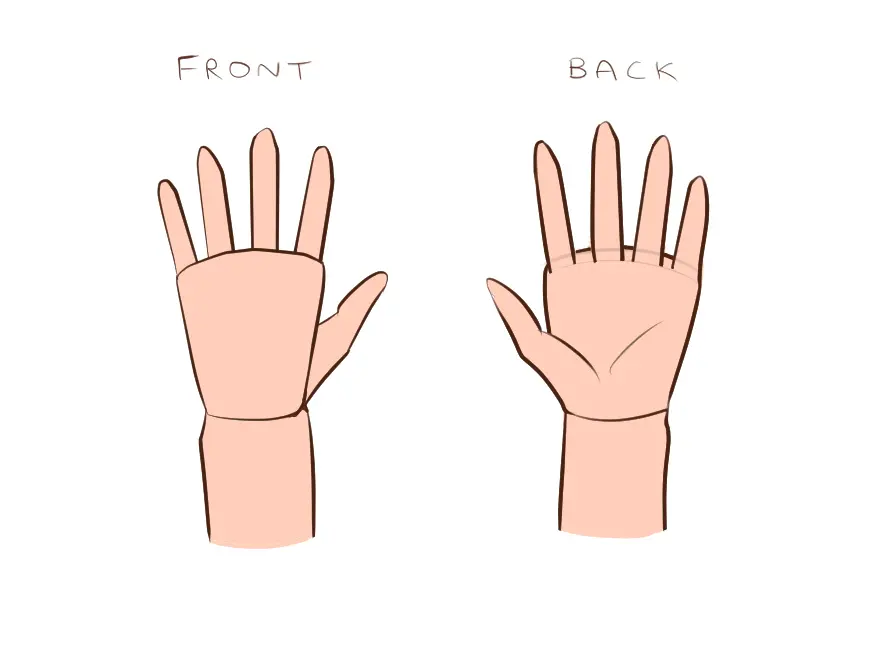
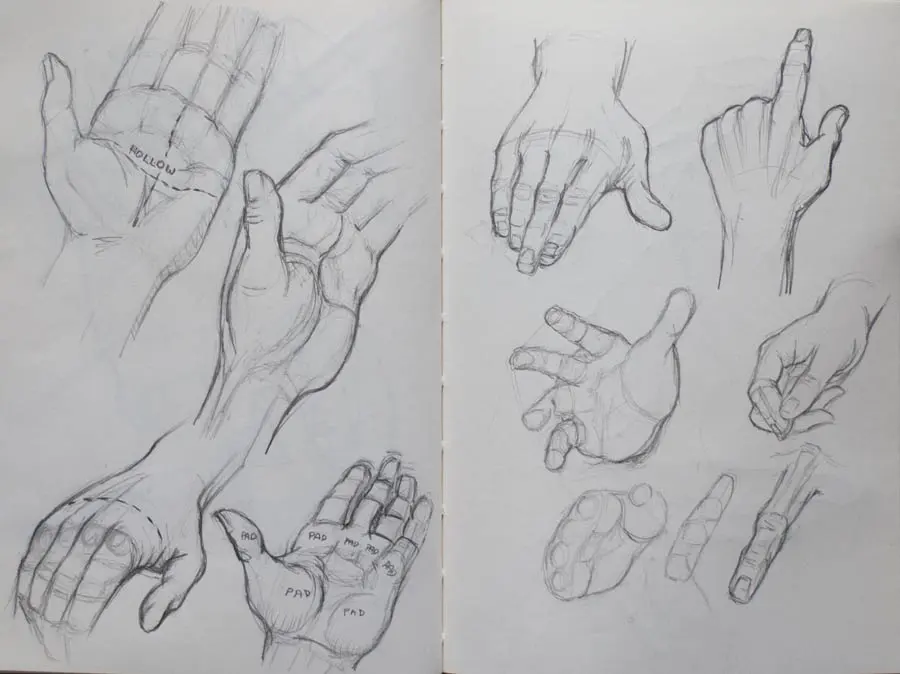
To master the hand, you must stop seeing it as a collection of fingers and start seeing it as a single, unified mass. Beginners often try to draw each finger individually, which leads to disjointed proportions. Instead, focus on the "palm block," which acts as the foundation for the entire structure.
- Draw a trapezoid to represent the palm, keeping the shape flat and solid.
- Identify the knuckle line, which is usually a gentle arc rather than a straight line.
- Attach the thumb at the base of the palm, remembering that it moves on a different plane than the four fingers.
- Use cylinders to map out the finger segments, noting that the middle finger is typically the longest.
By establishing these primary shapes first, you create a framework that prevents the fingers from appearing detached or floating. This block-in method ensures that the hand maintains its structural integrity regardless of the pose.
Common mistakes when drawing hands
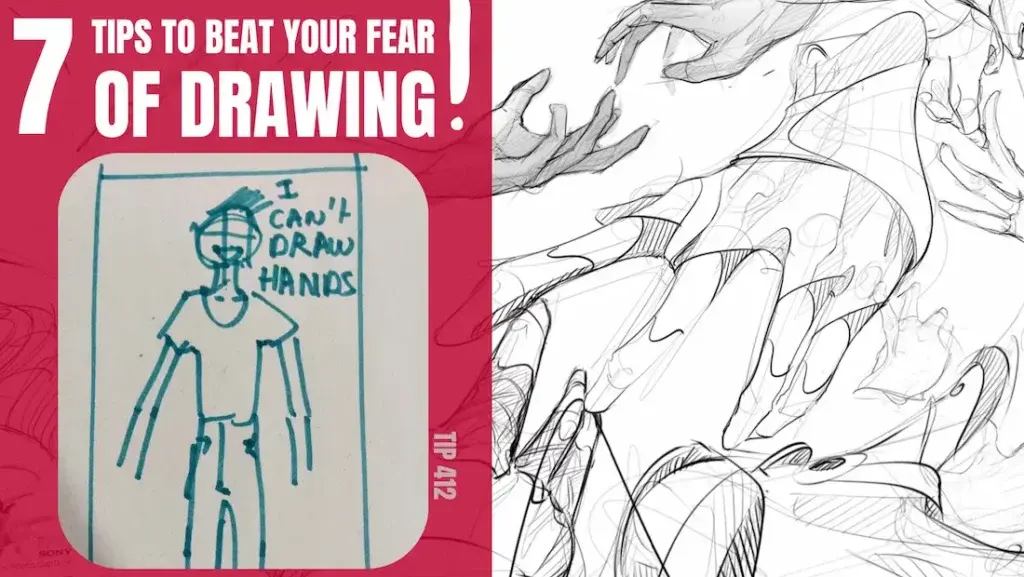
One of the most frequent errors is ignoring the "webbing" between fingers. Many artists draw fingers as separate tubes growing out of the wrist, which creates a "hot dog" effect that lacks realism. In reality, the skin between the fingers creates a bridge that connects the digits to the palm at different heights.
Another common pitfall is failing to account for the thickness of the fingers. Beginners often draw fingers as flat, two-dimensional lines, forgetting that each digit is a three-dimensional volume. To avoid this, consider these tips:
- Never draw the fingers as perfectly parallel lines; they should taper slightly toward the tips.
- Pay attention to the negative space between fingers, as these shapes are often more accurate than the fingers themselves.
- Ensure the thumb base is bulky and muscular, as it contains the largest muscle group in the hand.
How long does it take to get good at drawing hands?
Developing proficiency in drawing hands is a gradual process that typically requires months of dedicated practice. Because the hand is so expressive, artists often spend years refining their ability to capture the nuance of a gesture. If you practice for 30 minutes daily, you can expect to see significant improvements in your structural understanding within three to six months.
Consistency is far more important than the total number of hours spent in a single session. Focus on "gesture drawing," which involves sketching the hand in under one minute to capture its movement rather than its details. By forcing yourself to work quickly, you bypass the tendency to get hung up on minor anatomical features. Over time, this builds an intuitive sense of proportion that allows you to draw hands from any angle without relying on rigid, step-by-step formulas.
Best reference techniques for drawing hands
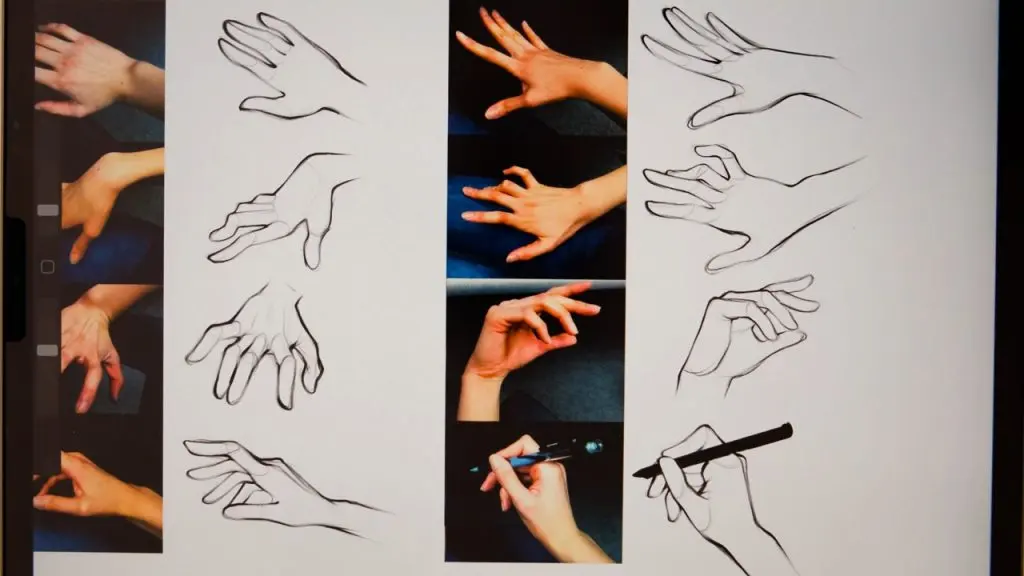
The most effective way to improve is to use your own hand as a reference. Since you have your own model available at all times, you can observe how light hits the knuckles and how skin folds during a grip. Use a mirror to study your hand from various angles, paying close attention to the way the skin stretches and compresses.
- Take photographs of your own hand in different poses to study the perspective.
- Use a skeletal diagram to understand where the joints are located beneath the skin.
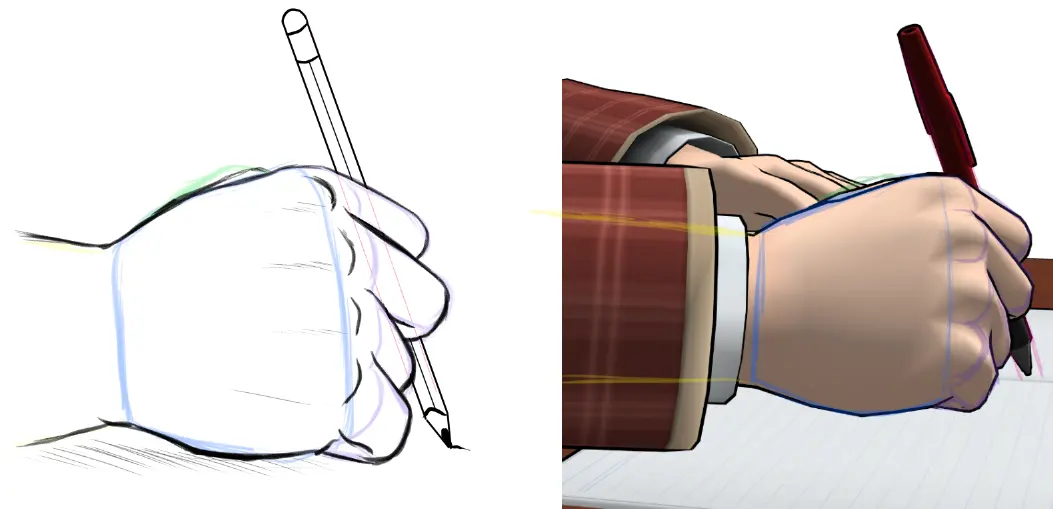
- Practice drawing hands in "action" poses, such as holding a pen or gripping a cup, to understand how objects influence hand shape.
By combining direct observation with anatomical study, you bridge the gap between abstract theory and visual reality. Always prioritize the silhouette of the hand; if the shape looks correct from a distance, the internal details will naturally fall into place. With patience and systematic observation, the complexity of the hand becomes a manageable challenge rather than an impossible hurdle.
Key facts
- The human hand contains 27 individual bones, including 8 carpals in the wrist, 5 metacarpals in the palm, and 14 phalanges in the fingers.
- Hands are complex, three-dimensional structures that change shape significantly when moving from a flat pose to a clenched fist.
- Foreshortening is the primary technical challenge, as fingers often overlap or point toward the viewer, distorting their perceived length.
- Most artists struggle because they draw what they "think" a hand looks like rather than observing the actual geometry of the joints.
- The palm is roughly a square shape, and the middle finger is typically the longest, often matching the length of the entire palm.
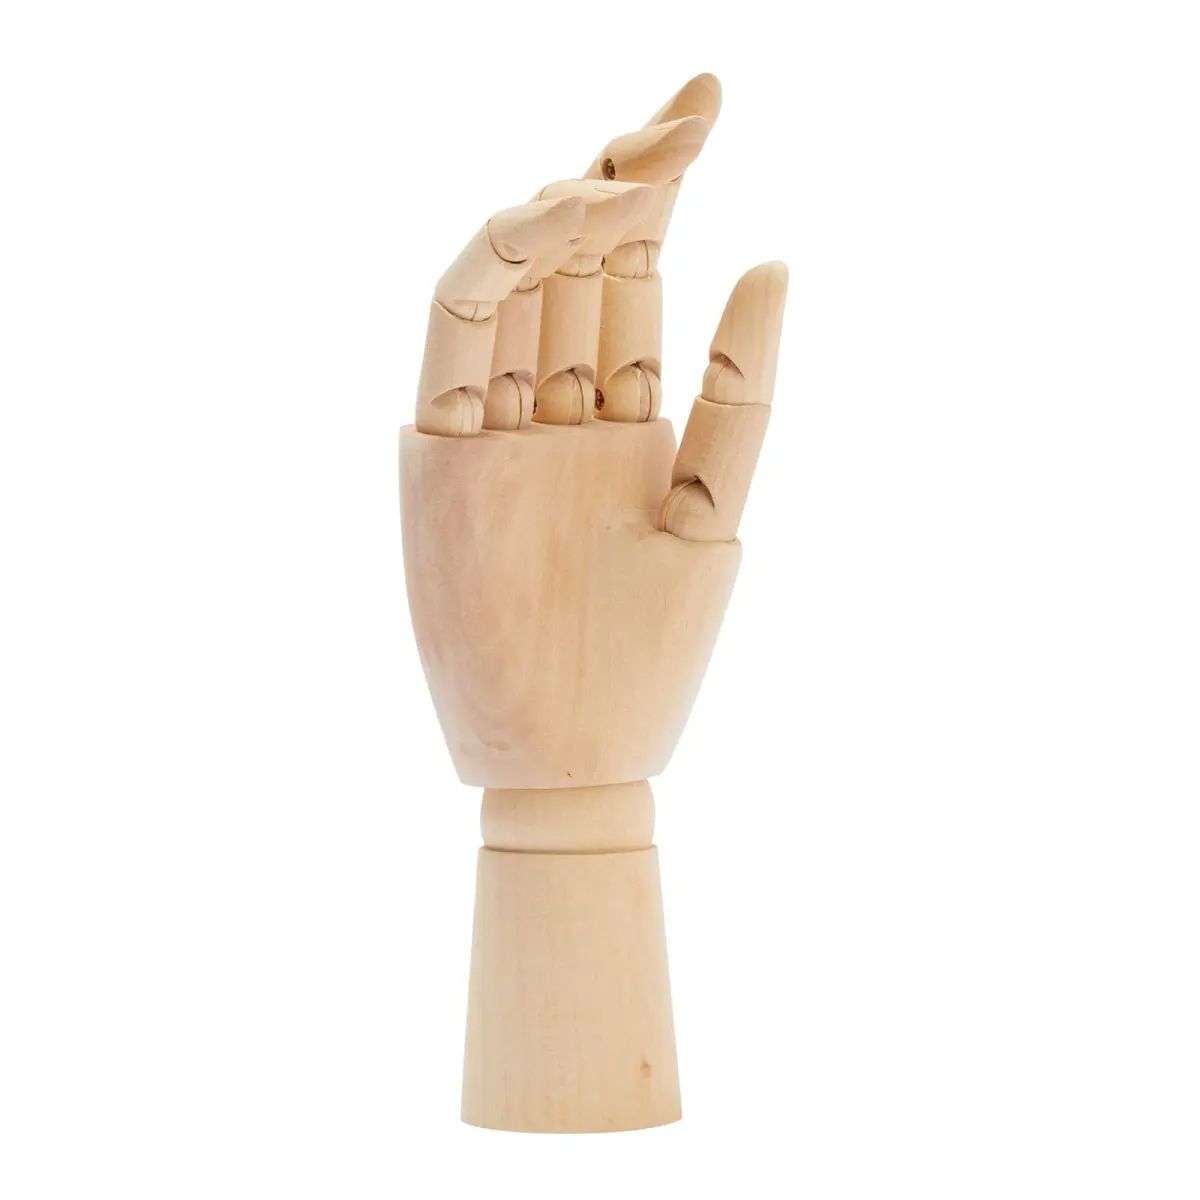
- Using a "mannequin" approach by breaking the hand into simple boxes and cylinders helps maintain correct proportions before adding skin details.
The bottom line
Drawing hands is notoriously difficult because of the high density of small bones and the complex, overlapping nature of finger movement. Success requires moving past symbolic representations and treating the hand as a series of geometric volumes. By focusing on the structural relationships between the palm and phalanges, you can overcome common anatomical errors and create realistic, dynamic hands that feel grounded in three-dimensional space.
People also ask
Should I use my own hand as a reference?
Yes, your own hand is the most accessible and accurate model available. You can observe how light hits the skin and how tendons shift under the surface from any angle.
Why do my drawn fingers always look like sausages?
This usually happens because you are drawing rounded tubes without considering the skeletal structure underneath. Focus on the hard, angular knuckles and the flat planes of the finger segments to add definition.
How do I measure the length of the fingers?
A reliable rule of thumb is that the middle finger is approximately the same length as the palm measured from the wrist crease. Use this as a baseline to scale the other fingers proportionally.
Is it better to draw the outline or the structure first?
Always start with the structure by drawing the palm as a flat, wedge-like shape and the fingers as simple sticks. Drawing the outline first often leads to distorted shapes that are difficult to correct later.
How do I handle overlapping fingers in a drawing?
Focus on the negative space between the fingers rather than the fingers themselves. By capturing the unique shapes of the gaps, the overlapping forms will naturally fall into their correct positions.
Does the wrist play a role in drawing hands?
The wrist is the anchor point for the hand and dictates its orientation. Always establish the angle of the wrist before drawing the palm to ensure the hand looks connected to the arm.
This answer was created with the help of AI research tools and reference sources. Spotted an error? Let us know — we correct mistakes quickly. See our editorial policy.