What is the easiest way to draw a mushroom?
Short answer
The easiest way to draw a mushroom is to sketch a simple, rounded cap atop a sturdy, cylindrical stem. By using basic geometric shapes like ovals and rectangles as a foundation, you can quickly build the form. Adding gills underneath and a few spots on top completes the classic, recognizable toadstool silhouette.
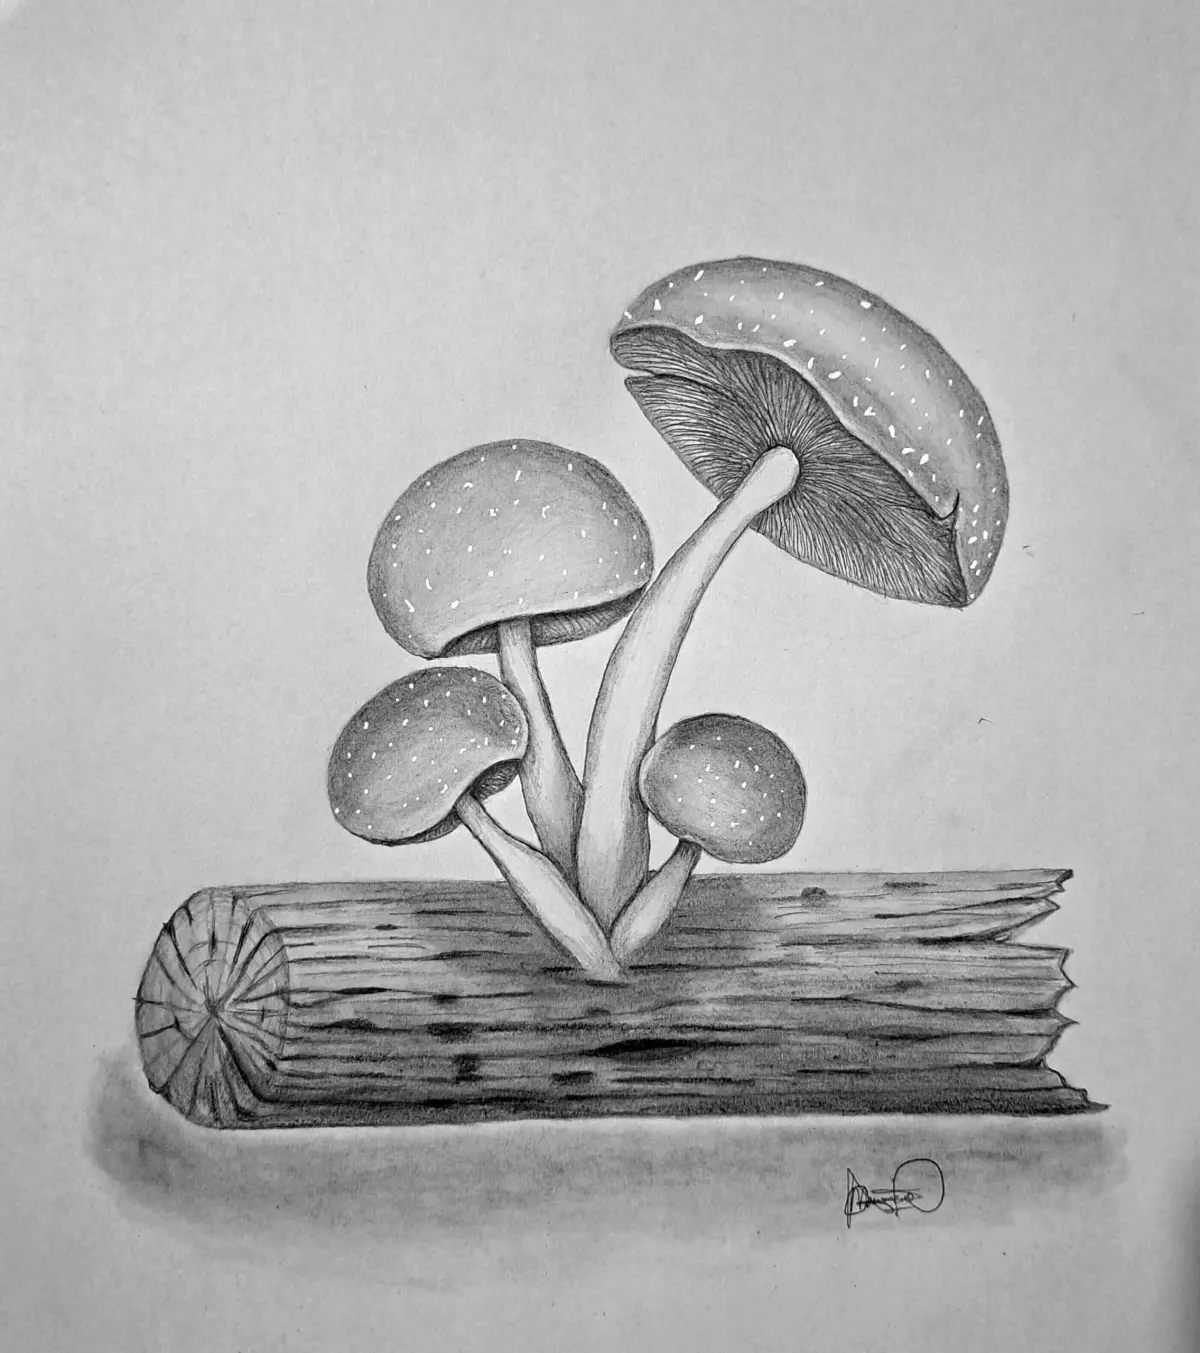
On this page
How to draw a mushroom for beginners
Drawing a mushroom is an ideal exercise for those learning to simplify complex organic forms into basic geometry. You should begin by visualizing the mushroom as a collection of three primary parts: the cap, the stem, and the base. By breaking these down into simple shapes, you avoid the intimidation of trying to capture every minute detail of the fungus immediately.
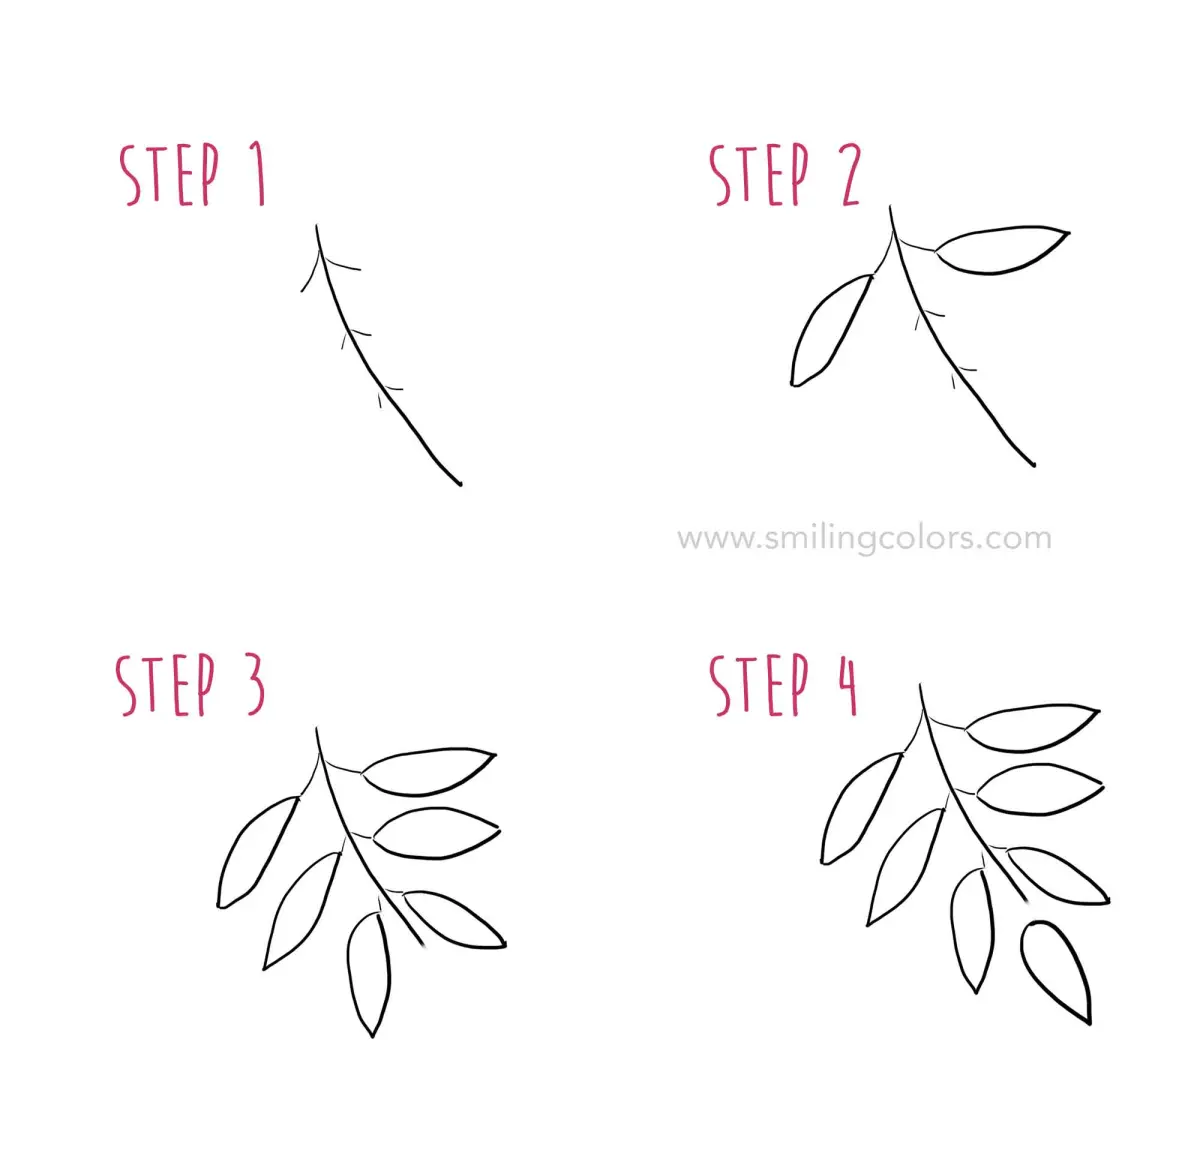
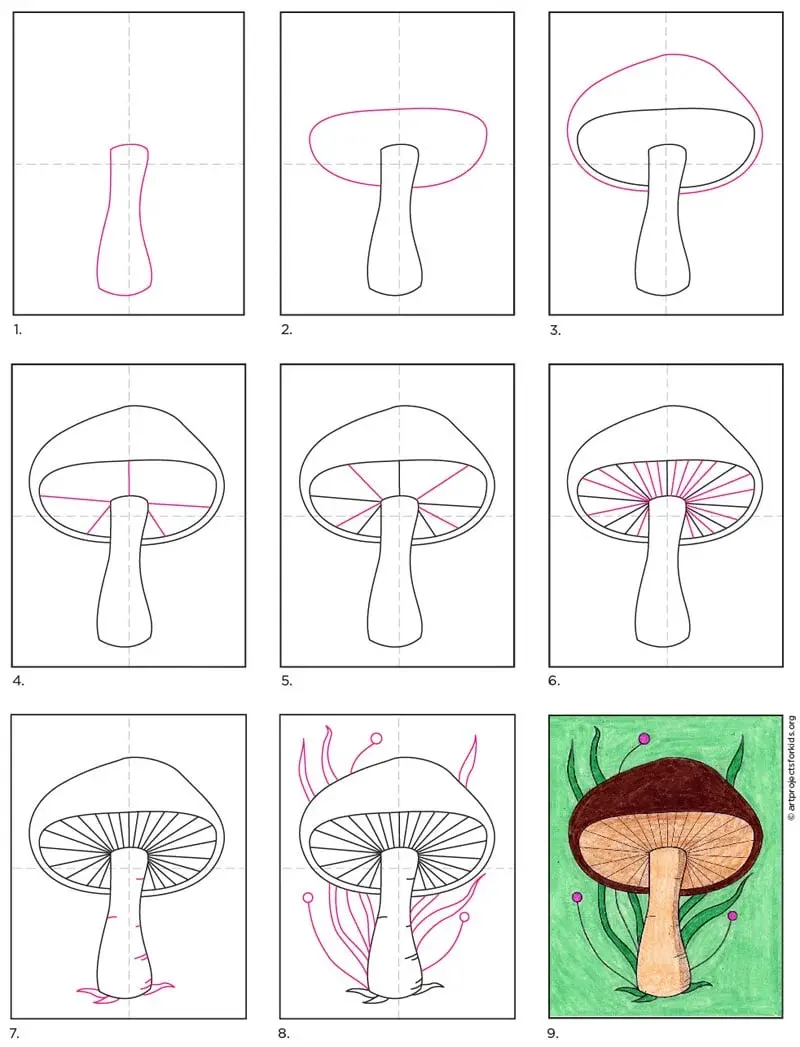
To create your first sketch, follow these straightforward steps:
- Draw a wide, flattened oval to serve as the top of the mushroom cap.
- Sketch a smaller, slightly curved rectangle or trapezoid beneath the center of the oval to represent the stem.
- Connect the bottom of the cap to the top of the stem with soft, rounded lines to ensure the transition looks natural.
- Add a few irregular circles or ovals on the cap to represent spots, ensuring they follow the curve of the surface.
Focusing on these foundational shapes allows you to maintain consistent proportions. Once the basic outline is established, you can refine the edges to make the mushroom appear more organic and less rigid.
Best tools for drawing mushrooms
Selecting the right materials can significantly improve your drawing experience, especially when you are just starting out. For beginners, a standard HB graphite pencil is the most versatile tool because it allows for both light sketching and darker, more defined lines. You should also keep a soft white eraser handy to clean up the initial geometric guidelines once your final lines are set.
If you prefer to add depth to your drawings, consider using these specific tools:
- A 2B or 4B pencil for adding shadows and creating a sense of volume.
- A fine-liner pen with waterproof ink if you intend to add watercolor washes later.
- A blending stump or a piece of soft tissue to smooth out shading on the stem.
- A sketchbook with slightly textured paper, which helps the graphite grip the surface better than glossy or overly smooth printer paper.
Using high-quality paper prevents the graphite from smudging too easily while you work. Always start with light pressure, as it is much easier to darken a line than it is to remove a heavy, dark mark from the page.
Why mushroom shapes vary in nature
While the classic toadstool is the most common image, mushrooms exist in a vast array of shapes, sizes, and textures. Understanding that nature rarely produces perfect symmetry will help you feel more confident in your drawing process. Some species, such as the chanterelle, have trumpet-shaped caps, while others, like the morel, feature a deeply pitted, honeycomb-like surface that requires a different approach to shading.
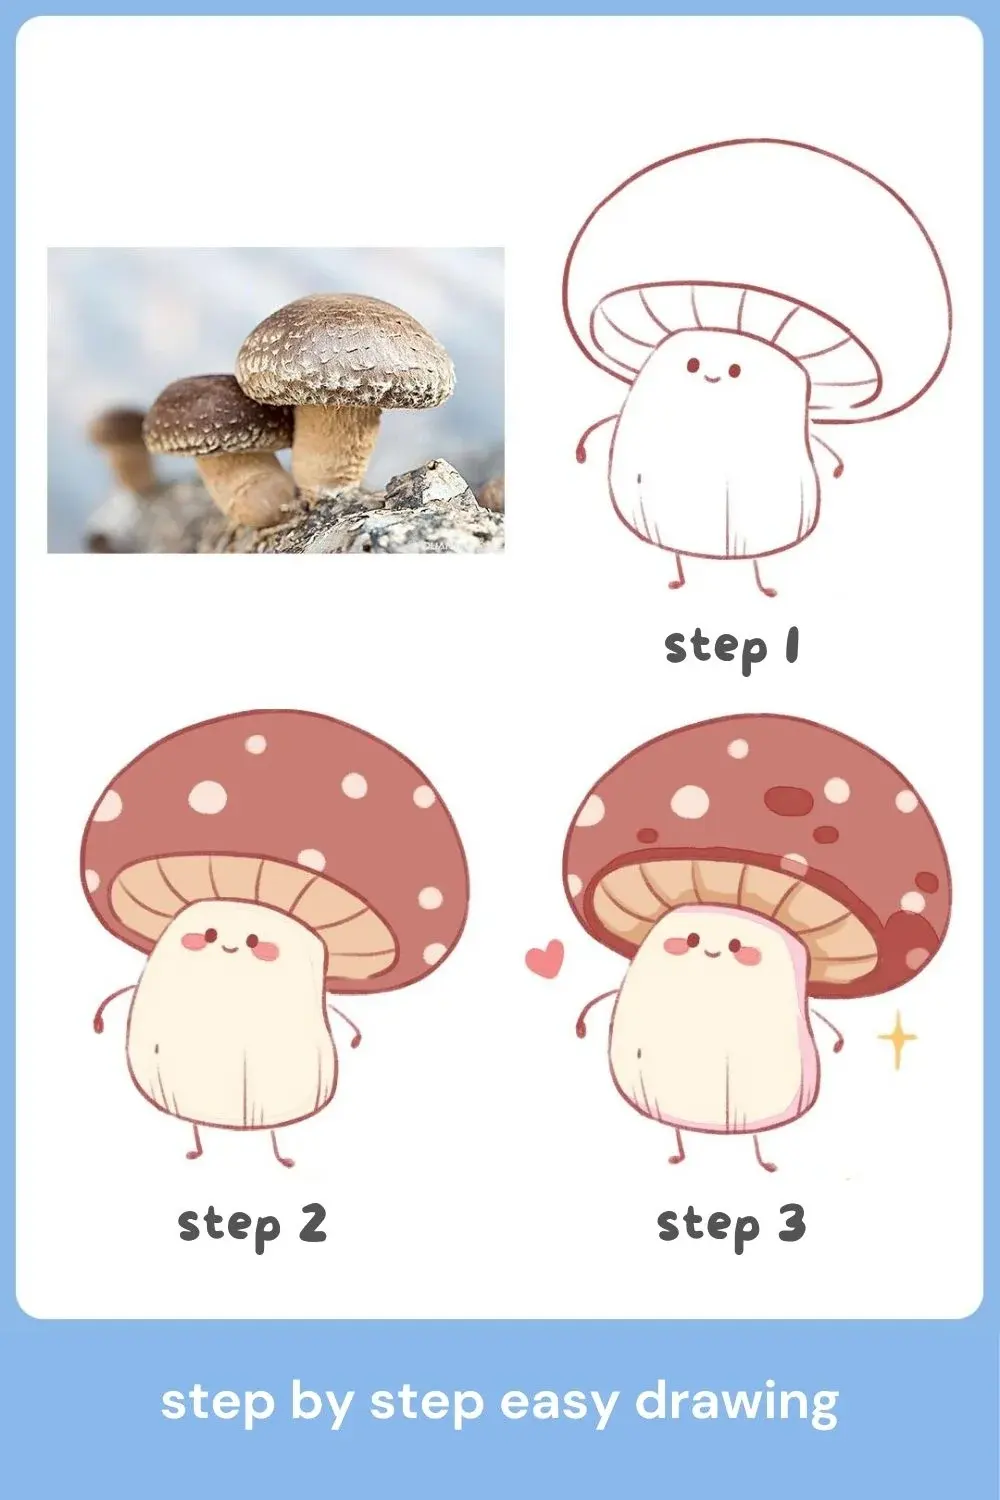
When you observe mushrooms in the wild or in reference photographs, pay attention to how the caps change as the mushroom matures. Young mushrooms often have a spherical or "button" shape, while mature specimens may have flat or even concave caps with upturned edges. By varying the curvature of the cap in your drawings, you can depict different stages of growth and add variety to your compositions. This observation-based approach transforms a simple doodle into a more accurate representation of biological diversity.
Common mistakes when drawing mushrooms
One of the most frequent errors beginners make is drawing the stem perfectly centered and perfectly straight. In nature, mushrooms often grow at slight angles due to light sources or obstacles in the soil, so a perfectly vertical stem can look stiff and unnatural. Another common mistake is neglecting the underside of the cap, which is where the gills are located. Adding a few simple lines radiating from the stem to the edge of the cap provides essential detail that grounds the drawing in reality.
Avoid these pitfalls to improve your results:
- Making the stem too thin, which makes the mushroom look unstable and top-heavy.
- Drawing the spots on the cap as perfect, uniform circles, which looks artificial.
- Forgetting to add a shadow at the base where the mushroom meets the ground.
- Using outlines that are too heavy, which prevents the mushroom from looking three-dimensional.
By softening your lines and varying the thickness of your strokes, you create a more professional and convincing final image.
How long does it take to draw a mushroom
The time required to draw a mushroom depends entirely on the level of detail you wish to achieve. A quick, stylized sketch can take as little as two to three minutes, making it a perfect activity for short breaks or sketchbook warm-ups. If you are aiming for a more realistic rendering that includes complex shading, texture work on the gills, and background elements like grass or moss, you might spend thirty minutes to an hour on a single piece.
Patience is the most important factor in the quality of your work. If you find yourself rushing, take a step back and look at your reference image again to see if you have missed any subtle curves or shadows. As you practice, your speed will naturally increase, and your ability to capture the unique character of different mushroom species will improve. Consistent, daily practice for even ten minutes will yield better results than a single, long, and frustrating session once a month.
Key facts
- A mushroom's structure is defined by two primary geometric shapes: a rounded cap (a semicircle) and a cylindrical stem.
- Always start with the stem first to establish the center of gravity and the overall height of the fungus.
- Use a light pencil for your initial sketch, as dark lines are difficult to erase or cover with shading.
- Adding a curved line underneath the cap creates the "gill" area, which adds immediate depth and realism.
- Vary the thickness of the stem to make the drawing look organic rather than mechanical or rigid.
- Incorporate small, irregular spots on the cap to suggest texture and mimic common species like the fly agaric.
The bottom line
Drawing a mushroom is an accessible exercise that relies on basic geometry and observation. By starting with a central stem and building a rounded cap, you establish a strong foundation. Focus on organic, slightly irregular lines rather than perfect symmetry to convey a natural appearance. With consistent shading and attention to depth, you can transform simple shapes into a convincing illustration of a forest fungus.
People also ask
Should I use a ruler to draw the stem?
You should avoid using a ruler because natural mushrooms are rarely perfectly straight. Hand-drawn, slightly wavy lines look much more authentic and organic.
How do I make the mushroom look three-dimensional?
Focus on your light source and add shading on the opposite side of the stem and under the cap. This creates a shadow that gives the object volume.
What is the best pen to use for outlining?
A fine-liner or a felt-tip pen with a consistent ink flow works best. These tools allow for clean, bold lines that make the drawing stand out.
Why does my mushroom look like a cartoon?
Cartoonish appearances usually stem from using perfectly symmetrical shapes. Try drawing the cap slightly lopsided or adding small nicks to the edges to improve realism.
How can I draw mushrooms in a cluster?
Overlap your shapes by drawing one mushroom in front of the others. Vary the sizes and heights of each stem to create a natural-looking group.
What is the most common mistake beginners make?
Beginners often draw the cap as a flat oval rather than a rounded dome. Remember to curve your lines to show the volume of the cap.
This answer was created with the help of AI research tools and reference sources. Spotted an error? Let us know — we correct mistakes quickly. See our editorial policy.