How do you make a collage?
Short answer
A collage is an artistic composition made by adhering various materials, such as paper, photographs, or fabric, onto a single backing surface. To create one, gather diverse clippings, arrange them to establish a visual theme or narrative, and secure them using archival-quality adhesives to ensure the work remains durable and aesthetically cohesive.

On this page
What materials do you need for a collage?
The foundation of any successful collage begins with selecting the right base and adhesive. For the backing, choose a heavy-duty material like illustration board, canvas, or thick cardstock to prevent buckling when glue is applied. Lightweight paper will warp and wrinkle, which often ruins the final presentation. For adhesives, avoid standard office glue sticks if you want the piece to last, as they often yellow or lose their grip over time. Instead, use archival-grade PVA glue, which remains flexible and transparent once dry.
Beyond the basics, gather a diverse array of source materials to add depth and texture to your work. Consider incorporating the following items to create a visually rich composition:
- Vintage magazines and newspapers for typography and historical imagery.
- Textured papers such as handmade mulberry, vellum, or colored construction paper.
- Ephemera like old tickets, maps, dried leaves, or fabric scraps.
- Photographs, either original prints or high-quality digital reproductions.
- Found objects like buttons, ribbons, or thin metal pieces for a three-dimensional effect.
Best collage techniques for beginners
When starting your first project, focus on the concept of layering to build visual interest. Begin by laying out your background elements, which serve as the canvas for your more prominent images. You can use a monochromatic base to make colorful clippings pop, or use a collage of text-heavy scraps to create a "noise" effect that draws the eye toward a central focal point. Always arrange your pieces before applying any adhesive to ensure you are satisfied with the spatial balance and color harmony.
To achieve a professional finish, follow these fundamental steps:
- Prepare your workspace by laying down a protective mat or scrap paper to catch excess glue.
- Cut your images precisely using a utility knife or sharp scissors; for organic shapes, tearing the paper edges can create a softer, more artistic transition.
- Apply a thin, even layer of adhesive to the back of your clippings using a small brush or a brayer to flatten any air bubbles.
- Press each piece firmly into place, working from the center outward to ensure a smooth, wrinkle-free surface.

How to design a balanced collage
Achieving balance in a collage requires an understanding of visual weight. If you place a large, dark image on one side of your board, the composition may feel lopsided unless you counterbalance it with another element or a cluster of smaller, lighter items on the opposite side. Use the rule of thirds to guide your placement, positioning your most important subjects at the intersection points of an imaginary grid. This technique naturally draws the viewer’s eye across the entire surface of the work.
Color theory is equally important for creating a cohesive aesthetic. You can opt for a monochromatic palette, using various shades of a single color to create a sophisticated, unified look. Alternatively, use a complementary color scheme—such as blues and oranges—to create high-contrast energy. If your collage feels too chaotic, try adding a neutral "breathing space" by leaving small gaps between elements or using white space to give the viewer’s eyes a place to rest.

Common mistakes when making a collage
One of the most frequent errors beginners make is using too much adhesive, which leads to bubbling, warping, and messy edges. Always apply glue sparingly, ensuring it reaches the corners of your clippings without oozing out from under them. If you are working with very thin paper, use a dry mounting technique or a spray adhesive to ensure an even coating. Another common mistake is failing to seal the work; once the glue is completely dry, apply a thin layer of matte or gloss medium to protect the surface from dust and UV damage.
Avoid these pitfalls to ensure your project remains in good condition:
- Overcrowding the space, which can make the collage feel cluttered and confusing.
- Using low-quality, acidic paper that will turn brittle and yellow within a few years.
- Ignoring the orientation of the backing board, which can lead to composition issues if you decide to hang the piece vertically later.
- Rushing the drying process, which can cause pieces to shift or peel before they are fully set.
How long does it take to finish a collage?
The time required to complete a collage varies significantly based on the complexity of the design and the amount of detail involved. A simple, abstract collage using large shapes can often be finished in an hour or two. Conversely, intricate works that involve detailed cutting, layering, and precise placement of hundreds of tiny pieces can take several days or even weeks. Do not feel pressured to complete the piece in a single sitting; often, stepping away from your work and returning with fresh eyes allows you to spot placement errors or design improvements you might have missed.
Ultimately, the process is meant to be iterative and exploratory. Allow yourself the time to experiment with different arrangements and textures before committing to a final layout. If you find that a particular section is not working, do not be afraid to peel it back or layer something new over it. The beauty of collage lies in its flexibility, as it is one of the few art forms that encourages constant modification and evolution until you are satisfied with the final result.
Key facts
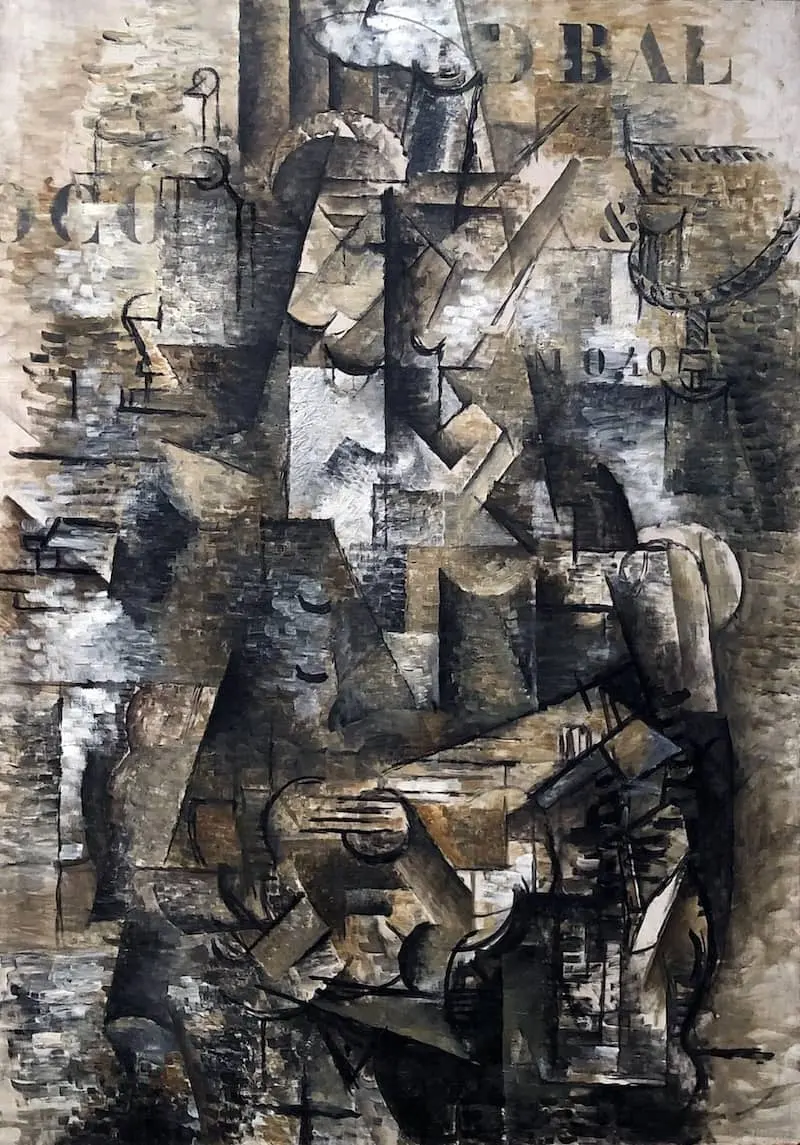
- The term "collage" comes from the French verb coller, meaning "to glue," popularized by Pablo Picasso and Georges Braque around 1912.
- Acid-free adhesive is essential for long-term preservation to prevent yellowing or degradation of paper materials.
- A "mixed media" collage incorporates non-paper elements like fabric, metal, or dried flowers to add texture and depth.
- Using a sharp X-Acto knife or precision scissors allows for cleaner edges than tearing, which creates a softer, organic look.
- Composition can be improved by following the "rule of thirds," placing focal points along imaginary grid lines rather than dead center.
- Digital collages can be created using software like Adobe Photoshop or Canva by layering transparent PNG files and adjusting blending modes.
The bottom line
Creating a collage is an accessible artistic process that transforms disparate found objects into a cohesive visual narrative. By selecting a consistent theme, carefully arranging your elements before applying adhesive, and balancing the composition with negative space, you can produce professional-looking results. Whether using vintage paper or modern mixed media, the key lies in thoughtful layering and the deliberate selection of materials to convey your intended message.
People also ask
What materials are best for beginners?
Start with old magazines, newspapers, patterned scrapbook paper, and a sturdy backing like cardstock. You will also need a glue stick or archival-quality liquid adhesive and a pair of sharp scissors.
How do I choose a theme for my collage?
Select a central color palette, a specific historical era, or a thematic concept like "nature" or "urban decay." Having a unifying element helps prevent your project from looking cluttered or disorganized.
Should I glue items down immediately?
Never glue items until you have arranged all pieces and are satisfied with the final layout. Taking a photograph of your arrangement before gluing serves as a helpful reference guide.
How can I create depth in a flat collage?
Use foam adhesive squares to mount certain elements above the base layer. This creates physical shadows and adds a three-dimensional quality to your work.
What is the most common mistake when making a collage?
The most frequent error is overcrowding the space, which makes the composition feel chaotic. Leaving "negative space" or empty areas allows the viewer's eye to rest and highlights your focal points.
Can I use photographs in a collage?
Yes, but use high-quality color copies of original photos rather than the originals themselves. This preserves your personal history while allowing you to cut and manipulate the images freely.
This answer was created with the help of AI research tools and reference sources. Spotted an error? Let us know — we correct mistakes quickly. See our editorial policy.