How do you use the liquify tool in Procreate?
Short answer
The Liquify tool in Procreate allows you to push, pull, and distort pixels on a specific layer without changing the image's resolution. Access it by tapping the Adjustments menu, selecting Liquify, and choosing a brush mode. Use your finger or stylus to manipulate the canvas, then commit changes by tapping the Adjustments icon again.
On this page
How to access the liquify tool in Procreate
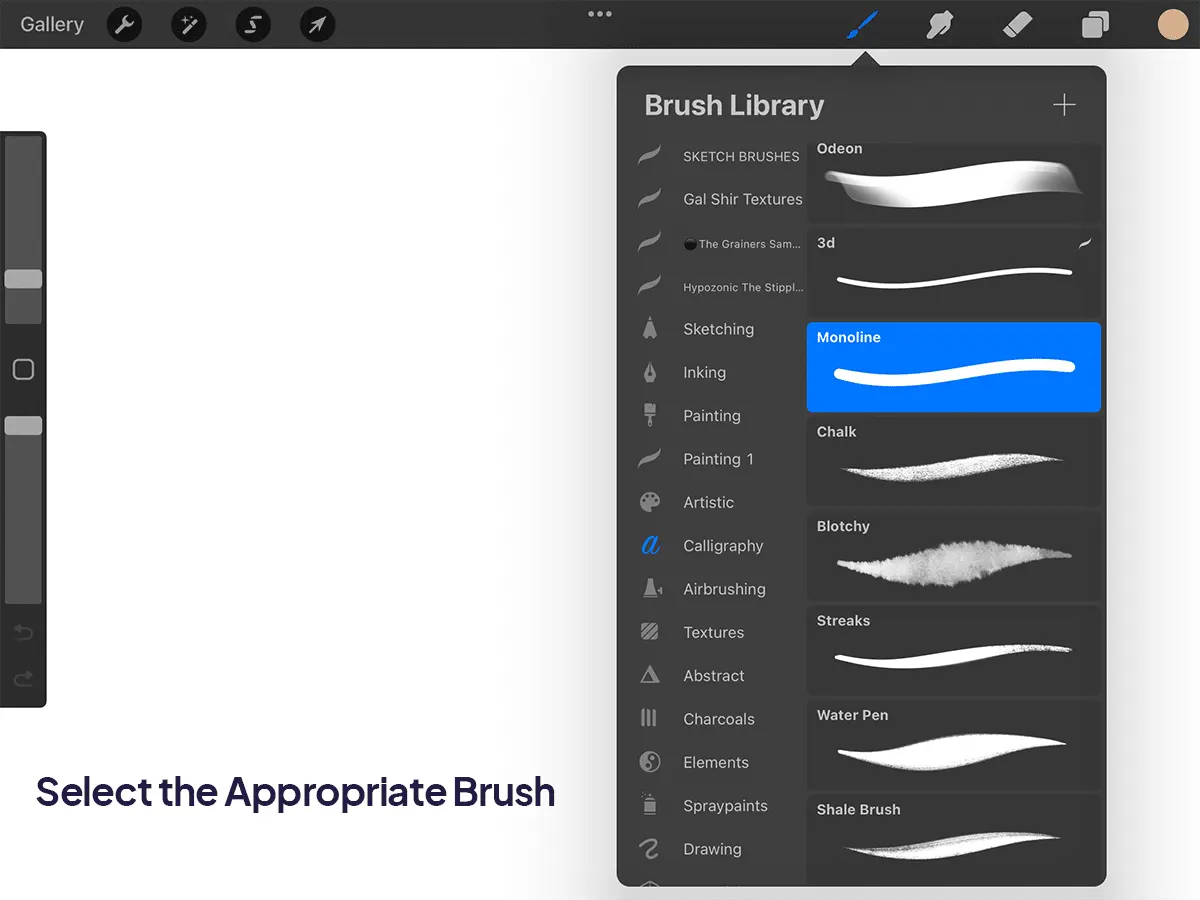
To begin using the Liquify tool, first ensure you have selected the specific layer you wish to modify in the Layers panel. Navigate to the top menu bar and tap the Adjustments icon, which is represented by a magic wand symbol. From the dropdown menu that appears, select the Liquify option located near the bottom of the list.
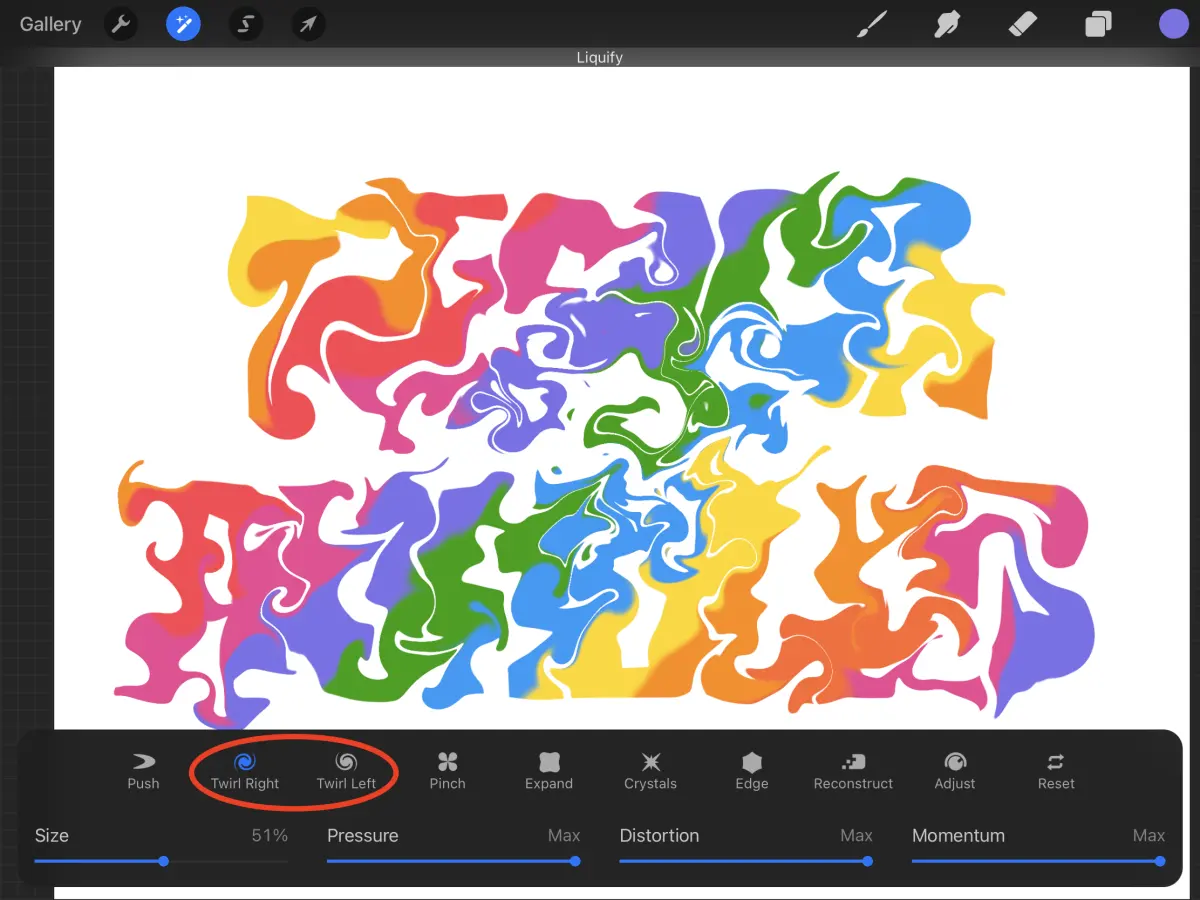
Once activated, a new interface will appear at the bottom of your screen. This interface contains various brush modes, such as Push, Twirl, Pinch, Expand, and Crystalize, alongside sliders for size, pressure, momentum, and distortion. You can toggle between these modes at any time while the tool is active. To finalize your adjustments, simply tap the Adjustments icon again or select a different tool from the main menu to commit the changes to your current layer.
How to use different liquify brush modes
Each brush mode serves a unique purpose in manipulating your digital artwork. The Push tool is the most versatile, acting like a finger smearing wet paint, while the Twirl tool creates a vortex effect by rotating pixels around the center of your brush. Pinch and Expand are essential for resizing specific elements, such as making eyes appear larger or narrowing the shape of a face.
- Push: Moves pixels in the direction of your stroke.
- Twirl (Left/Right): Rotates pixels around the center of the brush.
- Pinch: Pulls surrounding pixels toward the center of the brush.
- Expand: Pushes pixels away from the center of the brush.
- Crystalize: Creates a jagged, geometric distortion effect.
- Edge: Distorts pixels along the path of your stroke.
Experimenting with these modes allows for complex transformations. For instance, combining a small brush size with the Pinch tool is highly effective for thinning out lines or refining silhouettes.
How to adjust liquify settings for better control
The sliders located at the bottom of the Liquify interface are critical for achieving professional results. The Size slider controls the diameter of your brush, while Pressure determines how strongly the tool affects the pixels. Momentum is a unique setting that keeps the distortion moving even after you lift your stylus, which is useful for creating smooth, flowing curves.
If you find your adjustments are too aggressive, lower the Pressure slider to gain more precision. If you make a mistake, you can use the Reset button to revert the layer to its original state before you entered the Liquify tool. Alternatively, you can use the Reconstruction brush mode to manually paint back the original pixels in specific areas, allowing for surgical corrections without undoing your entire session.
Common mistakes when using liquify
One frequent error is applying Liquify to a layer that contains multiple elements that should remain separate. Because Liquify permanently alters the pixels on the active layer, it is best practice to duplicate your layer before starting. This allows you to preserve your original work and toggle between the modified and original versions to check your progress.
Another common mistake is working at a low zoom level. When you are zoomed out, it is difficult to see the subtle pixel stretching that occurs, which can lead to unwanted artifacts or jagged edges. Always zoom in to at least 100% when performing fine adjustments to ensure that the quality of your lines remains intact. Finally, avoid over-using the tool on the same area repeatedly, as this can cause the image to become blurry or pixelated due to the repeated resampling of the data.
Best practices for professional results
Professional digital artists often use the Liquify tool to correct anatomical proportions or refine the composition of a drawing after the initial sketch is complete. To maintain high quality, work slowly and use short, deliberate strokes rather than long, sweeping motions. This provides better control over the distortion and prevents the image from looking warped or unnatural.
- Always perform a non-destructive edit by duplicating your layer first.
- Use the Reconstruction brush to fix small, localized errors.
- Keep the Pressure setting low for subtle, natural-looking adjustments.
- Use the Reset button if the distortion becomes too chaotic.
- Toggle the visibility of the original layer to compare your changes.
By following these practices, you can use the Liquify tool as a powerful corrective instrument rather than a destructive one. Mastering the balance between the tool's intensity and your own manual input will significantly improve your workflow efficiency and the overall polish of your final digital illustrations.
Key facts
- The Liquify tool is located within the Adjustments menu, represented by a magic wand icon in the top-left corner of the interface.
- It features eight distinct modes: Push, Twirl (Left/Right), Pinch, Expand, Crystals, Edge, and Reconstruction.
- The "Pressure" slider controls how much force is applied to the pixels, while "Size" determines the diameter of the brush.
- You can use the "Reconstruction" brush to selectively undo changes in specific areas without resetting the entire layer.
- Applying Liquify directly to a layer is destructive, so it is best practice to duplicate your layer before starting.
- You can adjust the "Momentum" setting to add a trailing effect to your strokes, which helps in creating smoother, more fluid distortions.
The bottom line
The Liquify tool is a powerful feature in Procreate for warping and manipulating digital art. By selecting the tool from the Adjustments menu and choosing the appropriate mode, you can push, pinch, or twirl your artwork to achieve creative effects. Always remember to duplicate your layer before applying these changes to preserve your original work, ensuring you maintain full control over your creative process throughout.
People also ask
Can I use Liquify on multiple layers at once?
No, the Liquify tool only affects the currently selected layer. To distort multiple layers, you must merge them first or apply the effect to each layer individually.
Why does my image look pixelated after using Liquify?
Excessive pushing or stretching of pixels can lead to quality loss because the tool interpolates existing data. Working on a high-resolution canvas minimizes this visible degradation.
How do I reset my changes if I make a mistake?
You can tap the "Reset" button at the bottom of the screen to revert all changes made during the current session. Alternatively, use a two-finger tap to undo individual strokes.
What is the difference between Pinch and Expand?
Pinch pulls surrounding pixels toward the center of the brush, creating a shrinking effect. Expand pushes pixels away from the center, making the area appear larger or inflated.
Does Liquify work with the Apple Pencil?
Yes, the tool is pressure-sensitive, meaning the intensity of the distortion changes based on how hard you press. This allows for nuanced control over the warping process.
Can I use Liquify on text or shape layers?
Yes, but Procreate will prompt you to rasterize the layer first. Rasterizing converts the vector data into pixels, making it permanently editable as an image.
This answer was created with the help of AI research tools and reference sources. Spotted an error? Let us know — we correct mistakes quickly. See our editorial policy.