How do you use alpha lock in Procreate?
Short answer
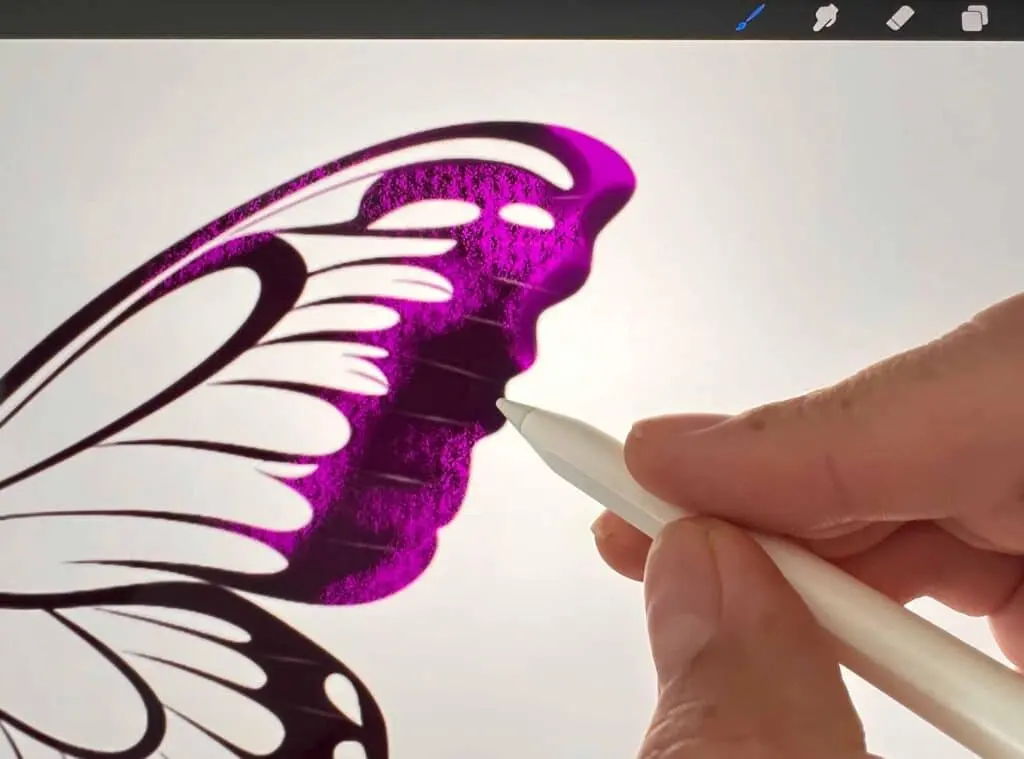
Alpha Lock restricts painting to the existing pixels on a specific layer, making it ideal for shading, texturing, or recoloring objects without affecting the background. To activate it, open your Layers panel, tap the layer thumbnail, and toggle the Alpha Lock switch. A checkerboard pattern will appear on the layer’s transparent areas.
On this page
How to activate Alpha Lock in Procreate
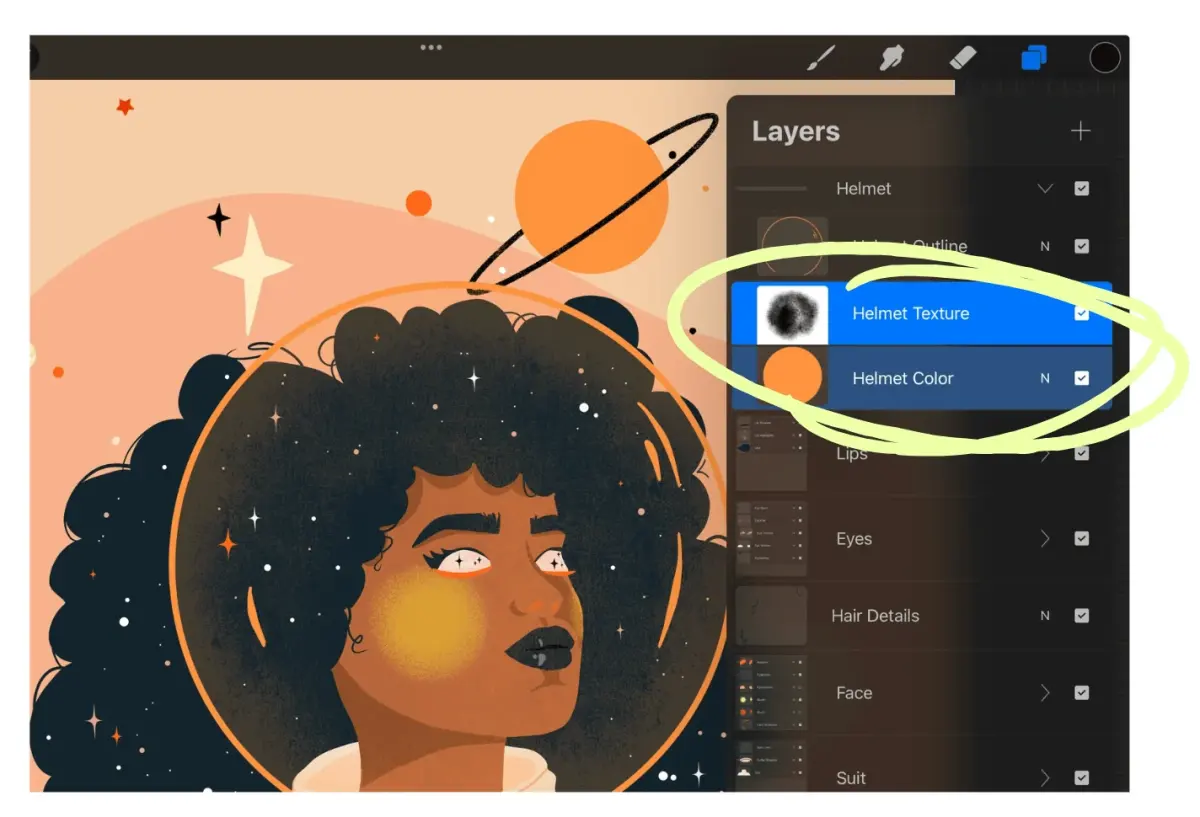
To enable Alpha Lock, first ensure you have drawn your base shape on a dedicated layer. Open the Layers panel by tapping the two overlapping squares icon in the top right corner of the interface. Tap the thumbnail of the layer you wish to lock to reveal the Layer Options menu.
Within this menu, locate the Alpha Lock option and tap it. You will notice that the transparent background of your layer thumbnail changes to a gray and white checkerboard pattern. This visual indicator confirms that the feature is active. Any further strokes you make with your brush will now be confined strictly to the opaque pixels already present on that layer, leaving the transparent space untouched.
Why use Alpha Lock for digital art
Alpha Lock is an essential tool for artists who want to add depth and texture to their work efficiently. By isolating the pixels, you can add highlights, shadows, or color variations to an object without needing to create complex clipping masks or worrying about coloring outside the lines. It is particularly useful for adding gradients or metallic sheens to flat shapes.
This feature is frequently used for the following tasks:
- Adding subtle shading to character designs.
- Applying textures like noise or grain to solid shapes.
- Changing the color of line art or specific elements.
- Creating glowing effects by painting with a soft airbrush.
Because the tool prevents you from painting on transparent areas, it provides a safety net that allows for faster, more confident brushwork during the rendering phase of your project.
How to use Alpha Lock with gestures
Procreate offers a faster way to toggle Alpha Lock without opening the Layer Options menu. You can use a two-finger swipe to the right on any layer in the Layers panel to instantly enable or disable the feature. This gesture is a significant time-saver when you are working on a multi-layered illustration and need to toggle settings repeatedly.
When you use the two-finger swipe gesture, keep an eye on the layer thumbnail to ensure the checkerboard pattern appears. If you accidentally swipe too slowly or use only one finger, you might trigger other layer functions like Alpha Lock’s counterpart, Alpha Masking. Mastering this gesture allows you to maintain your creative flow, keeping your focus on the canvas rather than navigating through menus.
Common mistakes when using Alpha Lock
One frequent mistake is forgetting that Alpha Lock is enabled, which leads to confusion when you try to add new elements to a layer and nothing appears. If you attempt to draw on a new part of the canvas and see no pigment, check your layer thumbnail for the checkerboard pattern. If it is present, you are restricted to the existing pixels and cannot expand the shape.
Another common error involves applying Alpha Lock to a layer that contains multiple distinct objects. Because the lock affects every pixel on that layer, you cannot paint on one object without potentially affecting another. To avoid this, follow these best practices:
- Keep separate objects on their own individual layers.
- Use Alpha Lock only after your base silhouette is complete.
- If you need to edit multiple objects independently, use Clipping Masks instead of Alpha Lock.
- Always double-check your active layer before applying strokes to avoid ruining previous work.
Best alternatives to Alpha Lock
While Alpha Lock is powerful, it is a destructive process, meaning the original pixels are permanently altered as you paint over them. If you prefer a non-destructive workflow, consider using Clipping Masks. A Clipping Mask sits above your base layer and uses the base layer’s transparency as a boundary, allowing you to paint on a separate layer while still keeping your original artwork untouched beneath it.
Clipping Masks offer more flexibility because you can adjust, delete, or change the blending mode of your additions without affecting the base layer. If you are working on a complex piece where you might want to revert changes later, Clipping Masks are the superior choice. However, for quick, simple tasks like recoloring a single shape or adding a quick texture, Alpha Lock remains the fastest and most intuitive method available in the software.
Key facts
- Alpha Lock restricts all new paint strokes to the existing pixels on a specific layer.
- You activate Alpha Lock by swiping two fingers to the right on a layer in the Layers panel.
- A checkerboard pattern appears in the layer thumbnail to indicate that Alpha Lock is enabled.
- It is ideal for adding texture, shading, or highlights to an object without painting outside its edges.
- You can toggle Alpha Lock off by repeating the two-finger swipe gesture on the same layer.
- Alpha Lock is non-destructive, meaning you can paint freely without permanently altering the base shape.
The bottom line
Alpha Lock is an essential tool for digital artists using Procreate to maintain clean edges while adding depth or color variations. By constraining your brush strokes to existing pixels, you can add intricate details, gradients, or textures without the risk of painting outside your subject. Mastering this feature streamlines your workflow, allowing for efficient, non-destructive editing that keeps your artwork sharp and professional throughout the creative process.
People also ask
How does Alpha Lock differ from a Clipping Mask?
Alpha Lock applies changes directly to the existing layer, while a Clipping Mask uses a separate layer above it. Clipping Masks are more flexible because you can adjust the mask content without affecting the original artwork.
Can I use Alpha Lock on a layer that is completely empty?
No, Alpha Lock requires existing pixels to function. If you try to paint on an empty layer with Alpha Lock enabled, no marks will appear because there is no base content to constrain the paint.
Why can't I see the checkerboard pattern on my layer?
Ensure you have selected the correct layer in the Layers panel before swiping. If the layer is completely transparent, the checkerboard might be difficult to see, or the gesture may not have registered.
Does Alpha Lock work with the Eraser tool?
Yes, the Eraser tool respects Alpha Lock boundaries. It will only remove paint from the pixels already present on that layer, effectively allowing you to carve details into your existing shapes.
Can I use Alpha Lock on multiple layers simultaneously?
Procreate only allows you to enable Alpha Lock on one active layer at a time. You must select each layer individually to apply or disable the feature.
Will Alpha Lock affect the opacity of the layer?
Alpha Lock preserves the transparency of the original pixels. You can change the color or texture of the pixels, but you cannot paint into the transparent areas surrounding your artwork.
This answer was created with the help of AI research tools and reference sources. Spotted an error? Let us know — we correct mistakes quickly. See our editorial policy.