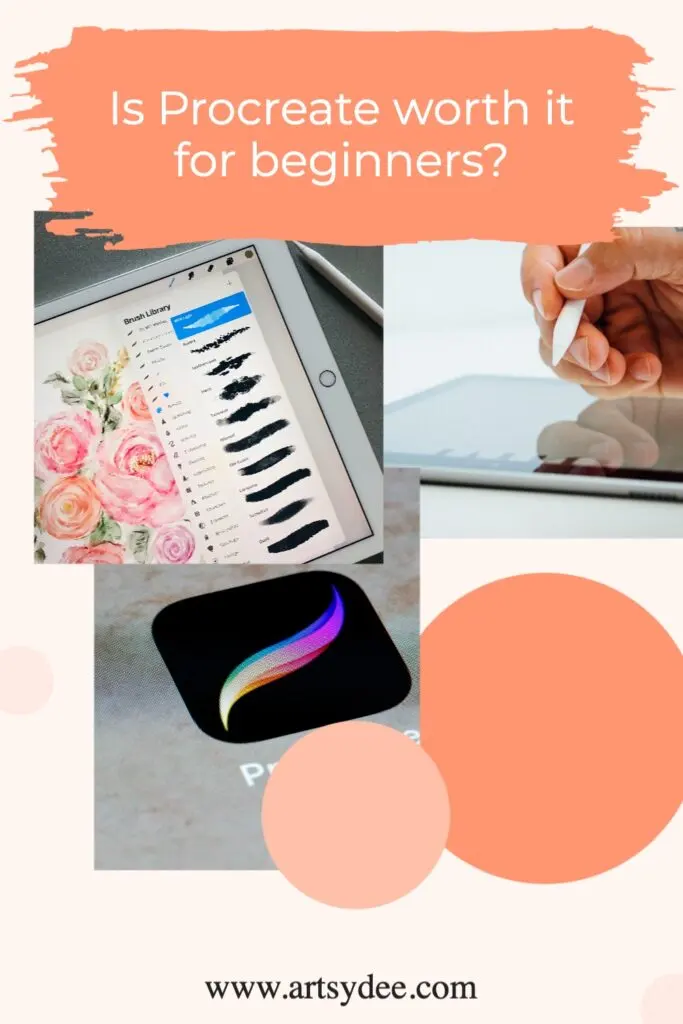
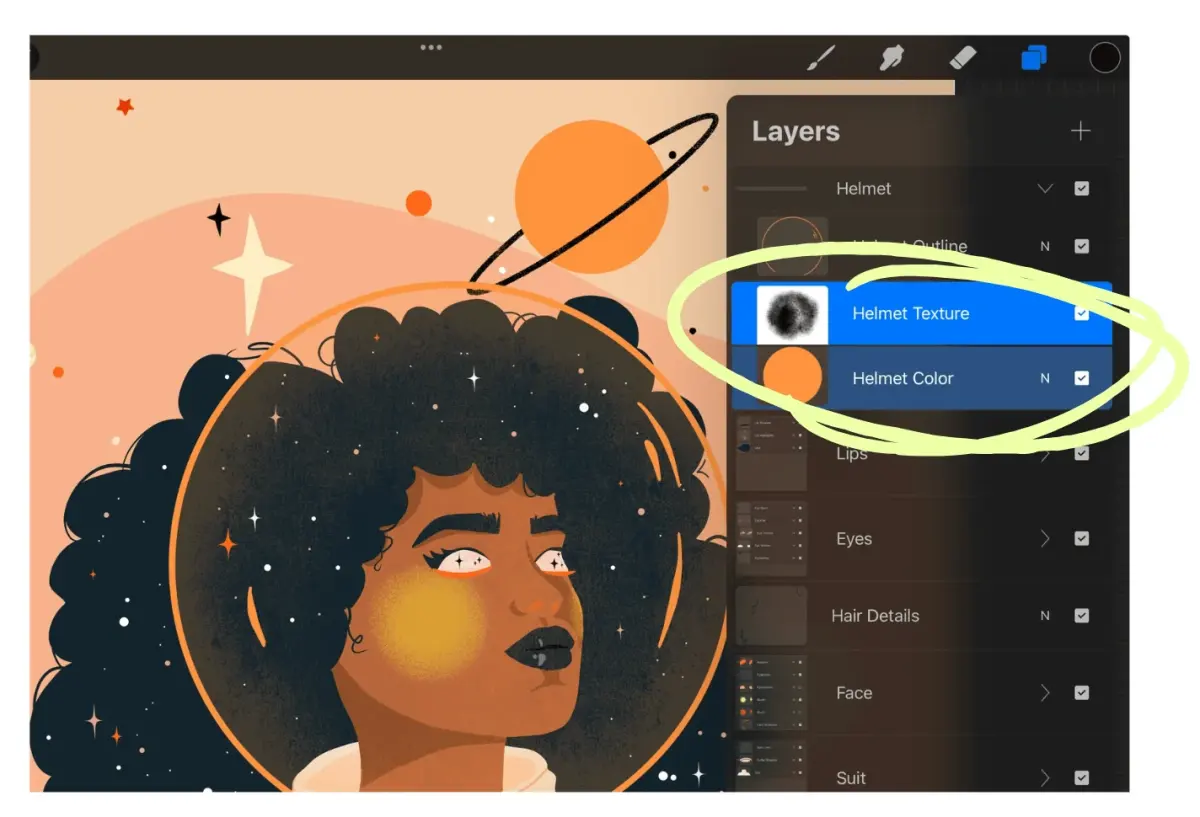
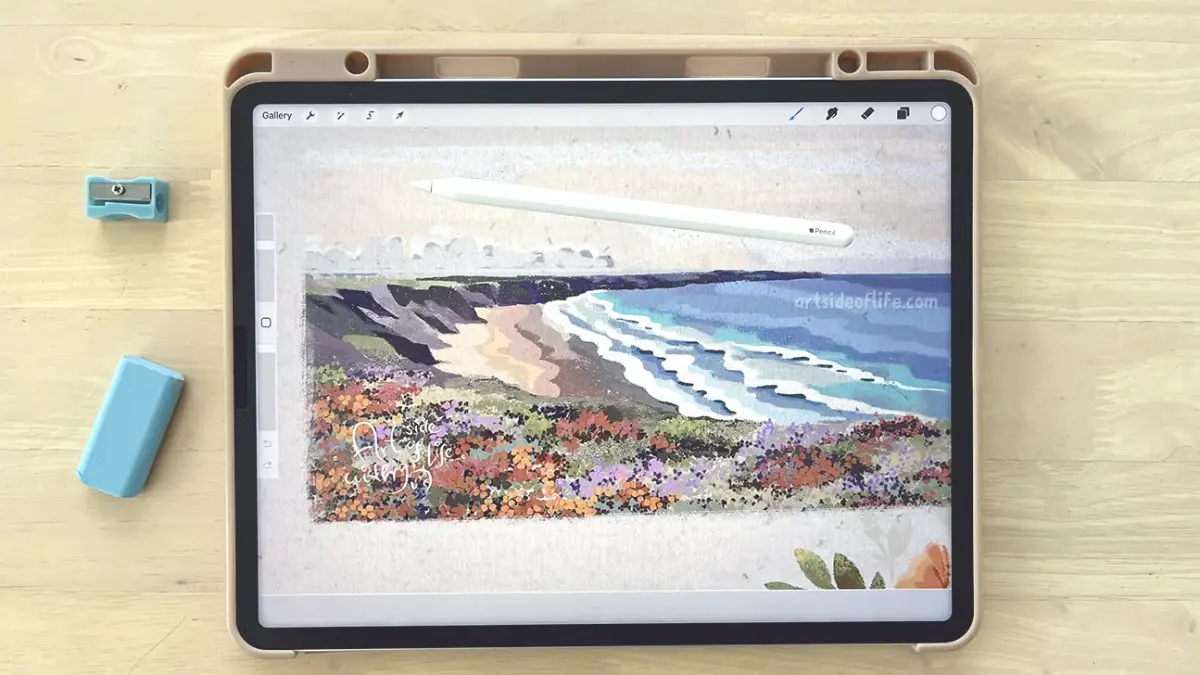
How do you animate in Procreate?
Short answer
Animating in Procreate involves using the Animation Assist feature to turn individual layers into frames. By toggling this tool on, you can sequence drawings, control playback speed, and export your work as an animated GIF, MP4, or HEVC file. It is a frame-by-frame workflow designed for digital illustrators and hobbyists.
On this page
How to set up animation in Procreate
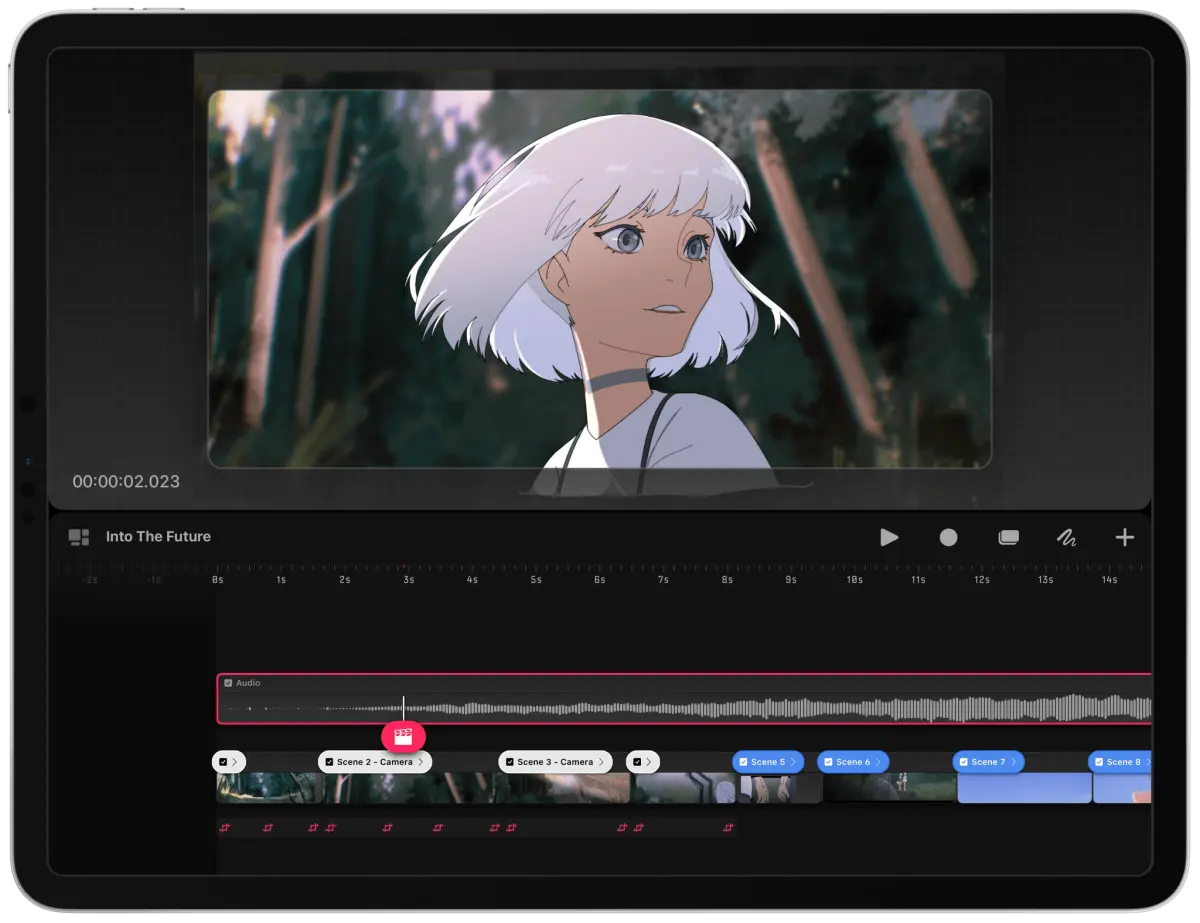
To begin animating, you must first enable the Animation Assist interface. Open your canvas, tap the Actions menu (the wrench icon), select the Canvas tab, and toggle on Animation Assist. This action reveals a timeline at the bottom of your screen, which displays your current layers as individual frames. Each layer in your layer panel now corresponds to a specific frame in the animation sequence.
When you add a new layer, it automatically appears as a new frame in the timeline. You can reorder frames by dragging them within the timeline view, which changes the sequence of your animation. To create a smooth motion, keep your subject on a consistent background layer by tapping a frame and selecting "Background" in the frame options. This locks that specific layer to appear behind every other frame in your project.
How to use onion skinning for movement
Onion skinning is a critical feature that allows you to see faint, ghosted versions of the frames preceding and following your current one. This visual guide helps you maintain consistency in your character’s proportions and movement paths. To adjust these settings, tap the Settings button within the Animation Assist toolbar. Here, you can change the "Onion skin frames" count and adjust the "Onion skin opacity" to suit your preference.
Using this feature effectively requires a methodical approach to drawing. Follow these steps to refine your motion:
- Draw your starting pose on the first frame.
- Enable onion skinning to see the previous frame's position.
- Draw the next stage of movement slightly offset from the ghosted image.
- Continue this process for each frame to create a fluid, natural progression.
High opacity settings for onion skins can become cluttered, so keep them low to focus on the active frame.
How to control playback and timing
The speed of your animation is determined by the frames per second (FPS) setting, which you can modify by tapping the Settings button in the Animation Assist bar. A lower FPS, such as 6 or 8, is common for hand-drawn styles, while 12 or 24 FPS provides a smoother, more professional look. You can also tap individual frames in the timeline to adjust their "Hold duration," which forces a frame to stay on screen for multiple cycles.
To preview your work, simply tap the Play button on the left side of the timeline. You can also use the "Loop," "Ping-pong," or "One-shot" playback modes to change how the animation cycles. Loop repeats the sequence from the beginning, Ping-pong plays forward then backward, and One-shot plays the sequence once. Experimenting with these settings is essential for achieving the desired rhythm and energy in your final animated piece.
Common mistakes when animating in Procreate
Many beginners struggle because they attempt to animate too many complex elements simultaneously. A frequent error is failing to group frames, which makes the timeline difficult to navigate as the project grows. Another common mistake is ignoring the "Foreground" setting, which allows you to keep static elements like text or decorative borders on top of the animation. Always organize your layers properly before starting the animation process to avoid confusion.
Avoid these pitfalls to improve your workflow:
- Drawing every frame on a single layer, which prevents individual frame control.
- Setting the FPS too high, which requires an overwhelming number of drawings for a short clip.
- Neglecting to save your work frequently, as animation files can become quite large and memory-intensive.
- Forgetting to check the "Onion skin color" settings, which can make it difficult to distinguish between previous and future frames if they blend into your background colors.
How to export your animation
Once you are satisfied with your animation, you must export it in a format that preserves the movement. Tap the Actions menu, select Share, and choose from the available animation formats: Animated GIF, Animated PNG, or Animated MP4. For high-quality social media sharing, MP4 is generally the best choice as it supports high frame rates and standard video compression. GIF is better for short, looping graphics but often results in larger file sizes and lower color quality.
When exporting, Procreate provides additional options to optimize your file. For GIFs, you can adjust the dither and color palette to reduce the file size. For MP4s, you can choose the quality level to balance visual fidelity with storage requirements. Always double-check your frame rate and loop settings before finalizing the export, as these cannot be changed once the video file is generated. By following these steps, you will successfully produce a polished digital animation ready for any platform.
Key facts
- Procreate’s Animation Assist feature turns layers into individual frames of an animation.
- You can access this tool by tapping the Actions menu, selecting Canvas, and toggling on Animation Assist.
- The timeline appears at the bottom of the screen, allowing you to reorder, duplicate, or delete frames easily.
- Onion Skinning is a vital setting that shows ghosted versions of previous and subsequent frames to help you track movement.
- You can export your final animation as an animated GIF, PNG, or MP4 file through the Share menu.
- Frame rate is measured in frames per second (FPS); 12 FPS is standard for smooth, hand-drawn animation.
The bottom line
Animating in Procreate is an accessible process that relies on the Animation Assist tool to manage layers as sequential frames. By mastering the timeline, utilizing onion skinning for fluid motion, and adjusting your frame rate, you can create professional-grade loops and shorts. Start with simple movements to understand the interface, then gradually increase complexity as you become comfortable with the software's powerful, intuitive creative workflow.
People also ask
How do I change the speed of my animation?
Tap the Settings button within the Animation Assist toolbar to adjust the frames per second slider. Lowering the number slows the action, while increasing it makes the movement faster.
Can I import a video into Procreate to animate over it?
Yes, you can import video files by selecting Add and then Insert a file or Insert a photo from the Actions menu. Procreate will automatically convert the video frames into individual layers for you to trace or edit.
What is the maximum number of frames I can have?
The number of frames is limited by your device’s RAM and the canvas dimensions. Larger canvases with higher resolutions will significantly reduce the total number of frames possible.
How do I make a frame hold for longer than others?
You can increase the Hold Duration for a specific frame by tapping it in the timeline and adjusting the slider. This keeps that specific image on screen for multiple frame intervals without needing to duplicate the layer.
Why does my animation look choppy?
Choppiness often results from a low frame rate or inconsistent spacing between drawings. Ensure your FPS is set to at least 12 and maintain steady, incremental changes in your subject's position between each frame.
Can I use different blending modes for my animation frames?
Yes, you can apply blending modes to individual layers within the animation timeline. However, note that these settings apply to the specific layer and will persist throughout the entire playback of the animation.
This answer was created with the help of AI research tools and reference sources. Spotted an error? Let us know — we correct mistakes quickly. See our editorial policy.