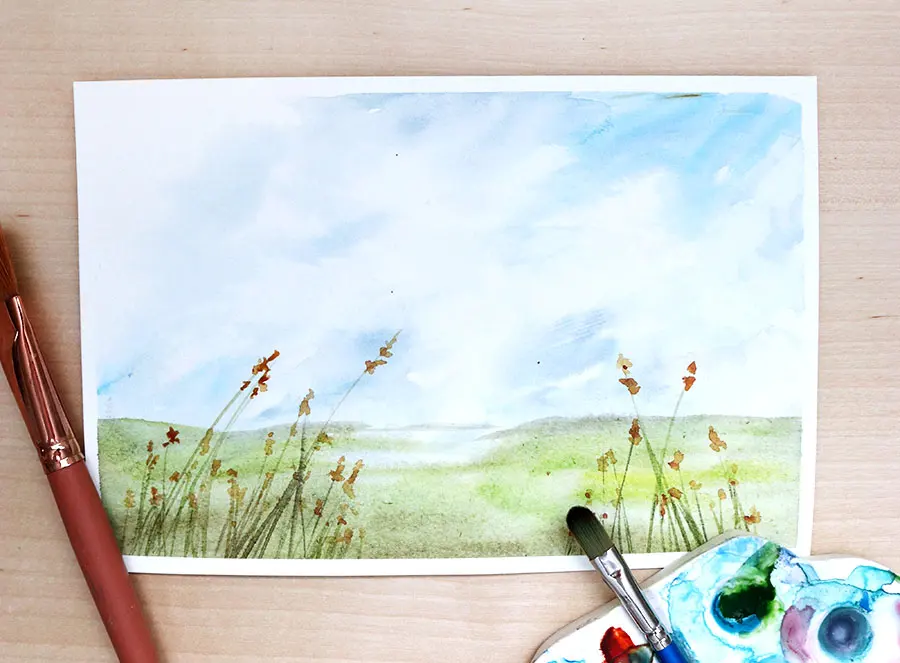
How do you paint snow with watercolor?
Short answer
Painting snow in watercolor relies on preserving the white of the paper rather than applying white paint. By using masking fluid to protect highlights and layering cool-toned shadows with diluted cerulean or ultramarine blue, artists create the illusion of depth and texture, allowing the natural paper grain to represent glistening, cold snow.
On this page
How to prepare paper for painting snow
The most critical aspect of painting snow is maintaining the integrity of the white paper surface. Since watercolor is a transparent medium, you cannot paint white over dark colors; instead, you must plan your highlights before you begin. High-quality, cold-press watercolor paper with a weight of at least 300 grams per square meter (140 pounds) is recommended because it handles multiple washes without buckling.
Before applying any pigment, use masking fluid to preserve the brightest highlights, such as the tops of snowdrifts or sunlight hitting a fence post. Apply the fluid with an old brush or a ruling pen, as it can ruin high-quality sable brushes. Once the fluid is dry, you can confidently wash over the entire area without losing those essential white spaces.
- Secure your paper to a board using painter's tape to prevent warping.
- Sketch your composition lightly with a hard pencil, such as a 2H, to avoid indenting the paper.
- Apply masking fluid to all areas that must remain pure white.
- Allow the masking fluid to dry completely for at least 20 minutes before starting your first wash.
Best colors for painting snow shadows
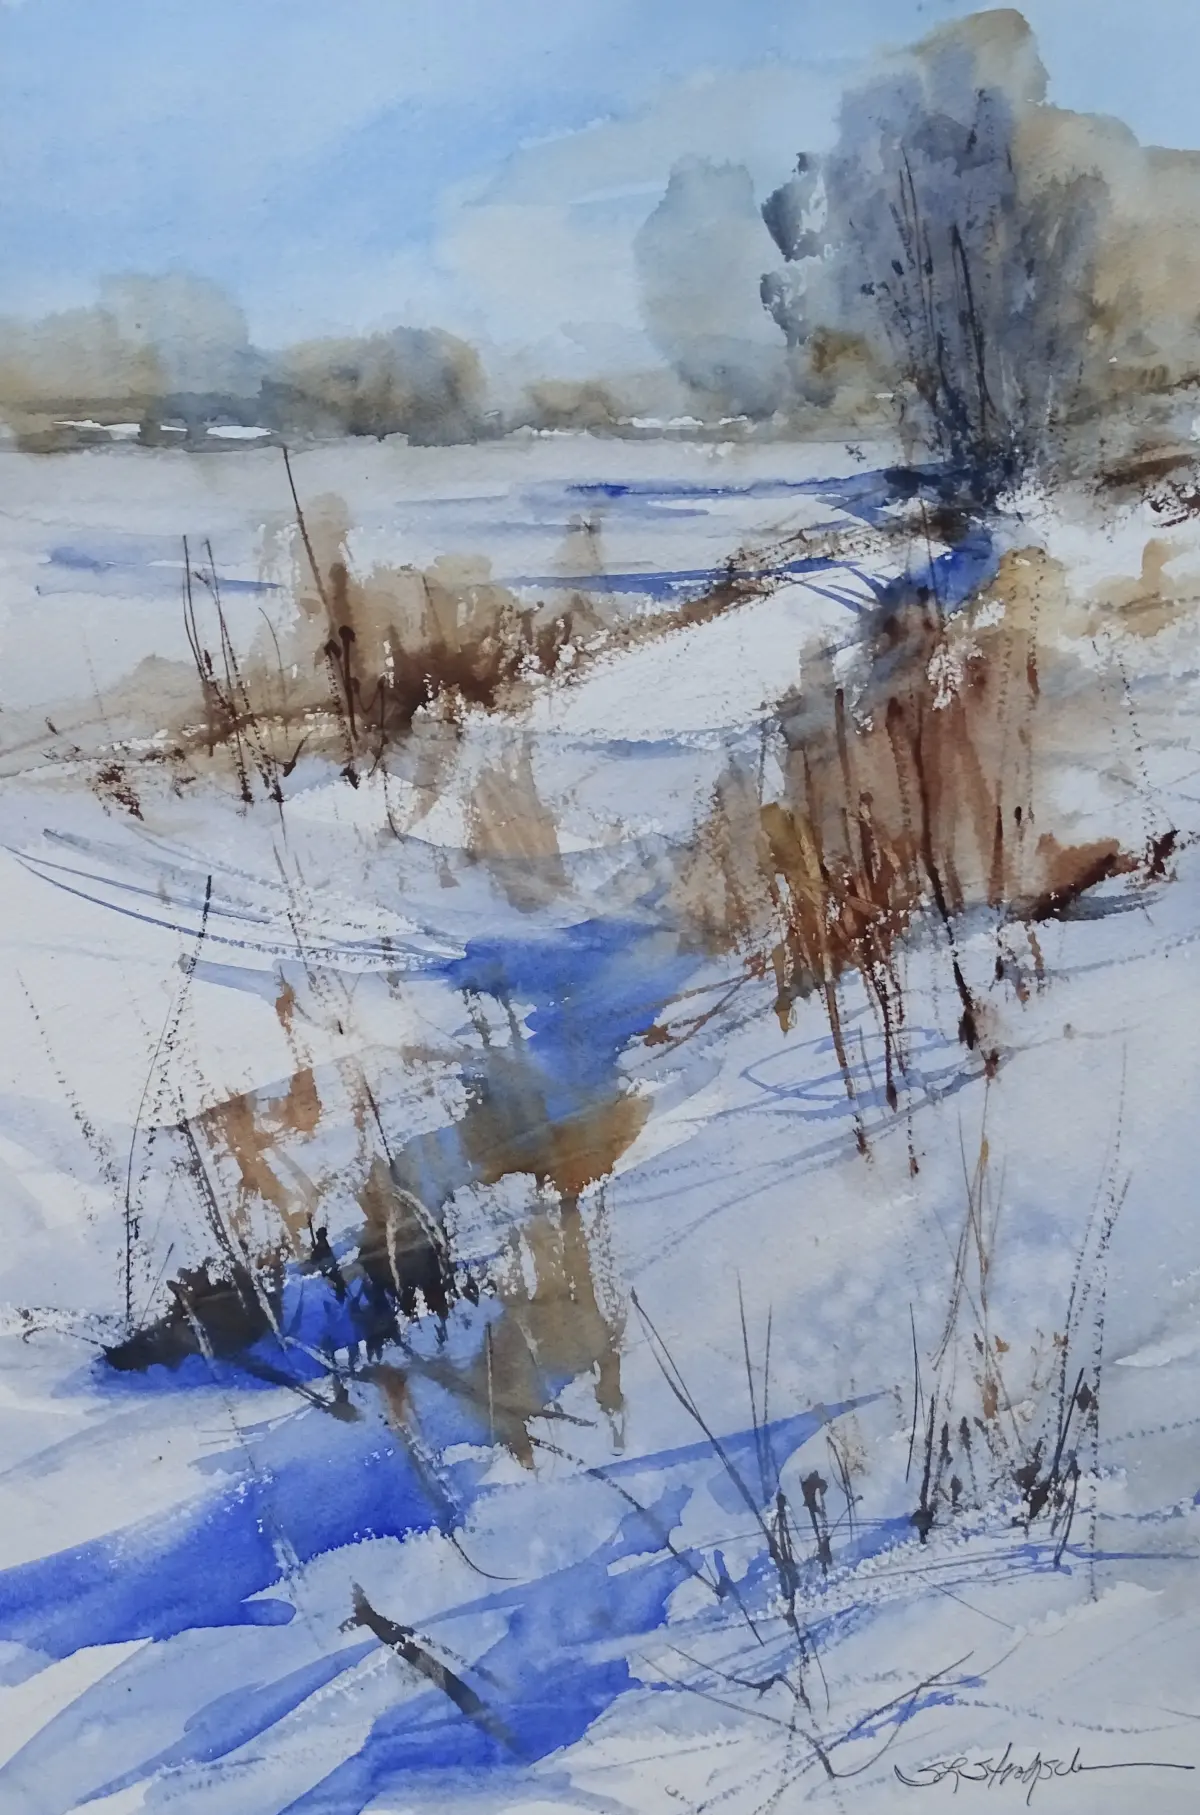
Snow is rarely pure white; it reflects the colors of the sky and the surrounding environment. To achieve a realistic look, mix cool, transparent blues such as cerulean, cobalt, or ultramarine. For shadows cast by trees or buildings, introduce subtle hints of violet or burnt umber to create a more complex, neutral gray-blue. Never use black paint, as it makes snow look dirty rather than cold.
Mixing your own shadow colors on the palette allows for better control over the temperature. A warm shadow might lean toward a touch of alizarin crimson, while a cold shadow leans toward a deep phthalo blue. Always test your mixtures on a scrap piece of paper first, as watercolor dries significantly lighter than it appears when wet. Aim for a consistency similar to skim milk for your initial shadow layers.
- Cerulean Blue: Excellent for bright, sunny sky reflections.
- Cobalt Blue: A neutral middle-ground blue for general shadows.
- Ultramarine Blue: Deep and granulating, perfect for darker, textured shadows.
- Burnt Umber: Use sparingly to neutralize blues and create natural gray tones.
How to create texture in snow
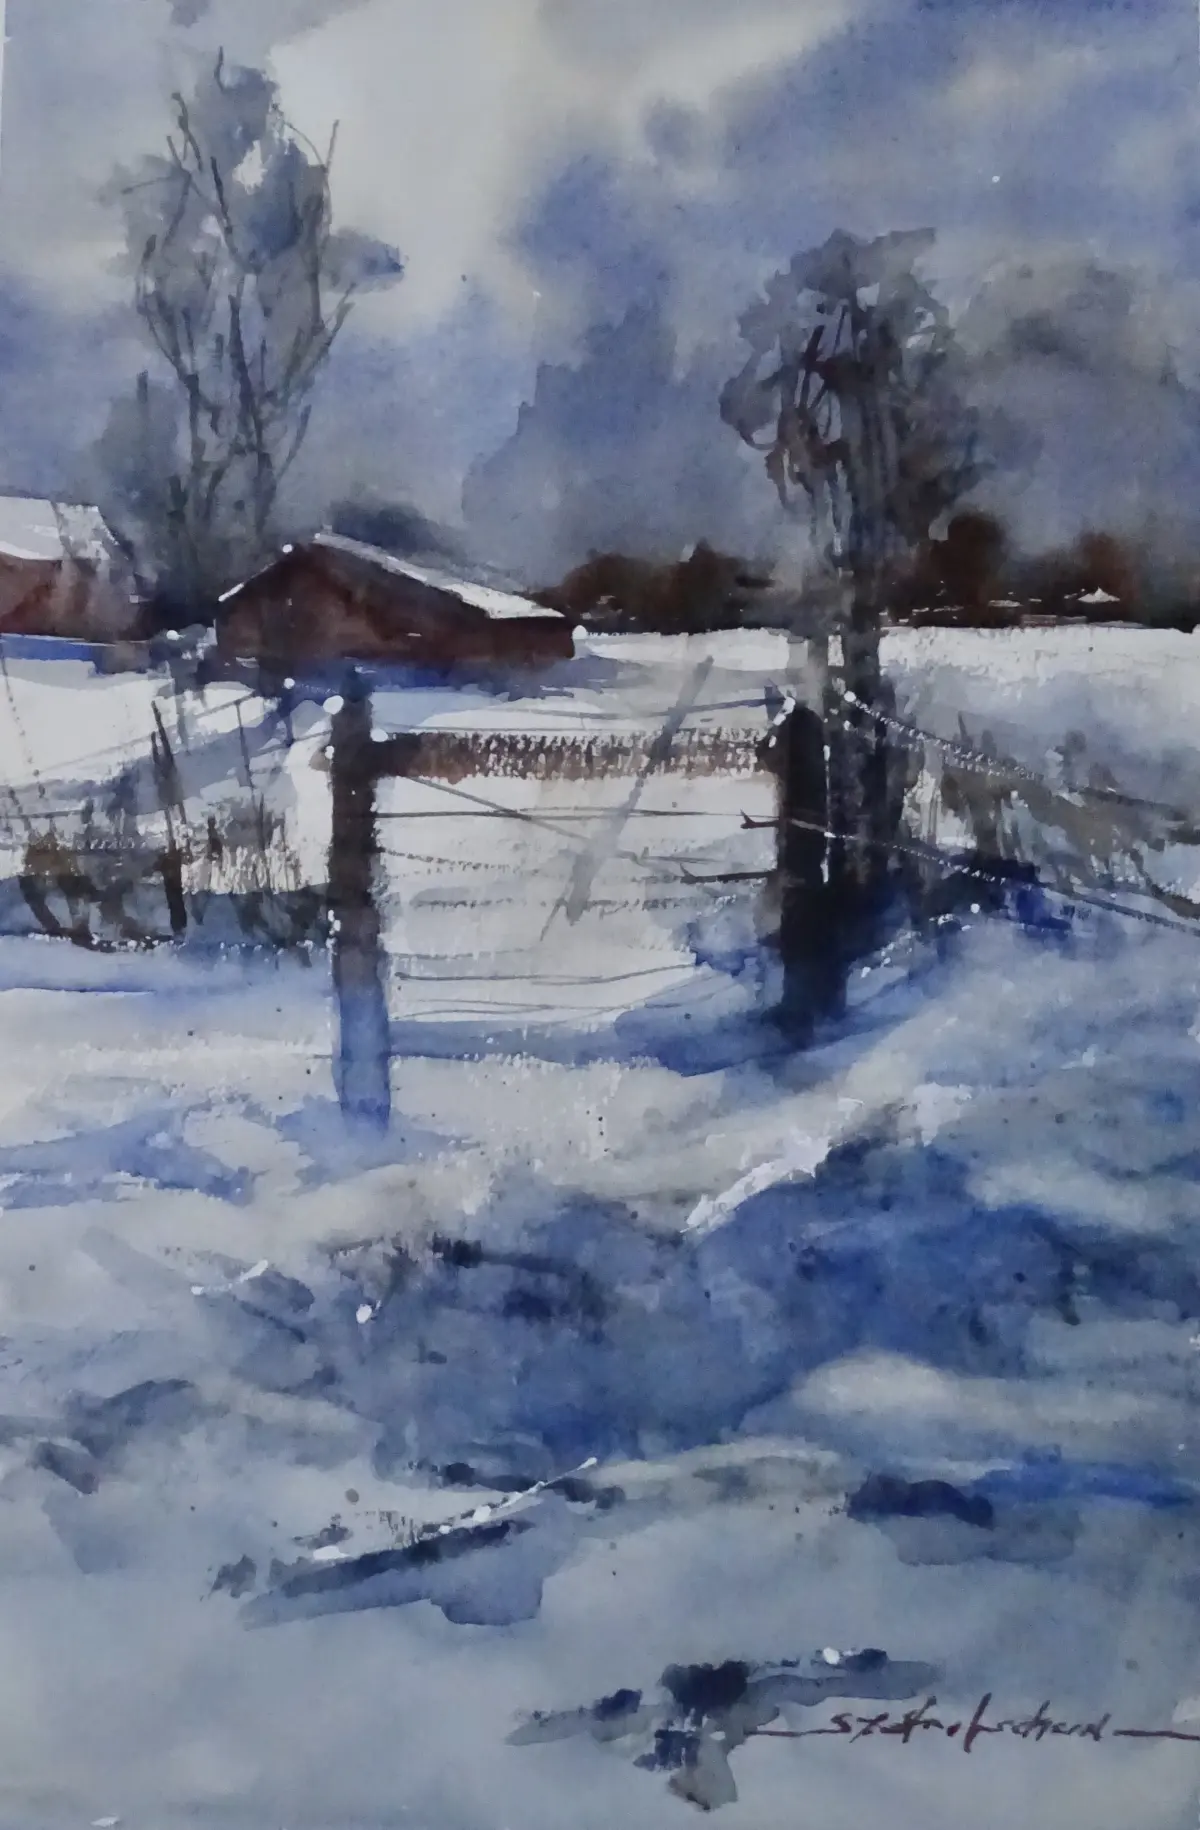
Snow often has a tactile quality, ranging from smooth, wind-swept drifts to rough, icy patches. To capture this, utilize the texture of the paper itself by using a dry-brush technique. Load your brush with a small amount of concentrated pigment and drag it lightly across the surface of the paper, allowing the paint to catch only on the raised "tooth" of the paper. This creates a broken, shimmering effect that mimics the sparkle of frozen crystals.
Another effective method involves salt. While your shadow wash is still damp, sprinkle a small amount of table salt onto the paper. As the salt absorbs the water and pigment, it pushes the color away, creating star-like patterns that resemble the crystalline structure of snow. Once the paint is completely dry, brush away the salt crystals to reveal the textured effect underneath. Experimenting with different amounts of water will yield varying levels of detail and softness.
Common mistakes when painting snow
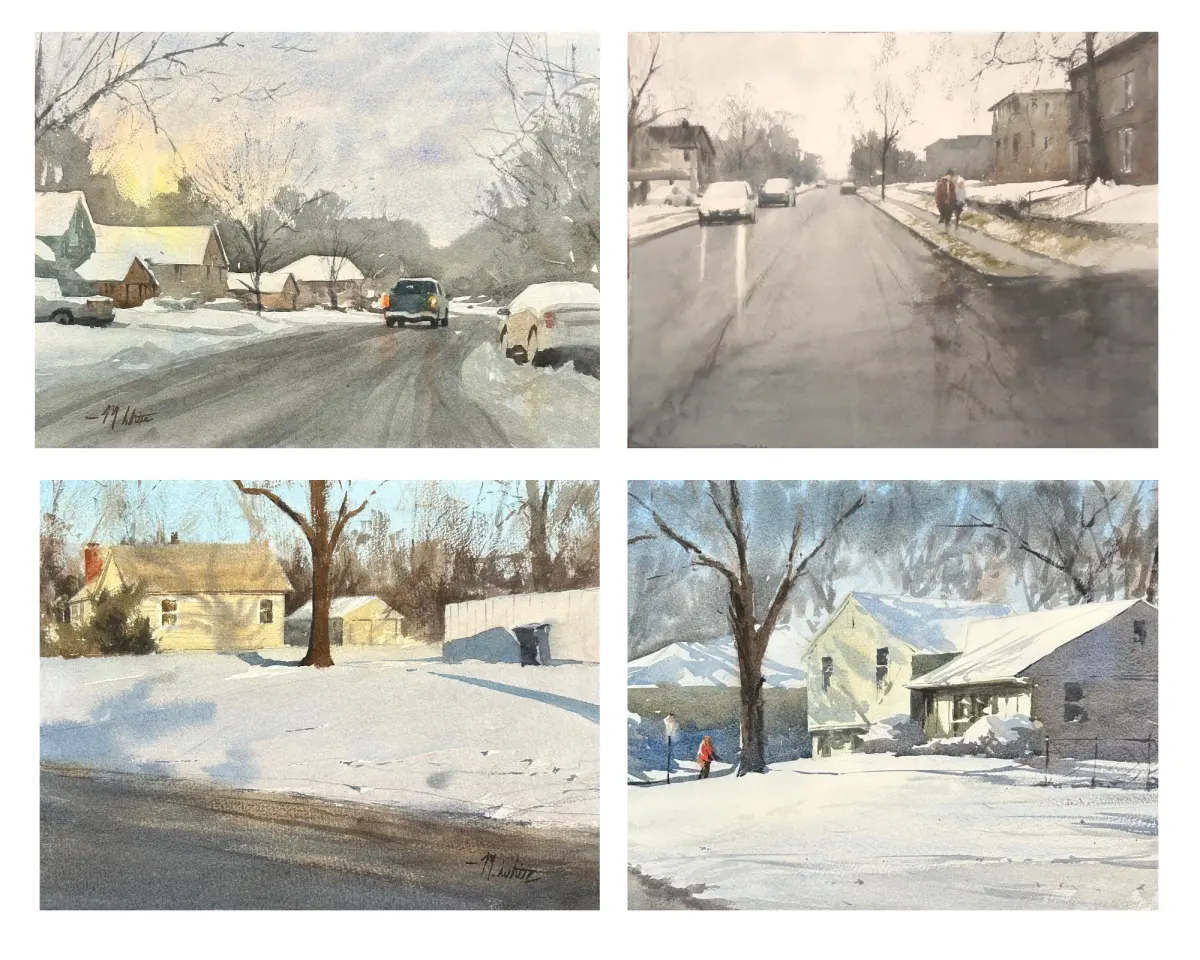
One of the most frequent errors is overworking the painting, which leads to a muddy, dull appearance. Watercolor requires a decisive touch; if you brush over the same area too many times, you disturb the underlying layers and lose the crispness of your edges. Keep your strokes confident and leave the paint alone once it is applied. If you find the snow looks too dark, you have likely used too much pigment in your initial shadow washes.
Another mistake is neglecting the connection between the snow and the objects casting shadows. Shadows on snow should not be isolated patches of blue; they should follow the contours of the ground and connect physically to the object casting them. If a tree trunk is casting a shadow, ensure the shadow starts directly at the base of the tree. Failing to anchor shadows makes the entire scene look like a collage rather than a cohesive, three-dimensional landscape.
How to finish a snow painting
The final stage of a watercolor snow scene involves removing the masking fluid and refining the edges. Once the painting is bone-dry, use a rubber cement pickup or your fingers to gently peel away the masking fluid. This will reveal the crisp, white edges you protected at the start. If these edges look too sharp or artificial, use a clean, damp brush to lightly soften them, blending the white into the surrounding shadows.
Finally, evaluate your contrast levels. Snow scenes often require a few dark accents to make the white areas appear brighter by comparison. Add deep, dark details to tree branches, rocks, or windows to provide a focal point. Ensure these darks are applied only after the surrounding snow washes are fully dry to maintain clean edges. Once you are satisfied with the balance of light and shadow, sign your work and allow it to cure for a few days before framing it under glass.
Key facts
- White paper is your primary pigment, as watercolor relies on the substrate to represent the brightest highlights in a scene.
- Use masking fluid or a wax resist crayon to preserve crisp white shapes before applying washes of color.
- Mix cool grays using ultramarine blue and burnt sienna to create shadows that feel authentic to winter light.
- Apply wet-on-dry techniques for sharp, defined snowdrifts and wet-on-wet for soft, atmospheric backgrounds.
- Avoid using opaque white gouache until the final stages, as it can easily turn a transparent watercolor painting muddy.
- Keep your shadow colors transparent and thin, as snow reflects the colors of the sky and surrounding environment.
The bottom line
Painting snow effectively requires a disciplined approach to preserving the paper's natural whiteness. By utilizing masking techniques and layering transparent, cool-toned shadows, you can capture the reflective quality of winter light. Remember that snow is a reactive surface, mirroring the colors of the sky and surroundings. With careful planning and a light touch, you can create depth and atmosphere without relying on opaque white paint.
People also ask
Should I use pure white paint for snow?
Professional artists rarely use pure white paint, preferring to leave the paper bare. If you must add highlights later, use a small amount of titanium white gouache for opaque accents.
How do I make snow look like it has texture?
Use a dry brush technique with a stiff, synthetic round brush to drag light gray paint across rough-press paper. This creates broken strokes that mimic the uneven, granular surface of packed snow.
Why does my snow look dirty instead of bright?
You are likely using too much pigment or overworking your washes. Keep your shadow mixtures very watery and avoid scrubbing the paper, which can damage the surface fibers.
What colors represent the color of snow?
Snow is rarely white; it is a mirror. Use pale blues, soft violets, or warm pinks depending on whether the scene is set during a clear morning or a golden sunset.
Can I use salt to create snow effects?
Yes, sprinkling table salt onto a damp wash creates a crystalline, star-like pattern. Wait for the paint to lose its shine before applying the salt to ensure the best results.
How do I paint falling snow?
Use a toothbrush to flick small droplets of masking fluid onto the paper before painting. Once the paint is dry, rub off the fluid to reveal perfect, scattered white flakes.
This answer was created with the help of AI research tools and reference sources. Spotted an error? Let us know — we correct mistakes quickly. See our editorial policy.