How do you paint rain in watercolor?
Short answer
Painting rain in watercolor requires capturing the atmosphere through controlled moisture and strategic lifting. By using wet-on-wet techniques for the background, layering cool, desaturated washes, and physically removing pigment to create streaks, you simulate the visual effect of falling water. Success depends on maintaining transparency while building depth through subtle, layered tonal variations.
On this page
How to create rain effects in watercolor
To depict rain, you must focus on the atmospheric perspective of a storm. Start by wetting your paper thoroughly to create a soft, blurred background that mimics the obscured visibility of a downpour. Use a palette dominated by Payne’s Gray, Indigo, and French Ultramarine to establish a cool, somber color scheme. Avoid using pure black, as it can make the painting look muddy rather than misty.
Once the initial wash is applied, you can introduce rain streaks while the paper is still damp. A stiff, synthetic brush or a clean, damp sponge works best for this process. By gently dragging the brush across the surface, you lift small amounts of pigment, creating light, vertical lines that suggest falling droplets. Keep these lines varied in length and angle to ensure the rain looks natural rather than mechanical.
- Prepare your paper with a light wash of cool gray.
- While the surface is damp, use a flat brush to pull pigment downward.
- Allow the paper to dry completely before adding darker, sharper foreground details.
- Use a splatter technique with a toothbrush for fine, distant mist.
Best watercolor techniques for beginners
Beginners should focus on mastering the "wet-on-wet" method before attempting complex rain scenes. This technique involves applying paint to pre-wetted paper, allowing colors to flow and blend naturally without hard edges. This is essential for creating the soft, diffuse quality of a rainy sky or a wet street reflecting light. Practice this on a scrap piece of paper to learn how much water your specific paper weight can handle.
Another useful approach is the "dry brush" technique, which is ideal for adding texture once the main layers are dry. By using a brush with very little water and a thick consistency of paint, you can create broken, scratchy lines. This is particularly effective for depicting rain hitting hard surfaces like pavement or rooftops. The contrast between the soft, wet-background and the crisp, dry-brush details provides the necessary depth for a convincing composition.
- Use 300gsm (140lb) cold-press watercolor paper to prevent buckling.
- Keep a clean paper towel nearby to dab away excess moisture immediately.
- Test your color mixes on a separate sheet to ensure they are not too dark.
- Focus on verticality to emphasize the direction of the rainfall.
Why rain looks different in watercolor
The appearance of rain in art is defined by the interaction between light and moisture. In reality, rain is transparent, meaning it is not a solid object you paint, but rather a disruption of the scene behind it. To capture this, you must paint the objects behind the rain first, then apply the rain as a veil of lighter, desaturated color over the top. This layering creates the illusion of depth and distance.
Atmospheric perspective plays a significant role in how rain is perceived. Objects further away should appear lighter, cooler in tone, and less detailed, while objects in the foreground should be darker and sharper. When painting rain, you are essentially reducing the contrast of the entire scene. By softening the edges of distant buildings or trees, you mimic the way rain obscures distant details, making the viewer feel as though they are looking through a curtain of water.
Common mistakes when painting rain
One frequent error is making the rain streaks too uniform or perfectly vertical. Rain is often affected by wind, so varying the slant of your lines adds a sense of movement and realism to the scene. Additionally, avoid making the rain streaks too dark. If the lines are as dark as the shadows in your painting, they will look like solid bars rather than falling water. Always keep your rain strokes subtle and slightly lighter than the surrounding background.
Another mistake is overworking the paper. Watercolor relies on the freshness of the initial application, and excessive scrubbing can damage the paper fibers and ruin the transparency of the paint. If you find yourself struggling to get the right effect, it is often better to let the painting dry completely and start a new layer rather than trying to fix a wet area. Patience is vital, as rushing through the layers often leads to a loss of clarity and vibrancy.
How to add light to rainy scenes
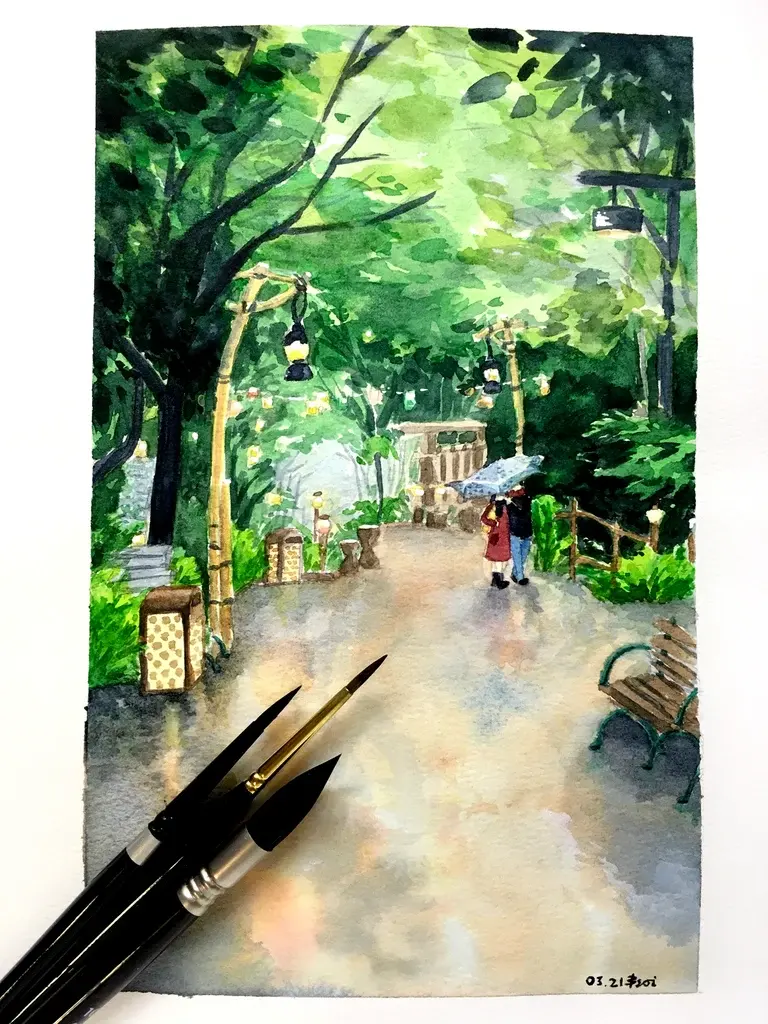
Even in a storm, light plays a crucial role in making the painting feel alive. Look for opportunities to include reflections on wet ground, which act as mirrors for the sky and surrounding buildings. Using a clean, damp brush to lift highlights out of a dark wash can create the effect of light glinting off puddles or wet surfaces. These bright spots provide a necessary focal point that prevents the painting from feeling too gloomy or flat.
Consider leaving small areas of the white paper untouched to represent the brightest highlights or the most intense rainfall. This "negative painting" technique is a hallmark of watercolor and creates a brilliant, luminous quality that opaque paints cannot replicate. By carefully planning where your light sources are, you can create a dramatic contrast between the heavy, dark rain clouds and the bright, reflected light on the ground. This balance is what gives a rainy landscape its emotional weight and visual interest.
Key facts
- Use a masking fluid or a wax resist crayon to preserve white streaks of light before applying wash layers.
- Apply a "wet-on-wet" technique to create soft, blurred backgrounds that mimic the atmosphere of a rainy day.
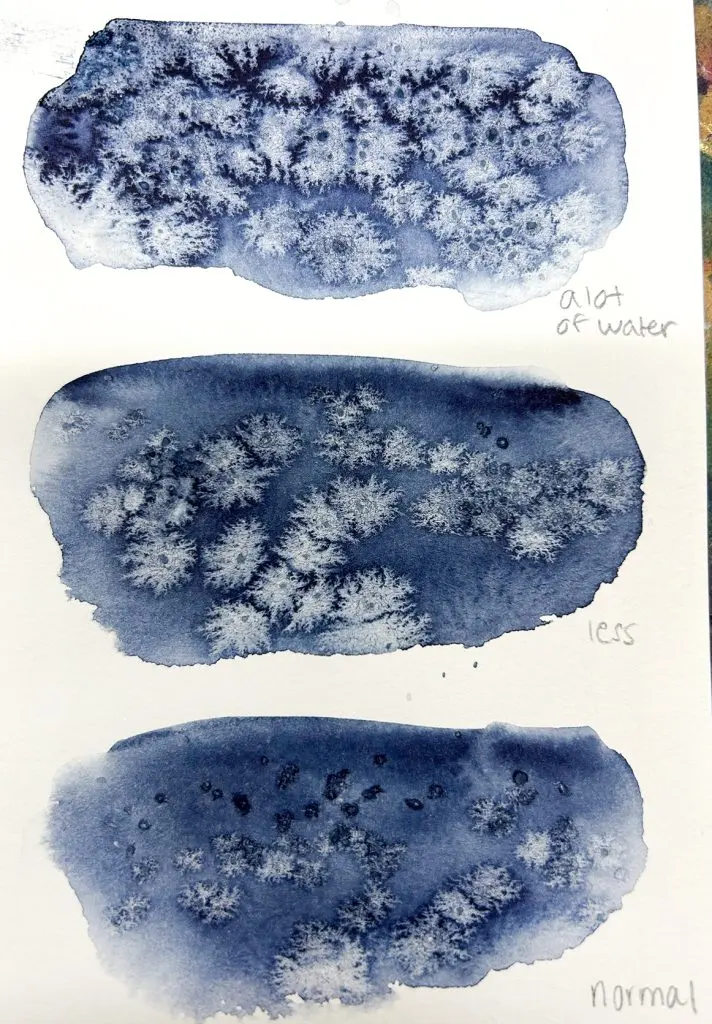
- Use a stiff-bristled brush to flick clean water onto semi-dry paint to create "blossoms" or blooms that resemble raindrops hitting a surface.
- Keep your color palette cool, favoring blues, grays, and violets to enhance the somber, wet mood of a storm.
- Use a dry brush technique with thick pigment to add sharp, dark lines that represent heavy downpours or streaks on windows.
- Lift wet paint with a clean, damp paper towel to create soft, diffused light shapes within a dark sky.
The bottom line
Painting rain in watercolor requires a balance between soft, atmospheric washes and sharp, directional details. By utilizing techniques like masking, lifting, and flicking, you can simulate the movement and texture of falling water. Focus on cool, muted tones to establish the mood, and remember that patience is essential; allowing layers to dry prevents the composition from becoming muddy, ensuring your rainy scene remains crisp and evocative.
People also ask
How do you make rain look like it is moving?
Tilt your paper while the paint is still wet to encourage streaks to run in a specific direction. You can also drag a dry brush or a plastic card through damp paint to create directional lines.
Should I use cold-press or hot-press paper for rain scenes?
Cold-press paper is generally better because its textured surface holds water well and allows for effective dry-brush techniques. Hot-press paper is too smooth and makes controlling the flow of watery rain effects difficult.
How do I paint reflections on a wet street?
Paint the ground with vertical, downward strokes while the paper is damp. Keep the colors slightly darker than the objects being reflected and blur the edges to suggest a slick, liquid surface.
What is the best way to paint a rainy window?
Paint the background scene first in soft, muted colors, let it dry, and then paint a darker, semi-transparent gray layer over it. Use a damp brush to lift out small, irregular circles or streaks to represent water droplets on the glass.
How do I avoid making my painting look muddy?
Limit your color palette to two or three primary colors and avoid over-mixing them on the paper. Allow each layer to dry completely before adding new details to prevent the pigments from bleeding into an unwanted brown mess.
Can I use white gouache for rain?
Yes, white gouache is an excellent opaque tool for adding bright highlights or individual raindrops over dark, dry washes. Apply it sparingly with a fine-tipped brush to ensure the rain looks natural rather than cluttered.
This answer was created with the help of AI research tools and reference sources. Spotted an error? Let us know — we correct mistakes quickly. See our editorial policy.