How do you draw rain on a window?
Short answer
Drawing rain on a window requires layering translucent shapes to mimic water droplets. Focus on creating highlights and shadows to give the water volume. By varying the size, shape, and path of the droplets, you create a realistic effect that suggests gravity pulling water down against a transparent, reflective surface.
On this page
How to draw realistic rain droplets
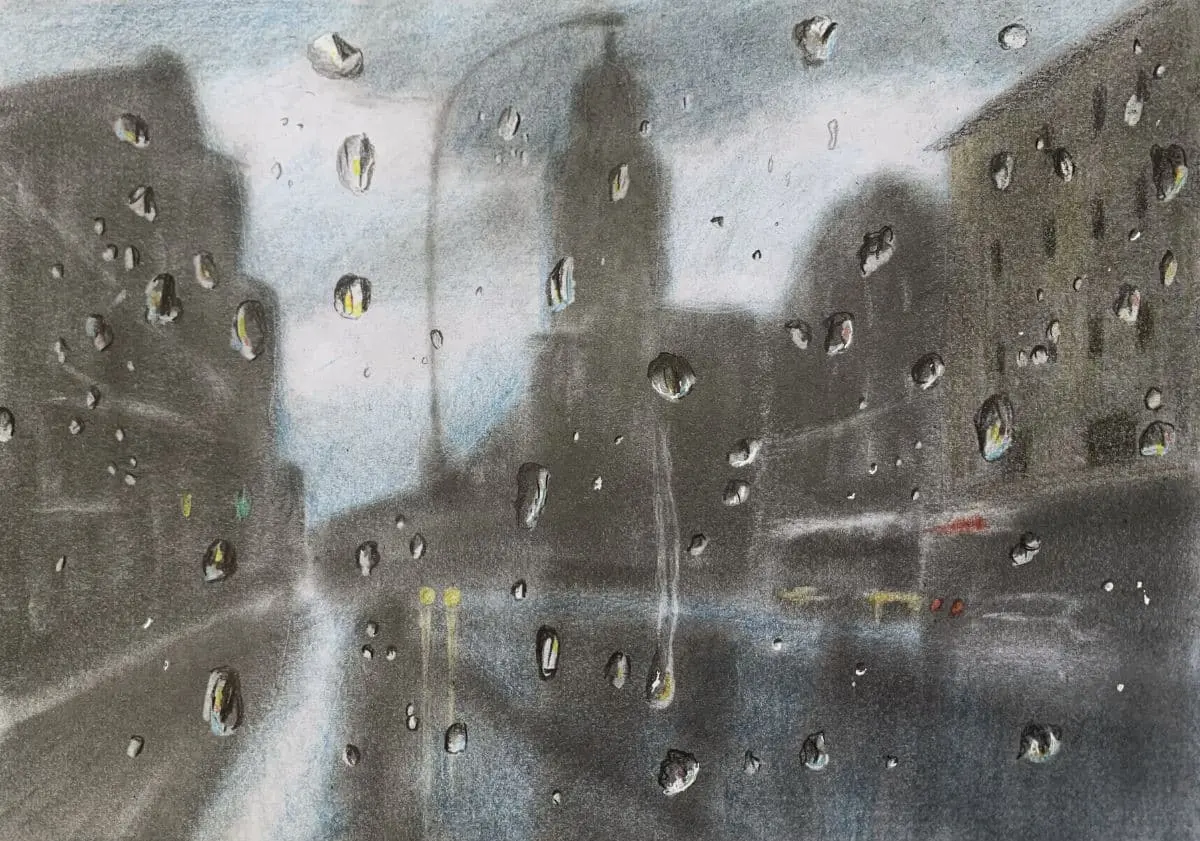
To draw rain on a window, you must first understand the physics of a droplet. A raindrop is essentially a small lens that refracts the light behind it. Start by sketching irregular, teardrop-like shapes across your surface. Avoid making them all perfectly symmetrical, as real water clings to glass in unpredictable, organic patterns.
Once the basic shapes are established, you need to define the light source. A droplet typically has a bright highlight at the top where light hits the curved surface and a darker, shadowed area at the bottom where the light is refracted away. Use these steps to build your droplets:
- Sketch the outline of the droplet using a light pencil or marker.
- Apply a thin, bright white line or dot on the upper edge to represent the reflection.
- Add a darker, semi-transparent shade at the bottom curve to represent the refraction of the background.
- Use a soft eraser or blending tool to blur the edges slightly, making the water appear integrated with the glass.
Best tools for drawing water effects
The choice of medium significantly impacts the final look of your rain. Graphite pencils are excellent for beginners because they allow for precise shading and subtle transitions. If you prefer color, alcohol-based markers or watercolors work well to capture the transparency of water. When using markers, layer your colors from lightest to darkest to maintain the illusion of depth.
For those seeking a more professional finish, digital illustration tools offer the most control. You can use layers to separate the window pane from the raindrops, allowing you to blur the background independently. This creates a "bokeh" effect, which is essential for making the rain look like it is physically sitting on the surface of the glass rather than floating in front of it. Regardless of the tool, always keep a sharp white gel pen or opaque white paint on hand for the final highlights.
Why rain creates reflections on glass
Raindrops on a window do not just sit on the surface; they interact with the environment. Because glass is reflective, a raindrop often captures a distorted image of the world outside. When drawing, consider what is behind the glass. If the background is a dark street at night, the droplets should catch the bright, blurry lights of passing cars or streetlamps.
When the background is brighter, such as a daytime scene, the droplets act more like magnifying glasses. They will pull in the colors and textures from behind the glass, slightly warping them. To achieve this, try drawing a small, inverted version of the background scene inside the larger droplets. This level of detail adds a layer of complexity that viewers subconsciously recognize as authentic, even if they cannot immediately identify why the drawing feels so realistic.
Common mistakes when drawing rain
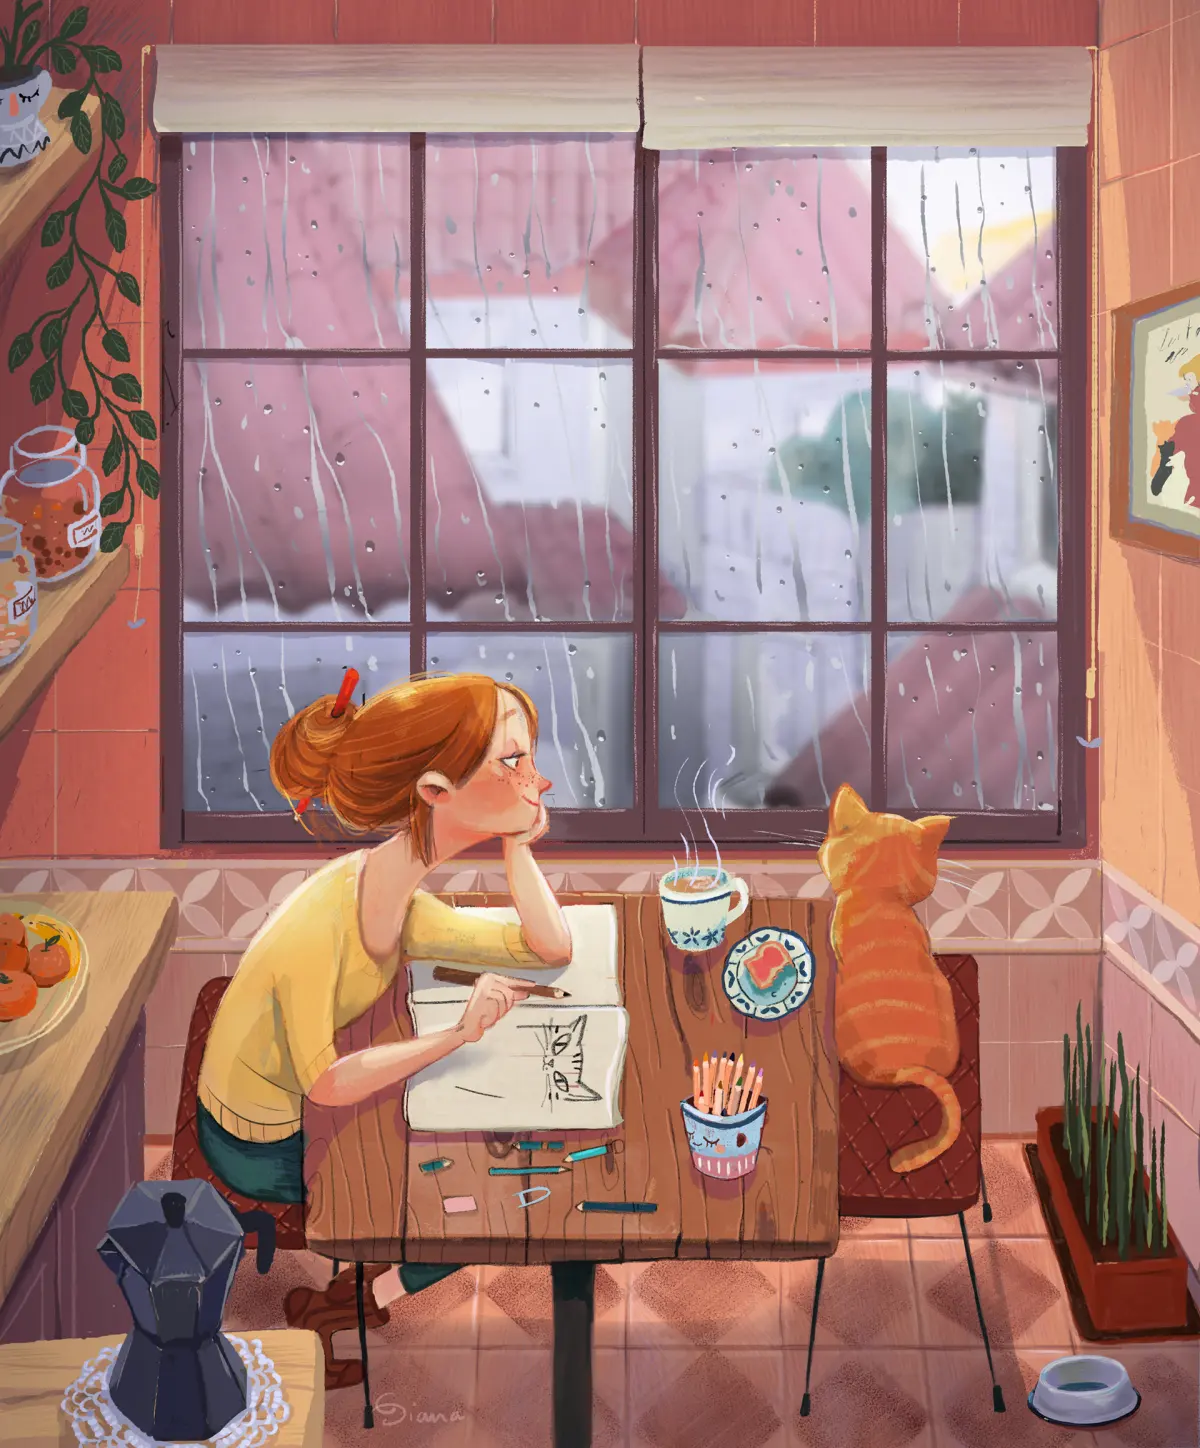
One of the most frequent errors is making every raindrop the same size or shape. In nature, rain behaves according to gravity and surface tension. Larger droplets often form "trails" as they slide down the glass, while smaller droplets remain stationary. If you draw a uniform pattern of identical circles, the image will look like a polka-dot wallpaper rather than a rainy window.
Another common mistake involves ignoring the path of the water. Rain does not just appear; it moves. You should draw thin, faint lines connecting some of your droplets to indicate where the water has traveled. These streaks should be slightly transparent, as they represent a thin film of water rather than a solid object. Avoid using harsh, solid black lines for these trails, as they will look like cracks in the glass rather than liquid movement.
How to add depth to your window scene
To make your drawing truly immersive, you must consider the perspective of the viewer. If the window is the primary focus, the droplets closest to the eye should be larger and more detailed than those further away. This creates a sense of depth and scale. You can also vary the opacity of the droplets to suggest that some are on the inside of the glass while others are on the outside.
Finally, consider the atmosphere of the room. Adding a subtle fog or condensation effect around the edges of the window can enhance the rainy mood. Use a soft, light-gray wash or a light dusting of charcoal to create the appearance of mist. This technique softens the transition between the glass and the window frame, grounding the entire piece in a realistic environment. By combining these techniques, you transform a simple drawing into a compelling narrative of a storm passing by.
Key facts
- Raindrops are naturally teardrop-shaped only when falling; on a surface, they form rounded, irregular domes due to surface tension.
- Use a white gel pen or opaque white paint to create highlights on the bottom edge of a drop to simulate light refraction.
- Vertical "streaks" should be drawn with varying lengths and thicknesses to mimic the erratic path water takes down glass.
- Keep the top of the raindrop darker and the bottom brighter to establish a clear light source and three-dimensional volume.
- Vary the size of the drops; larger drops should be placed toward the bottom of the window where water accumulates.
- Use a soft eraser or a blending stump to slightly blur the edges of drops, as real rain is not perfectly sharp against a background.
The bottom line
Drawing realistic rain requires capturing the physics of water on a vertical surface. By focusing on irregular shapes, strategic highlights on the bottom edges, and vertical streaks, you create the illusion of depth and movement. Avoid perfectly symmetrical circles and ensure your background is slightly out of focus. With these techniques, you can transform a simple window drawing into a dynamic, atmospheric scene filled with texture.
People also ask
How do I make the rain look like it is sliding down the glass?
Draw thin, slightly wavy vertical lines starting from the base of your raindrops. These trails should taper off or fade out as they move downward to suggest motion and gravity.
Should I draw the rain on the inside or outside of the window frame?
To create depth, draw the rain on the surface of the glass layer. If you are drawing a scene, ensure the background behind the glass is slightly blurred to emphasize that the focus is on the window pane.
What is the most common mistake when drawing rain?
Many artists make the mistake of drawing perfect circles. Raindrops on glass are distorted by gravity and surface tension, so they should look like irregular, squashed ovals or blobs.
How do I add reflections to the raindrops?
Place a tiny, crisp white dot or dash inside the upper portion of the raindrop. This represents the specular highlight, which is the reflection of the light source, making the water look wet and glossy.
Can I use colored pencils to draw rain?
Yes, colored pencils work well if you layer cool grays and blues for the shadows of the drops. Use a white pencil to burnish the highlights for a smooth, glass-like finish.
Why do some raindrops look larger than others?
Raindrops vary in size based on how much water they have collected as they travel down the pane. Larger drops are usually near the bottom of the window where smaller droplets have merged into one.
This answer was created with the help of AI research tools and reference sources. Spotted an error? Let us know — we correct mistakes quickly. See our editorial policy.