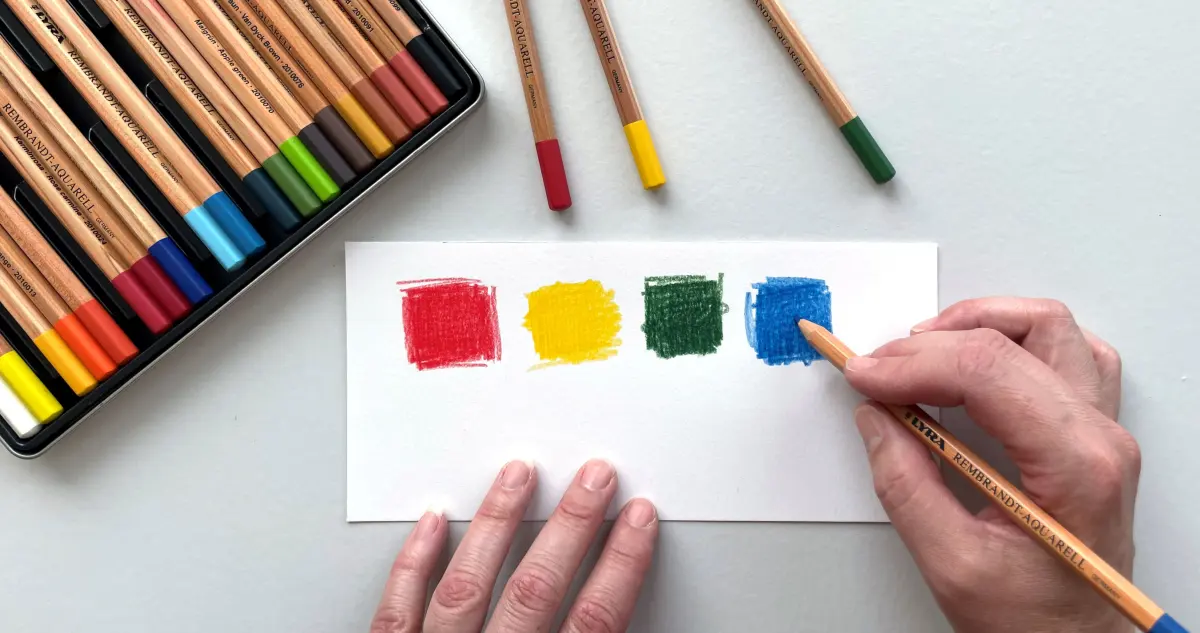
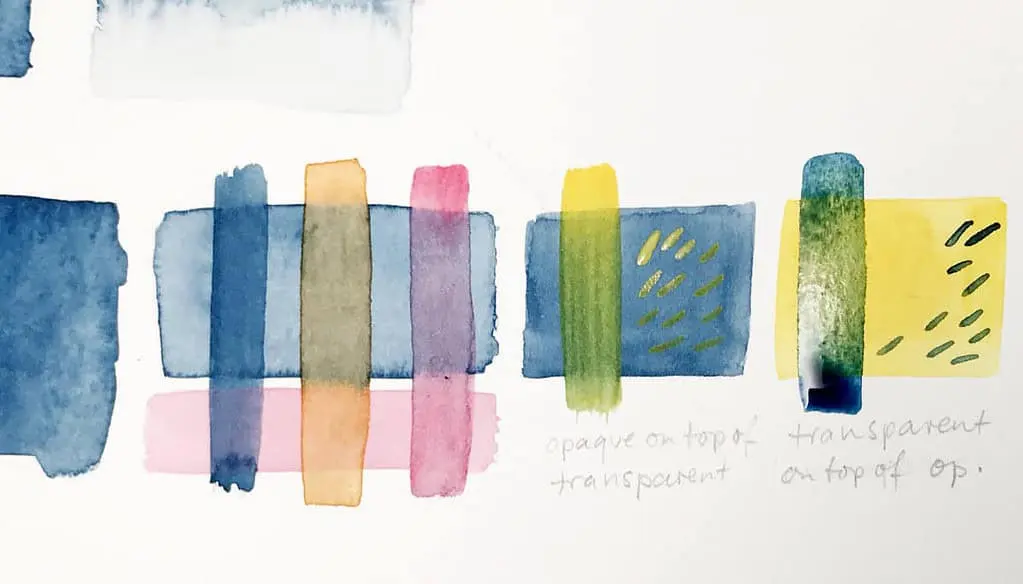
How do you layer colored pencils?
Short answer
Layering colored pencils involves applying multiple thin, translucent applications of pigment to build depth, intensity, and complex color transitions. By varying pressure and stroke direction, you create a smooth, painterly effect. This technique allows for precise color mixing directly on the paper surface, resulting in professional-grade saturation and realistic textures.
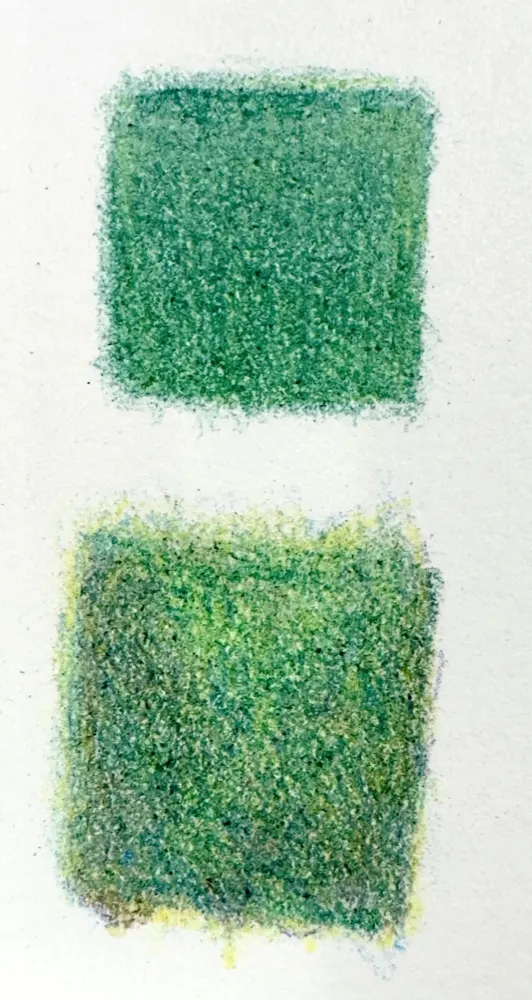
On this page
How to layer colored pencils effectively
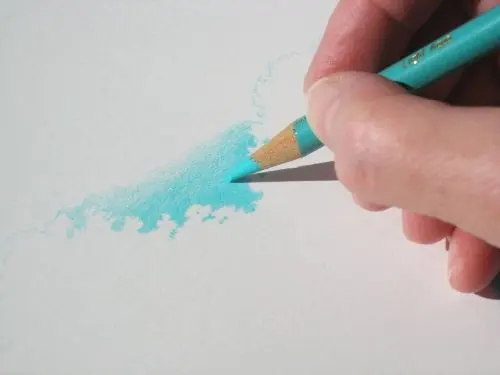
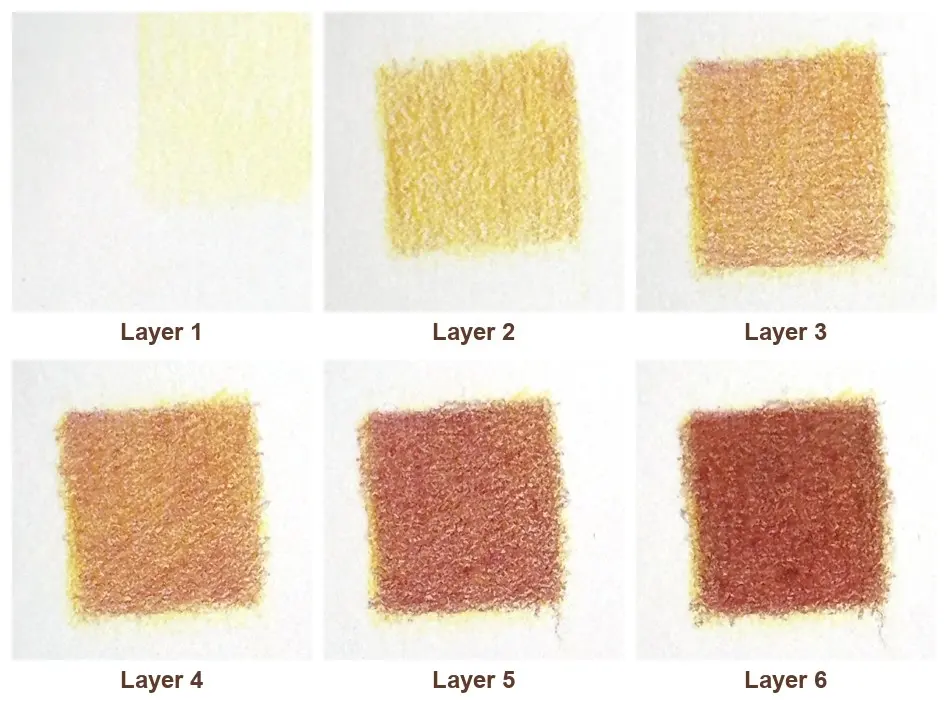
Layering is the foundational technique for achieving rich, professional results with colored pencils. The process begins by applying light, gentle strokes to establish a base color, ensuring you do not fill the paper's "tooth" too quickly. If you press too hard initially, the wax or oil binder will seal the paper surface, preventing further pigment from adhering.
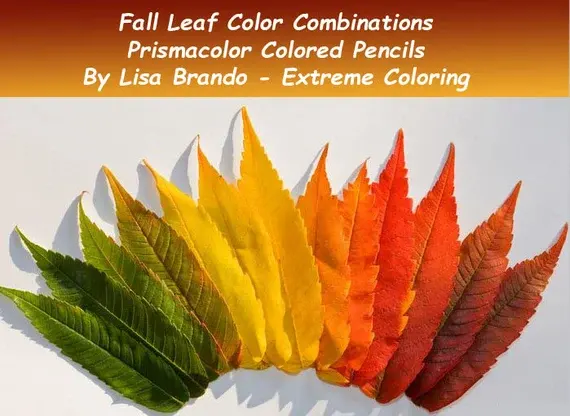
To build depth, gradually add subsequent layers using different hues. By overlapping colors, you create optical mixtures that appear more vibrant than a single color alone. Use a light touch to keep the surface receptive to new pigment. As you progress, you can gradually increase pressure to burnish the colors, which blends the layers into a solid, cohesive finish.
- Start with a light, even base layer.
- Introduce complementary or secondary colors in thin, overlapping passes.
- Use circular or cross-hatching motions to ensure even coverage.
- Gradually increase pressure once the desired color depth is reached.
Best colored pencils for layering
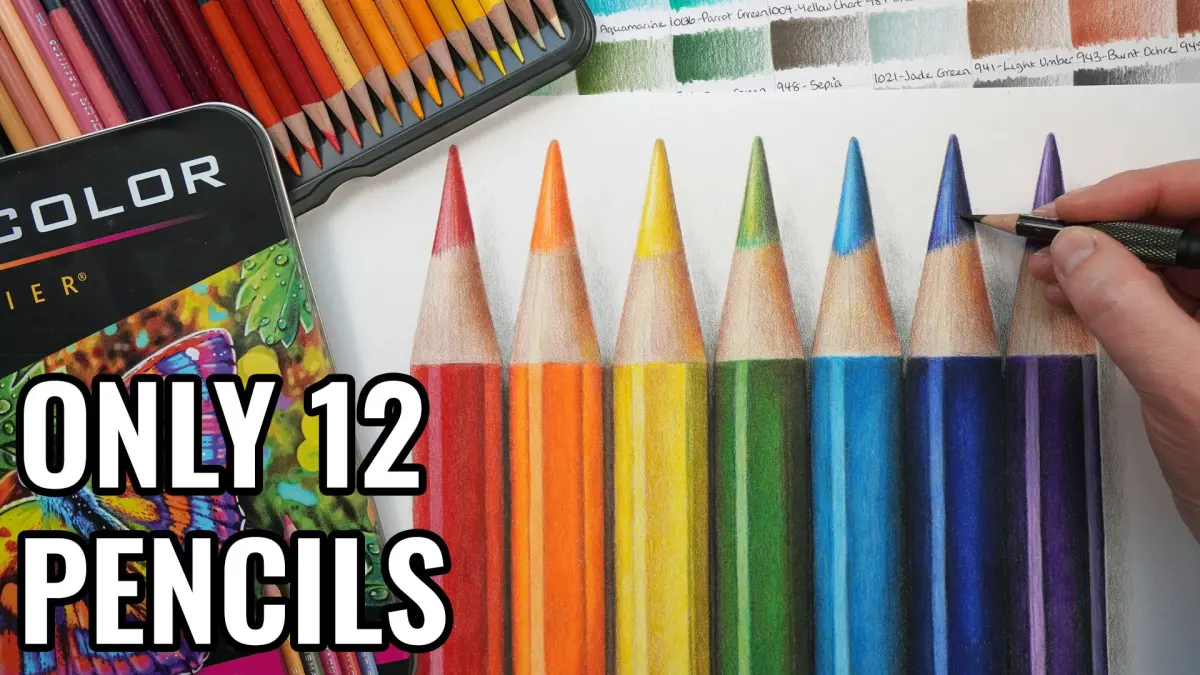
Professional-grade pencils are essential for successful layering because they contain a higher concentration of pigment and a superior binder. Wax-based pencils, such as Prismacolor Premier, are softer and blend easily, making them ideal for thick, buttery layers. Oil-based pencils, such as Faber-Castell Polychromos, are harder and hold a sharp point longer, which is perfect for fine detail work.
When choosing your supplies, consider the paper surface as well. A paper with a medium-to-heavy tooth, or texture, provides the best grip for multiple layers of pigment. Smooth papers can become saturated quickly, limiting the number of layers you can apply. Experimenting with different brands allows you to mix the soft, blendable qualities of wax pencils with the precision and durability of oil-based varieties.
- Wax-based pencils: Excellent for blending and high-saturation coverage.
- Oil-based pencils: Ideal for crisp edges, fine details, and layering without excessive wax buildup.
- Mixed media paper: Provides the necessary texture to hold multiple layers of pigment.
- Erasers: Essential for lifting pigment if a layer becomes too dark or muddy.
Why colors look muddy when layering
Muddy colors often occur when you mix too many complementary colors—those opposite each other on the color wheel—without a clear plan. When these colors are layered indiscriminately, they neutralize one another, resulting in a dull, brownish-gray hue. To avoid this, focus on layering colors that are adjacent on the color wheel, such as blue and violet, to create natural transitions.
Another common cause of muddiness is the accumulation of loose pigment dust on the paper. If you do not brush away excess debris, it can get pressed into the paper fibers, creating a grainy or dirty appearance. Use a soft brush to clear your workspace frequently. Furthermore, ensure your pencils are sharp; dull pencils often deposit uneven, chunky pigment that obscures the delicate layers beneath.
How to blend layers for a smooth finish
Blending is the final stage of the layering process, where individual strokes are smoothed out to create a seamless gradient. You can use a colorless blender pencil, which is essentially a pencil without pigment, to push the wax or oil around and fill in the gaps between the paper's texture. This creates a polished, professional look that resembles a painting.
Alternatively, you can use a solvent-based blending technique. Applying a small amount of odorless mineral spirits with a brush can liquefy the binder, allowing the pigment to spread evenly across the paper. This method is highly effective for large areas but should be used sparingly to avoid damaging the paper. Always test your blending method on a scrap piece of paper before applying it to your final artwork.
- Apply your final layer of pigment with slightly heavier pressure.
- Use a colorless blender pencil in circular motions to unify the colors.
- If using solvents, apply a tiny amount with a soft, synthetic brush.
- Allow the solvent to dry completely before adding any additional details.
Common mistakes when layering colors
A frequent mistake is attempting to achieve full saturation too early in the drawing process. Beginners often try to reach the darkest value with a single application, which ruins the opportunity to build complex undertones. By working in thin, transparent layers, you allow the light to reflect off the white of the paper through the pigment, creating a luminous quality.
Another error is neglecting the importance of lightfastness and color theory. Using low-quality pencils can lead to fading over time, while ignoring color harmony can make your subject look disjointed. Always keep a color wheel nearby to guide your choices and ensure your layers work together rather than against each other. By practicing patience and maintaining a light touch, you will master the art of layering and produce drawings with exceptional depth and clarity.
Key facts
- Use light pressure for initial layers to keep the paper's "tooth" open for subsequent pigment.
- Work from light colors to dark colors to maintain control over value and saturation.
- Apply a colorless blender pencil or a solvent like odorless mineral spirits to fuse layers together.
- Use high-quality, acid-free paper with a slight texture to better grip and hold multiple pencil layers.
- Avoid heavy pressure in early stages, as it "burns" the paper and prevents further color application.
- Rotate your pencil frequently to maintain a sharp point, which helps reach the bottom of the paper's texture.
The bottom line
Layering colored pencils is a methodical process that relies on building up pigment gradually. By starting with light pressure and moving from lighter to darker tones, you preserve the paper's texture, allowing for greater depth and color complexity. Utilizing blending tools and maintaining sharp points ensures a professional finish. Mastering these techniques transforms simple sketches into rich, vibrant, and highly detailed works of art.
People also ask
Can I use wax-based and oil-based pencils together?
Yes, they are generally compatible, but wax-based pencils tend to be softer and may create a waxy bloom if applied too heavily over oil-based layers. It is best to layer the harder oil-based pencils underneath the softer wax-based ones.
How do I prevent a waxy buildup on my drawing?
Waxy buildup occurs when the paper's tooth is completely filled, creating a slick surface. To prevent this, use light pressure and incorporate a solvent or blender pencil to push the pigment deeper into the paper fibers.
Should I use a fixative between layers?
Using a workable fixative can help hold layers in place and restore some tooth to a saturated surface. However, use it sparingly in a well-ventilated area, as excessive spray can alter the texture of the paper.
What is the best way to achieve a smooth gradient?
Create a gradient by overlapping two colors and gradually reducing the pressure of the top color while increasing the pressure of the bottom color. Use a colorless blender to soften the transition between the two shades.
How many layers should I aim for?
There is no set limit, but most artists find that three to five layers provide sufficient depth and richness. Beyond that point, the paper surface may become too slick to accept additional pigment without specialized tools.
Why do my colors look muddy when I layer them?
Muddy colors often result from mixing too many complementary colors, such as red and green, which neutralize each other. Stick to analogous color schemes or use a light touch to ensure individual hues remain distinct and vibrant.
This answer was created with the help of AI research tools and reference sources. Spotted an error? Let us know — we correct mistakes quickly. See our editorial policy.