What is underpainting?
Short answer
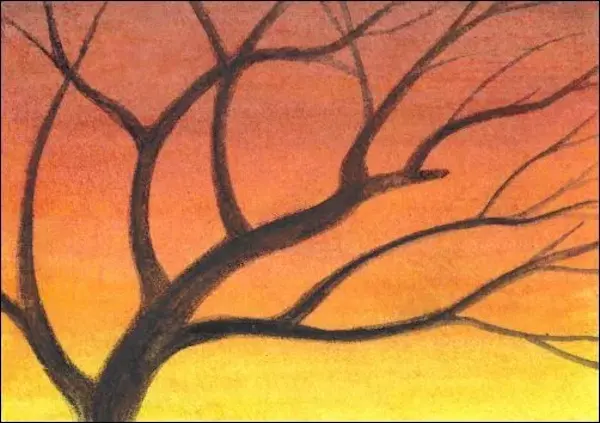
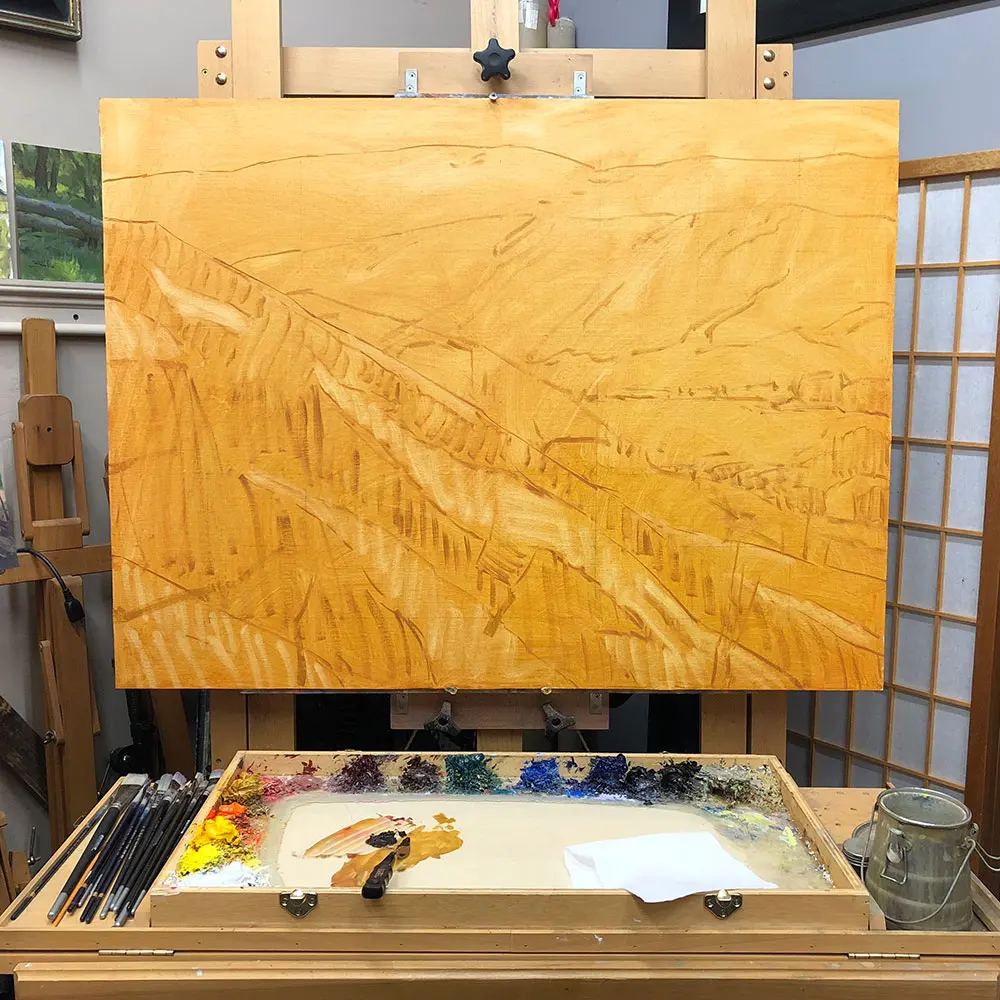
Underpainting is a foundational layer of paint applied to a canvas before the final colors are added. It establishes the composition, tonal values, and light-and-shadow relationships of a painting. By creating a monochrome or tinted base, artists can effectively map out the structure of their work before committing to final details.
On this page
What is the purpose of underpainting?
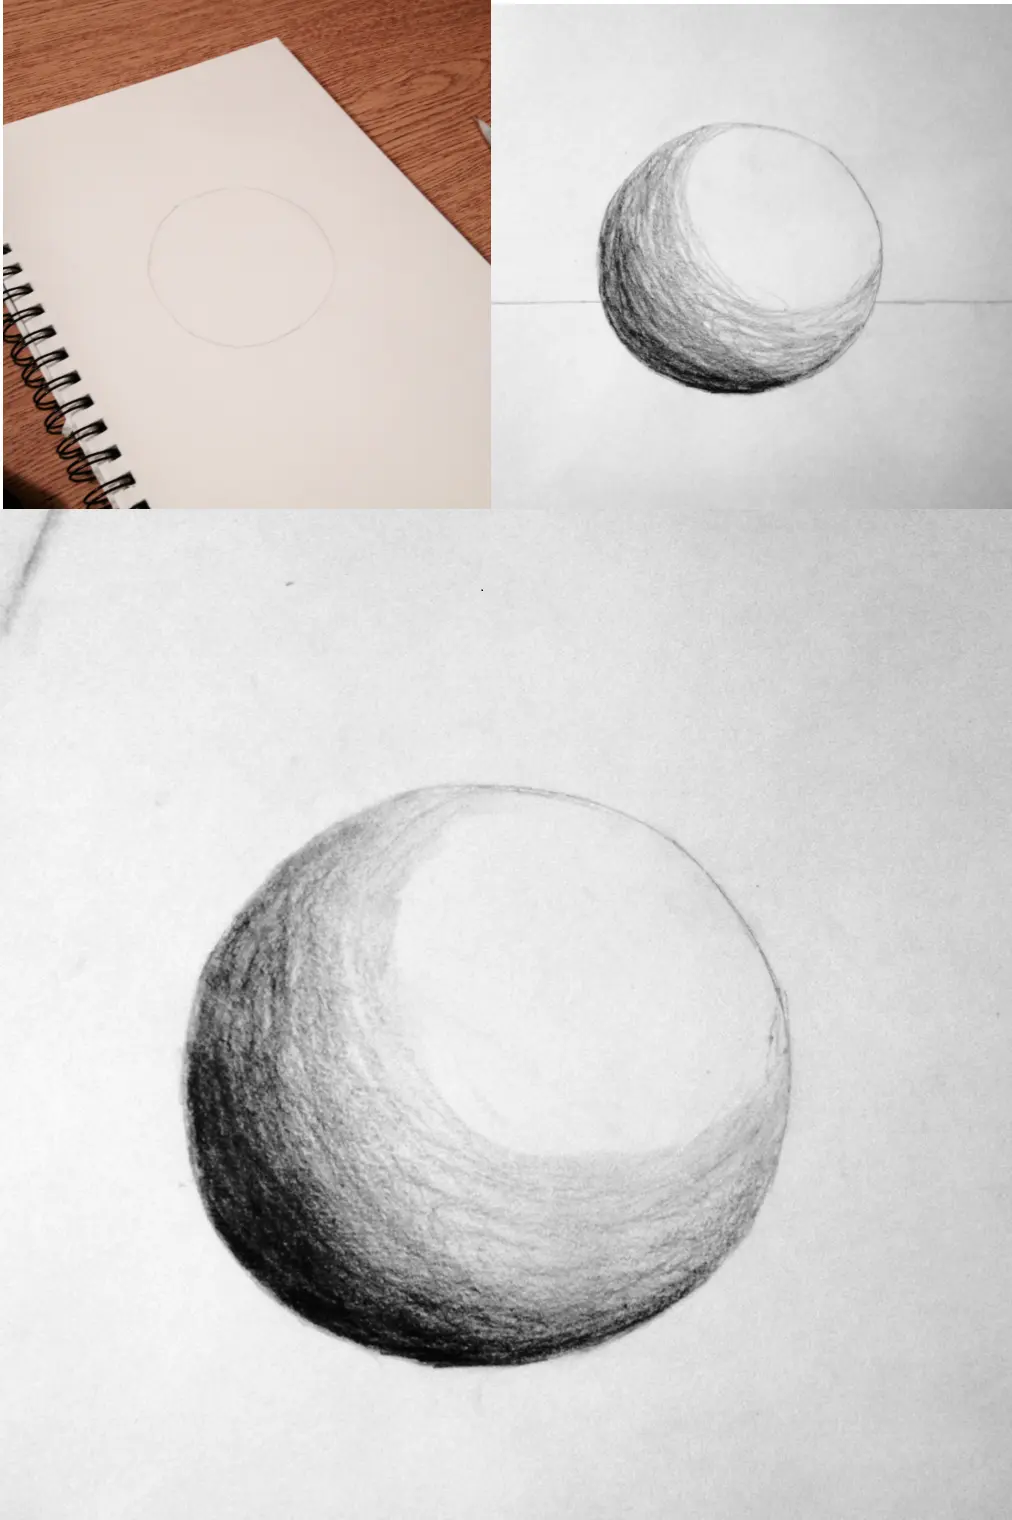
Underpainting serves as the structural skeleton of a finished artwork. By focusing on values—the range from light to dark—rather than color, an artist can solve complex compositional problems early in the process. This technique ensures that the spatial relationships and the distribution of light are correct before the complexity of color mixing is introduced. It acts as a guide, preventing the artist from getting lost in details while the overall form remains unresolved.
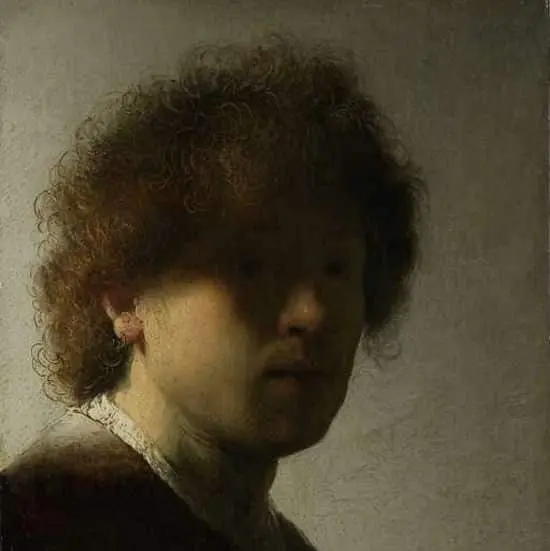
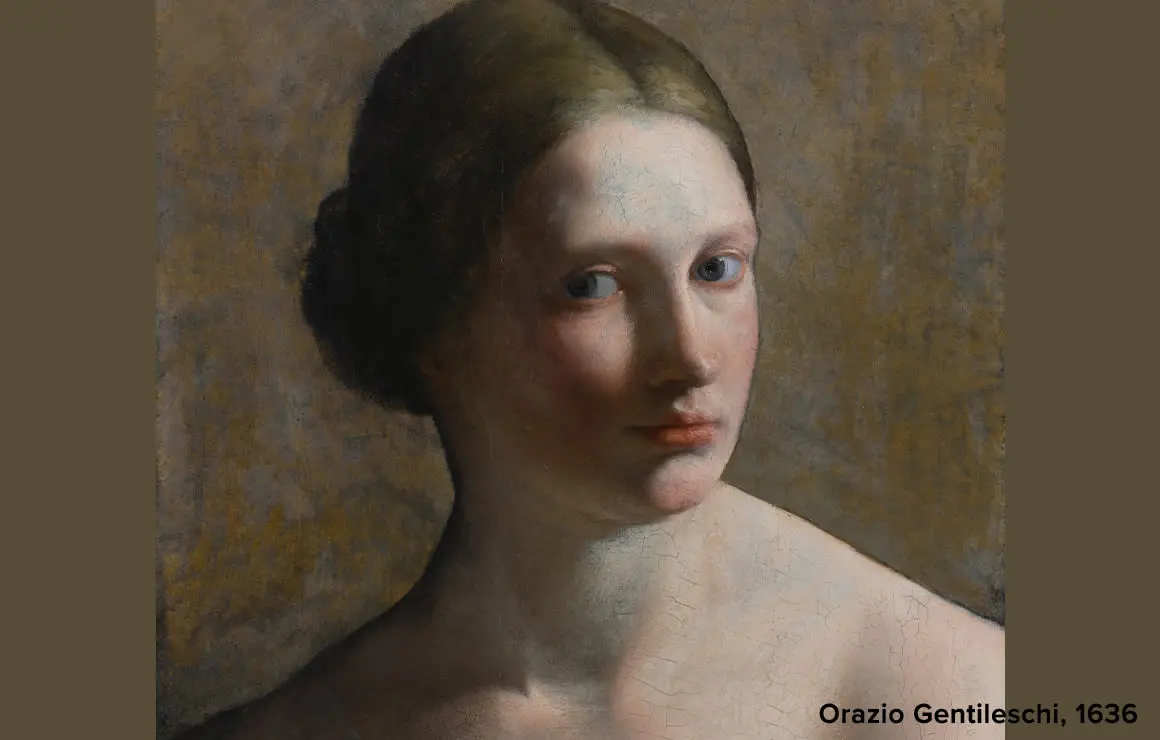
Historically, masters like Leonardo da Vinci and Rembrandt utilized underpainting to build depth and luminosity. They often used a technique called "grisaille," which involves painting the entire image in shades of gray to establish the form. By layering transparent glazes of color over this neutral base, artists achieve a richness and depth that is difficult to replicate by painting directly onto a white canvas. This method provides a reliable map for the final layers of paint.
How to create an underpainting
The process of creating an underpainting requires a methodical approach to ensure the subsequent layers adhere properly. The goal is to establish the main shapes and shadows without adding unnecessary texture that might interfere with later stages.
- Sketch your composition onto the canvas using a light charcoal or thinned paint.
- Mix a neutral tone, such as burnt umber or raw sienna, with a significant amount of solvent.
- Apply the paint thinly to map out the darkest shadows first.
- Gradually work toward the mid-tones, keeping the paint layer very lean to ensure fast drying.
- Allow the layer to dry completely before applying any subsequent paint to avoid muddying the colors.
It is essential to maintain a "fat over lean" principle throughout this process. This means your initial layers should contain very little oil, while later layers can be progressively richer in oil content to ensure long-term stability and prevent cracking.
Best colors for underpainting
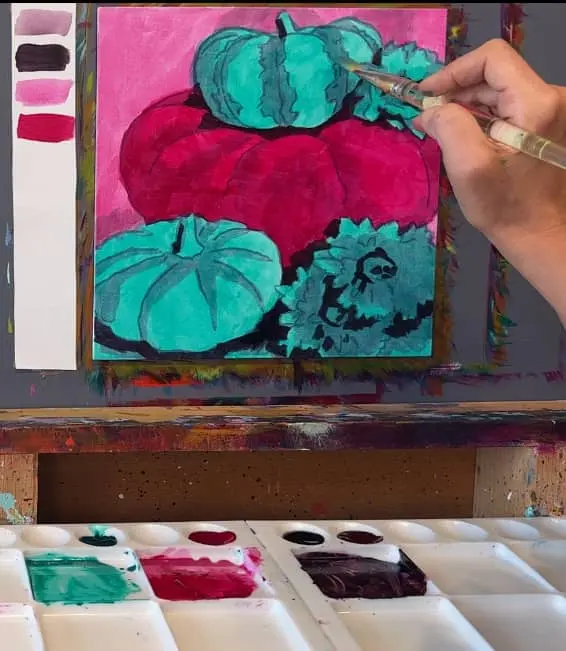
Choosing the right color for your base layer depends on the desired mood and the final palette of the painting. While neutral earth tones are the most common, some artists prefer a "dead layer" or a tinted ground that influences the overall temperature of the final piece.
- Burnt Umber: A classic choice that provides a warm, neutral base suitable for almost any subject.
- Raw Sienna: Excellent for portraits or warm-toned landscapes, as it provides a luminous foundation.
- Neutral Gray: Ideal for artists who want to focus strictly on value without the influence of warmth or coolness.
- Terre Verte: Often used in classical figure painting to provide a cool base that neutralizes the pinks of skin tones in later layers.
Using a single color allows the artist to focus exclusively on the play of light. If you are a beginner, starting with a single tube of burnt umber is the most effective way to learn how light moves across a form.
Common mistakes when underpainting
One of the most frequent errors is applying the underpainting too thickly. If the paint is applied with heavy impasto, it creates a rough texture that will show through your final colors, making it difficult to achieve smooth transitions. Always keep the initial layer thin, almost like a watercolor wash, so that the weave of the canvas remains visible.
Another common mistake is ignoring the value scale. If the underpainting is too light, the final painting may lack contrast and appear flat. If it is too dark, it can be difficult to cover with lighter, more transparent pigments later. Aim for a full range of values, ensuring that your darkest darks are truly dark and your lightest lights are left as the white of the canvas or a very pale tint. Finally, failing to let the underpainting dry completely before moving on is a recipe for disaster, as it will cause the wet layers to mix and turn into a muddy, dull mess.
How to transition from underpainting to color
Once your underpainting is dry, you can begin the transition to full color. This is typically done using glazes, which are thin, transparent layers of oil paint mixed with a medium. Because the underpainting already defines the shadows and highlights, you can focus entirely on color accuracy. The light reflects off the white canvas, passes through the transparent glaze, and bounces back, creating a vibrant, luminous effect that opaque painting cannot match.
You may choose to work in stages, starting with a "dead layer" and then building up to "imprimatura" or local color. As you move forward, you can gradually increase the oil content of your paint mixtures. This transition from a monochromatic foundation to a full-color masterpiece is the hallmark of traditional oil painting techniques. By mastering this sequence, you gain control over the light, depth, and structural integrity of your artwork, ensuring a professional and durable result that stands the test of time.
Key facts
- Underpainting is an initial layer of paint applied to a canvas or panel that serves as a base for subsequent layers.
- Artists traditionally use neutral tones like burnt umber, raw sienna, or grisaille to establish values before adding color.
- This technique helps painters map out composition, light, and shadow without the distraction of full color.
- Oil painters often use a "fat over lean" approach, ensuring the underpainting is thinned with solvent to dry quickly.
- Renaissance masters like Leonardo da Vinci frequently used detailed underpaintings to guide their complex glazing processes.
- Modern artists may leave parts of the underpainting visible to add texture and depth to the final work.
The bottom line
Underpainting is a foundational technique that provides a structural roadmap for your artwork. By establishing light, shadow, and composition early, you gain greater control over the final outcome. Whether you choose a monochromatic grisaille or a warm earth-tone wash, this method simplifies the painting process and enhances the overall depth of your work, allowing you to focus on color and detail with confidence and precision.
People also ask
Is underpainting necessary for every painting?
It is not strictly necessary, but it is highly recommended for complex compositions. Skipping it can make it difficult to manage tonal balance and depth as you progress.
What is the difference between underpainting and toning?
Toning involves covering the entire canvas in a single mid-tone to remove the stark white glare. Underpainting is a more deliberate process of sketching out values and forms.
Can I use acrylics for an underpainting under oil paint?
Yes, acrylics are excellent for underpainting because they dry rapidly and provide a stable base. Always ensure the acrylic layer is fully dry before applying oil-based paints.
What is a grisaille underpainting?
Grisaille is a specific style of underpainting executed entirely in shades of gray. It allows the artist to focus exclusively on light and shadow before introducing color.
How do I avoid muddy colors when painting over an underpainting?
Ensure your underpainting is completely dry before adding new layers. Using a thin, fast-drying paint layer prevents the colors from mixing and becoming dull.
Should the underpainting be detailed or loose?
The level of detail depends on your personal style and the complexity of the subject. Beginners often benefit from a detailed map, while experienced painters may prefer a loose, gestural approach.
This answer was created with the help of AI research tools and reference sources. Spotted an error? Let us know — we correct mistakes quickly. See our editorial policy.