What is subtractive drawing?
Short answer
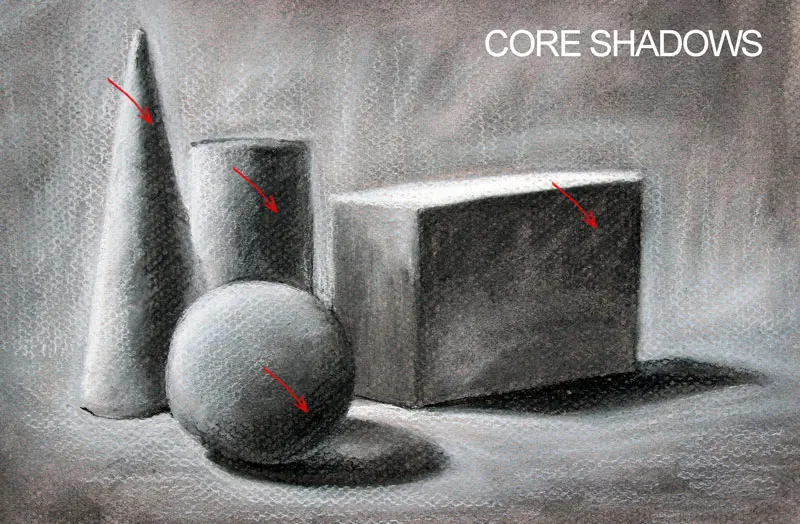
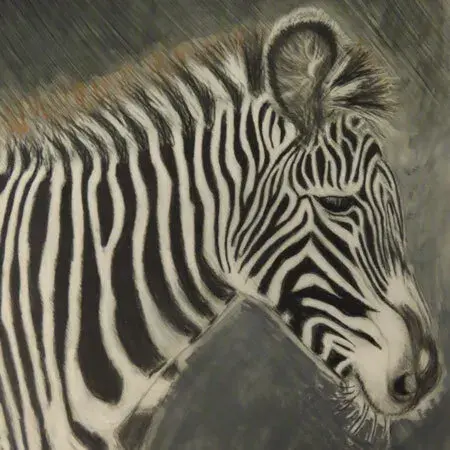
Subtractive drawing is an artistic technique where an artist covers a surface with a medium, such as charcoal or graphite, and then removes it to create highlights and forms. By erasing or lifting material, the artist reveals the underlying light, effectively sculpting the image from darkness rather than adding dark marks.
On this page
What is the process of subtractive drawing?
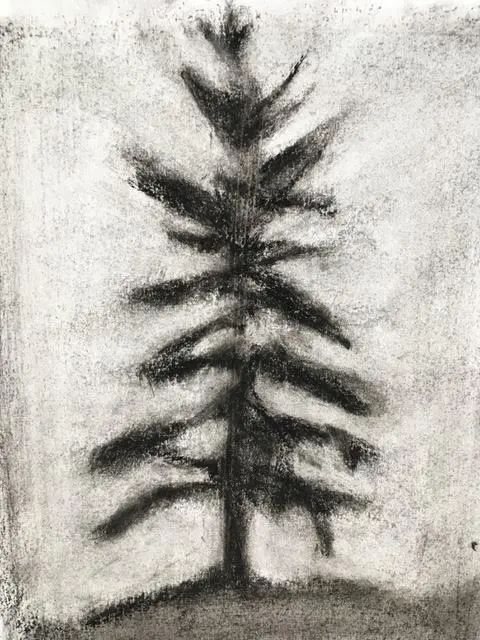
The subtractive method reverses the traditional approach of building up values on a white page. Instead, you begin by coating the entire surface with a mid-tone layer of charcoal or soft graphite. This creates a uniform field of gray that establishes a base level of light. Once the ground is prepared, you use various tools to lift the medium away, exposing the white of the paper underneath.
This process allows for a unique tonal range that is often difficult to achieve with additive methods. By focusing on the removal of material, you are essentially carving light out of the shadows. This requires a shift in perspective, as you must visualize where the light hits an object rather than focusing solely on the object's edges. It is a highly intuitive way to render volume and atmospheric depth in charcoal portraits or still-life studies.
How to start a subtractive drawing
To begin your first subtractive piece, you need a few specific materials. A smooth, heavy-weight paper is ideal because it can withstand repeated erasing without tearing. You will also need a soft vine charcoal or compressed charcoal stick for the initial ground, along with a variety of erasers.
- Cover your entire paper with a thin, even layer of charcoal.
- Use a soft cloth or a blending stump to rub the charcoal into the paper fibers until you have a smooth, mid-tone gray surface.
- Identify the brightest highlights on your subject and begin lifting the charcoal using a kneaded eraser.
- Use a harder plastic eraser or a precision eraser pen for sharper, more defined highlights or structural edges.
- Continue to refine the mid-tones by adding light marks with a pencil or removing more material to deepen the contrast.
Best tools for subtractive drawing
The success of a subtractive drawing relies heavily on the quality and variety of your erasers. Because you are using the eraser as a drawing tool, it must be versatile enough to create both soft transitions and sharp, clean lines. A kneaded eraser is essential because it can be molded into points for detail or flattened for broad areas.
- Kneaded erasers: Perfect for lifting large areas of charcoal and creating soft, hazy light effects.
- Vinyl or plastic erasers: Necessary for creating crisp, high-contrast highlights that look like bright light sources.
- Eraser pencils: Excellent for fine details, such as individual hairs or reflections in eyes.
- Chamois cloth: Useful for removing large sections of charcoal to create soft gradients or "ghostly" light areas.
- Synthetic brushes: Can be used to gently sweep away charcoal dust without smudging the work too much.
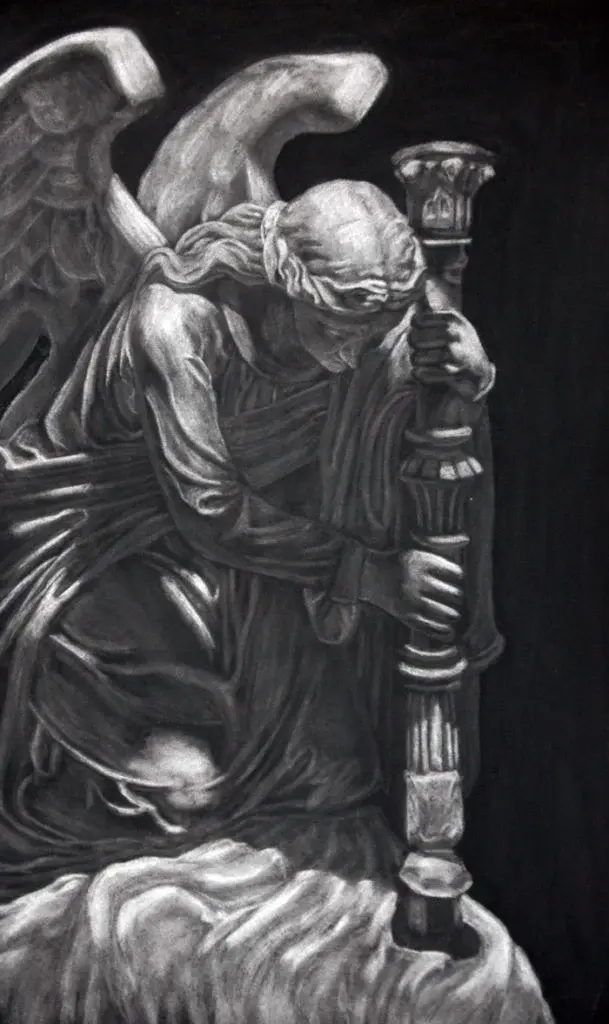
Why use subtractive drawing techniques
Many artists prefer this method because it naturally emphasizes the relationship between light and shadow. When you work from a dark ground, you are forced to consider the light source immediately. This prevents the common mistake of drawing outlines first, which can make a subject look flat or cartoonish. By focusing on the interplay of values, you create a more realistic, three-dimensional appearance.
Furthermore, subtractive drawing is an excellent exercise for developing tonal sensitivity. It teaches you to see the world in terms of value rather than line. As you manipulate the charcoal, you learn how to control the intensity of light, which improves your overall rendering skills. This technique is particularly effective for dramatic lighting scenarios, such as chiaroscuro, where the contrast between deep shadows and brilliant highlights is the primary focus of the composition.
Common mistakes when drawing subtractively
One of the most frequent errors is failing to create a consistent initial ground. If the base layer is patchy or uneven, your highlights will look messy and lack structural integrity. Take the time to blend the charcoal thoroughly so that the surface has a uniform value before you begin removing any material. Another mistake is over-working the highlights, which can damage the paper surface and prevent you from achieving a clean, white mark.
- Applying too much charcoal, which makes it difficult to lift the material cleanly.
- Using an eraser that is dirty, which will muddy your highlights instead of brightening them.
- Focusing too much on lines instead of mass, which negates the benefits of the subtractive approach.
- Forgetting to periodically clean your tools to ensure the marks remain crisp and vibrant.
- Neglecting to protect the finished work with a fixative, as charcoal is prone to smudging even after the drawing is complete.
Key facts
- Subtractive drawing is a process where the artist covers a surface with a medium and then removes it to create highlights and forms.
- Charcoal, graphite powder, and soft pastels are the most common materials used because they are easily lifted from the paper.
- Kneaded erasers are the primary tool used for "drawing" by pulling pigment off the surface rather than just correcting mistakes.
- This technique reverses the traditional additive method, allowing artists to focus on light and shadow rather than just outlines.
- A chamois cloth or a soft brush can be used to create broad, atmospheric transitions or to soften harsh edges.
- Common surfaces include textured drawing paper or Bristol board, which hold the loose pigment effectively until it is removed.
The bottom line
Subtractive drawing flips the traditional artistic process by starting with a dark field and carving out light. By applying a base layer of pigment and using erasers to remove it, artists can master the interplay of light and shadow with greater ease. This technique encourages a focus on volume and atmospheric depth, providing a unique, tactile approach to creating realistic images on paper.
People also ask
What is the best paper for subtractive drawing?
Heavyweight, toothy paper like charcoal paper or cold-press illustration board works best. The texture, or "tooth," traps the charcoal particles, allowing for better control when you begin lifting them away.
How do I prevent the drawing from becoming too muddy?
Avoid over-blending your initial layer of pigment, as this can grind the material into the paper fibers. Use a light touch when applying the base layer and ensure you have a clean eraser for the lifting process.
Can I use subtractive drawing with colored media?
Yes, you can use soft pastels or colored charcoal to create subtractive effects. However, colored pigments often stain the paper more than black charcoal, making the highlights slightly less brilliant.
What is the most common mistake beginners make?
Beginners often apply the base layer too heavily, making it difficult to lift the pigment back to white. Start with a light, even tone and gradually darken only the areas that require deep shadows.
How do I keep my drawing from smudging after I finish?
Once the drawing is complete, use a high-quality workable fixative spray to lock the pigment onto the paper. Apply the spray in light, even coats from a distance to prevent the charcoal from shifting.
Is this technique suitable for hyper-realistic portraits?
Subtractive drawing is excellent for realism because it mimics the way light hits a subject. By carving out highlights, you can achieve subtle skin textures and soft transitions that are difficult to replicate with additive lines.
This answer was created with the help of AI research tools and reference sources. Spotted an error? Let us know — we correct mistakes quickly. See our editorial policy.