How do you draw a microphone?
Short answer
Drawing a microphone involves constructing a cylindrical handle topped with a spherical or mesh head. Start by sketching basic geometric shapes like a long rectangle and a circle to establish proportions. Refine these into a three-dimensional form by adding details like the mesh texture, a connector base, and a toggle switch.
On this page
How to draw a microphone step by step
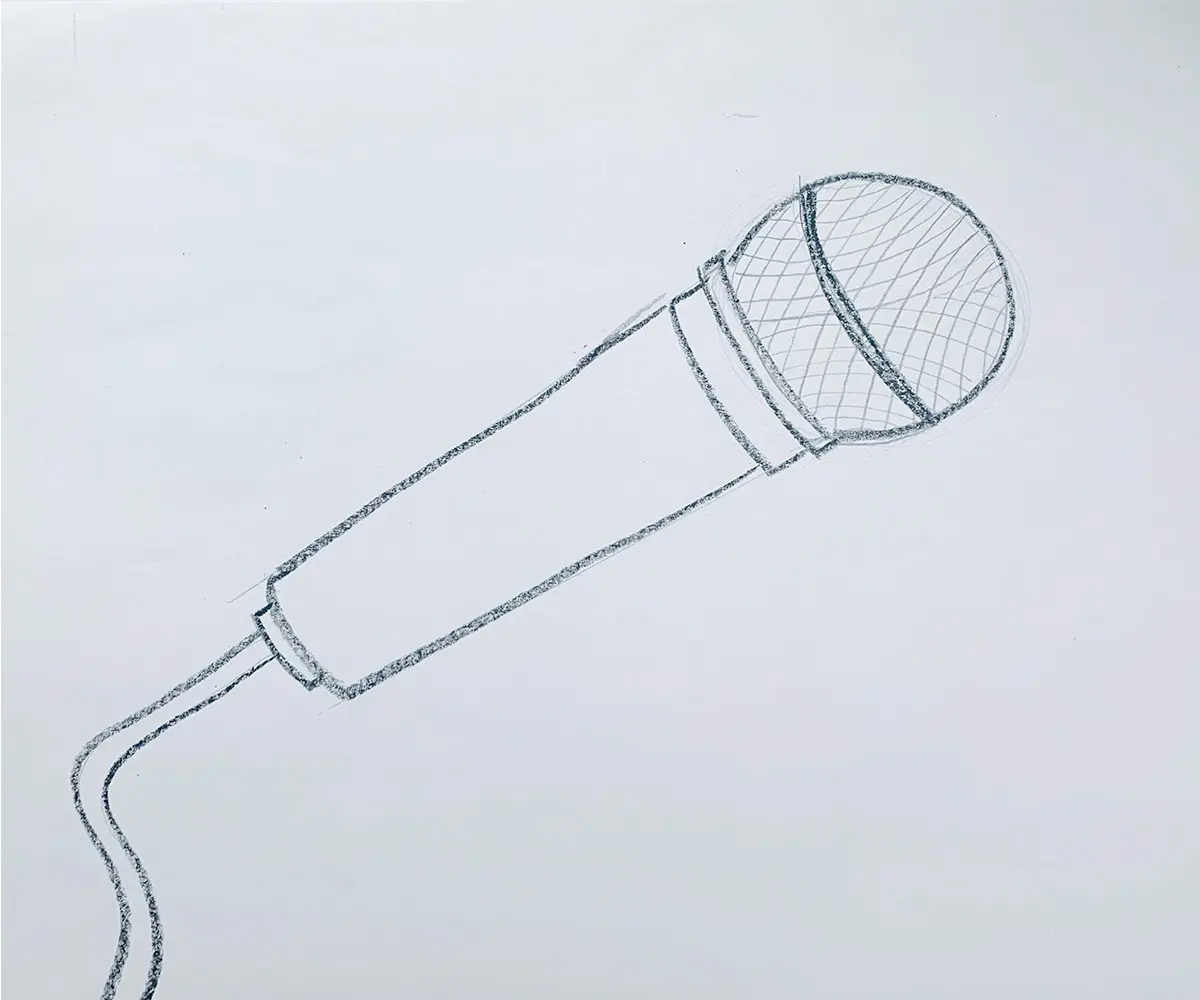
To begin your drawing, establish the central axis of the microphone with a light vertical guideline. Draw a long, thin cylinder for the handle and a circle at the top for the microphone head. Ensure the circle is centered perfectly on the handle to maintain symmetry, which is essential for a professional look.
Once the basic shapes are in place, refine the outline to create a more realistic silhouette. Add a slight taper to the handle where it meets the head, as most handheld microphones feature a tapered neck. Follow these steps to complete the primary structure:
- Sketch a vertical line to serve as the center point.
- Draw a cylinder for the body, approximately three times longer than its width.
- Place a sphere on top, ensuring it slightly overlaps the cylinder.
- Add a small circular base at the bottom for the cable connector.
Best drawing techniques for beginners
Focusing on perspective and volume is the most effective way to make your drawing appear three-dimensional. Use cross-contour lines that wrap around the surface of the cylinder and sphere to suggest their curvature. By varying the pressure of your pencil, you can create soft gradients that mimic the metallic sheen of a microphone.
Shading is critical for defining the form of the mesh head. Because the head is usually a fine wire grid, you should use a cross-hatching technique to suggest texture rather than drawing every individual hole. Keep your shading consistent with a single light source to avoid a flat appearance. Consider these tips to improve your shading:
- Use a 2B pencil for soft shadows and a 4B pencil for deep, dark areas.
- Leave a thin white highlight on the edge of the cylinder to represent reflected light.
- Use a blending stump or a soft cloth to smooth out transitions between light and shadow.
How to add realistic microphone details
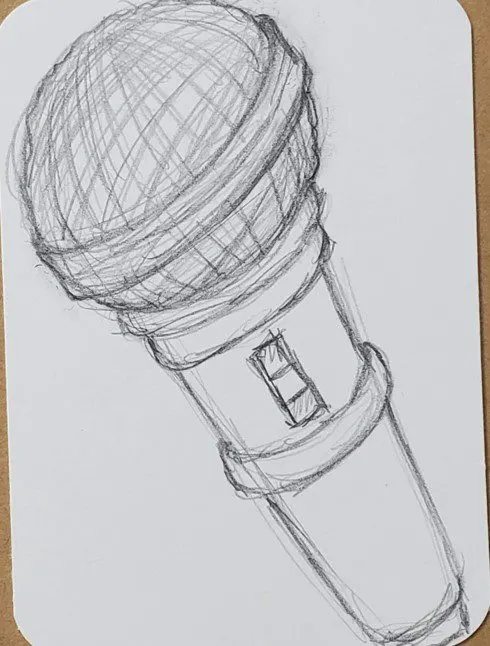
A microphone is not just a simple shape; it is a complex piece of audio equipment with specific functional parts. Adding a toggle switch on the side of the handle provides a sense of scale and realism. Most switches are rectangular with small grooves, which can be rendered with a few precise, dark lines.
The mesh head is the most recognizable feature of a microphone. To draw the mesh convincingly, use a subtle diamond-pattern grid overlaid on your shaded sphere. Ensure the lines of the grid follow the contour of the sphere, becoming tighter and more compressed toward the edges. You can also add a small XLR connector at the base, which features three tiny pins and a circular port, adding a technical element that signifies professional audio gear.
Common mistakes when drawing microphones
One of the most frequent errors is failing to maintain symmetry. A crooked microphone head or a lopsided handle immediately makes the drawing look amateurish. Always check your work by holding the paper at a distance or looking at it in a mirror to spot alignment issues early in the process.
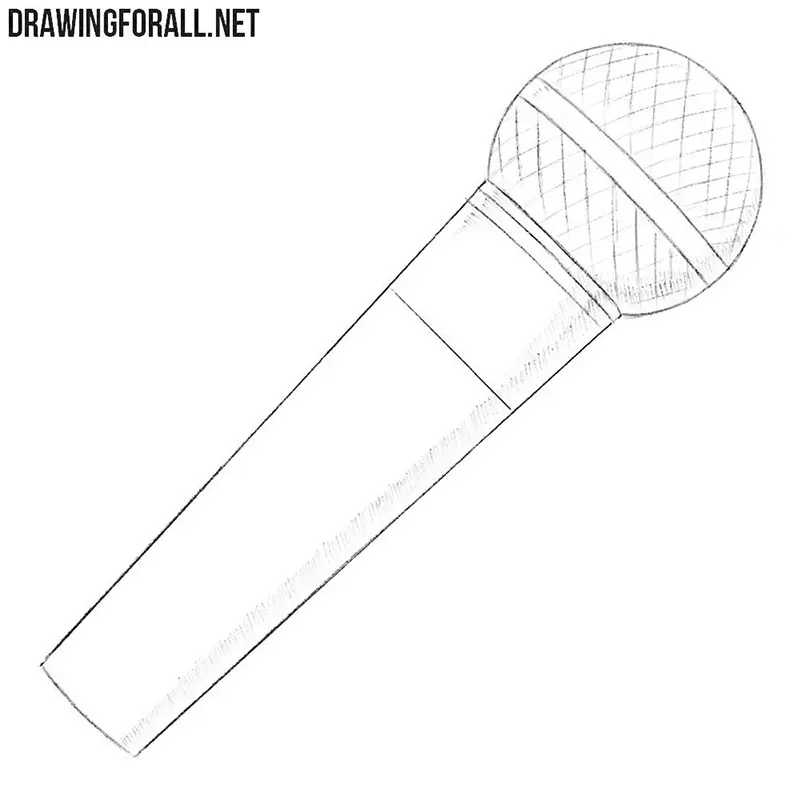
Another common mistake is neglecting the weight and thickness of the microphone. Beginners often draw the handle too thin, making it look fragile rather than sturdy. Additionally, many artists forget to include the slight bevels or rings where the mesh head attaches to the handle. These small transitions are vital for showing how the object is assembled. Avoid these pitfalls by:
- Using a ruler or a compass to ensure your circles and lines are perfectly aligned.
- Checking your proportions against a reference photo of a standard dynamic microphone.
- Avoiding overly heavy outlines that can make the object appear like a cartoon.
Why microphone proportions matter
Proportions are the foundation of a believable drawing. A standard handheld microphone, such as the iconic Shure SM58, has a specific ratio between the size of the head and the length of the handle. If the head is too large, it looks top-heavy; if it is too small, the microphone loses its functional appearance.
Understanding the anatomy of the device helps you draw it from different angles. When drawing a microphone from a side profile, the handle should appear as a rectangle, but when drawing it at an angle, you must use ellipses instead of circles for the top and bottom. Mastering these geometric shifts allows you to place the microphone in a scene, such as in a singer's hand or on a stand. By practicing these spatial relationships, you will develop the ability to draw microphones in any position with confidence and artistic accuracy.
Key facts
- A standard handheld microphone consists of three main parts: the spherical grille, the cylindrical body, and the connector base.
- Use a compass or a circular stencil to ensure the head of the microphone is perfectly symmetrical before adding the mesh pattern.
- The mesh grille is best represented by a cross-hatch pattern of thin, intersecting diagonal lines to suggest depth and texture.
- Always include a slight vertical taper on the body, as professional microphones are rarely perfectly uniform cylinders from top to bottom.
- Adding a subtle highlight along one side of the microphone body creates a metallic sheen, making the object look three-dimensional.
- Avoid drawing the microphone as a flat, two-dimensional shape by using curved lines at the top and bottom to indicate volume.
The bottom line
Drawing a convincing microphone requires breaking the object down into simple geometric forms: a sphere for the head and a cylinder for the handle. By focusing on symmetry, using cross-hatching for the mesh texture, and applying high-contrast shading to simulate a metallic finish, you can achieve a professional result. Practice maintaining consistent proportions to ensure the head does not appear too large for the handle.
People also ask
What is the best pencil grade for sketching technical equipment?
An HB or 2B pencil is ideal because it allows for both light initial construction lines and darker, defined outlines. These grades provide enough contrast to distinguish between structural shapes and final details.
Should I use a ruler for the body of the microphone?
While a ruler helps create straight edges, using a light hand for freehand lines often results in a more natural look. If you struggle with stability, use a ruler to lightly mark the center axis first.
How do I make the microphone look like it is made of metal?
Use high-contrast shading by leaving a thin strip of white space on one side of the cylinder to represent a reflection. Darken the opposite side significantly to suggest the weight and density of steel.
What is the most common mistake when drawing the grille?
Beginners often draw the grid lines too thick, which makes the microphone look like a cartoon. Use very fine, delicate strokes to mimic the look of thin wire mesh.
How do I draw the cable attached to the microphone?
Draw the cable as a loose, flowing "S" curve starting from the base of the handle. Adding a small, rectangular XLR connector where the cable meets the microphone adds technical accuracy.
Is it better to draw the microphone from the side or the front?
A slight three-quarter angle is most visually interesting because it shows both the circular top of the grille and the length of the body. This perspective provides the most information to the viewer.
This answer was created with the help of AI research tools and reference sources. Spotted an error? Let us know — we correct mistakes quickly. See our editorial policy.