What are easy things to draw?
Short answer
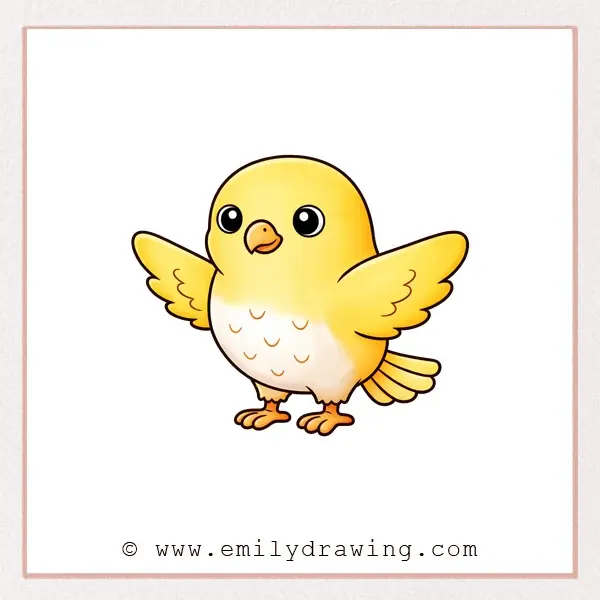
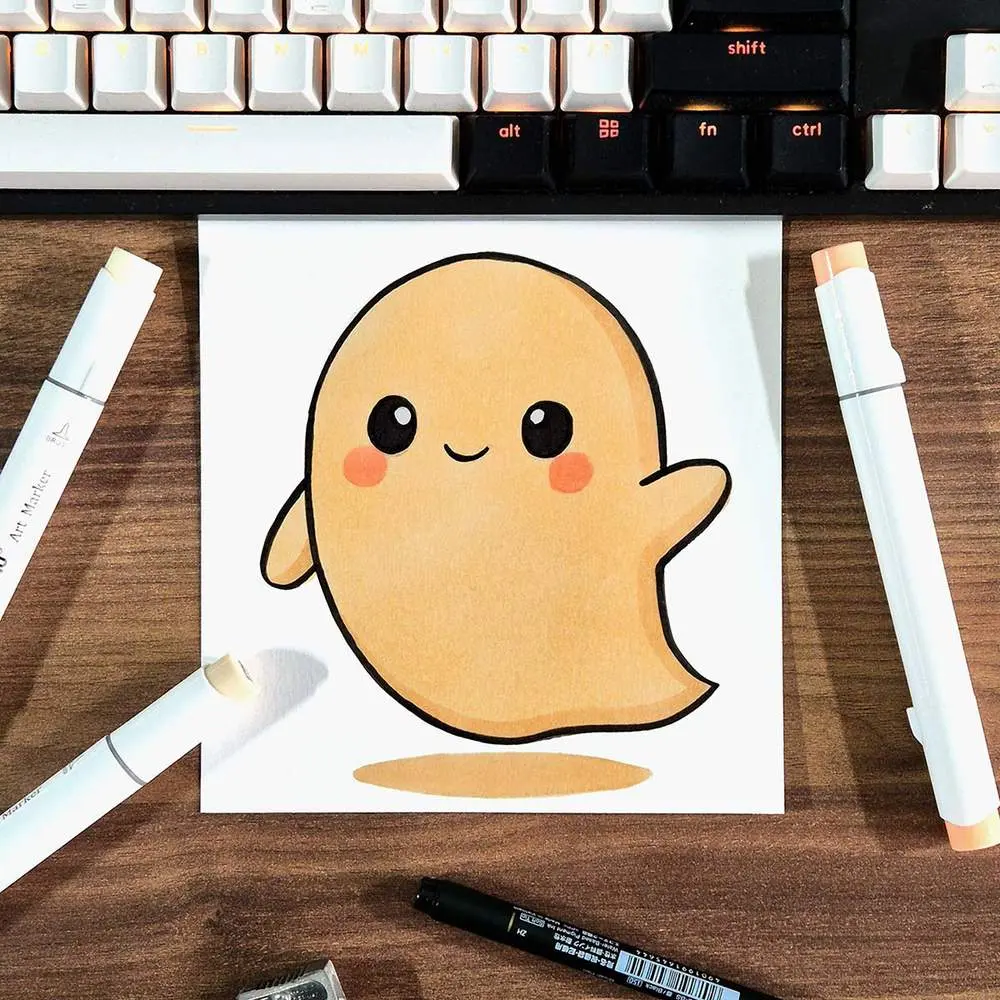
Drawing simple subjects is the best way to build confidence and muscle memory. Focus on basic geometric shapes like circles, squares, and triangles, which serve as the foundation for complex objects. Popular easy subjects include fruit, household items, plant life, and stylized animals, all of which require minimal equipment and practice.
On this page
What are easy things to draw for beginners?
Starting with simple, recognizable objects allows you to practice line quality and shading without the pressure of achieving perfect realism. Common subjects like a piece of fruit, a coffee mug, or a houseplant offer clear shapes that are easy to break down into smaller components. By focusing on these mundane items, you learn to observe how light interacts with surfaces and how to represent three-dimensional volume on a two-dimensional plane.
When selecting your first subjects, look for items with distinct silhouettes. A rounded apple or a cylindrical glass provides a perfect exercise in contour drawing. Once you master the basic outline, you can experiment with cross-hatching or blending to suggest depth. These exercises are not about creating a masterpiece but about training your eye to see the world in terms of geometry.
- Apples or oranges
- Coffee mugs or tea cups
- Simple potted succulents
- Books or rectangular boxes
- A slice of pizza
How to draw simple shapes and forms?
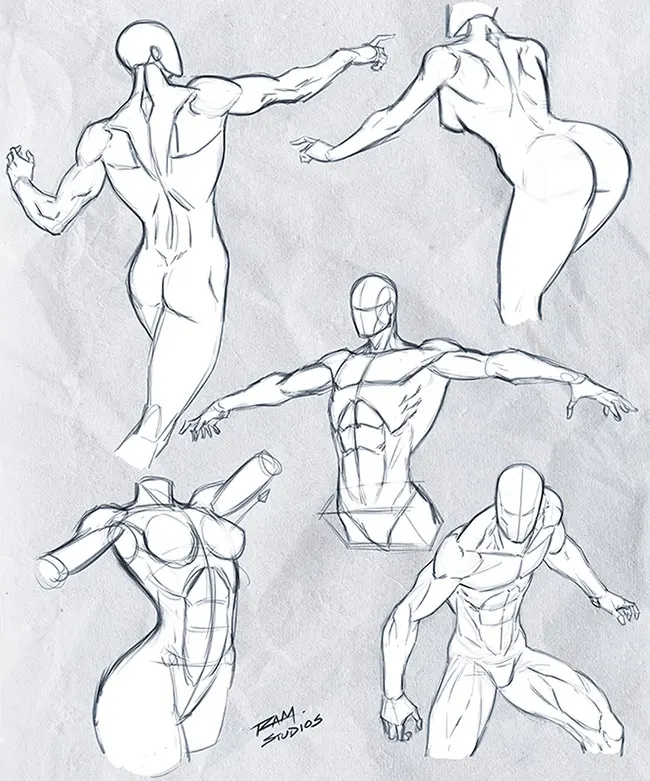
Every complex drawing is essentially a collection of basic shapes. Before attempting a portrait or a landscape, practice sketching circles, squares, and triangles until you can draw them fluidly without relying on a ruler or compass. This skill is vital because most objects in the natural world can be simplified into these foundational forms. By visualizing a bicycle as a series of circles and lines, you remove the intimidation factor of the overall composition.
Follow these steps to practice your foundational sketching:
- Draw a light, loose circle on your paper to represent the head of an animal.
- Add a rectangle below it to serve as the torso.
- Connect these shapes with fluid lines to form limbs.
- Refine the edges by erasing the internal lines and adding details like eyes or ears.
- Practice this method with different subjects to build your spatial awareness.
Best tools for drawing practice?
You do not need expensive materials to start drawing effectively. A standard HB graphite pencil and a basic sketchbook are sufficient for most beginners. Graphite pencils are categorized by hardness, with "H" pencils being harder and lighter, and "B" pencils being softer and darker. Starting with an HB or a 2B pencil provides a good balance of darkness and erasability, allowing you to sketch freely without worrying about permanent mistakes.
In addition to your pencil, keep a white vinyl eraser and a sharpener nearby. Avoid using the small pink erasers often found on the ends of pencils, as they can smudge the graphite and damage the paper surface. A high-quality kneaded eraser is also an excellent tool because it can be molded into specific shapes to lift graphite off the page gently. This allows you to create highlights or soften lines without leaving messy residue behind.
Common mistakes when learning to draw?
One of the most frequent errors beginners make is pressing too hard with the pencil. Heavy pressure creates dark, indented lines that are difficult to erase and often look harsh on the page. Instead, keep your grip loose and relaxed, allowing the weight of the pencil to do the work. If you find your hand cramping, you are likely gripping the tool too tightly, which restricts your range of motion and makes your lines look stiff.
Another common mistake is attempting to draw too much detail too early. Beginners often focus on individual features, like drawing an eye or a leaf in isolation, rather than looking at the overall proportions of the subject. Always sketch the "gesture" or the general shape of the object first. If the basic proportions are incorrect, no amount of shading or fine detail will make the drawing look accurate. Focus on the big picture before zooming in on the small details.
How long does it take to get better?
Improvement in drawing is a cumulative process that depends more on consistency than on natural talent. Spending just 15 to 20 minutes each day sketching simple objects is far more effective than practicing for several hours once a week. This daily habit builds muscle memory in your hand and improves your observational skills over time. Within a few weeks of consistent practice, you will notice that your lines become smoother and your ability to replicate shapes improves significantly.
Tracking your progress is an excellent way to maintain motivation. Keep all your sketches in a single notebook so you can look back at your early work after a month or two. You will likely be surprised by how much your control and confidence have grown. Remember that every artist, regardless of their skill level, began by drawing simple, imperfect shapes. Embrace the learning process, remain patient with yourself, and continue to explore new subjects as your comfort level increases with each passing day.
Key facts
- Start with basic geometric shapes like circles, squares, and triangles to build complex objects.
- Focus on drawing from observation rather than memory to improve your accuracy and hand-eye coordination.
- Use a light touch with your pencil initially so you can easily erase and adjust your lines.
- Practice drawing simple organic forms like leaves, stones, or fruit to understand natural contours.
- Keep a dedicated sketchbook to track your progress and revisit previous drawings for improvement.
- Limit your initial drawing sessions to 15 or 20 minutes to prevent frustration and maintain focus.
The bottom line
Drawing is a skill developed through consistent practice and observation of the world around you. By starting with simple geometric shapes and focusing on the fundamentals of light and shadow, you can build a strong foundation. Avoid the pressure of perfectionism by embracing your early mistakes as essential steps in your growth. With patience and daily effort, your ability to translate visual reality onto paper will steadily improve.
People also ask
How do I overcome the fear of making mistakes on a blank page?
View every mark as a learning opportunity rather than a final product. Remind yourself that even professional artists use erasers and often discard multiple sketches before completing a final piece.
What is the best pencil type for beginners?
An HB pencil is the standard choice because it offers a balance between hardness and softness. It is dark enough to be visible but light enough to be easily erased during the sketching phase.
Should I use a ruler for straight lines?
Avoid using a ruler when you are first learning to draw. Freehand lines help you develop muscle memory and a more natural, fluid artistic style over time.
How can I make my drawings look three-dimensional?
Apply basic shading by identifying where the light source is hitting your object. Adding a darker value on the side opposite the light source creates depth and volume.
Is it better to draw from photos or real life?
Drawing from real life is superior because it allows you to see depth, texture, and light in three dimensions. Photos flatten images, which can make it harder to understand how objects occupy space.
How often should I practice to see improvement?
Consistency is more important than duration, so aim for short daily sessions. Even 10 minutes of focused drawing every day will yield faster results than one long session once a week.
This answer was created with the help of AI research tools and reference sources. Spotted an error? Let us know — we correct mistakes quickly. See our editorial policy.
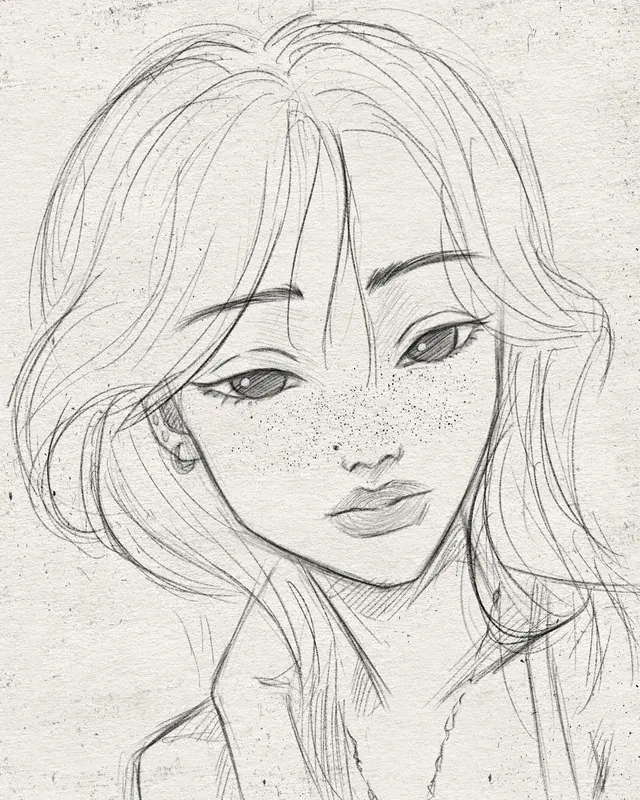
![For beginners] This is actually a crucial part! Review the techniques for drawing noses!](/img/e4/how-do-you-draw-a-nose-for-beginners-1.webp)