How do you draw a maple tree?
Short answer
Drawing a maple tree involves capturing its distinct, broad canopy and iconic palmate leaves. Start by sketching a sturdy, slightly tapered trunk that branches into a wide, rounded silhouette. Focus on the jagged, five-lobed leaf structure and the tree’s characteristic dense foliage to create a realistic and recognizable botanical illustration.
On this page
How to structure the maple tree trunk and branches
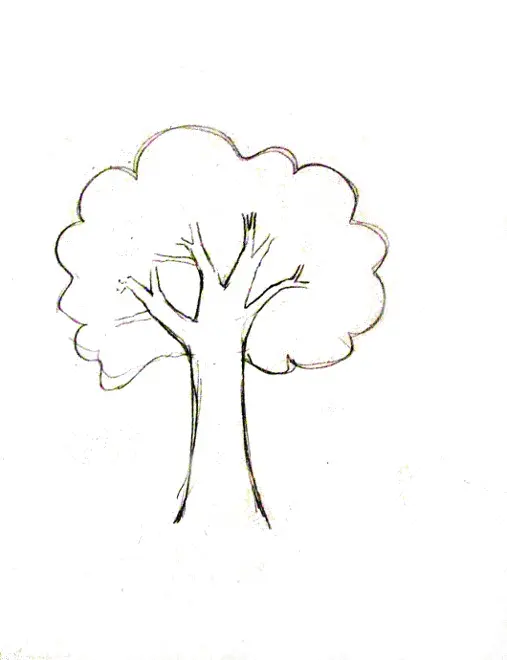
The foundation of a realistic maple tree begins with the trunk and primary branch architecture. Maples, particularly the Sugar Maple (Acer saccharum), typically feature a strong, upright central leader that splits into large, ascending limbs. Begin by drawing a vertical line for the trunk, adding thickness at the base to suggest stability. As you draw the branches, ensure they reach outward and upward in a "Y" shape, mimicking the natural growth habit of the tree.
Avoid drawing perfectly straight lines, as nature rarely produces uniform geometry. Instead, use slight curves and subtle irregularities to represent the bark’s texture and the weight of the limbs. When branching, follow these steps:
- Sketch the main trunk with a slight taper toward the top.
- Add primary branches that emerge at alternating angles rather than directly opposite one another.
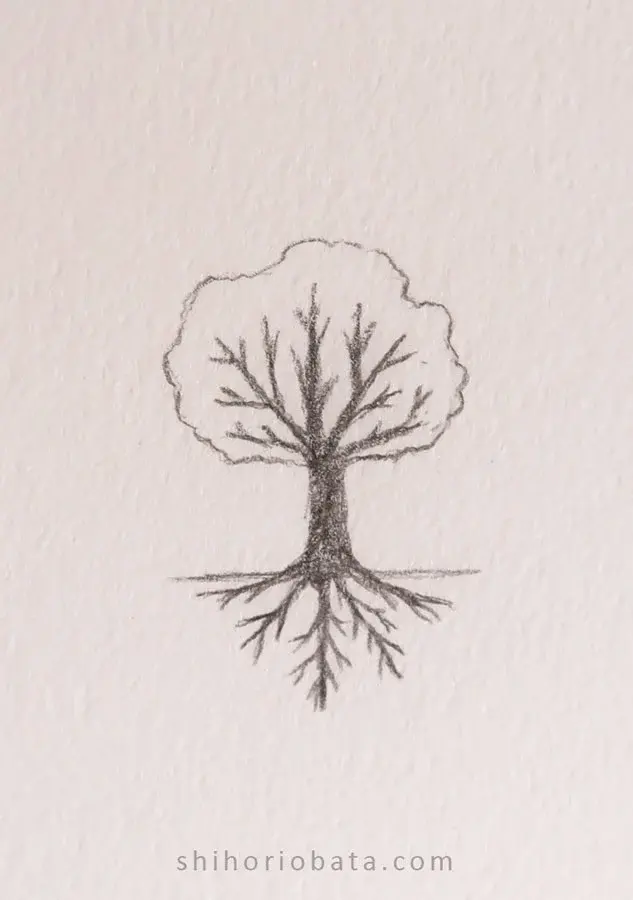
- Subdivide these into smaller, thinner twigs to create a dense framework for your foliage.
How to draw the distinct maple leaf shape
The maple leaf is the tree's most recognizable feature, defined by its palmate shape and sharp, serrated edges. Most common species possess five distinct lobes that radiate from a central point at the base of the leaf stem, or petiole. To draw one, start by sketching a simple pentagon or a star shape as a guide. From this guide, refine the edges into jagged, triangular points, ensuring the central lobe is the most prominent.
Pay close attention to the veins, as they provide the structural integrity of the leaf. Draw a main vein extending into each of the five lobes, with smaller secondary veins branching out toward the serrations. This level of detail transforms a simple shape into an accurate botanical representation. Keep your pencil strokes light initially, as the fine, pointed tips of the leaves are best defined with a sharp point or a fine-liner pen after the general silhouette is established.
How to create the canopy and foliage volume
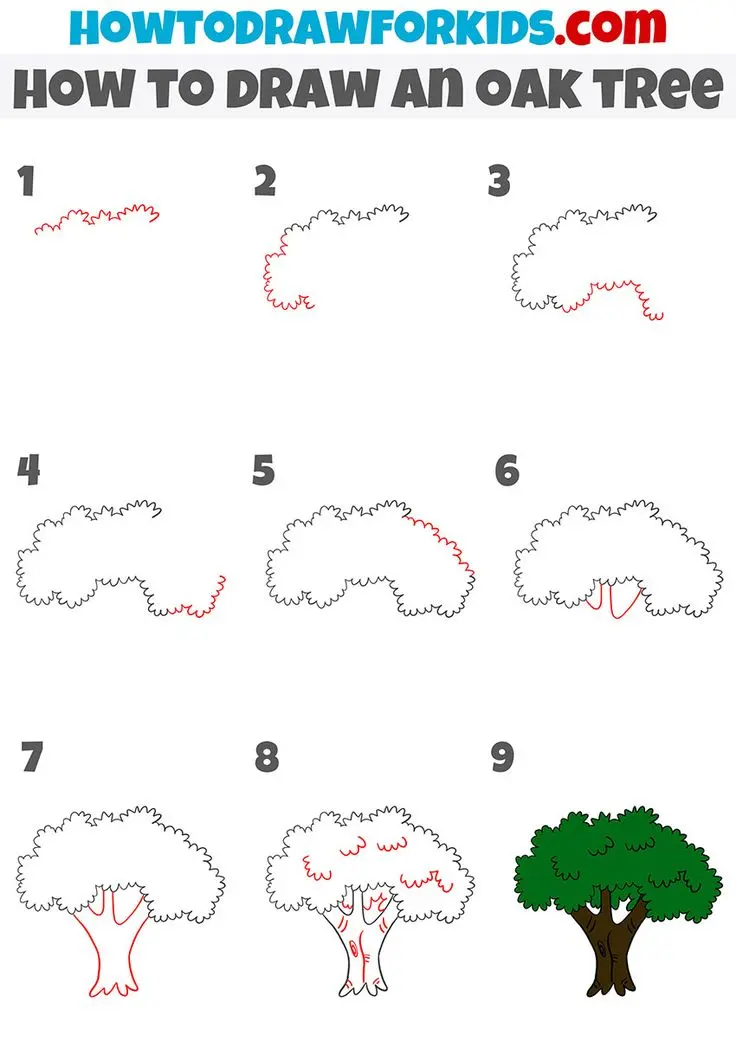
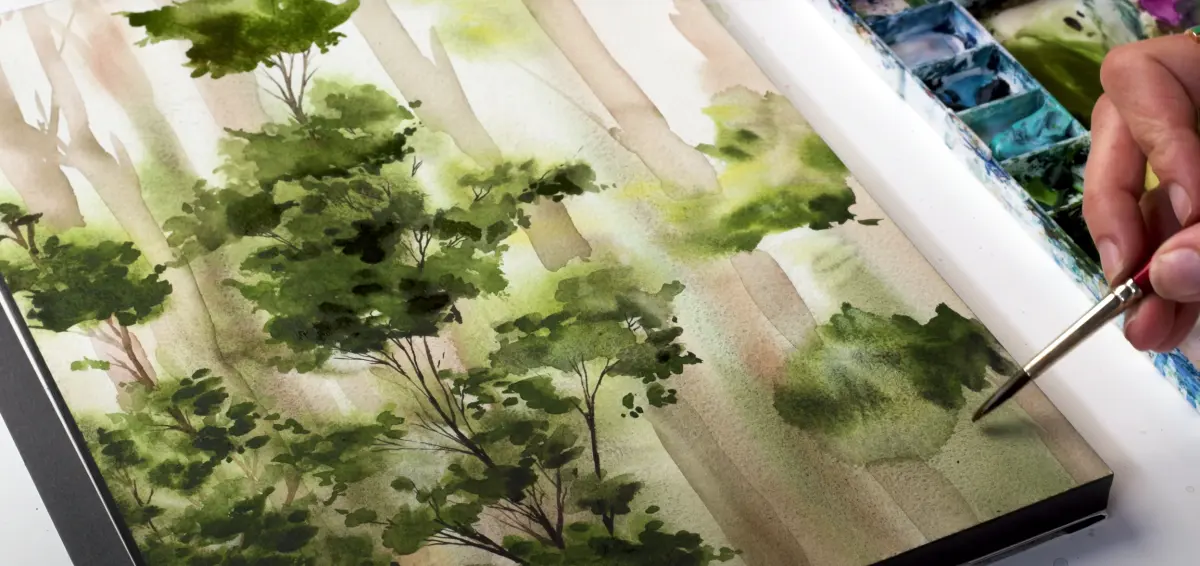
A maple tree is known for its dense, rounded, or oval canopy. Rather than drawing individual leaves for every part of the tree, treat the foliage as a series of interconnected, cloud-like clusters or "clumps." This technique, often used by landscape artists, prevents the drawing from looking cluttered while maintaining the illusion of thousands of leaves. Focus on the outer edges of the canopy, where the silhouette should remain somewhat irregular and bumpy.
Use varying levels of pressure to suggest depth within the canopy. The areas facing the light source should remain lighter, while the undersides of the foliage clumps should be shaded to create a three-dimensional effect. Consider these tips for a natural look:
- Use circular or stippling motions to suggest the texture of leaves rather than drawing outlines.
- Leave small gaps between foliage clusters to show glimpses of the sky and the branch structure behind.
- Vary the size of your foliage clumps to avoid a repetitive, unnatural pattern across the canopy.
Best shading techniques for realistic depth
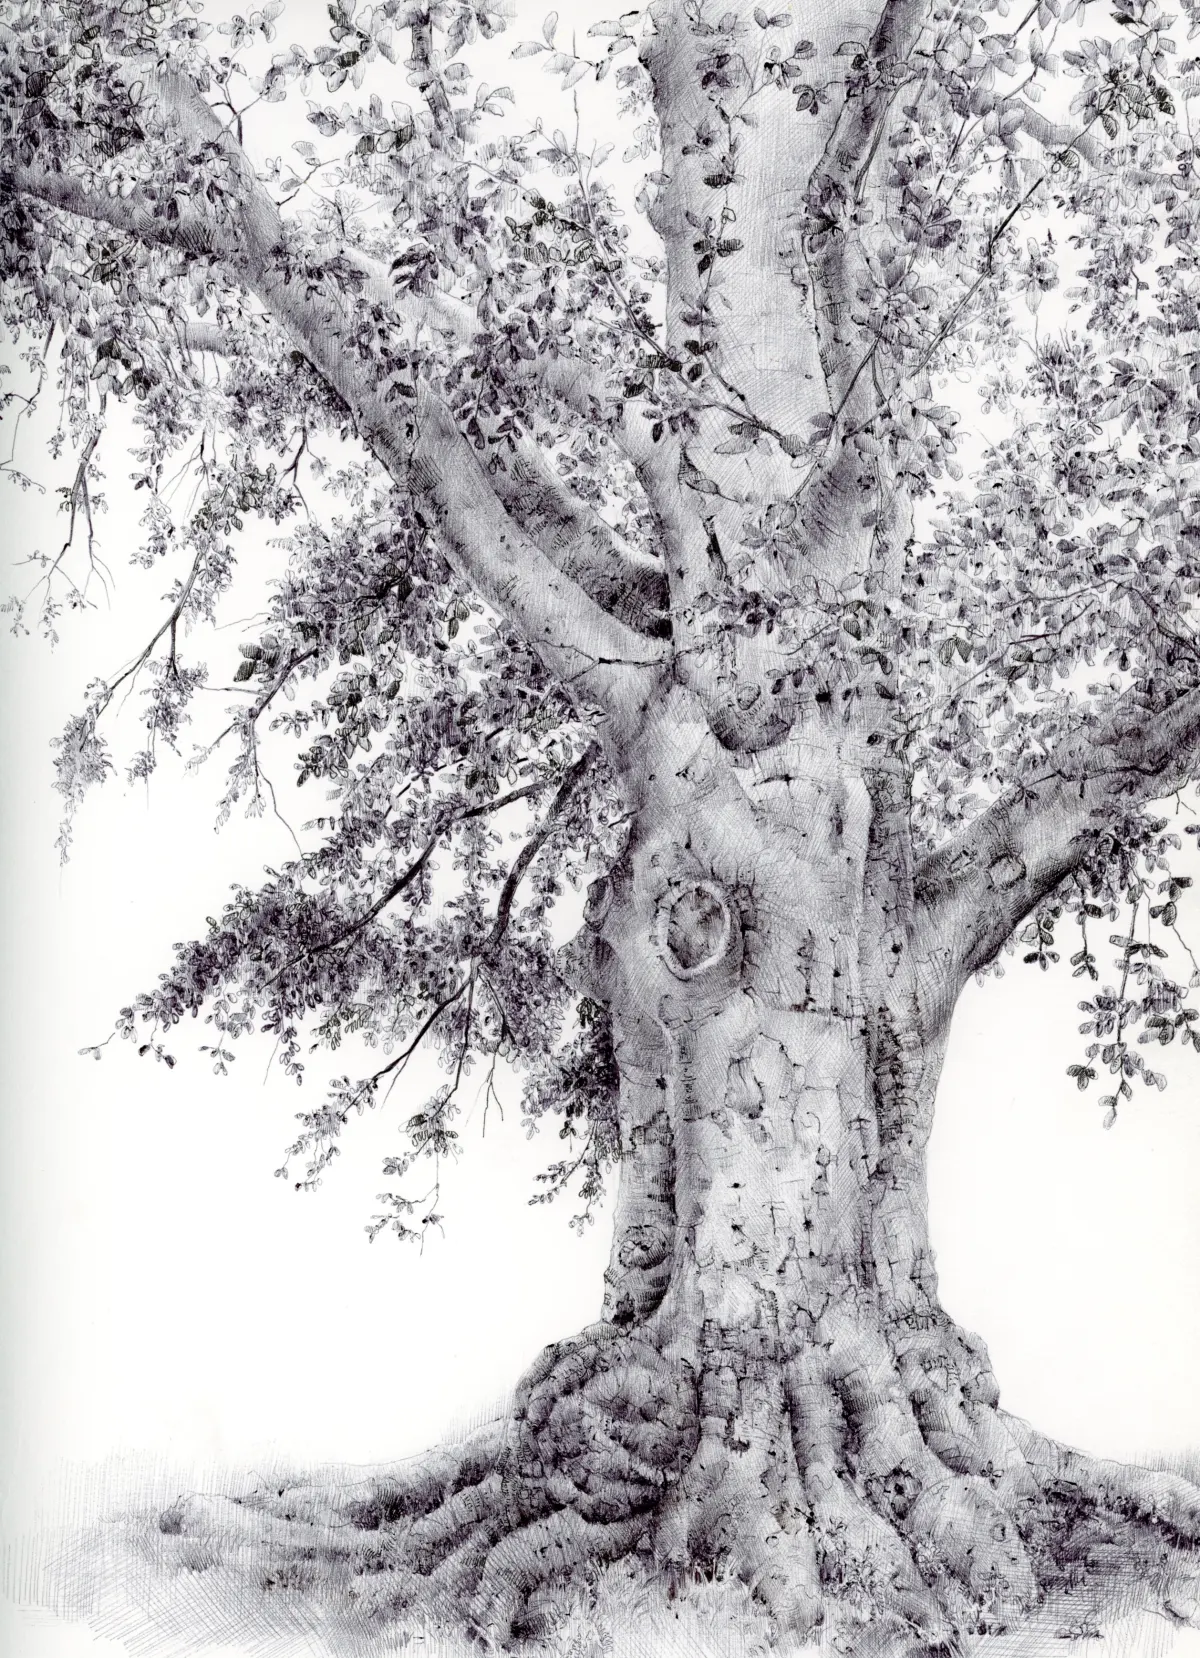
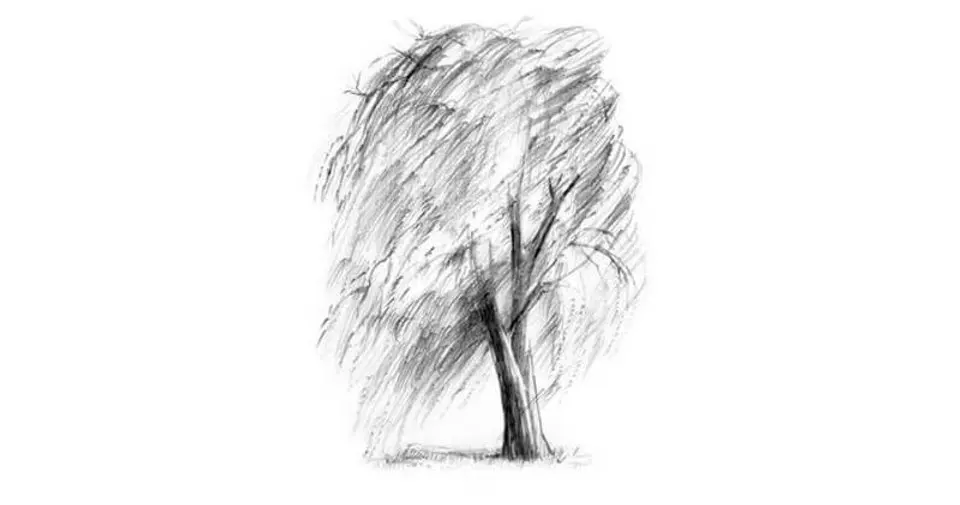
Shading is essential for giving your maple tree mass and volume. Start by identifying a consistent light source, such as the upper right or left corner of your paper. Apply shadows on the opposite side of the trunk and beneath the major foliage clusters. For the bark, use vertical, hatched lines that follow the cylindrical shape of the trunk, which helps convey its rough, furrowed texture.
When shading the leaves, avoid coloring them in a solid block. Instead, apply shadow to the lower portions of each foliage cluster, leaving the top surfaces brighter to reflect sunlight. If you are working in color, use a range of greens—from deep forest green in the shadowed areas to vibrant lime or yellow-green on the highlights. This contrast is what makes the tree look three-dimensional rather than flat. If working in graphite, focus on a full range of values, from deep, dark charcoal in the core shadows to light, silvery grays on the sun-drenched leaves.
Common mistakes when drawing maple trees
One of the most frequent errors is creating a tree that looks too symmetrical or perfectly round. Real maple trees have chaotic, organic growth patterns; if one side of the tree looks exactly like the other, it will appear artificial. Another mistake is drawing every single leaf, which often leads to a messy, confusing image that lacks a clear focal point. Focus on the overall shape of the canopy first, and only add detail to the leaves that are closest to the viewer.
Finally, beginners often neglect the relationship between the branches and the leaves. Ensure that the branches actually appear to support the weight of the foliage. If the canopy looks like it is floating above the trunk, your drawing will lack physical credibility. Always ensure that the thickest branches connect firmly to the trunk and that the smaller twigs extend into the heart of the leaf clusters. By maintaining these structural connections, your drawing will achieve a sense of balance and natural realism that captures the true essence of a maple tree.
Key facts
- Maple trees are characterized by their iconic palmate leaves, which typically feature three to five distinct lobes.
- The trunk of a mature maple is often thick and sturdy, with bark that may be smooth in young trees or deeply furrowed in older specimens.
- When sketching, establish the overall silhouette first, as maples often have a broad, rounded, or oval canopy shape.
- Use a "star" or "hand" pattern as a base guide to accurately draw the five-pointed structure of a classic sugar maple leaf.
- Avoid drawing every single leaf; instead, suggest clusters by using irregular, cloud-like outlines to represent the dense canopy mass.
- Add depth to the bark by using vertical, jagged lines rather than uniform horizontal strokes to mimic the natural texture of the wood.
The bottom line
To draw a convincing maple tree, prioritize the overall structure over minute details. Begin by sketching the broad, rounded canopy and the sturdy, textured trunk. Use irregular, cloud-like shapes to suggest foliage density, and apply varied shading to create depth. By focusing on the characteristic palmate leaf shape and the tree’s natural, asymmetrical branching, you can create a realistic representation that captures the essence of the species.
People also ask
What is the best pencil grade for sketching tree bark?
Use a 4B or 6B graphite pencil to achieve the dark, rich tones necessary for deep bark crevices. Harder pencils like an HB are better suited for light initial outlines and structural mapping.
How do I make a maple tree look three-dimensional?
Focus on light source consistency by shading the side of the trunk opposite the sun. Apply darker values to the underside of leaf clusters to create a sense of volume and depth.
Should I draw individual leaves on a large tree?
Drawing every leaf will make the tree look cluttered and unrealistic. Focus on outlining the overall shape of the foliage masses and only detail individual leaves near the edges or foreground.
What is the most common mistake when drawing maple branches?
Many beginners draw branches that are too straight or symmetrical. Maple branches grow in an irregular, spreading pattern, so incorporate subtle bends and varying thicknesses to reflect natural growth.
How do I draw the trunk transition into the roots?
Flare the base of the trunk outward where it meets the ground to create a stable look. Add a few visible, knobby root structures that partially disappear into the soil.
Are all maple leaves the same shape?
No, maple species vary significantly; for example, the Japanese maple has delicate, deeply dissected leaves, while the sugar maple has broader, blunter lobes. Research the specific variety to match the leaf shape to the tree’s silhouette.
This answer was created with the help of AI research tools and reference sources. Spotted an error? Let us know — we correct mistakes quickly. See our editorial policy.