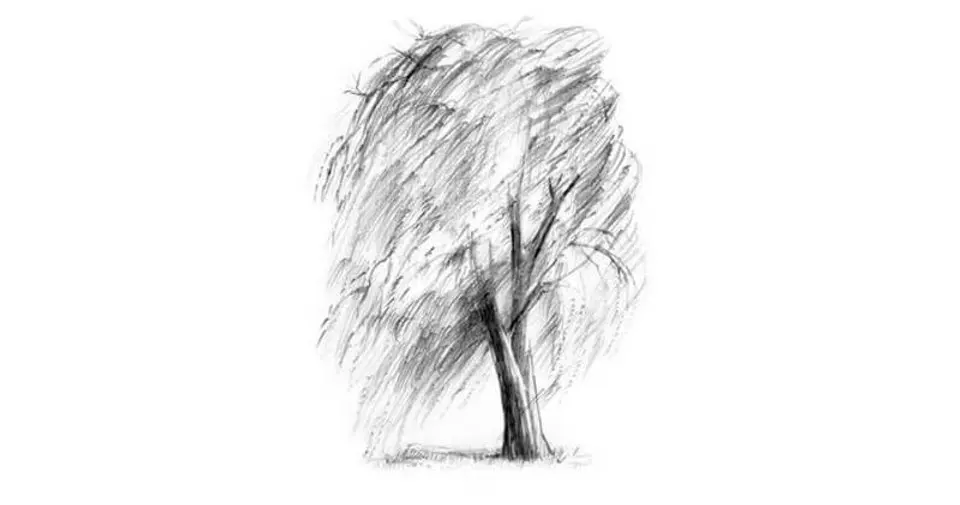
How do you draw trees in a landscape?
Short answer
Drawing trees requires observing the underlying structure of the trunk and branches before adding foliage. By breaking the tree into simple geometric shapes—cylinders for trunks and spheres or clouds for leaf masses—you create a realistic foundation. Focus on light direction to define shadows and depth, ensuring the tree integrates naturally into the landscape.
On this page
How to structure a tree drawing
Every tree has a unique skeletal framework that dictates its appearance. Before focusing on leaves or texture, visualize the tree as a series of interconnected cylinders and cones. The trunk is the primary pillar, while branches emerge at alternating angles, tapering in thickness as they extend outward. This structural approach prevents the common error of drawing branches that look like flat, two-dimensional lines.
To build this framework effectively, follow these steps:
- Sketch a vertical line to establish the trunk’s gesture and lean.
- Add simple cylinders around the line to give the trunk volume.
- Map out the main branch structure, ensuring they grow from the trunk at varied intervals.
- Use light, loose lines to define the outer silhouette of the foliage masses.
By establishing this core, you ensure the tree has a logical center of gravity and a believable connection to the ground.
How to render tree foliage correctly
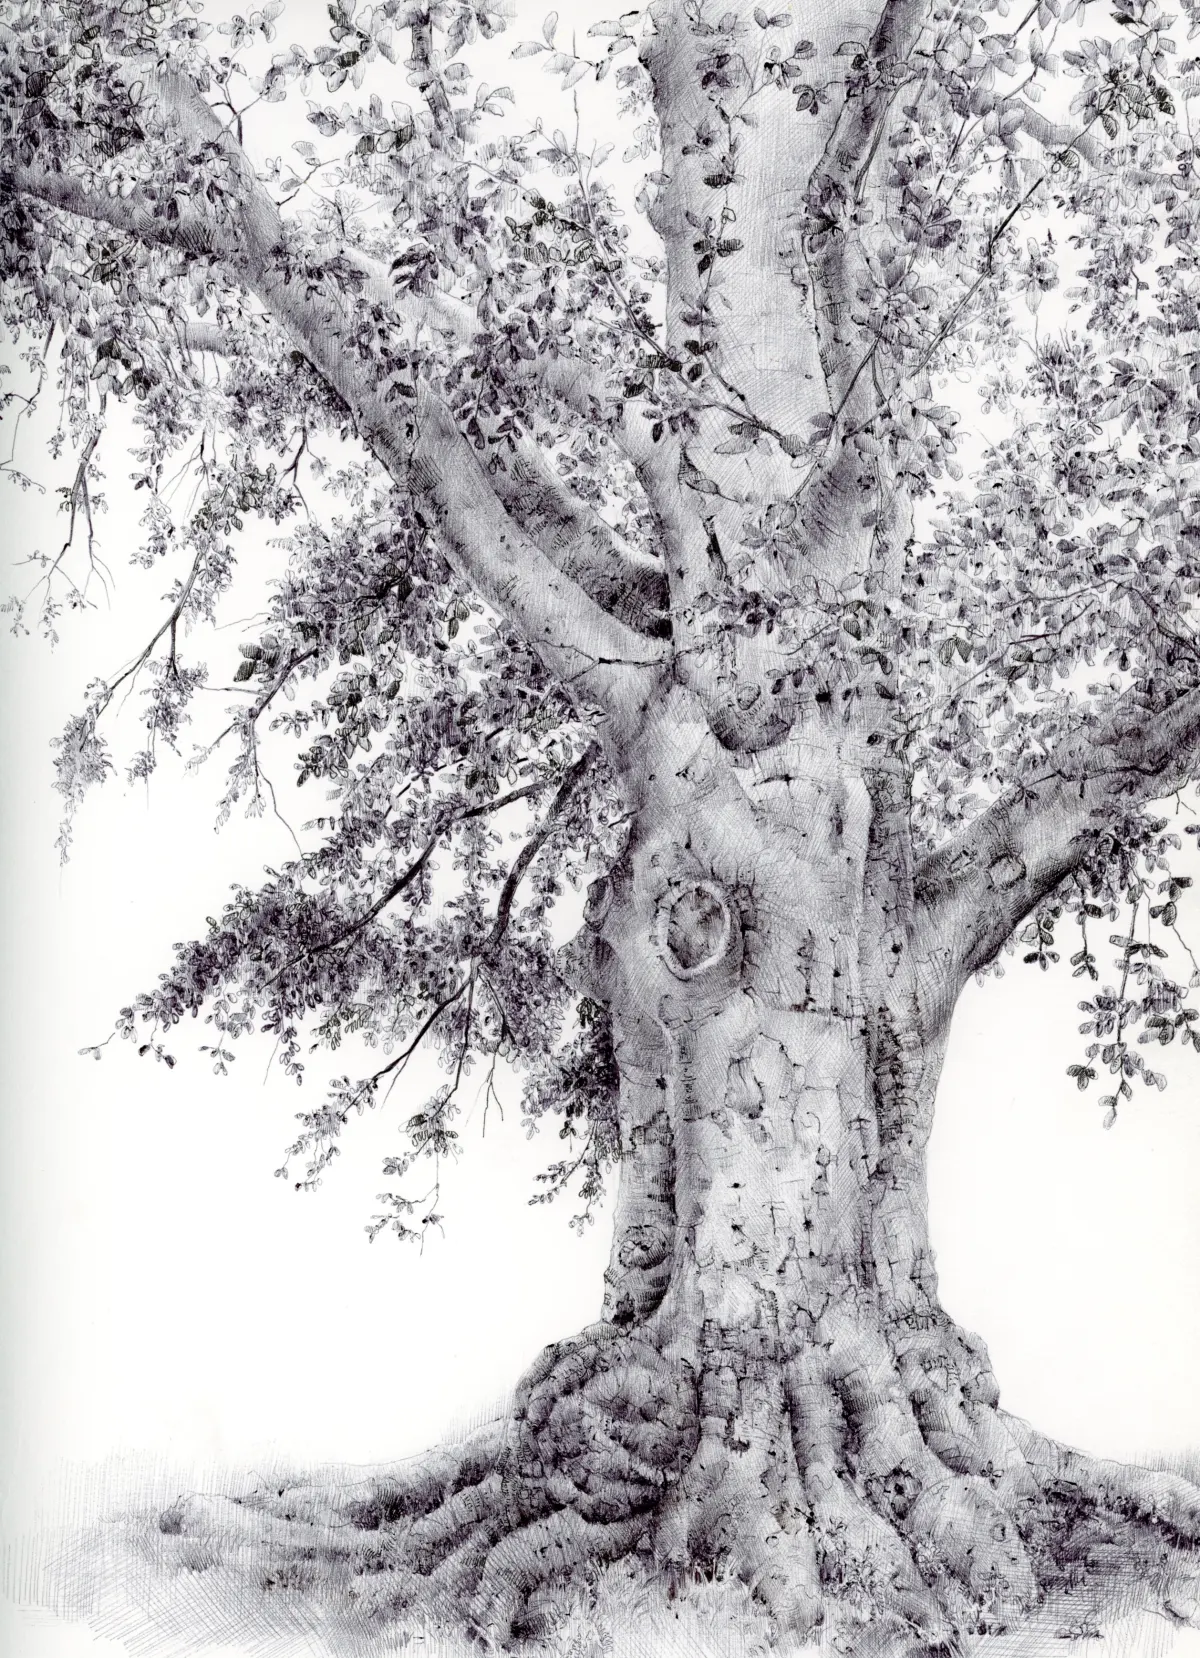
Foliage should not be drawn as individual leaves, which often leads to a cluttered and unnatural appearance. Instead, treat the leaf canopy as clusters or "clouds" of volume. Observe how light hits the tree, creating highlights on the upper surfaces and deep shadows within the interior pockets of the canopy. Use a variety of mark-making techniques, such as stippling or soft scribbles, to suggest the texture of leaves without detailing every single one.
When rendering these masses, keep the following principles in mind:
- Group leaves into distinct shapes to create clear contrast between light and shadow.
- Keep the edges of your foliage clusters soft to suggest movement and airiness.
- Leave small gaps of sky visible through the branches to add depth and realism.
By focusing on the silhouette and the play of light across these clusters, you create the illusion of density and complexity.
Best tools for drawing trees
The choice of medium significantly influences the final texture of your landscape. Graphite pencils are ideal for beginners because they allow for a wide range of values, from light, wispy highlights to deep, dark shadows in the branch crotches. Charcoal is excellent for larger, more expressive drawings where you want to emphasize the dramatic weight and mass of old-growth trees. For those seeking precision, fine-liner pens offer a way to create intricate, crisp textures on bark and leaves.
Regardless of the tool, the key is varying your pressure. Use a light touch for the outer edges of the canopy to maintain a soft look, and press firmly to ground the tree with dark shadows at the base. Combining tools can also be effective; for instance, using a hard pencil for the initial structural sketch and a softer lead for the final shading provides a professional level of contrast.
Why tree perspective matters in landscapes
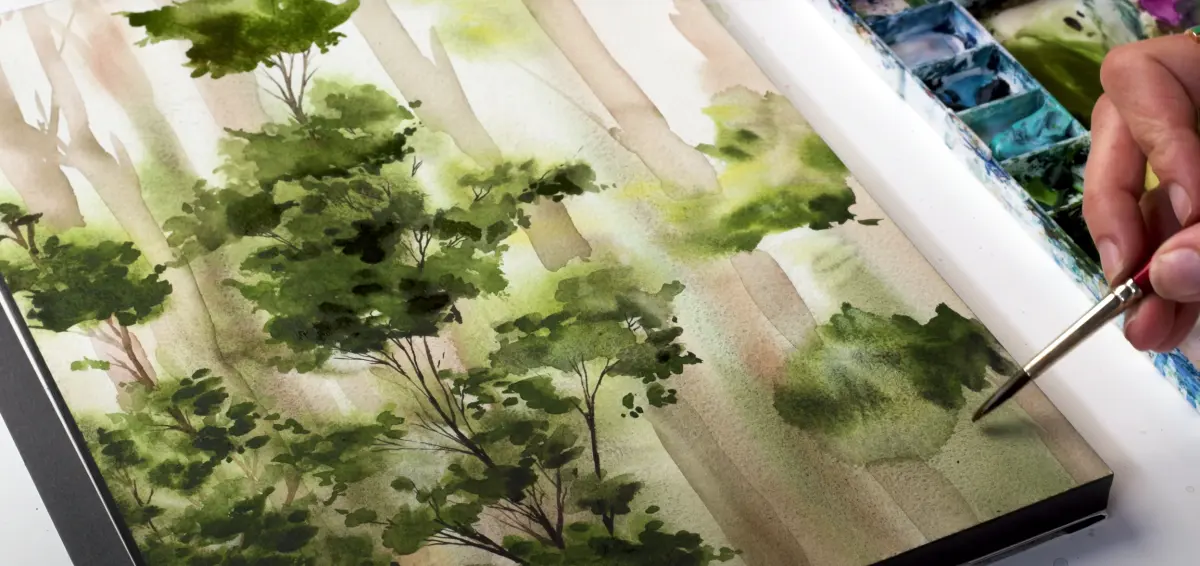
In a landscape drawing, trees serve as essential indicators of distance and scale. As objects move further into the background, their details become less defined and their values shift toward lighter, grayer tones. A tree in the foreground should have high contrast, distinct bark texture, and clear branch separation. Conversely, a tree in the distance should be rendered with softer edges and less internal detail to mimic the effects of atmospheric perspective.
To maintain correct spatial relationships, consider the following:
- Place trees at different heights on the horizon line to suggest varying distances.
- Use smaller, less detailed shapes for trees located near the vanishing point.
- Overlap trees to create a sense of depth, with foreground trees partially obscuring those behind them.
These techniques prevent the landscape from looking flat and help the viewer navigate the depth of the scene.
Common mistakes when drawing trees
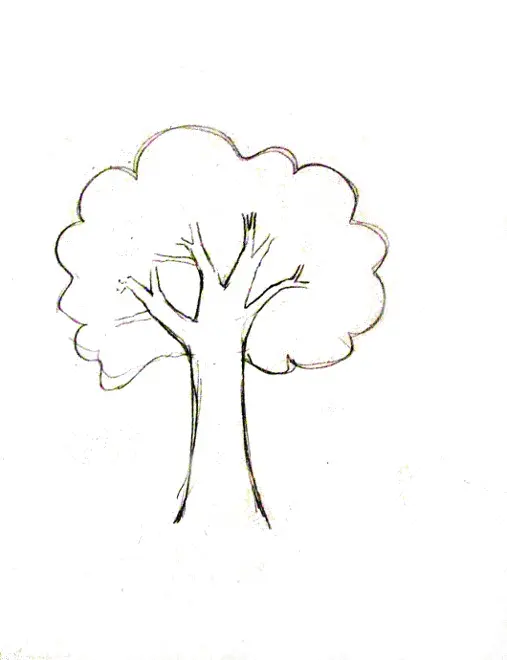
One of the most frequent errors is the "lollipop tree," where a thin, straight trunk supports a perfectly round, uniform ball of leaves. This lacks the organic irregularity found in nature. Another mistake is drawing branches that appear to grow out of the front or back of the trunk rather than from the sides, which destroys the three-dimensional illusion. Additionally, beginners often neglect the ground plane, leaving the tree looking as if it is floating rather than rooted in the soil.
To improve your results, avoid these pitfalls:
- Avoid perfectly symmetrical branch patterns, as nature is inherently asymmetrical.
- Do not outline every single leaf, as this creates a cartoonish effect.
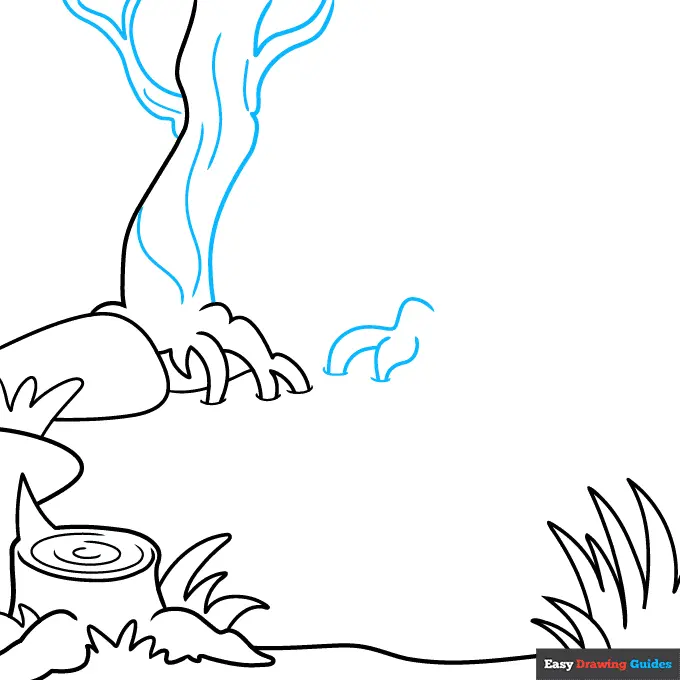
- Ensure the base of the trunk widens as it meets the ground, representing the root flare.
By observing real trees and focusing on the interplay of light, shadow, and irregular organic forms, you can create drawings that feel authentic and grounded.
Key facts
- Use a light touch with your pencil to establish the overall silhouette before adding internal detail.
- Trees are rarely perfectly symmetrical; observe the natural asymmetry caused by wind and light exposure.
- Group foliage into clusters rather than drawing every individual leaf to create a sense of volume.
- Vary the thickness of your branches, ensuring they taper as they extend further from the trunk.
- Use a darker value on the underside of branches and foliage masses to suggest depth and shadow.
- Study the "gesture" of the tree, noting whether it has an upright, weeping, or spreading growth pattern.
The bottom line
Drawing effective trees in a landscape requires moving away from symbolic representations toward observing actual light and volume. By establishing a strong skeletal structure first, grouping foliage into manageable masses, and applying consistent shading, you create depth and realism. Remember that less is often more; suggesting texture through varied strokes is far more impactful than attempting to render every leaf on a complex, living organism.
People also ask
Should I draw the trunk or the leaves first?
Start by sketching the trunk and major boughs to establish the tree's structure and balance. Once the skeletal framework is set, you can layer the foliage clusters around those branches.
How do I make a tree look three-dimensional?
Focus on light source consistency by shading one side of the trunk and the undersides of leaf clusters. Using a full range of values, from deep shadows to bright highlights, creates the illusion of form.
Why does my tree look like a flat cutout?
This usually happens when you outline every leaf or ignore the overlapping of branches. Create depth by allowing some branches to pass behind foliage masses and others to emerge in front.
What is the best way to represent different tree species?
Observe the branching angle and leaf shape characteristic of the species, such as the verticality of a poplar versus the horizontal spread of an oak. Adjusting your stroke texture—jagged for pine, soft for willow—helps define the species.
How much detail is too much?
Avoid drawing every single leaf, as this creates visual clutter and flattens the image. Focus on the general shape of the canopy and use texture only in areas where the light hits the edges.
How do I draw trees in the distance?
Distant trees should have less contrast, softer edges, and lighter values compared to foreground elements. Simplify the shapes significantly, treating the canopy as a single, muted silhouette rather than individual parts.
This answer was created with the help of AI research tools and reference sources. Spotted an error? Let us know — we correct mistakes quickly. See our editorial policy.