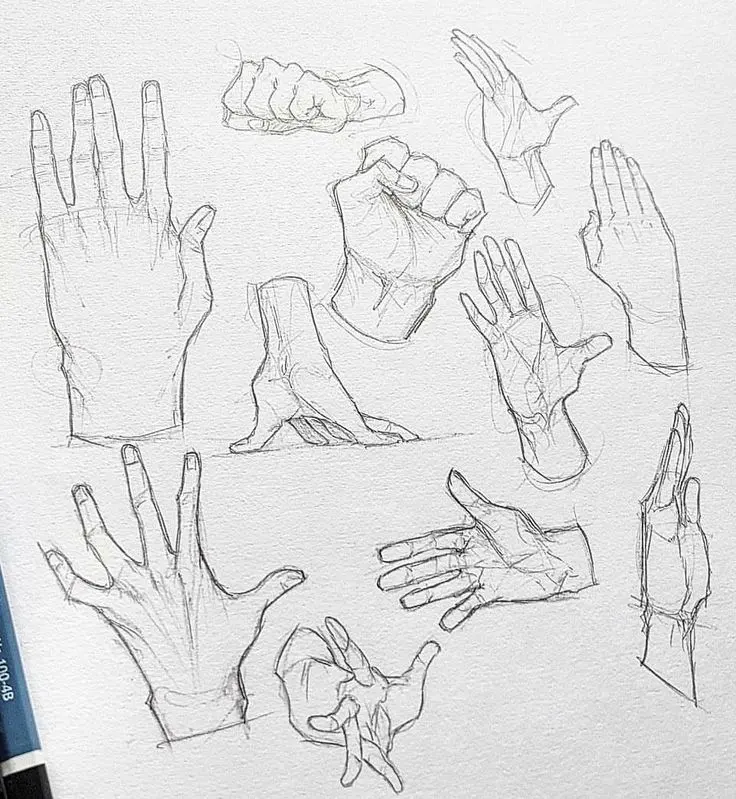
How do you draw a hand reaching out?
Short answer
Drawing a hand reaching out requires mastering foreshortening, where the fingers appear larger and closer than the palm. Begin by visualizing the hand as a box or wedge shape, then map the finger joints using simple cylinders. Focus on overlapping forms to create depth and emphasize the perspective shift toward the viewer.
On this page
How to structure the hand for perspective
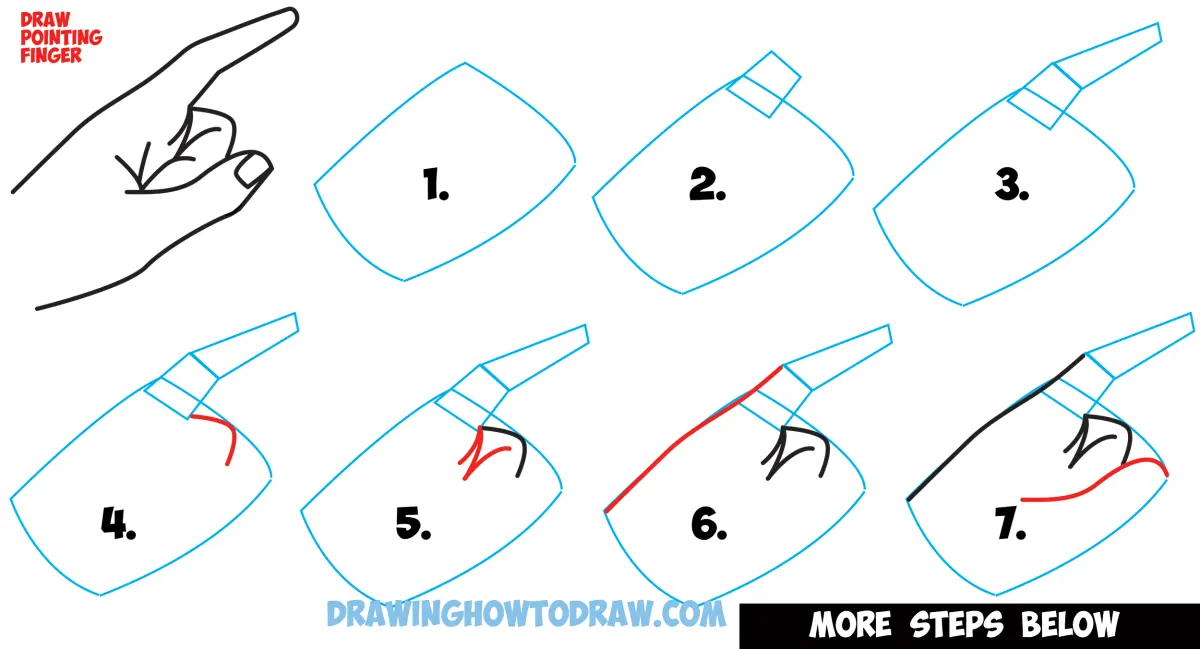
To draw a hand reaching toward the viewer, you must treat the hand as a three-dimensional object rather than a flat shape. Start by drawing a trapezoidal block for the palm, which serves as the anchor for the fingers. Because the hand is reaching out, the palm will appear smaller than the fingers, creating a sense of distance. Use a vanishing point to ensure your lines converge correctly, which helps maintain consistent proportions as the hand extends into the foreground.
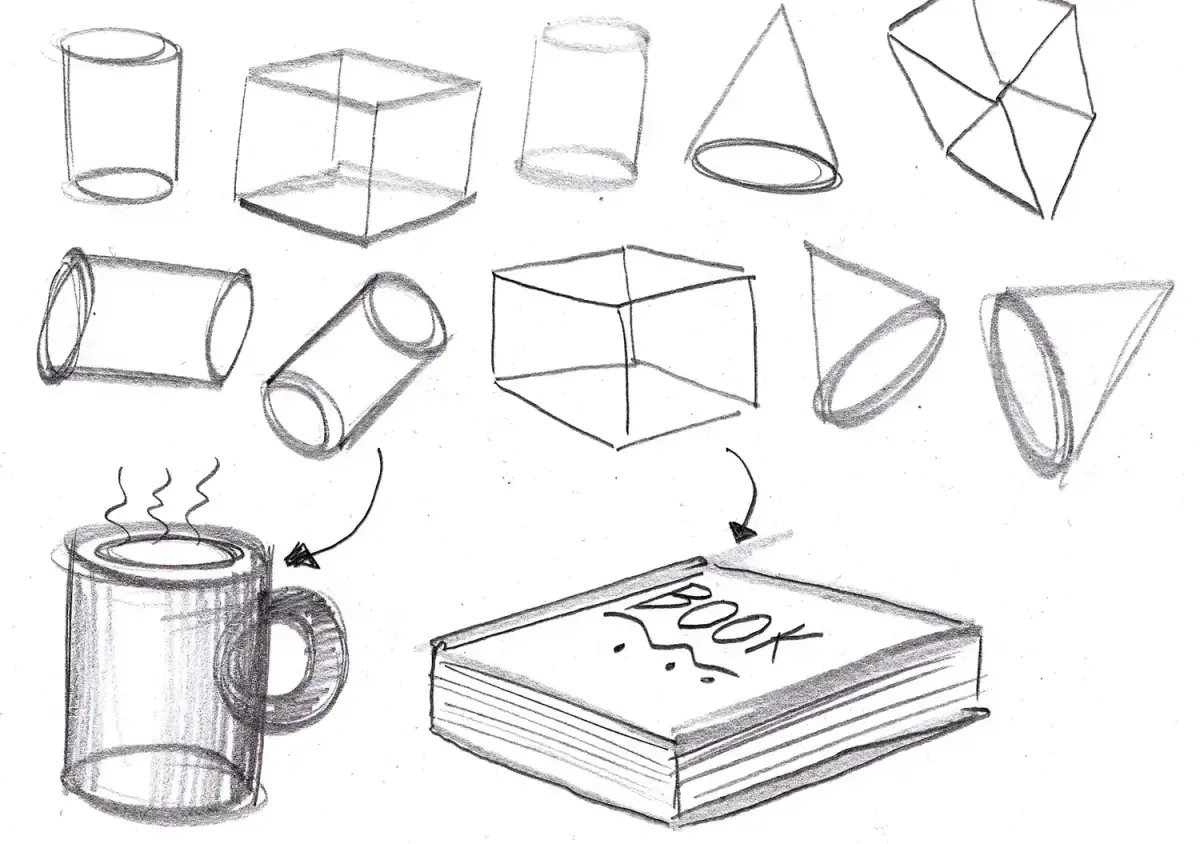
When sketching, avoid drawing every detail immediately. Instead, use basic geometric primitives to establish the volume of the hand. Think of the thumb as a separate, thicker cylinder attached to the side of the palm, while the four fingers are cylinders of varying lengths. By breaking the hand into these simple components, you can adjust the angle of each segment to show how they move toward the viewer. This foundational step is essential for establishing the correct spatial relationship between the palm and the fingertips.
How to master foreshortening techniques
Foreshortening is the visual phenomenon where objects appear compressed as they move toward the observer. In a reaching hand, the fingertips are the closest point, meaning they should be drawn significantly larger than the palm. To achieve this, exaggerate the size of the leading finger joints and overlap them over the base of the fingers. This overlapping technique is the most effective way to signal to the viewer’s eye that the hand is moving through space rather than lying flat on the page.
- Sketch a large circle or oval for the closest fingertip.
- Draw a slightly smaller cylinder behind it to represent the first knuckle.
- Continue this process, making each subsequent segment smaller as they move toward the palm.
- Ensure the palm is drawn last, as it should be the smallest element in the composition.
- Add subtle shading to the joints to emphasize the rounded, cylindrical nature of the fingers.
Best tools for drawing hands
For beginners, a graphite pencil with a range of hardness, such as an HB or 2B, is ideal for light sketching and refining lines. Use a kneaded eraser to lift graphite without damaging the paper, which is helpful when you need to adjust the perspective of the fingers. Smooth, acid-free drawing paper provides a consistent surface that allows for clean lines, making it easier to see the subtle transitions in your foreshortening. Avoid using pens or heavy markers until you have finalized the structural proportions.
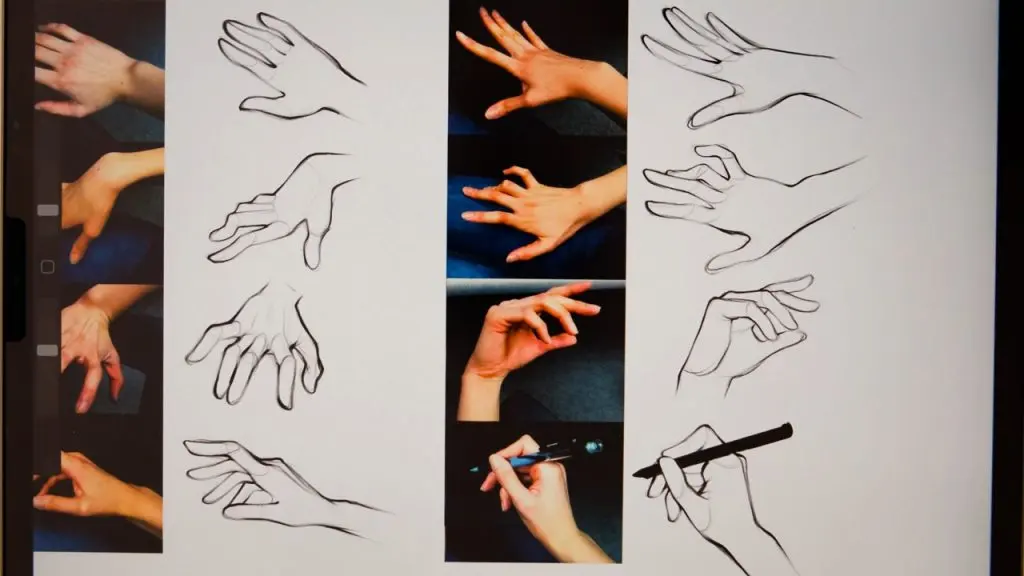
If you are working digitally, utilize layers to separate your construction lines from your final outlines. Keeping your structural shapes on a low-opacity layer allows you to refine the anatomy without losing the underlying perspective. Regardless of the medium, keep a mirror nearby to observe your own hand in various reaching poses. Real-world observation is the most accurate tool available, as it helps you understand how light hits the skin and how shadows define the depth of the fingers.
Why hands look distorted in drawings
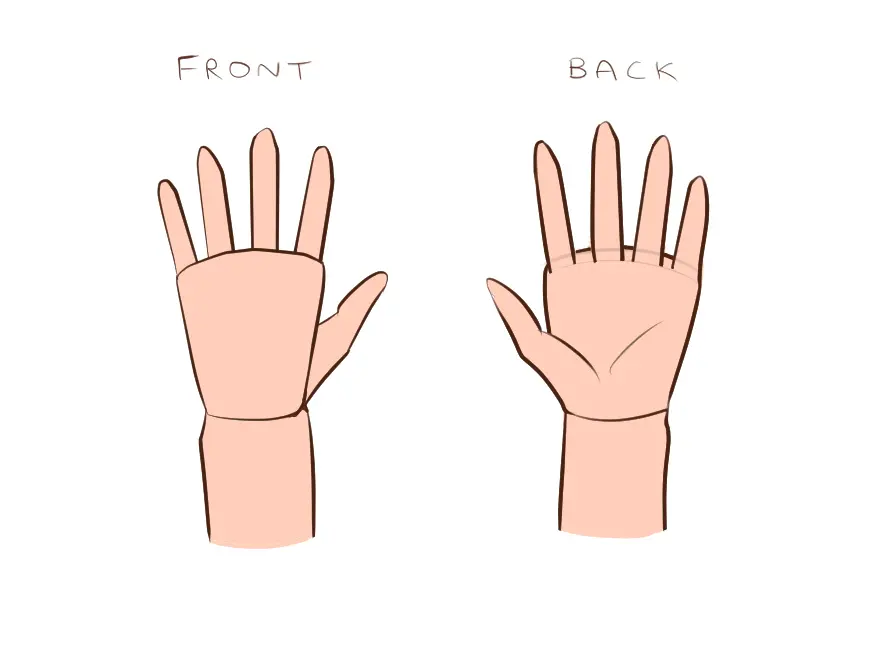
Distortion often occurs when the artist neglects the curvature of the hand's knuckles. The fingers do not sit on a straight line; they follow an arc across the palm. When a hand reaches out, this arc becomes even more pronounced due to the angle of the wrist. If you draw the fingers as if they are perfectly parallel, the hand will look unnatural or "stiff." Always account for the slight fan-like spread of the fingers as they extend, which adds dynamism and realism to the movement.
Another common issue is failing to account for the wrist connection. The wrist is not just a straight pipe; it is a complex joint that rotates and tilts. When the hand reaches forward, the wrist often bends, which affects the positioning of the thumb and palm. If the wrist is drawn too rigidly, the entire reaching gesture loses its energy. Pay attention to the tendons and the bony protrusion of the ulna at the wrist, as these landmarks provide the necessary context for the hand's orientation in space.
Common mistakes when drawing reaching hands
One frequent error is making the fingers too long or too thin, which can make the hand look skeletal. Remember that the length of the middle finger is roughly equal to the length of the palm itself. When the hand is foreshortened, these proportions remain constant in reality but change visually; be careful not to over-compress the fingers, or they will appear stubby. Always check your work against a reference image or your own hand to ensure the scale remains believable.
- Ignoring the thickness of the fingers, resulting in flat, paper-like appendages.
- Forgetting to include the thumb, which is essential for giving the hand weight.
- Over-detailing the palm while neglecting the perspective of the fingers.
- Failing to use shadows to indicate the depth of the overlapping knuckles.
- Drawing the hand from a single, static angle instead of exploring dynamic, reaching poses.
By avoiding these pitfalls and focusing on the volume of the individual digits, you will create a hand that feels like it is truly reaching toward the viewer.
Key facts
- The human hand contains 27 bones, with the metacarpals forming the palm and the phalanges forming the fingers.
- When a hand reaches forward, the fingers should appear shorter due to the principle of foreshortening.
- Use a "box" or "wedge" shape to represent the palm before adding the fingers to ensure proper perspective.
- The middle finger is typically the longest digit and serves as the central axis for the rest of the hand.
- Always map out the wrist joint first, as it acts as the anchor point for the hand's reach.
- Overlapping lines are essential to create the illusion of depth, showing which fingers are closer to the viewer.
The bottom line
Drawing a hand reaching out requires mastering the principles of foreshortening and structural volume. By simplifying the palm into a geometric wedge and treating fingers as overlapping cylinders, you create a convincing sense of space. Always prioritize the underlying bone structure over surface details. With consistent practice using your own hand as a guide, you will develop the spatial awareness necessary to render complex, dynamic poses accurately.
People also ask
Why do my drawn hands look flat?
Hands often look flat because of a lack of overlapping shapes and foreshortening. You must draw the fingers as three-dimensional cylinders that partially hide one another to create depth.
What is the best way to practice drawing hands?
The most effective method is using your own hand as a reference while looking into a mirror. Sketching from life helps you understand how light and shadow define the hand's complex geometry.
How do I measure the proportions of a hand?
A standard rule is that the length of the middle finger is roughly equal to the length of the palm. Use this ratio to ensure your fingers do not look too long or too short.
Should I draw the fingernails early in the process?
No, you should always establish the basic volume and gesture of the hand first. Add details like fingernails, knuckles, and skin creases only after the structural foundation is correct.
How do I draw a hand reaching toward the camera?
Focus on the palm as the largest element, making the fingers appear significantly smaller as they recede. This dramatic perspective shift is the key to capturing a reaching motion.
Why do the fingers look like sausages?
This happens when you ignore the joints and the natural taper of the finger. Ensure each finger has distinct segments and narrows slightly toward the tip to look realistic.
This answer was created with the help of AI research tools and reference sources. Spotted an error? Let us know — we correct mistakes quickly. See our editorial policy.