How do you check a drawing for mistakes?
Short answer
Checking a drawing for mistakes requires a systematic shift in perspective to identify errors in proportion, perspective, and value. By utilizing techniques like mirroring, flipping the canvas, or taking a break, you interrupt your brain’s tendency to "auto-correct" visual information, allowing you to see the actual marks on the paper.
On this page
How to spot drawing mistakes quickly
The most effective way to identify errors is to physically change your viewpoint. When you stare at a drawing for too long, your brain becomes accustomed to the mistakes, effectively "filling in" missing information or ignoring distorted proportions. By stepping back at least six feet from your easel, you gain a macro view that makes lopsided features or skewed perspective lines immediately apparent.
Another powerful technique is to view your work in a mirror. This reverses the image, providing a fresh perspective that makes your brain process the drawing as if it were a new piece of work. If you are working digitally, flipping the canvas horizontally achieves the same result instantly. If you are working on traditional paper, hold your drawing up to a mirror or take a photograph of it and flip the image on your phone screen. You will likely notice that one eye is higher than the other or that the jawline is asymmetrical.
Why drawing proportions look wrong
Proportion errors often stem from focusing on individual details rather than the relationship between shapes. Beginners frequently draw an eye or a hand in isolation, leading to a loss of scale relative to the rest of the subject. To fix this, use a technique called "sighting," where you use your pencil as a measuring tool to compare the height and width of different features against a known constant, such as the head size.
Common issues arise when artists fail to establish a solid foundation before adding detail. If the underlying gesture or construction lines are incorrect, no amount of shading can salvage the final image. Follow these steps to ensure accuracy during the initial phase:
- Map out the basic geometric shapes, such as circles, squares, and triangles, that compose your subject.
- Check the negative space—the empty areas around your subject—to see if the shapes created by these voids match the reference.
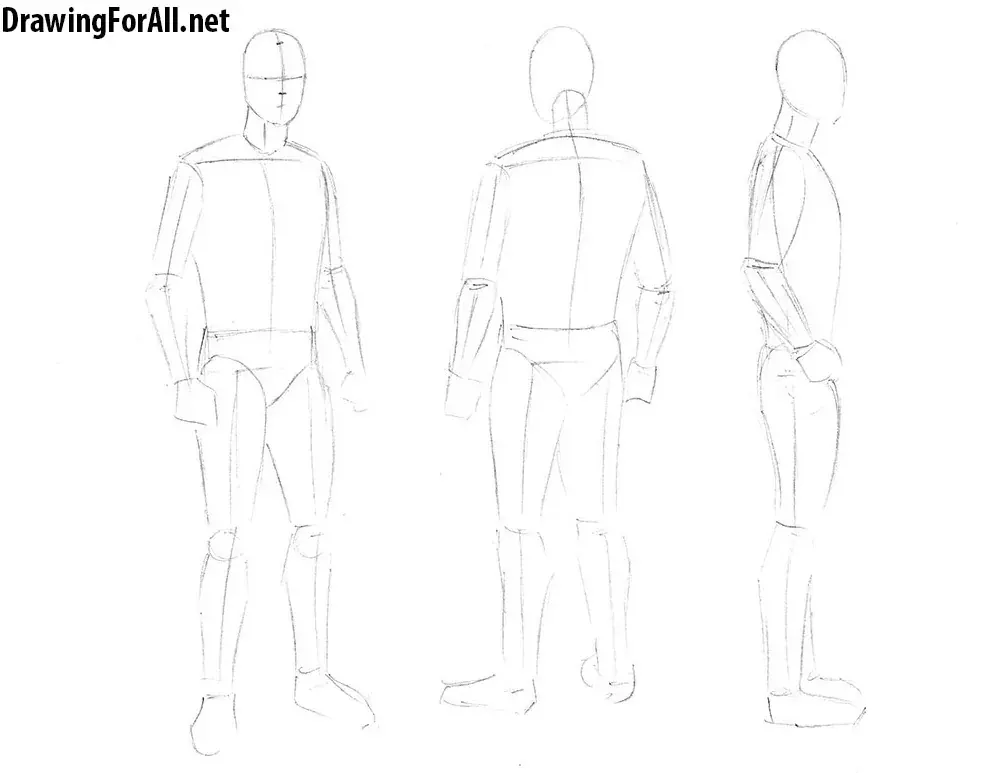
- Use vertical and horizontal plumb lines to ensure that key landmarks, like the shoulders or hips, are aligned correctly.
How to check perspective and angles
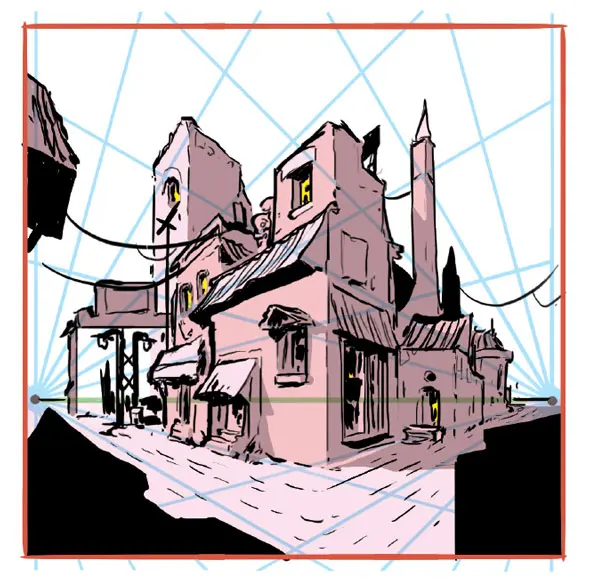
Perspective mistakes occur when parallel lines fail to converge at the correct vanishing point. To verify your work, place a ruler or a straight edge along the lines that should be receding into the distance. If these lines do not meet at a consistent point on your horizon line, the entire structure will appear to tilt or collapse. This is particularly common in architectural drawings or complex interior scenes.
Angles are frequently misjudged because the human eye tends to perceive them based on expectations rather than reality. To correct this, isolate the angle you are drawing and compare it to the edge of your paper or a vertical line. You can also use a protractor or a simple cardboard cutout to verify the degree of the slope. If you are drawing a human figure, pay close attention to the "line of action," which is the primary curve that defines the pose. If this line is off, the figure will look stiff or physically impossible.
Best tools for checking drawings
While the human eye is the primary tool for critique, external aids can provide objective feedback. A grid overlay is a classic method used by artists for centuries to ensure accuracy. By drawing a light grid over your reference and a corresponding grid on your paper, you can focus on one small square at a time, which prevents the brain from being overwhelmed by the entire composition.
Tracing paper or a light box can also be used to compare your drawing against the original reference. By placing the drawing over the reference, you can identify exactly where your lines deviate from the intended shape. Consider these additional tools for a thorough audit:
- A plumb line (a string with a weight) to check for true verticality.
- A viewfinder, which is a small rectangular frame that helps you isolate specific areas of the reference to study their proportions.
- A digital camera to capture a grayscale version of your drawing, which helps you evaluate the contrast and value structure without the distraction of color.
Common mistakes when critiquing art
The most frequent error during the critique phase is rushing the process. Artists often want to finish a piece so badly that they ignore obvious flaws in the hope that they will disappear during the final rendering. It is essential to cultivate patience and treat the checking process as a distinct, mandatory stage of the creative workflow. Never skip the "walk-away" method, which involves leaving your drawing in a separate room for several hours or even a full day.
When you return, you will see the drawing with "fresh eyes," making it much easier to spot errors in anatomy, shading, or composition. Avoid the trap of being too harsh on yourself, as this can lead to unnecessary erasing that damages the paper surface. Instead, focus on identifying the specific structural cause of the mistake. If the shading looks muddy, it is likely a value issue; if the character looks like they are falling over, it is a balance issue. By diagnosing the root cause, you ensure that you do not repeat the same error in your next drawing.
Key facts
- Flip your drawing horizontally in a mirror to instantly reveal lopsided proportions or skewed perspectives.
- Take a photograph of your work and convert it to grayscale to check for balanced contrast and value.
- View your drawing from a distance of at least six feet to identify structural errors that are invisible when working closely.
- Use a plumb line or a ruler to verify that vertical elements are perpendicular to the horizon line.
- Take a break for at least one hour before reviewing; the "fresh eye" effect highlights mistakes you previously overlooked.
- Overlay a piece of tracing paper to sketch corrections over the original without damaging the base layer.
The bottom line
Checking a drawing effectively requires distancing yourself from the work to overcome natural cognitive biases. By employing technical tools like mirrors, grids, and grayscale filters, you can objectively evaluate your composition’s structure, value, and proportion. Consistency is key; performing these checks periodically throughout the creative process prevents small errors from compounding, ensuring that your final piece remains accurate and visually balanced before you finalize your work.
People also ask
Why does my drawing look correct while I am working but wrong later?
Your brain compensates for errors while you focus on specific details, a phenomenon known as perceptual adaptation. Stepping away allows your brain to reset and perceive the image objectively rather than as a collection of parts.
How can I check if my perspective is accurate?
Trace lines along your edges toward the horizon line to see if they converge at a single vanishing point. If lines meant to be parallel cross or diverge, your perspective construction is mathematically incorrect.
Should I use a grid to check my proportions?
Grids are excellent for verifying accuracy by comparing the contents of individual squares against your reference image. This method mathematically enforces correct placement and scale across the entire composition.
How do I know if my shading is too dark or too light?
Squinting at your drawing reduces detail and emphasizes the overall distribution of light and dark areas. If the image looks muddy or flat, you likely lack a full range of values from pure white to deep black.
What is the best way to fix a mistake on high-quality paper?
Use a kneaded eraser to gently lift graphite without tearing the paper fibers. For ink or paint, consider using an opaque medium like gouache to cover the error or integrate the mistake into a new design element.
Does drawing upside down help find mistakes?
Rotating your drawing 180 degrees forces your brain to process the image as abstract shapes rather than recognizable objects. This prevents your mind from "filling in" missing details, making anatomical or structural errors immediately apparent.
This answer was created with the help of AI research tools and reference sources. Spotted an error? Let us know — we correct mistakes quickly. See our editorial policy.