What is the easiest way to draw an egg?
Short answer
The easiest way to draw an egg is to use the "two-circle method." By sketching a smaller circle for the top and a larger, slightly elongated circle for the bottom, you create a natural guide. Connecting these shapes with smooth, curving lines allows you to form a realistic, balanced oval shape quickly.
On this page
How to draw an egg shape easily
The most effective technique for beginners involves building the structure from geometric primitives. Instead of trying to draw a perfect oval in one single motion, which often leads to lopsided results, start by drawing two overlapping circles. The top circle should be slightly smaller than the bottom one, mimicking the natural tapering of an avian egg. Once these circles are placed, use light, sweeping strokes to connect their outer edges.
This method provides a structural framework that ensures symmetry. By focusing on the relationship between the two circles, you avoid the common pitfall of making the egg look like a perfect circle or a pointed teardrop. Keep your initial lines very light so they can be easily erased or blended later. This foundational step is the secret to achieving the organic, asymmetrical curve that defines a realistic egg.
Best tools for drawing eggs for beginners
You do not need expensive equipment to master this shape. A standard HB graphite pencil is ideal because it allows for both light construction lines and darker, final outlines. Using a high-quality eraser is equally important, as it allows you to refine the silhouette without damaging the paper surface. Smooth-finish drawing paper is recommended, as it allows the pencil to glide easily, making it simpler to create the continuous, fluid curves required for an egg.
- HB graphite pencil for initial sketching and shading.
- A soft, white vinyl eraser for clean corrections.
- Smooth-surface sketchbook paper to prevent unwanted texture.
- A blending stump or a piece of soft tissue for smooth shading.
If you are just starting out, avoid using pens or markers, as these mediums do not allow for the subtle adjustments needed to perfect the curve. Focus on maintaining a loose grip on your pencil to encourage fluid movement rather than rigid, jerky lines.
Why egg proportions look wrong
The primary reason an egg drawing looks incorrect is often a failure to observe the "golden ratio" of the shape. An egg is not a perfect oval; it is wider at one end and narrower at the other. If you draw both ends with the same curvature, the object will appear artificial. Beginners often make the mistake of drawing the bottom too pointed, which makes it look more like a water droplet than a biological egg.
To correct these proportions, always ensure the widest part of the egg is situated slightly above the center point. When you are sketching, hold your drawing at arm's length or look at it in a mirror to spot imbalances. This perspective shift helps your brain perceive the shape as a whole object rather than just a collection of lines, making it much easier to identify where the curve needs to be adjusted.

Common mistakes when drawing eggs
Many artists struggle because they press too hard with their pencils during the early stages. Heavy lines are difficult to erase and often dictate the final shape before you have had a chance to refine it. Another frequent error is "sketching" the outline with many short, choppy strokes. This creates a fuzzy, uneven edge that lacks the clean, elegant silhouette characteristic of an egg. Instead, try to use long, continuous motions that follow the contour of the shape.
- Pressing too hard, which creates permanent indentations on the paper.
- Drawing the egg perfectly symmetrical, which ignores natural variation.
- Using short, choppy lines instead of fluid, long strokes.
- Neglecting to account for the light source, which makes the egg look flat.
- Failing to clean up construction lines, leading to a cluttered final drawing.
Focusing on these common pitfalls will significantly improve your results. By keeping your hand relaxed and your lines light, you maintain the flexibility to correct the shape as you go.
How to shade an egg for realism
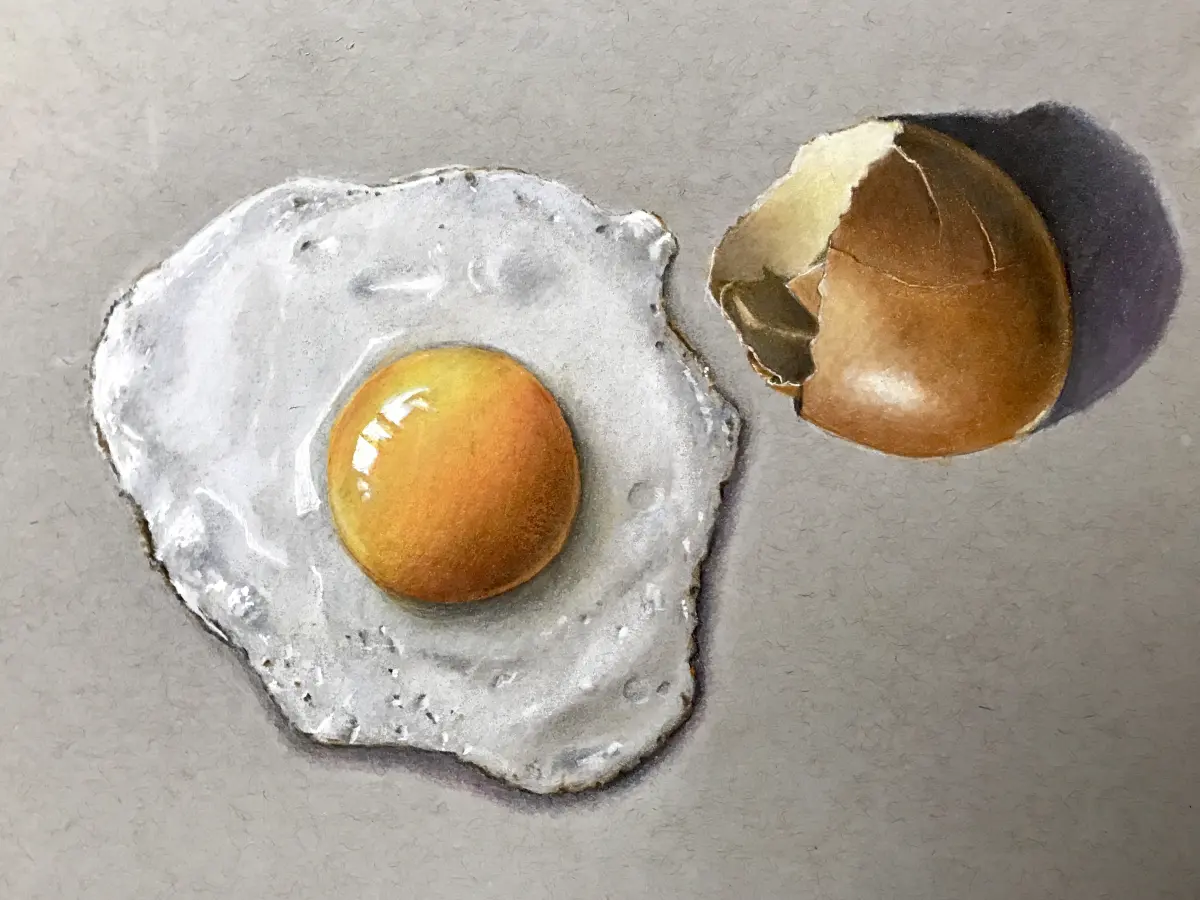
Once you have established the correct outline, shading is what gives the egg its three-dimensional quality. Start by identifying where the light source is coming from. The area closest to the light will be the brightest, while the opposite side will feature a darker shadow. Use the side of your pencil lead to create soft, gradual transitions between the light and dark areas. This technique, known as gradient shading, mimics the way light wraps around a curved surface.
Do not forget the "cast shadow," which is the dark shape the egg projects onto the surface it is resting on. This shadow should be darkest directly beneath the egg and become softer and lighter as it moves away. Adding a small, bright highlight on the side facing the light source will provide the final touch of realism, making the surface appear smooth and slightly reflective. With these steps, you can transform a simple line drawing into a convincing, professional-looking illustration.
Key facts
- The most accurate way to draw an egg is to use the "two-circle method" rather than attempting to draw a single oval freehand.
- An egg is mathematically an ovoid, meaning it is narrower at one end and wider at the other.
- Use a light 2H or HB graphite pencil to sketch your initial guidelines so they can be easily erased later.
- Always keep your hand loose and move from the shoulder rather than the wrist to create smooth, fluid curves.
- Reference a real egg or a high-quality photograph to observe how light creates a highlight on the rounded surface.
- Avoid drawing a perfectly symmetrical oval, as this will make the egg appear artificial and flat.
The bottom line
To draw a realistic egg, start by sketching a small circle for the top and a larger, slightly flattened circle for the base. Connect these with smooth, sweeping lines to form the characteristic ovoid shape. Focus on creating a gradual transition between light and dark areas to establish volume. By avoiding harsh, symmetrical lines, you will achieve a natural, professional-looking result that captures the egg's organic form.
People also ask
How do I make an egg drawing look three-dimensional?
You must identify the light source and add shading accordingly. Use a soft blending stump or a tissue to create a smooth gradient from the highlight to the darkest shadow.
Why does my egg look like a lemon?
This usually happens because the ends are too pointed. Ensure your curves are gentle and rounded rather than sharp, and check that the width-to-height ratio is roughly 3:4.
Should I use a compass to draw the circles?
It is better to draw them freehand to maintain a natural look. If you struggle with consistency, practice drawing circles on scrap paper until your muscle memory improves.
What is the best paper for sketching eggs?
A medium-tooth drawing paper works best for graphite. It provides enough texture to catch the pencil lead while remaining smooth enough for subtle blending.
How do I draw the shadow cast by the egg?
Place the shadow directly beneath the base of the egg, curving it slightly to match the surface it rests upon. Keep the edges of the shadow soft to suggest distance from the light source.
Can I use colored pencils to draw an egg?
Yes, but start with light base layers before building up darker tones. Use a white pencil to preserve the highlight, as this is the most important part for capturing realism.
This answer was created with the help of AI research tools and reference sources. Spotted an error? Let us know — we correct mistakes quickly. See our editorial policy.