How do you draw an Easter egg?
Short answer
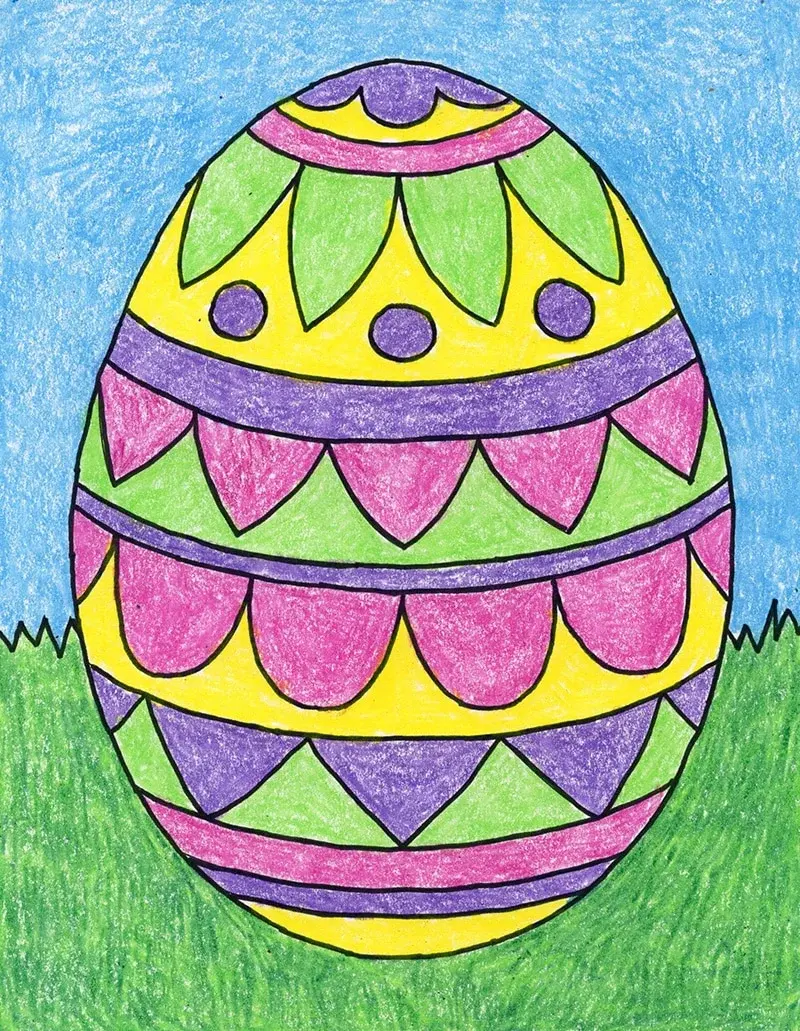
Drawing an Easter egg begins with sketching a balanced, symmetrical oval shape. Once the basic outline is established, you can add decorative patterns like stripes, zigzags, or floral motifs. Using light pencil strokes first allows for easy corrections before finalizing your design with bold ink or vibrant colored pencils for visual impact.
On this page
How to draw a basic egg shape
The foundation of a realistic Easter egg is a consistent, symmetrical oval. To achieve this, start by drawing a light vertical line to serve as your central axis. This line helps maintain balance on both sides of the egg. Sketch a small circle at the top and a larger, slightly wider circle at the bottom, then connect them with smooth, curving lines.
If you struggle with freehand drawing, you can use a simple template or trace a small oval object. Avoid making the top too pointed, as a natural egg shape is generally broader at one end and slightly tapered at the other. Keep your pencil pressure very light during this initial phase so you can easily erase any lopsided edges. Precision in this step ensures that your final decorative patterns look centered and professional.
Best tools for drawing Easter eggs
For beginners, a standard HB graphite pencil is ideal for the initial sketch because it is easy to erase. Once the outline is set, you can use fine-liner pens to create crisp, permanent edges for your patterns. If you intend to color the egg, professional-grade colored pencils or alcohol-based markers provide the best saturation and blending capabilities.
Consider these essential supplies for your project:
- HB or 2B graphite pencils for sketching.
- Kneaded erasers to lift graphite without damaging the paper surface.
- Archival-quality fine-liner pens in various thicknesses for detail work.
- High-quality colored pencils with soft cores for smooth layering.
- Smooth, heavyweight drawing paper to prevent ink bleeding or smudging.
Using the right paper is often overlooked, but it makes a significant difference in how colors appear. Heavyweight paper holds multiple layers of pigment without buckling, allowing for more intricate shading and texture.
How to add patterns and designs
Once your basic shape is complete, you can begin adding decorative elements. Traditional Easter egg designs often feature geometric shapes, stripes, and organic motifs. Dividing the egg into horizontal or vertical sections using light guidelines can help you keep your patterns evenly spaced and symmetrical throughout the entire surface.
Follow these steps to create a balanced design:
- Divide the egg into three equal horizontal segments using faint pencil lines.
- Fill the top and bottom segments with simple shapes like triangles or dots.
- Use the middle, largest segment for a more complex focal point, such as a flower or a star.
- Add smaller details, such as cross-hatching or stippling, to fill in empty spaces.
- Erase all your construction guidelines once the ink is dry to reveal a clean, professional illustration.
Experimenting with overlapping patterns can add depth, but be careful not to clutter the design. A few well-placed, bold patterns are often more visually striking than a crowded, chaotic arrangement.
Common mistakes when drawing Easter eggs
One of the most frequent errors is creating an egg that is too symmetrical, making it look like a perfect circle or a geometric oval. Real eggs have a subtle asymmetry, with one end slightly rounder than the other. If your drawing looks too mechanical, try slightly widening the bottom third of your oval to give it a more organic, natural weight.
Another common mistake is applying too much pressure during the sketching phase. When lines are drawn too darkly, they become difficult to erase, leaving unsightly smudges or indentations on the paper. Additionally, many beginners forget to consider the curvature of the egg when drawing patterns. Remember that lines should follow the contour of the surface; they should curve slightly around the sides of the egg rather than remaining perfectly flat. This technique creates a three-dimensional effect that makes your drawing appear more realistic and grounded.
How to shade for a 3D effect
Shading is the final step that transforms a flat drawing into a three-dimensional object. First, determine where your light source is coming from. If the light hits the egg from the top-left, the shadows should be concentrated on the bottom-right side. Use a soft graphite pencil or a darker shade of your colored pencil to gently build up tone in these shadowed areas.
To achieve a smooth gradient, use a technique called hatching or cross-hatching. Start with light, sparse lines and gradually increase the density of the marks as you move toward the darkest part of the shadow. You can also use a blending stump or a clean tissue to soften the transition between light and dark areas. Adding a small, bright highlight on the side closest to the light source will further enhance the roundness of the egg. By carefully managing light and shadow, you give your drawing a sense of volume that makes it stand out on the page.
Key facts
- Start by sketching a light, vertical oval shape to ensure symmetry before adding details.
- Use a soft graphite pencil for the initial outline so you can easily erase guidelines later.
- Apply pressure to the edges of the egg to create a subtle shadow, giving it a three-dimensional appearance.
- Add patterns like horizontal stripes, zigzags, or polka dots to create visual interest on the shell.
- Use colored pencils or markers to fill in your designs, starting with the lightest colors first.
- Avoid drawing a perfectly symmetrical oval, as real eggs often have one end slightly wider than the other.
The bottom line
Drawing a convincing Easter egg relies on mastering the basic oval form and understanding how light interacts with curved surfaces. By focusing on subtle shading, deliberate highlights, and creative patterns, you can transform a simple shape into a detailed illustration. Practice sketching various sizes and orientations to improve your hand-eye coordination, and always remember that a well-placed shadow is the key to achieving professional-looking depth and realism.
People also ask
What is the best way to make an egg look round?
You can achieve a sense of volume by shading one side of the egg more heavily than the other. Adding a small, white highlight on the side facing your light source creates a realistic reflective effect.
Should I use a template to draw the shape?
Using a template or a stencil is helpful for beginners who struggle with freehand symmetry. You can trace a small oval object or use a compass to ensure your base shape is consistent.
How do I add texture to an egg drawing?
You can create texture by using cross-hatching or stippling techniques with your pen or pencil. Lightly stippling the surface can mimic the slightly porous and matte texture of a real eggshell.
What are the most common mistakes when drawing eggs?
The most frequent error is drawing the egg as a flat, two-dimensional circle. Beginners often forget to add a cast shadow underneath the egg, which is essential for grounding the object on a surface.
Can I use watercolors to color my egg drawing?
Watercolors work well, but you should use a heavy-stock paper to prevent buckling. Apply the paint in thin layers, allowing each layer to dry completely before adding more color to avoid muddying the pigments.
How do I draw a cracked egg?
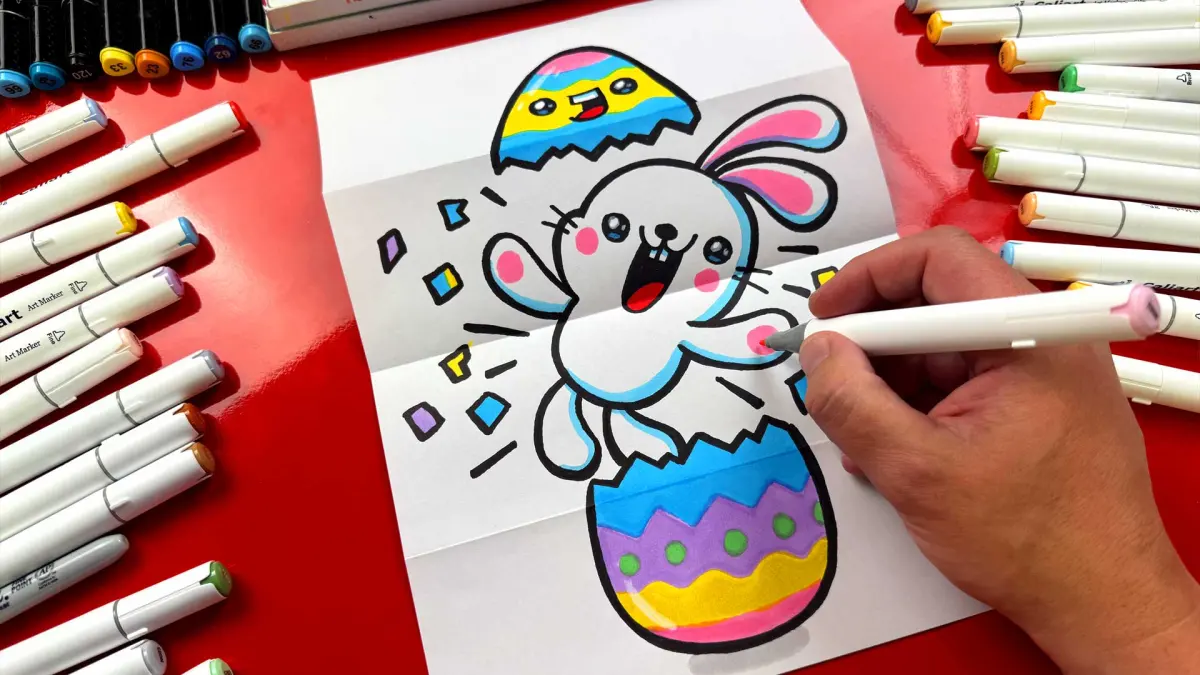
To draw a crack, use jagged, irregular lines that zigzag across the surface of the egg. You can draw a small gap between the pieces to show depth and suggest that the shell is broken.
This answer was created with the help of AI research tools and reference sources. Spotted an error? Let us know — we correct mistakes quickly. See our editorial policy.