How do you draw a burger?
Short answer
Drawing a burger involves building a vertical stack of distinct shapes, starting with a rounded bun and layering ingredients like lettuce, tomato, and a patty. By focusing on overlapping forms and adding shadows, you create a three-dimensional effect. Consistent proportions and attention to texture are essential for achieving a realistic, appetizing illustration.
On this page
How to draw a burger step by step
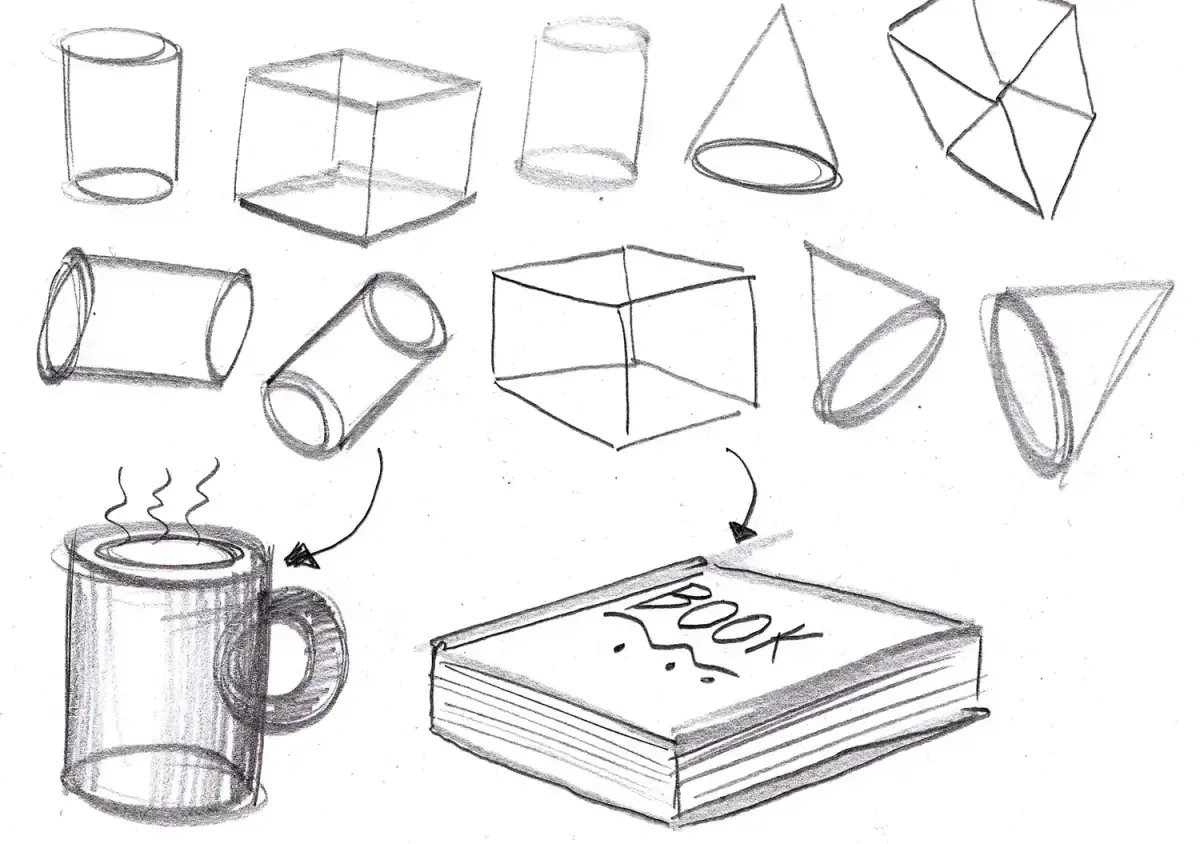
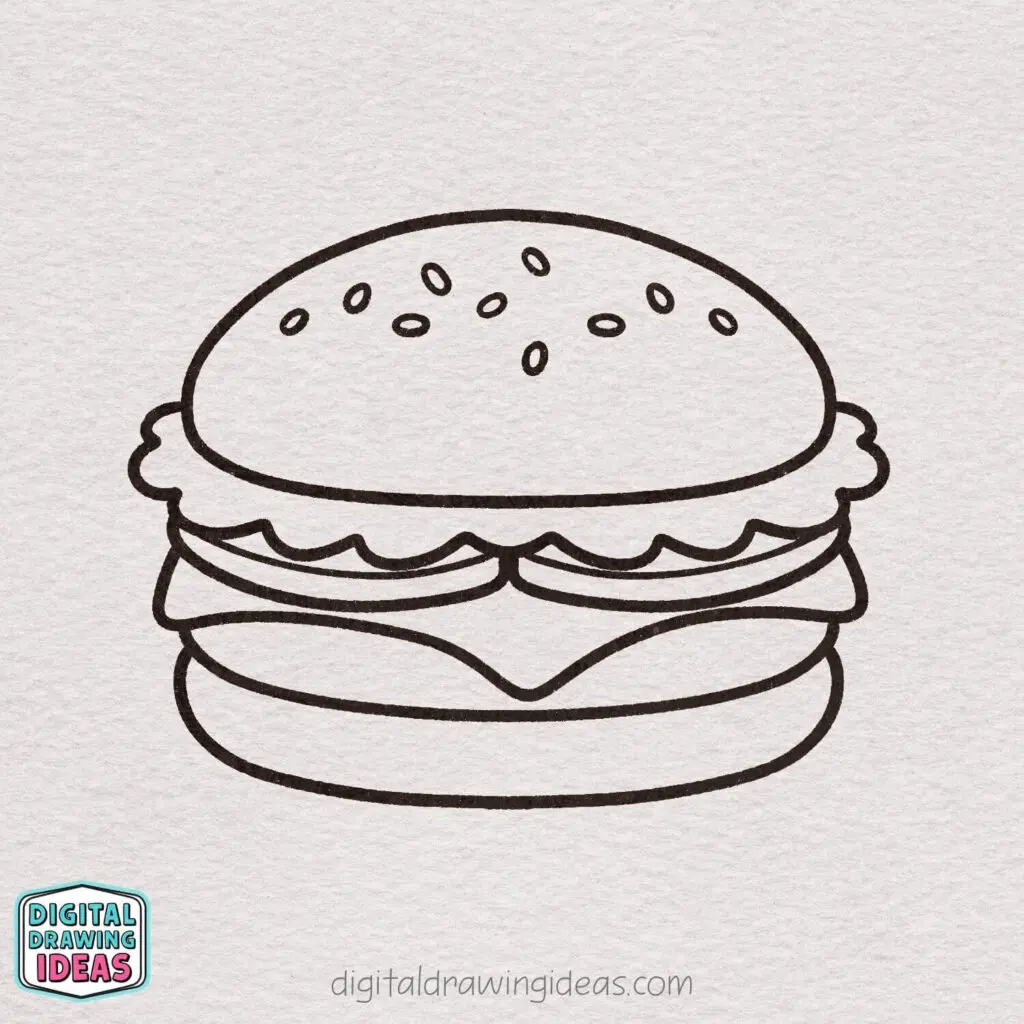
To begin your drawing, establish the vertical structure of the burger using simple geometric shapes. Start by sketching a wide, shallow oval for the bottom bun and a larger, more rounded dome for the top bun. Between these two shapes, draw several flat, slightly irregular rectangles or rounded layers to represent the patty, cheese, and vegetables. Keep your initial lines light so you can easily refine them later as you add detail to each component.
Once the basic stack is in place, follow these steps to add definition:
- Draw the patty with a slightly uneven, textured edge to simulate the charred or rough surface of cooked meat.
- Sketch wavy, flowing lines beneath the top bun to represent the ruffled edges of lettuce leaves.
- Add a thin, curved strip between the patty and lettuce to represent a slice of tomato or cheese.
- Refine the bun by adding small circles or ovals on the top surface to represent sesame seeds.
- Use a darker pencil to outline the final shapes, ensuring the edges overlap naturally to suggest depth.
Best drawing techniques for beginners
The most effective way to make a burger drawing look professional is to focus on the concept of "stacking." Treat each ingredient as an individual layer that has its own thickness and weight. Beginners often make the mistake of drawing the burger as a single flat object, which makes it look like a cartoon cutout rather than a substantial meal. By giving the patty, cheese, and vegetables a slight thickness, you immediately add a sense of realism to the illustration.
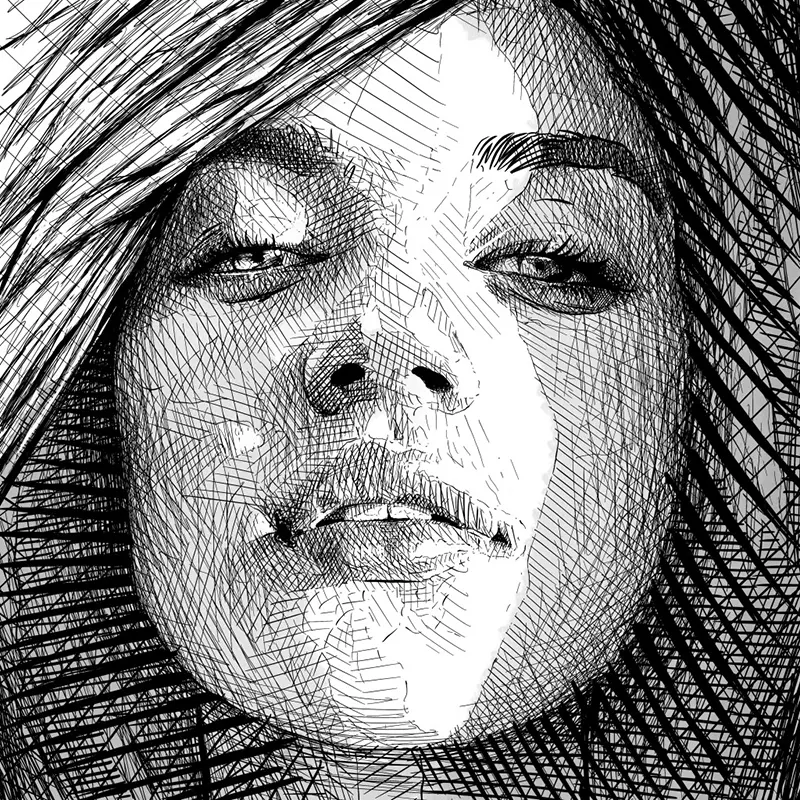
Another useful technique is to vary your line quality throughout the drawing. Use soft, rounded lines for the buns and lettuce to convey softness, and use sharper, more jagged lines for the meat patty to suggest texture. You can also use cross-hatching or stippling to add shadows to the underside of each layer. This creates a clear separation between the ingredients and prevents the drawing from looking cluttered or confusing to the viewer.
Why burgers look better with shadows
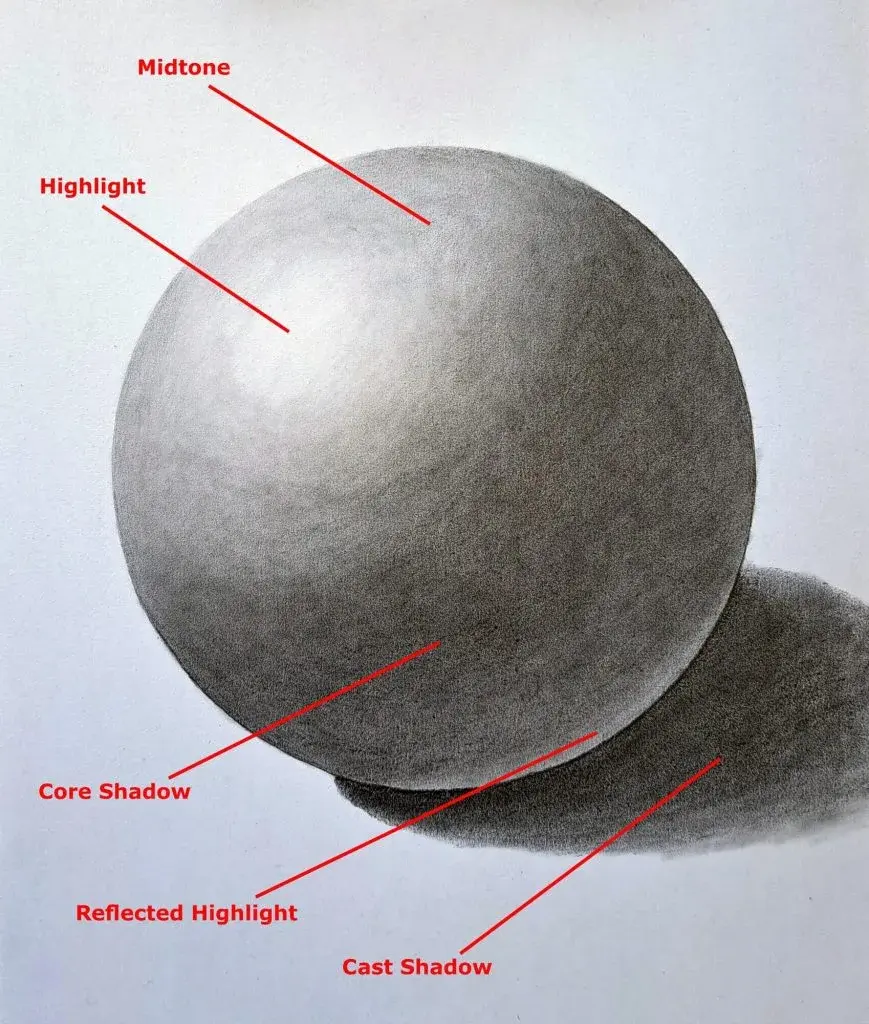
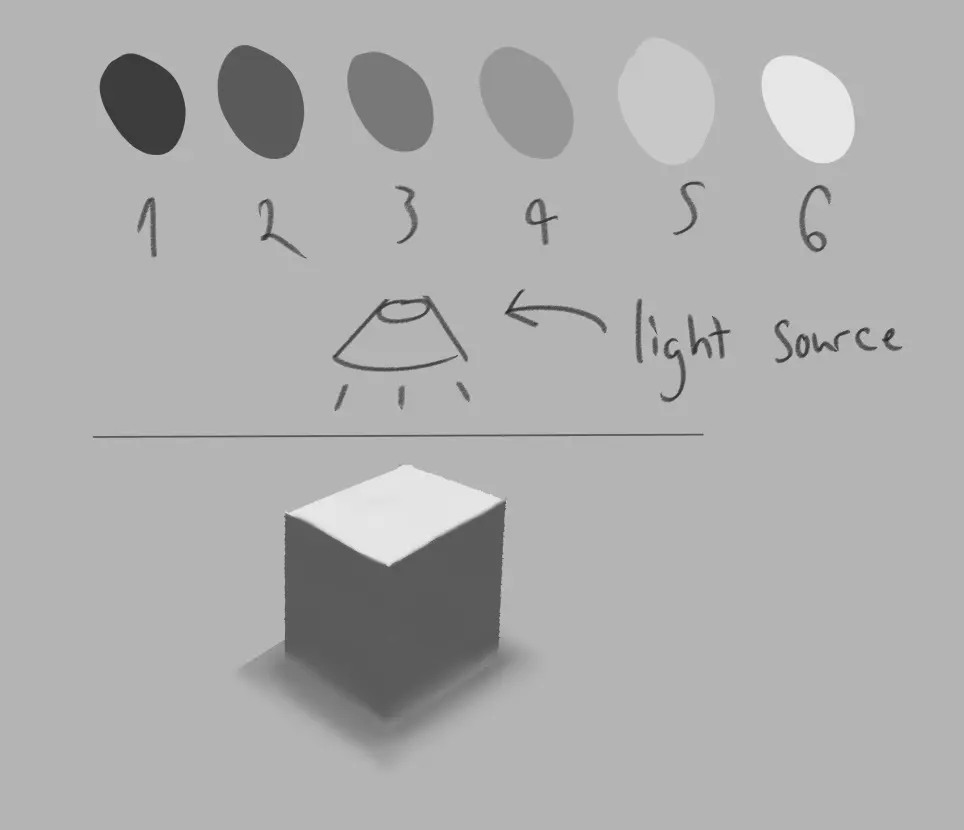
Shadows are the primary tool for creating the illusion of volume in a two-dimensional drawing. Without shading, a burger will appear flat and unappealing. To create a realistic look, choose a consistent light source, such as the top-left corner, and apply shadows to the opposite side of every ingredient. The bottom bun should have a significant shadow cast upon it by the patty, which helps ground the entire stack.
When applying shadows, consider the density of the object you are drawing:
- Use smooth, blended shading for the bun to mimic the soft texture of bread.
- Apply concentrated, dark shading under the patty to show its weight and thickness.
- Use light, subtle shading on the edges of vegetable slices to show their curvature.
- Leave small, unshaded areas on the top of the bun to represent highlights where light hits the crust.
Common mistakes when drawing food
One of the most frequent errors is ignoring the perspective of the burger. If you draw the top bun from a top-down view but the patty from a side view, the drawing will look distorted and unnatural. Always decide on your eye level before you start sketching. If the viewer is looking at the burger from the side, all the layers should follow a horizontal orientation that aligns with that specific perspective.
Another common mistake is neglecting the "drip" factor. Real burgers often have condiments like mustard, ketchup, or melted cheese spilling over the sides. Adding these small, irregular shapes helps break up the rigid lines of the ingredients and makes the drawing feel more organic. Avoid making these drips too uniform; instead, vary their length and thickness to make them look like they are reacting to gravity. If you keep the shapes too perfect, the final image will lose its appetizing quality.
How to add detail and texture
Texture is what separates a basic sketch from a finished piece of art. Once your main shapes are established, spend time detailing the surface of each ingredient. For the sesame seeds, vary their sizes and orientations so they do not look like a uniform pattern. For the lettuce, add small folds and creases within the wavy lines to give it a sense of movement. These small details draw the eye and make the burger appear more complex and delicious.
You can also use different pencil grades to enhance the contrast in your drawing. Use a hard lead, like an H pencil, for the initial light outlines and a soft lead, like a 4B or 6B, for the deep shadows and dark edges. This range of tones allows you to create a full spectrum of light and dark, which is vital for making the food look three-dimensional. As you finish, check that your lines are clean and that the overall silhouette of the burger is balanced and structurally sound.
Key facts
- Start by drawing a horizontal oval for the top bun and a slightly wider, flatter oval for the bottom bun.
- Use a wavy, jagged line between the buns to represent lettuce, which adds visual texture and volume.
- Draw a circle or a slightly irregular shape for a tomato slice, ensuring it overlaps the lettuce slightly.
- Add a rectangle with rounded corners for the cheese, drawing it draped over the patty to create a realistic effect.
- Keep the patty shape slightly irregular to mimic the natural, hand-formed appearance of cooked ground beef.
- Use shading on the bottom half of the patty and the bun to create depth and a three-dimensional look.
The bottom line
Drawing a convincing burger relies on layering simple, organic shapes rather than perfect geometric forms. By stacking ovals for buns and irregular polygons for ingredients, you create a believable structure. Focus on adding texture through wavy lines for lettuce and small marks for seeds, while using shading to provide depth. Embracing slight imperfections will ultimately result in a more appetizing and realistic illustration of the classic meal.
People also ask
Should I use a ruler when drawing a burger?
Avoid using a ruler because organic, food-based shapes look better with slightly uneven, natural lines. Perfect geometric precision often makes a burger look artificial or like a manufactured product rather than a meal.
How do I make the sesame seeds look realistic?
Draw small, thin teardrop shapes scattered randomly across the top bun. Vary the size and orientation of these marks to avoid a repetitive, mechanical pattern.
What is the best way to show the layers of a burger?
Use distinct, horizontal bands for each ingredient to help the viewer identify the components. Color-coding or varying your shading intensity between the meat, cheese, and vegetables helps separate the layers visually.
How do I draw the burger so it looks appetizing?
Focus on "drip" lines or slight overhangs where ingredients like cheese or sauce spill over the edge. These small details suggest texture and moisture, which make the drawing more visually appealing.
Should I start with the outline or the details?
Always start with the basic shapes of the buns and the patty to establish the overall size and scale. Once the structure is set, add the finer details like lettuce, pickles, and sesame seeds.
What is a common mistake when drawing a burger?
A frequent error is making the burger perfectly symmetrical, which looks unnatural. Real food has imperfections, so allow your lines to curve and vary to reflect how ingredients sit in a real sandwich.
This answer was created with the help of AI research tools and reference sources. Spotted an error? Let us know — we correct mistakes quickly. See our editorial policy.