How do you color metal with colored pencils?
Short answer
Applying colored pencils directly to smooth metal is ineffective because the wax cannot grip the non-porous surface. To color metal, you must first create a "tooth" or texture using a primer, such as gesso or a specialized spray, or by sanding the surface. Once prepared, you can layer pigments and seal them.
On this page
How to prepare metal surfaces for colored pencils
Metal is naturally smooth and non-porous, meaning standard colored pencil pigments will simply slide off or flake away. To achieve a lasting finish, you must provide a physical anchor for the wax or oil-based binders in the pencils. The most reliable method involves applying a thin, even coat of artist-grade gesso or a clear matte spray primer. These substances create a microscopic texture that allows the pencil lead to deposit color effectively.
Before applying any primer, you must ensure the metal is perfectly clean. Use isopropyl alcohol or a mild degreaser to remove oils, fingerprints, and manufacturing residues. If you are working on a small object like a tin or a jewelry piece, sanding the surface with fine-grit sandpaper (around 400 to 600 grit) provides an excellent mechanical bond for your color layers. Always wipe away any dust created during the sanding process before starting your artwork.
Best colored pencils for metal surfaces
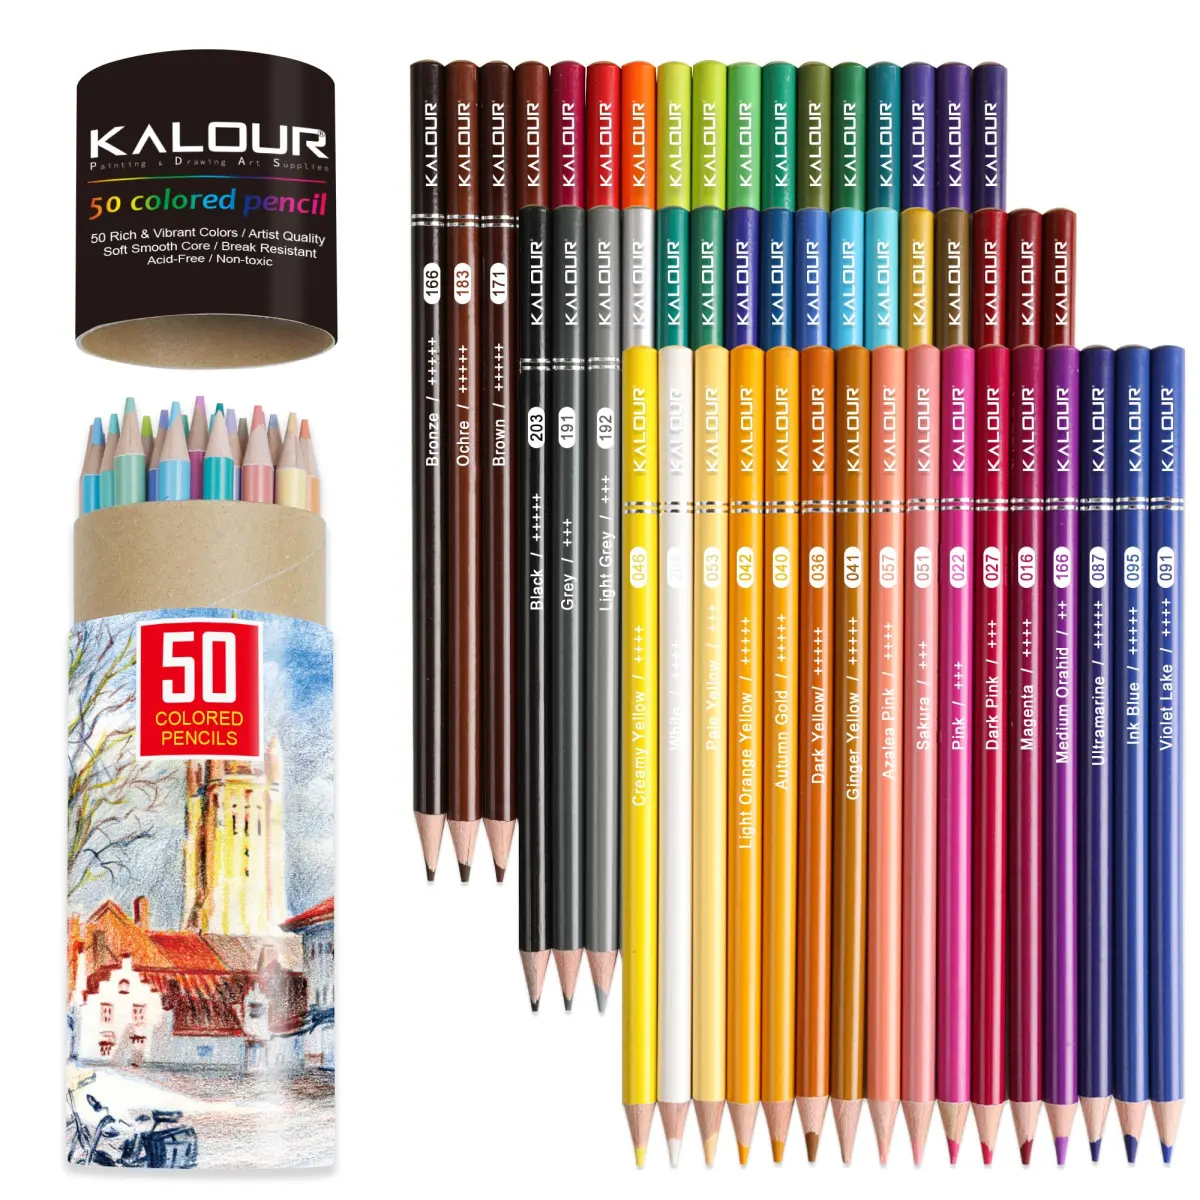
Not all colored pencils perform equally well on prepared metal surfaces. Professional-grade, wax-based pencils are generally superior because they are softer and more opaque, allowing for better coverage on the slightly textured primer. Oil-based pencils are also a viable alternative, as they tend to be harder and more durable, which is beneficial if the metal object will be handled frequently. Avoid student-grade pencils, as they often contain more binder and less pigment, leading to streaky or translucent results.
When selecting your materials, consider the following features to ensure high-quality results:
- High pigment concentration for vibrant, opaque color layering.
- Lightfastness ratings to prevent the colors from fading when exposed to sunlight.
- Soft cores that allow for blending and burnishing without scratching the primer layer.
- Compatibility with colorless blenders or solvents to smooth out the texture of the metal surface.
How to layer and blend colors on metal
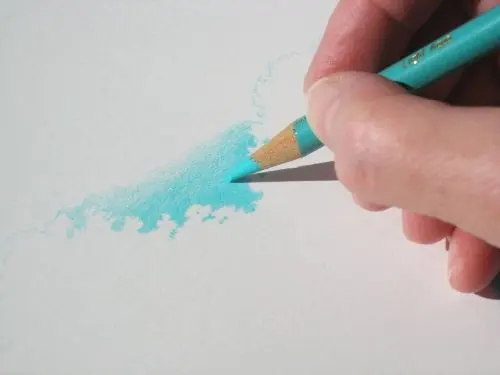
Once the surface is prepared, begin by applying light, circular motions to build up your color. Do not press too hard initially, as this can cause the primer to chip or separate from the metal. Start with a base layer of a neutral tone or a light color, then gradually introduce darker hues to create depth and dimension. Because the surface is firmer than paper, you will notice that the pencils behave differently, requiring more patience to achieve a smooth gradient.
To refine your work, utilize a colorless blender pencil or a small brush dipped in a solvent like Gamsol. This technique helps dissolve the wax or oil binders, allowing you to push the pigment into the crevices of the textured primer. This process creates a professional, paint-like finish that hides the individual pencil strokes. If you make a mistake, you can gently lift the color with a kneaded eraser or re-apply a thin layer of gesso to start over.
How to seal colored pencil on metal
After completing your design, the pigment remains vulnerable to smudging, scratching, and moisture. Sealing the work is a mandatory step for any metal project intended for display or utility. You should use a high-quality, archival-grade fixative spray designed for mixed media or colored pencils. These sprays act as a protective barrier, locking the pigment in place and preventing the wax from softening in warm environments.
Follow these steps to ensure a professional seal:
- Ensure the artwork is completely dry and free of loose pigment dust.
- Place the object in a well-ventilated area, preferably outdoors or in a spray booth.
- Hold the spray can 8 to 12 inches away from the surface to avoid pooling.
- Apply two to three very light coats rather than one heavy, wet coat.
- Allow the piece to cure for at least 24 hours before handling or assembling the final project.
Common mistakes when coloring metal
A frequent error is applying the primer too thickly, which creates an uneven or bumpy surface that makes detailed drawing difficult. Another common pitfall is skipping the degreasing step; even a small amount of skin oil can cause the primer to peel away from the metal over time. Beginners often try to finish the piece in one heavy layer, which usually results in a waxy, uneven buildup that obscures the metal's underlying shape.
Additionally, many people forget to account for the metal's temperature. If the metal is too cold, the wax in the pencils may harden and become brittle, leading to breakage. If the metal is too hot, the wax may become too soft and smear uncontrollably. Always work at room temperature to maintain the integrity of your materials. By avoiding these common oversights and focusing on proper preparation and sealing, you can create durable, vibrant art on a wide variety of metal surfaces.
Key facts
- Metal surfaces are non-porous, meaning standard colored pencils will slide off without a mechanical or chemical "tooth" to grip the pigment.
- Applying a thin layer of matte medium or a specialized metal primer provides the necessary texture for wax or oil-based pencils to adhere.
- Heating the metal slightly with a heat gun or hair dryer before drawing can help soften the wax in the pencils, improving color saturation.
- Using high-quality, professional-grade pencils with high pigment density is essential because lower-quality binders will flake off metallic surfaces.
- A final coat of spray fixative or clear acrylic sealer is mandatory to prevent the artwork from scratching or rubbing off the smooth metal.
- Alcohol-based markers can be used as an underpainting layer to stain the metal, providing a vibrant base for colored pencil details.
The bottom line
Coloring metal with pencils is an accessible way to customize jewelry or decorative objects, provided you prepare the surface correctly. By applying a matte primer to create "tooth," using high-pigment pencils, and sealing the finished work with a protective spray, you can achieve vibrant, durable results. Always clean your metal thoroughly before starting to ensure the best possible adhesion for your artistic designs and long-term wear.
People also ask
Can I use regular colored pencils directly on bare metal?
You generally cannot, as the wax or oil binder will not stick to the slick, non-porous surface. You must prep the metal with a primer or a matte medium to create a surface that holds pigment.
What is the best type of metal to use for this technique?
Copper, brass, and aluminum are excellent choices because they are soft and easy to cut or shape. Ensure the surface is clean and free of oils or factory coatings before you begin your project.
How do I prevent the colors from smudging while I work?
Work from the top of the piece to the bottom to avoid resting your hand on finished areas. You can also place a piece of tracing paper under your hand to protect the work.
Will the color fade if the metal is kept in direct sunlight?
Most professional-grade colored pencils are lightfast, but direct sunlight can still degrade pigments over time. Using an archival-quality UV-resistant spray sealer will significantly extend the life of your artwork.
Is it possible to erase mistakes on metal?
You can remove mistakes using a small amount of rubbing alcohol or a specialized solvent on a cotton swab. This will strip both the primer and the pigment, allowing you to start over on that specific area.
Do I need to sand the metal before applying primer?
Lightly sanding the surface with fine-grit sandpaper creates microscopic scratches that help the primer bond more securely. This step is highly recommended for long-term durability, especially on very smooth or polished surfaces.
This answer was created with the help of AI research tools and reference sources. Spotted an error? Let us know — we correct mistakes quickly. See our editorial policy.