What is pyrography?
Short answer
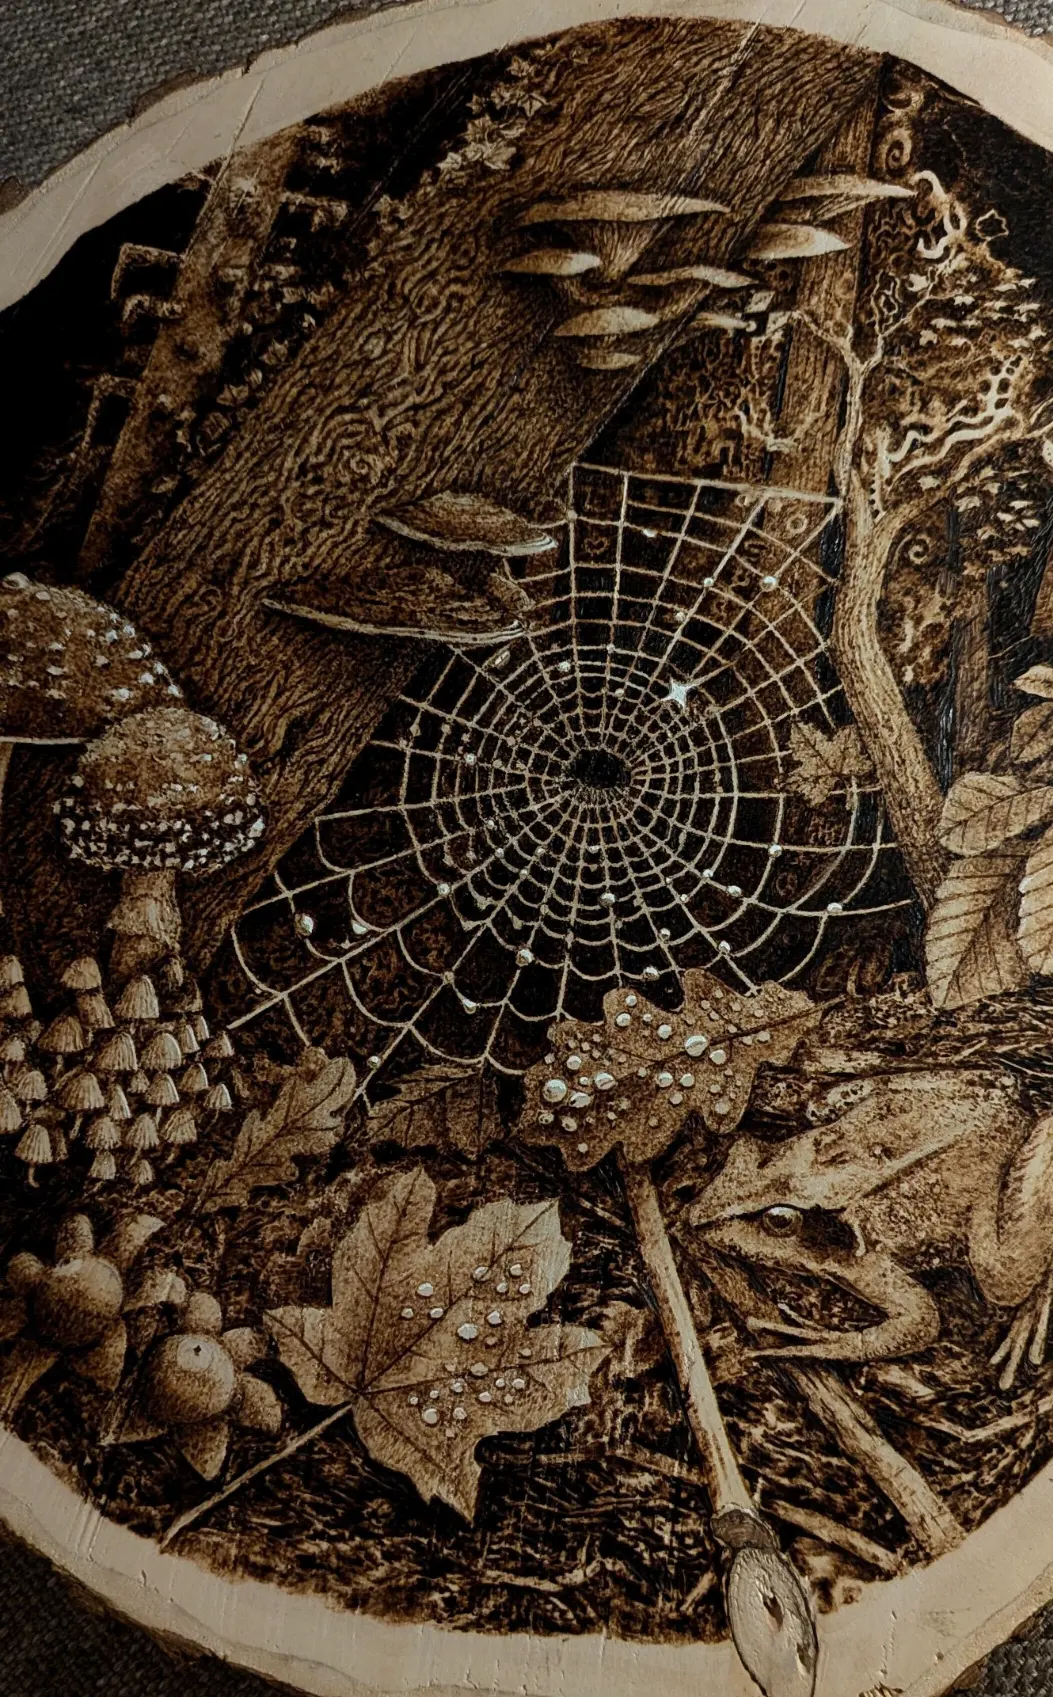
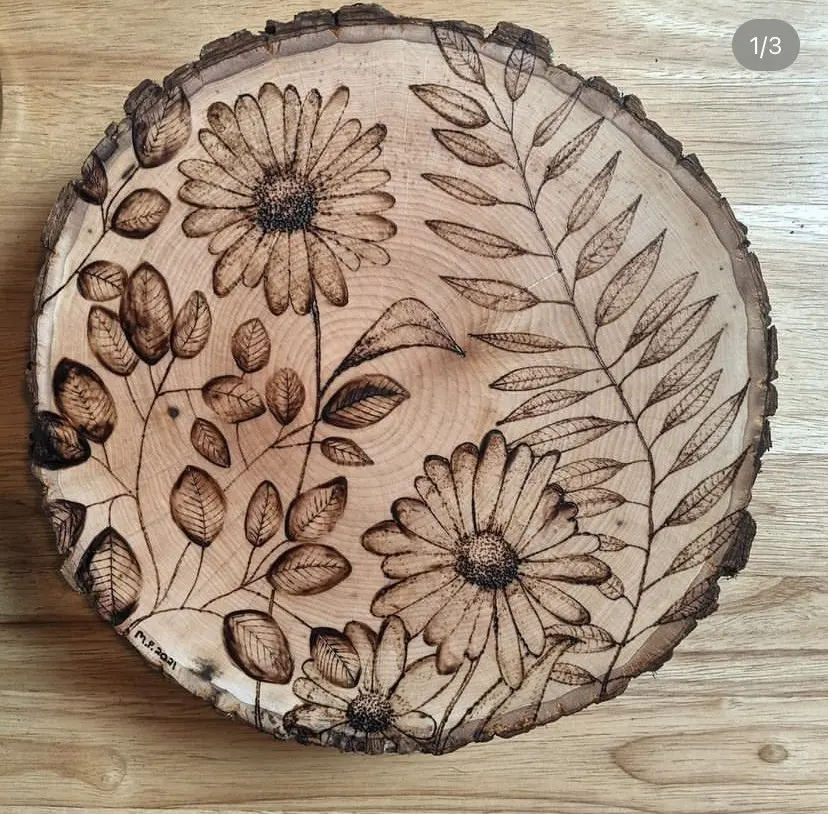
Pyrography is the decorative art of burning designs into natural materials, most commonly wood or leather, using a heated metallic tool. Derived from the Greek words "pyr" (fire) and "graphos" (writing), this ancient craft involves controlling thermal intensity to create varied shades, textures, and intricate patterns through controlled scorching of the surface.
On this page
What is the history of pyrography?
Pyrography has been practiced by various cultures for thousands of years, dating back to prehistory when early humans used heated sticks to mark wooden tools. Archaeological evidence suggests that the practice was prevalent in ancient Egypt and China, where artisans decorated artifacts using rudimentary heated metal rods. During the Victorian era, the craft gained significant popularity in Europe and North America as a domestic hobby, often referred to as "pokerwork."
The transition from open-flame heating to electrical tools in the early 20th century revolutionized the medium. Modern pyrographers now utilize sophisticated temperature-controlled machines that offer precision and consistency far beyond what was possible with traditional hot irons. Today, the craft has evolved into a fine art form, with practitioners creating hyper-realistic portraits, landscapes, and abstract designs on diverse organic surfaces.
Best wood for pyrography beginners
Selecting the right material is essential for achieving clean lines and smooth shading. Soft, light-colored woods with tight, uniform grains are the industry standard because they burn evenly without excessive smoke or splintering. Darker or highly resinous woods can be difficult to work with, as the grain patterns often interfere with the design and the sap can clog the tool tips.
- Basswood: Widely considered the best choice due to its soft texture and pale color.
- Poplar: An affordable alternative that burns consistently but may have slight color variations.
- Birch plywood: Excellent for practice pieces, though you must ensure it is high-quality, formaldehyde-free birch.
- Maple: A harder wood that requires more heat but produces very fine, crisp detail.
Avoid using pressure-treated lumber, MDF, or particle board, as these materials contain toxic glues and chemicals that release dangerous fumes when heated. Always sand your wood surface to a smooth finish before beginning, as any imperfections will be magnified once the heat is applied.
How to use a pyrography pen
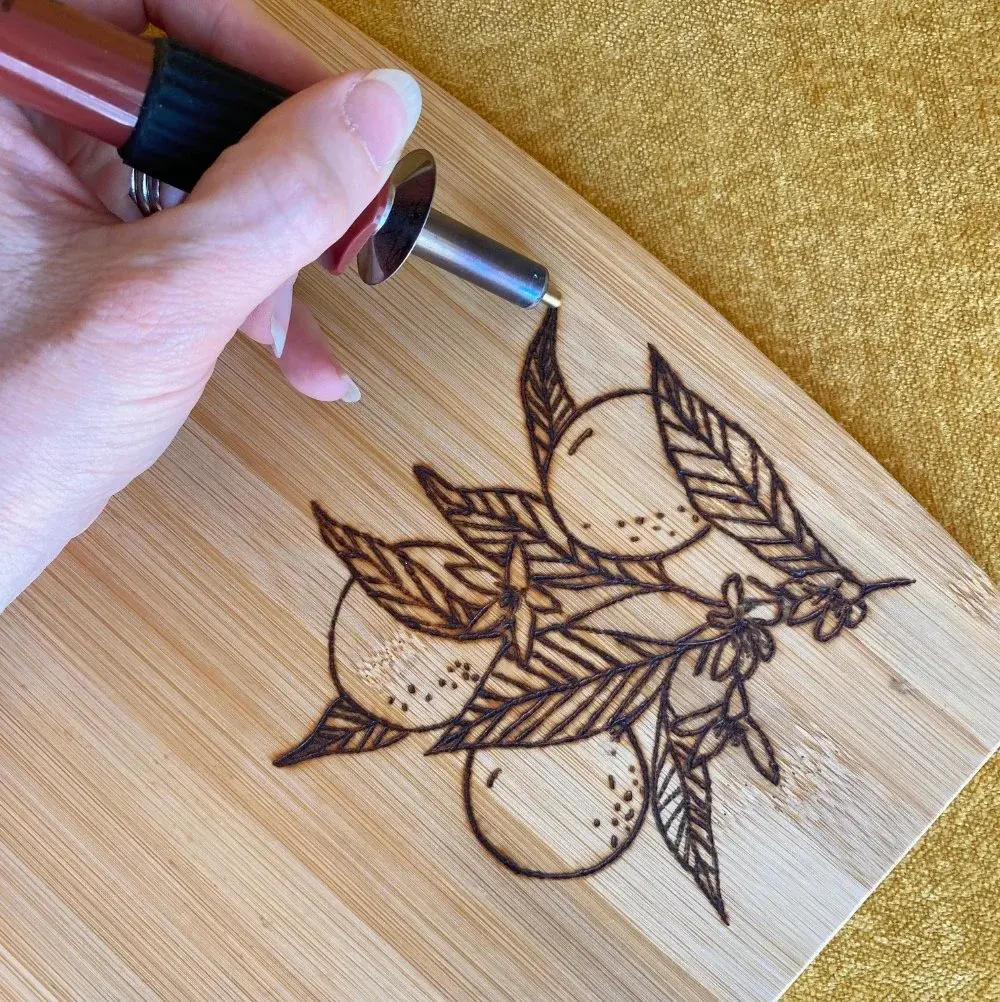
Mastering a pyrography pen requires understanding the relationship between heat, pressure, and speed. For most projects, a solid-point burner—which acts like a soldering iron—is the best starting point for beginners. Advanced artists often prefer wire-nib burners, which allow for rapid temperature changes and offer more ergonomic control for long sessions.
- Secure your wood piece to a stable, heat-resistant surface.
- Set your temperature to a low or medium setting to test the burn intensity on a scrap piece of wood.
- Hold the pen like a pencil, keeping your hand steady to maintain consistent contact.
- Move the pen slowly and steadily; pulling too fast will result in faint lines, while lingering too long will cause deep, charred pits.
- Use different nib shapes, such as slanted or rounded tips, to experiment with various stroke widths and shading techniques.
Always work in a well-ventilated area to avoid inhaling wood smoke. If you are using a wire-nib burner, be aware that the tips are fragile and can bend if excessive pressure is applied during the burning process.
Common mistakes when burning wood
Even experienced artists encounter challenges, but most common errors are easily preventable with better preparation. One frequent mistake is rushing the process, which often leads to uneven lines or accidental "blobs" of dark color where the tool rested too long. Another common issue is failing to clean the pen tips, as carbon buildup will cause the tool to drag and create inconsistent marks.
- Burning at temperatures that are too high, which causes the wood to char and smoke excessively.
- Applying too much pressure, which physically gouges the wood rather than burning it.
- Neglecting to sand the wood thoroughly, which leads to rough surfaces that catch the nib.
- Working on damp or treated wood, which can cause unpleasant odors and inconsistent burn patterns.
If you find yourself making mistakes, remember that light burns can often be sanded away. However, deep burns are permanent, so always practice your shading on a scrap piece of the same wood species before committing to your final project.
How to finish a pyrography project
Once your design is complete, you must protect the wood to ensure the longevity of the artwork. While some artists prefer to leave the wood raw, applying a finish enhances the contrast between the burned areas and the natural wood grain. A clear, non-yellowing sealant is generally recommended to preserve the integrity of the light-colored wood.
Popular finishing options include:
- Beeswax or mineral oil: Provides a natural, matte look that is food-safe for items like cutting boards.
- Polyurethane: Offers a durable, protective layer that is ideal for decorative wall art.
- Acrylic spray: A quick-drying option that is easy to apply but may alter the texture of the wood.
Before applying any finish, ensure all dust from the sanding process is completely removed with a tack cloth. Apply your chosen sealer in thin, even coats, allowing sufficient drying time between applications to prevent streaking or bubbling. Proper sealing will protect your work from moisture and UV light, ensuring your pyrography remains a vibrant piece of art for years to come.
Key facts
- Pyrography, derived from the Greek words "pyr" (fire) and "graphos" (writing), is the art of decorating wood or other materials with burn marks.
- Modern artists typically use a solid-point or wire-nib burner, which allows for temperature control to achieve various shades and line thicknesses.
- Softwoods like pine are generally avoided because their high resin content can cause uneven burning and dangerous fumes.
- Basswood, birch, and poplar are considered the best woods for beginners due to their light color and consistent grain density.
- Always work in a well-ventilated area, as burning wood releases smoke and particles that can irritate the respiratory system.
- Lightly sanding your wood surface to 220-grit before starting ensures a smooth burn and prevents the nib from snagging on fibers.
The bottom line
Pyrography is a rewarding craft that blends artistic expression with technical precision. By selecting the right wood, maintaining proper ventilation, and mastering heat control, you can create intricate, permanent designs on various natural surfaces. Whether you are a hobbyist or an aspiring professional, starting with high-quality tools and practicing on scrap material will help you develop the steady hand necessary for beautiful, professional-looking wood-burned art.
People also ask
Can you perform pyrography on materials other than wood?
Yes, pyrography can be applied to leather, cork, paper, and even certain gourds. Each material requires different heat settings and pressure to avoid burning through the surface.
What is the difference between a solid-point and a wire-nib burner?
A solid-point burner functions like a soldering iron with a fixed tip, making it ideal for basic outlines and simple designs. Wire-nib burners provide interchangeable tips and faster heat response, allowing for intricate shading and professional-level detail.
How do I prevent my wood from charring too deeply?
Keep your heat setting low and move the tool at a consistent, steady pace across the surface. If the wood begins to smoke excessively, your temperature is likely too high or you are moving too slowly.
Is it necessary to seal the wood after finishing a project?
Sealing is highly recommended to protect the design from fading, moisture, and dust. You can use wood oils, waxes, or polyurethane sprays to enhance the contrast of the burned areas.
What are the most common mistakes beginners make?
Beginners often press too hard, which can damage the wood grain and the tool tip. Another common error is failing to practice on scrap wood, leading to mistakes on the final project piece.
How do I clean my pyrography tips?
You can clean carbon buildup off your tips by using a specialized polishing compound or a fine-grit honing stone while the tool is cool. Never use sandpaper on the tips, as it can scratch the metal and ruin the smooth finish.
This answer was created with the help of AI research tools and reference sources. Spotted an error? Let us know — we correct mistakes quickly. See our editorial policy.