What is an angle brush used for?
Short answer
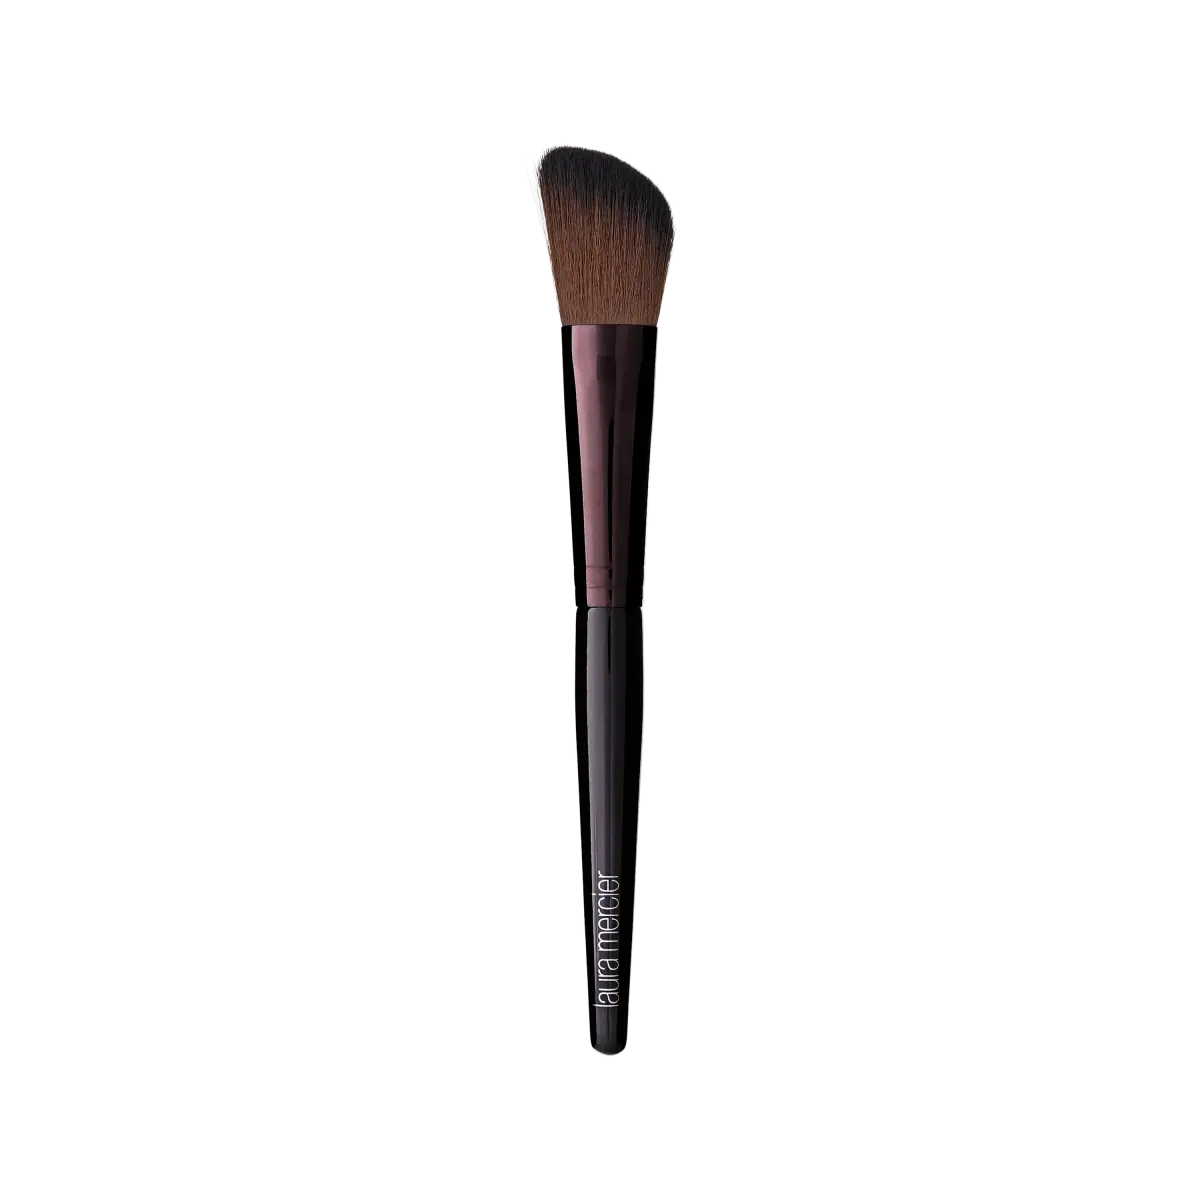
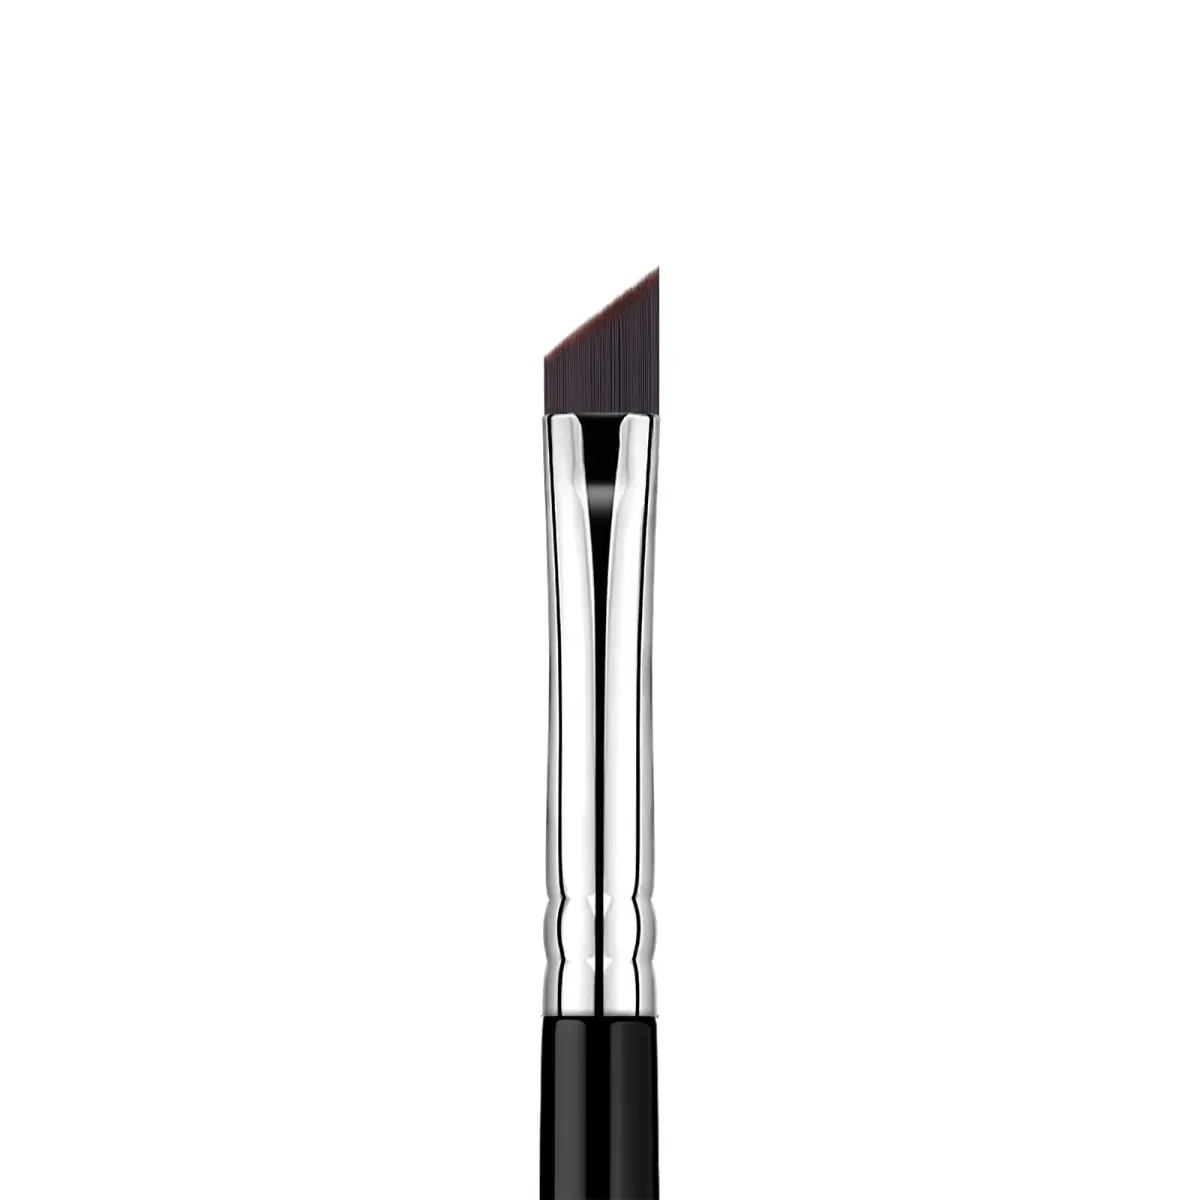
An angle brush, or sash brush, features bristles cut at an acute angle to provide superior control and precision. It is primarily used for "cutting in" along edges, corners, and trim where a straight brush would lack the necessary maneuverability. The angled shape allows painters to create clean, sharp lines without using tape.
On this page
Why use an angle brush for painting
The primary advantage of an angle brush is its ergonomic design, which mimics the natural movement of the human wrist. When painting tight corners or intricate trim, a standard flat brush often leaves gaps or results in paint bleeding onto adjacent surfaces. Because the bristles are tapered, the brush reaches into narrow crevices while maintaining a consistent flow of paint. This makes it an essential tool for professional results on baseboards, window frames, and door casings.
By utilizing the angled tip, you can apply pressure specifically to the edge of the brush to create a perfectly straight line. This technique, known as cutting in, eliminates the need for masking tape, which can sometimes peel off existing paint or create uneven edges if not applied correctly. Whether you are working with latex or oil-based paints, the angle brush provides the necessary dexterity to navigate complex architectural details with ease and speed.
How to cut in with an angle brush
Cutting in is the process of painting the edges of a wall or trim before filling in the larger areas with a roller. To achieve professional results, follow these steps to ensure clean lines and smooth coverage:
- Dip the brush into the paint until the bristles are covered about one-third of the way up.
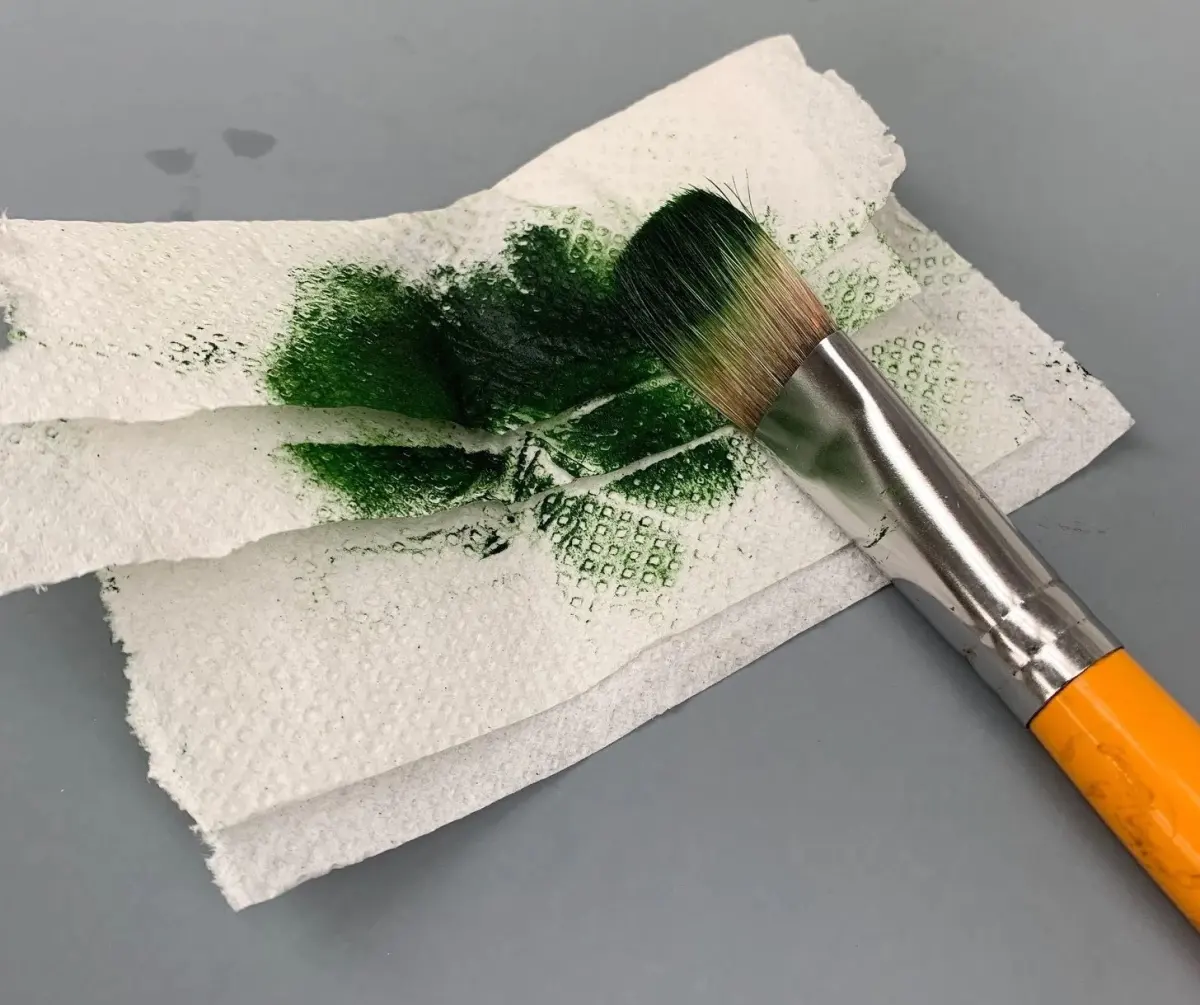
- Tap the brush gently against the side of the can to remove excess paint, preventing drips.
- Place the angled tip of the brush against the wall, starting about an inch away from the trim.
- Slowly push the paint toward the edge, allowing the bristles to fan out and create a fine line.
- Pull the brush along the edge in a steady, fluid motion, maintaining a consistent angle.
Consistency is key to a smooth finish. If you stop mid-stroke, you risk creating a visible ridge where the paint has started to dry. Always keep a "wet edge" by overlapping your strokes slightly as you move along the surface.
Best angle brush sizes for different projects
Choosing the right brush size depends entirely on the scale of the area you are painting. For most interior trim and detail work, a 1.5-inch or 2-inch angle brush is ideal. These sizes provide enough stiffness for control while remaining small enough to handle comfortably in tight spaces. Larger brushes, such as 2.5-inch models, are better suited for wider surfaces like door panels or large crown molding where you need to hold more paint.
- 1-inch to 1.5-inch: Best for thin trim, window muntins, and very narrow corners.
- 2-inch: The industry standard for baseboards, door frames, and general cutting in.
- 2.5-inch: Recommended for wider trim, cabinets, and areas requiring longer, uninterrupted strokes.
Always consider the material of the bristles as well. Synthetic nylon or polyester blends are generally preferred for modern water-based paints because they do not absorb moisture and lose their shape. Natural bristles are better suited for oil-based paints and varnishes, as they provide a smoother finish without leaving brush marks.

Common mistakes when using an angle brush
The most frequent error beginners make is overloading the brush with paint. When the bristles are saturated to the ferrule—the metal band holding the bristles—the paint will drip, clump, and become impossible to control. This leads to thick, uneven lines that are difficult to sand down later. Always wipe the excess paint against the rim of the container or a wire grid to ensure the bristles remain flexible and responsive.
Another common mistake is holding the brush too tightly, which restricts your range of motion and leads to hand fatigue. Instead, hold the handle like a pencil to allow for finer control and a lighter touch. If you find your lines are shaky, try resting your non-dominant hand against the wall to act as a steadying guide. Finally, avoid using the very tip of the brush for heavy lifting; use the belly of the bristles to distribute paint, and reserve the tip specifically for the final, precise edge.
How to clean and maintain your brushes
Proper maintenance significantly extends the life of your brushes, ensuring they remain soft and effective for future projects. If you are using water-based paint, wash the brush immediately after use with warm, soapy water. Use a brush comb to gently remove dried paint from the base of the bristles, as this is where buildup usually occurs. Rinse thoroughly until the water runs clear, then shake out the excess moisture and hang the brush to dry.
For oil-based paints, you must use a solvent like mineral spirits to dissolve the paint. Always perform this process in a well-ventilated area and dispose of the solvent according to local environmental regulations. Once the brush is clean, reshape the bristles with your fingers and store it in its original cardboard sleeve or a dedicated brush keeper. This practice prevents the bristles from splaying outward, which would otherwise ruin the precision of the angled tip and render the tool ineffective for future cutting in tasks.
Key facts
- An angle brush features bristles cut at a diagonal slant, allowing for precise control along edges and corners.
- The primary use of this tool is "cutting in," which involves painting a clean line where two surfaces meet, such as walls and ceilings.
- Synthetic bristles are typically recommended for water-based latex paints, while natural bristles work best with oil-based products.
- Holding the brush like a pencil provides the most stability and accuracy when navigating tight trim or window frames.
- To maintain the brush, always clean it immediately after use with warm water and mild soap to prevent paint from drying in the heel.
- Avoid overloading the brush; dip only the bottom third of the bristles into the paint to prevent drips and excessive buildup.
The bottom line
An angle brush is an essential tool for any painter seeking professional results. By utilizing its slanted bristles, you can achieve clean, crisp edges along ceilings, trim, and corners without the need for excessive masking tape. Proper maintenance, such as avoiding over-dipping and cleaning immediately after use, ensures your brush remains a reliable, long-lasting asset for all your detailed interior and exterior painting projects.
People also ask
Can I use an angle brush for large flat surfaces?
While possible, it is inefficient to use an angle brush for large walls because the small surface area of the bristles slows down progress. A standard flat brush or a roller is much better suited for covering expansive, open areas quickly.
How do I prevent paint from getting on the ferrule?
The ferrule is the metal band holding the bristles; paint should never touch it. Only dip the bristles into the paint up to one-third of their length to keep the brush clean and prevent damage to the handle.
What size angle brush should I buy for trim work?
A 2-inch or 2.5-inch angle brush is the industry standard for most interior trim and molding projects. These sizes offer the best balance between maneuverability and the ability to hold enough paint for a smooth finish.
Should I wet the brush before painting?
Yes, dampening the bristles slightly with water before using latex paint helps the paint flow more smoothly and makes cleanup easier later. Shake out the excess moisture so the brush is damp but not dripping wet.
Why are the bristles on my brush splaying out?
Bristles splay when too much pressure is applied during painting or if the brush is stored incorrectly. Always store the brush in its original cardboard keeper or hang it by the handle to maintain the shape of the bristles.
How do I get a straight line without using painter's tape?
Use the angled tip to "draw" a line along the edge, keeping a steady hand and consistent pressure. Practice on a piece of scrap wood first to get a feel for how the angle of the brush interacts with the surface.
This answer was created with the help of AI research tools and reference sources. Spotted an error? Let us know — we correct mistakes quickly. See our editorial policy.