How do you use the pen tool in Photoshop?
Short answer
The Pen tool in Adobe Photoshop creates precise paths using anchor points and direction handles. By clicking to place points and dragging to create curves, you define exact shapes or selections. It is the industry standard for high-quality masking, vector drawing, and creating complex paths that remain editable and resolution-independent.
On this page
How to use the Pen tool for beginners
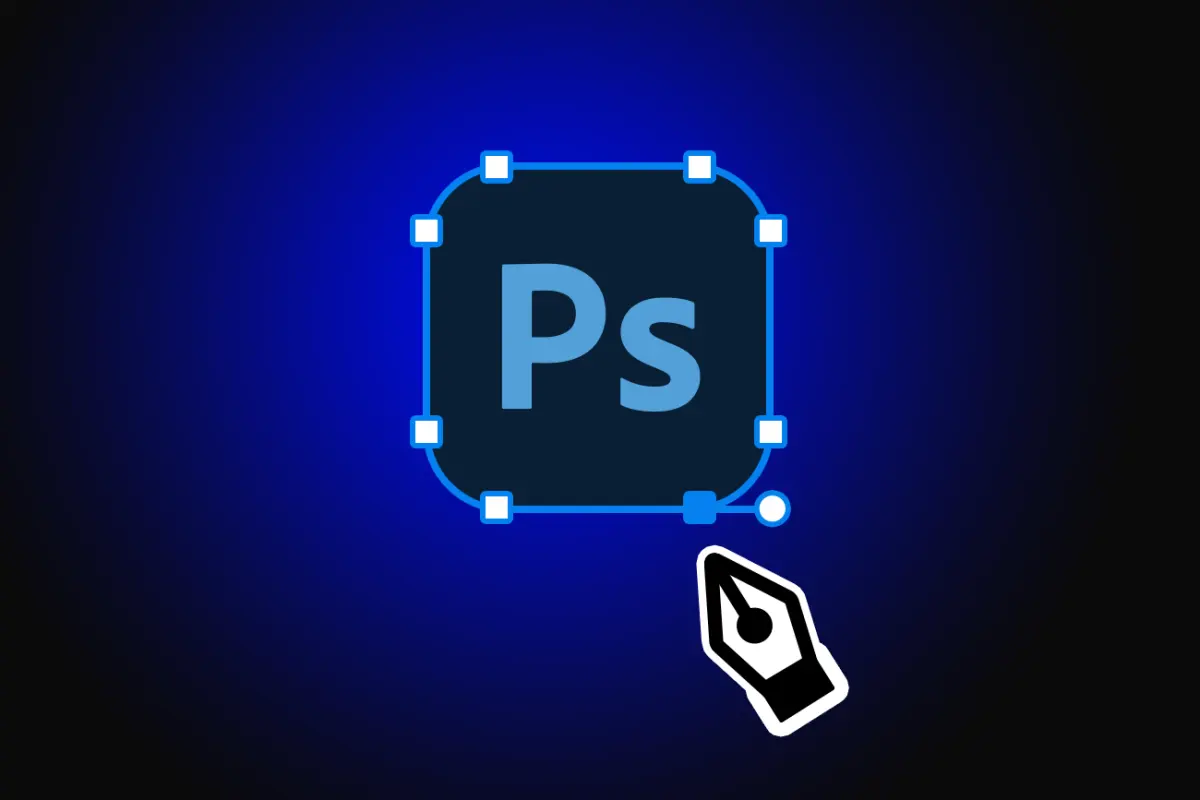
The Pen tool functions by placing anchor points connected by straight or curved lines. To begin, select the Pen tool from the toolbar or press the "P" key. Click anywhere on your canvas to create a single anchor point. To create a straight line, click in a different location to place a second point. The path will automatically connect these points with a straight segment.
For curved lines, click and drag your mouse instead of just clicking. As you drag, you will see two direction handles emerge from the anchor point. These handles control the curvature of the path segment. The further you drag, the deeper the curve becomes. Mastering the relationship between the direction handles and the resulting path is the fundamental skill required for professional-grade photo editing and graphic design.
How to draw curved paths accurately
Creating smooth, professional curves requires careful placement of anchor points. Avoid placing too many points, as this often results in a "bumpy" or jagged path. Instead, aim to place your anchor points at the extreme peaks and valleys of the curves you are tracing. This technique, often called the "minimalist approach," ensures that your curves remain fluid and mathematically precise.
- Click to place your first anchor point.
- Click and drag in the direction you want the path to follow.
- Release the mouse button to set the curve.
- To continue the path, click and drag again at the next curve peak.
- If you need to change the direction of a path suddenly, hold the Alt (Windows) or Option (Mac) key and click the last anchor point to retract the handle.
Why paths are better than selections
Photoshop paths are vector-based, meaning they are not composed of pixels. Unlike the Lasso or Magic Wand tools, which create pixel-based selections that blur when scaled, paths remain perfectly sharp at any size. This makes the Pen tool the superior choice for high-end retouching, such as cutting out a product for an e-commerce catalog or creating a complex silhouette for a print advertisement.
Because paths are stored in the Paths panel, you can save them and return to them at any time. You can also easily convert a path into a selection by clicking the "Load path as a selection" icon at the bottom of the Paths panel. This workflow allows for non-destructive editing, where you can refine your path shape repeatedly until it perfectly matches the contours of your subject before finalizing the selection.

Common mistakes when using the Pen tool
Many beginners struggle because they place too many anchor points, which makes the path difficult to control and edit later. Another frequent error is failing to close the path. A closed path forms a complete loop, which is necessary if you intend to fill the shape with color or convert it into a selection. Always ensure your final click connects back to the very first anchor point you created.
- Placing points too close together, which creates unnecessary complexity.
- Forgetting to hold the Alt/Option key to adjust individual handles independently.
- Attempting to draw a complex shape in a single, continuous click-and-drag motion.
- Ignoring the Paths panel, which leads to losing work if you accidentally click away.
- Using the Pen tool on a pixel layer instead of creating a new path layer.
How to edit paths after drawing
Even after you have finished drawing, you can adjust your path using the Direct Selection tool, represented by a white arrow icon. This tool allows you to click on any individual anchor point to move it or grab the direction handles to reshape the curves. If you need to add more points to a path, select the Add Anchor Point tool from the Pen tool flyout menu and click anywhere along the existing line.
Conversely, if you have too many points, use the Delete Anchor Point tool to remove them without breaking the path. You can also convert a smooth point into a corner point by using the Convert Point tool. This allows you to snap a curved path into a sharp angle instantly. By mastering these modification tools, you can transform a rough initial sketch into a perfectly refined path that meets the highest standards of professional graphic design work.
Key facts
- The Pen Tool creates vector-based paths using anchor points and direction handles to define shapes or selections.
- Click once to create a corner point, or click and drag to create a smooth curve point.
- Hold the Alt (Windows) or Option (Mac) key while clicking an anchor point to convert a curve into a sharp corner.
- Paths are resolution-independent, meaning they can be scaled to any size without losing image quality.
- Use the Direct Selection Tool (White Arrow) to adjust individual anchor points and handles after drawing.
- Press Enter or Return to finalize a path, or click the first point to close a shape.
The bottom line
Mastering the Pen Tool is essential for professional image editing in Photoshop. While it has a steeper learning curve than brush-based selection tools, its ability to create clean, scalable vectors provides unmatched precision. By practicing the placement of anchor points and managing direction handles, you gain full control over complex selections and custom shapes, ultimately elevating the quality and technical standard of your graphic design projects.
People also ask
What is the difference between the Pen Tool and the Curvature Pen Tool?
The standard Pen Tool requires manual placement of handles for precise control over curves. The Curvature Pen Tool automatically creates smooth curves between points, making it more intuitive for beginners.
How do I turn a path into a selection?
Once your path is complete, right-click on the path and select "Make Selection." You can then set a feather radius to soften the edges of the resulting selection.
Why are my paths disappearing when I click somewhere else?
Paths are stored in the Paths panel, not the Layers panel. If you deselect a path, you must click on its name in the Paths panel to resume editing it.
Can I change the color of a path?
Yes, you can change the path color in the Paths panel options. This is helpful when working on images where the default blue line is difficult to see.
How do I add or delete anchor points on an existing path?
Use the Add Anchor Point Tool to click along a segment to add a point. Use the Delete Anchor Point Tool to remove existing points without breaking the path.
Is the Pen Tool better than the Lasso Tool for cutting out objects?
The Pen Tool is superior for precision work, such as cutting out products or architecture. The Lasso Tool is faster for freehand selections but lacks the smooth, mathematical accuracy of paths.
This answer was created with the help of AI research tools and reference sources. Spotted an error? Let us know — we correct mistakes quickly. See our editorial policy.