How do you vectorize a drawing?
Short answer
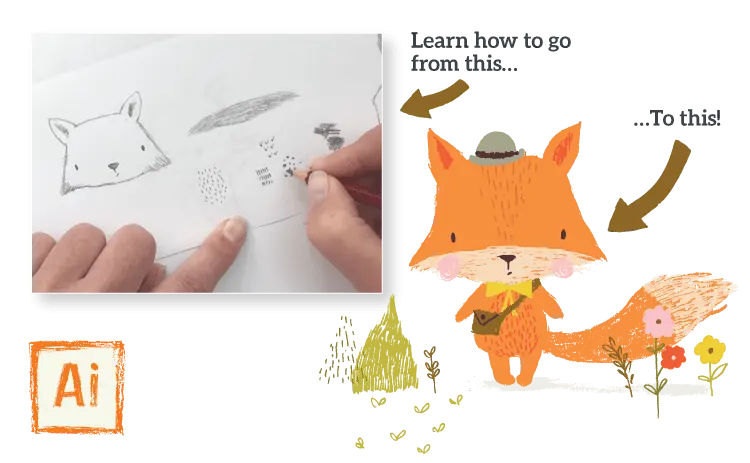
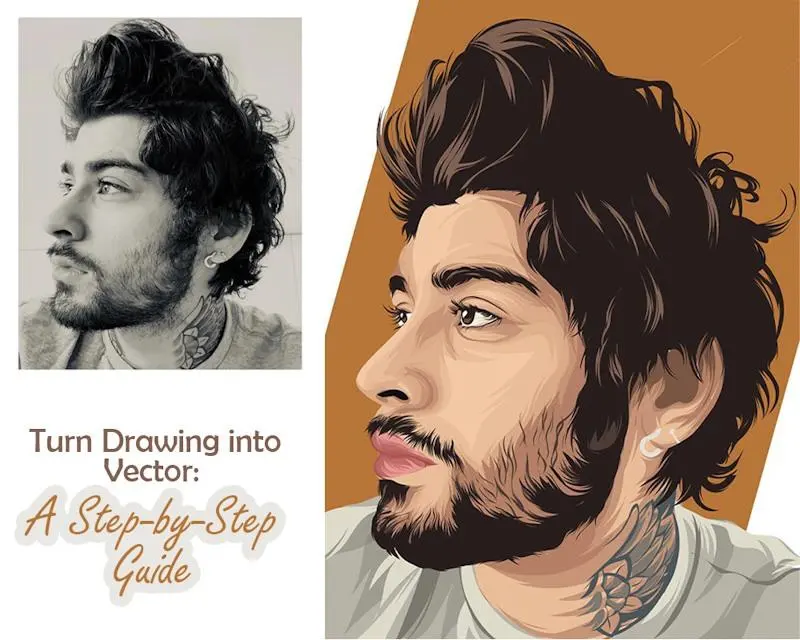
Vectorizing a drawing involves converting pixel-based raster images into mathematical paths composed of anchor points and curves. You can achieve this by using specialized software to trace the image manually or by utilizing automated tracing tools. This process allows the artwork to be scaled infinitely without losing quality or resolution.
On this page
How to vectorize a drawing manually
Manual vectorization is the process of tracing over a raster image using vector paths. This method offers the highest level of precision and is preferred for professional logos or complex illustrations where clean lines are essential. You begin by importing your drawing into software like Adobe Illustrator, Affinity Designer, or Inkscape.
- Create a new layer above your imported drawing and reduce the opacity of the original image to about 50 percent.
- Select the Pen tool and click to place anchor points along the contours of your drawing.
- Adjust the handles of each anchor point to curve the path so it matches the underlying lines.
- Close each shape and apply a solid fill or stroke color to define the final vector elements.
This approach requires patience, but it ensures that your final file is free of the unnecessary anchor points often generated by automated software. It allows you to simplify shapes and correct mistakes present in the original hand-drawn sketch.
How to use automated tracing tools
Automated tracing tools analyze the contrast and color boundaries of a raster image to generate vector paths instantly. Most professional design suites include a "Live Trace" or "Image Trace" function that processes the image based on specific settings. This is highly efficient for simple, high-contrast drawings or sketches with bold, dark lines on a white background.
- Open your image in your chosen vector software.
- Select the object and locate the Image Trace panel or menu.
- Choose a preset such as "Black and White Logo" or "Sketched Art" to begin the conversion.
- Adjust the threshold, path fitting, and corner settings to refine the output.
- Click "Expand" to convert the traced result into editable vector paths and shapes.
While fast, this method often creates complex paths that can be difficult to edit later. It is best suited for quick drafts or images that do not require perfect geometric accuracy.
Best software for vectorizing drawings
Choosing the right software depends on your budget and the complexity of your project. Adobe Illustrator remains the industry standard, offering the most robust toolset for complex path manipulation and professional-grade output. For those seeking a one-time purchase, Affinity Designer is a powerful alternative that provides similar professional features without the recurring subscription cost of Adobe’s Creative Cloud.
If you are a beginner or working on a limited budget, Inkscape is an excellent open-source choice. It is a free, feature-rich vector graphics editor that handles both manual tracing and automated conversion effectively. Many users also utilize mobile apps like Adobe Capture, which allows you to photograph a physical drawing and convert it into a vector file directly on your phone. Regardless of the tool, ensure your software supports common vector formats such as SVG, EPS, or AI to maintain compatibility with other design applications.
Why vectorization is necessary for printing
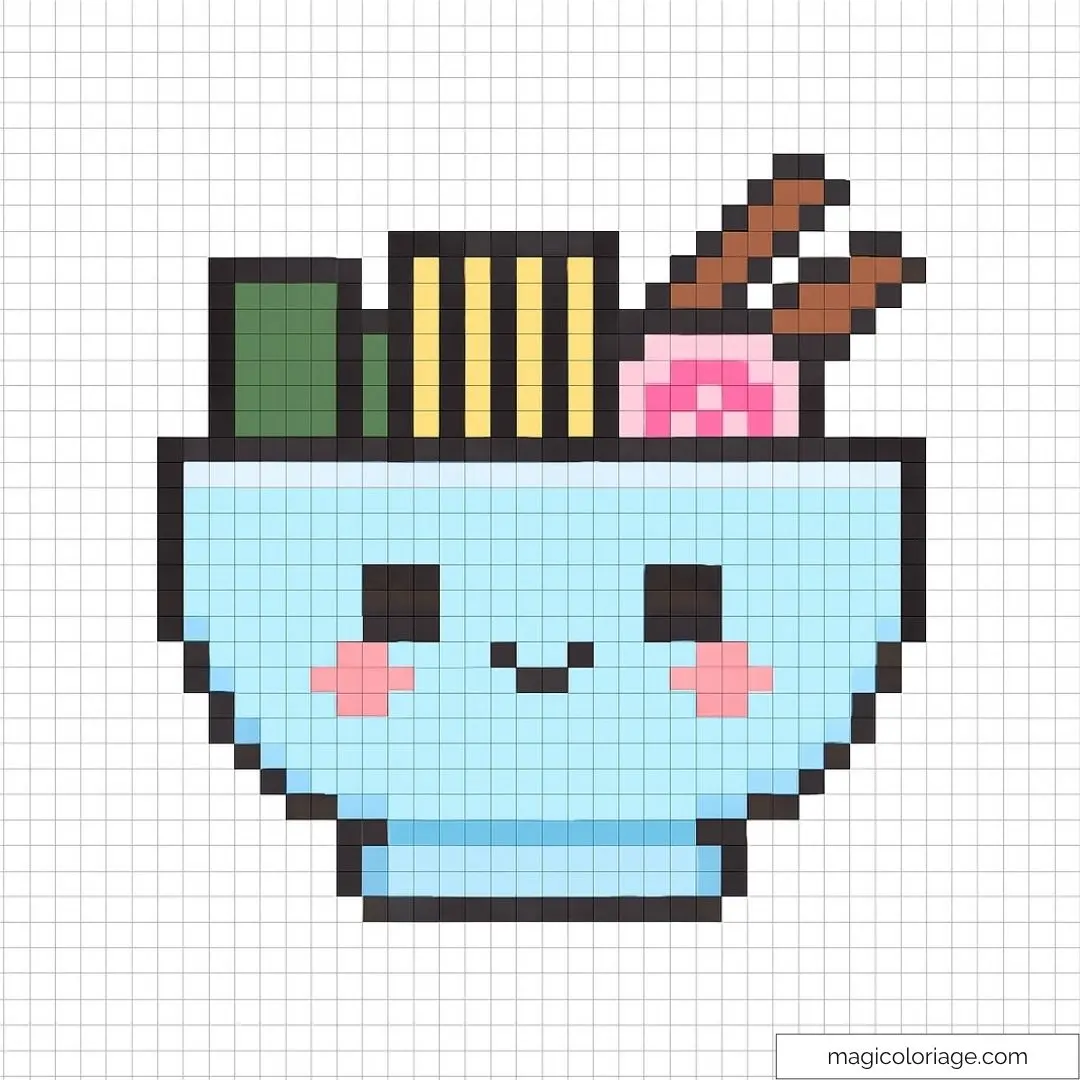
Vector images are fundamentally different from raster images like JPEGs or PNGs because they are resolution-independent. Raster images are composed of a fixed grid of pixels; when enlarged, they become blurry or pixelated. Because vectors are defined by mathematical equations, they can be scaled to the size of a billboard or reduced to the size of a business card without any loss of clarity.
This scalability is critical for branding, signage, and screen printing. If you send a low-resolution raster file to a printer, the output will likely look jagged and unprofessional. By converting your drawing to a vector format, you ensure that the lines remain crisp and the colors stay vibrant regardless of the final output size. This process is a standard requirement for professional print production, as it guarantees that the artwork remains sharp at any magnification level.
Common mistakes when vectorizing drawings
A frequent error is starting with a low-quality, blurry, or low-contrast source image. If the original drawing is faint or cluttered with shadows, the software will struggle to distinguish between the lines and the background. Always scan your drawings at a minimum of 300 dots per inch (DPI) to provide the software with the clearest possible data.
Another common mistake is leaving too many anchor points in the final design. Excessive points make the file size larger and the paths harder to manipulate. You should aim to use the minimum number of points necessary to capture the shape of your drawing. Additionally, failing to group related elements or clean up stray paths can lead to a disorganized file that is difficult for other designers to use. Always take the time to organize your layers and remove hidden, unnecessary paths before finalizing your vector file for production.
Key facts
- Vectorization converts pixel-based raster images (like JPEGs or PNGs) into mathematical paths defined by points, lines, and curves.
- Unlike raster images, vector graphics can be scaled to any size without losing quality or becoming blurry.
- Common file formats for vector graphics include SVG, EPS, AI, and PDF.
- Adobe Illustrator and Inkscape are the industry-standard software tools for performing manual or automated vector tracing.
- High-contrast images with clean lines and solid colors are significantly easier to vectorize than complex photographs with gradients.
- The "Pen Tool" is the most precise method for manual vectorization, allowing users to trace paths over an existing image layer.
The bottom line
Vectorizing a drawing transforms static pixel data into flexible, scalable mathematical paths. By using tools like the Pen Tool in software such as Adobe Illustrator or Inkscape, you can convert sketches into professional-grade graphics. While automatic tracing offers speed, manual tracing remains the gold standard for precision. Mastering this process ensures your artwork maintains perfect clarity across all digital and physical media platforms regardless of scale.
People also ask
What is the difference between raster and vector images?
Raster images are composed of a fixed grid of colored pixels, which lose clarity when enlarged. Vector images use geometric formulas, allowing them to be resized infinitely without any loss of detail.
Can I vectorize a hand-drawn sketch?
Yes, you can scan or photograph a sketch and import it into vector software. You then trace over the lines to create a clean, scalable digital version of your original drawing.
Why do my vectorized lines look jagged?
Jagged lines usually occur when the tracing settings are too sensitive or the source image has low resolution. Using a higher-quality source image or manually adjusting the anchor points will smooth out these irregularities.
Is it better to trace manually or use automatic tracing tools?
Automatic tracing is faster but often produces messy, overly complex paths. Manual tracing with the Pen Tool provides superior control, cleaner geometry, and smaller file sizes for professional output.
What is an anchor point?
An anchor point is a specific coordinate on a path that defines the direction and curvature of a line segment. Manipulating these points allows designers to reshape lines with mathematical precision.
Which file format should I use for a logo?
SVG or EPS are the best formats for logos because they are universally supported by printing services and web browsers. These formats ensure your logo remains sharp on everything from business cards to billboards.
This answer was created with the help of AI research tools and reference sources. Spotted an error? Let us know — we correct mistakes quickly. See our editorial policy.