How do you embroider letters?
Short answer
Embroidering letters involves transferring a design onto fabric and stitching over the outlines using needlework techniques like backstitch or stem stitch. Choose a font, trace it onto your material, and secure the fabric in a hoop. Use embroidery floss to follow the lines, ensuring even tension for a professional, clean finish.
On this page
How to prepare fabric for embroidery
Before you begin stitching, you must stabilize your fabric to prevent puckering or distortion. Cotton, linen, and quilting-weight fabrics are ideal for beginners because they have a consistent weave that supports embroidery floss well. Avoid stretchy jersey knits unless you use a heavy-duty stabilizer, as these fabrics can warp under the tension of the needle.
To prepare your project, follow these steps:
- Iron your fabric to remove all wrinkles, as creases can distort the shape of your letters.
- Place your fabric over the inner ring of an embroidery hoop.
- Press the outer ring down firmly over the fabric and tighten the screw until the material is drum-tight.
- Use a water-soluble fabric marker or a heat-transfer pencil to trace your letters onto the center of the fabric.
Proper preparation ensures your letters remain aligned and prevents the fabric from pulling unevenly. If the fabric feels loose, tighten the hoop screw periodically while you work to maintain consistent tension.
Best embroidery stitches for lettering
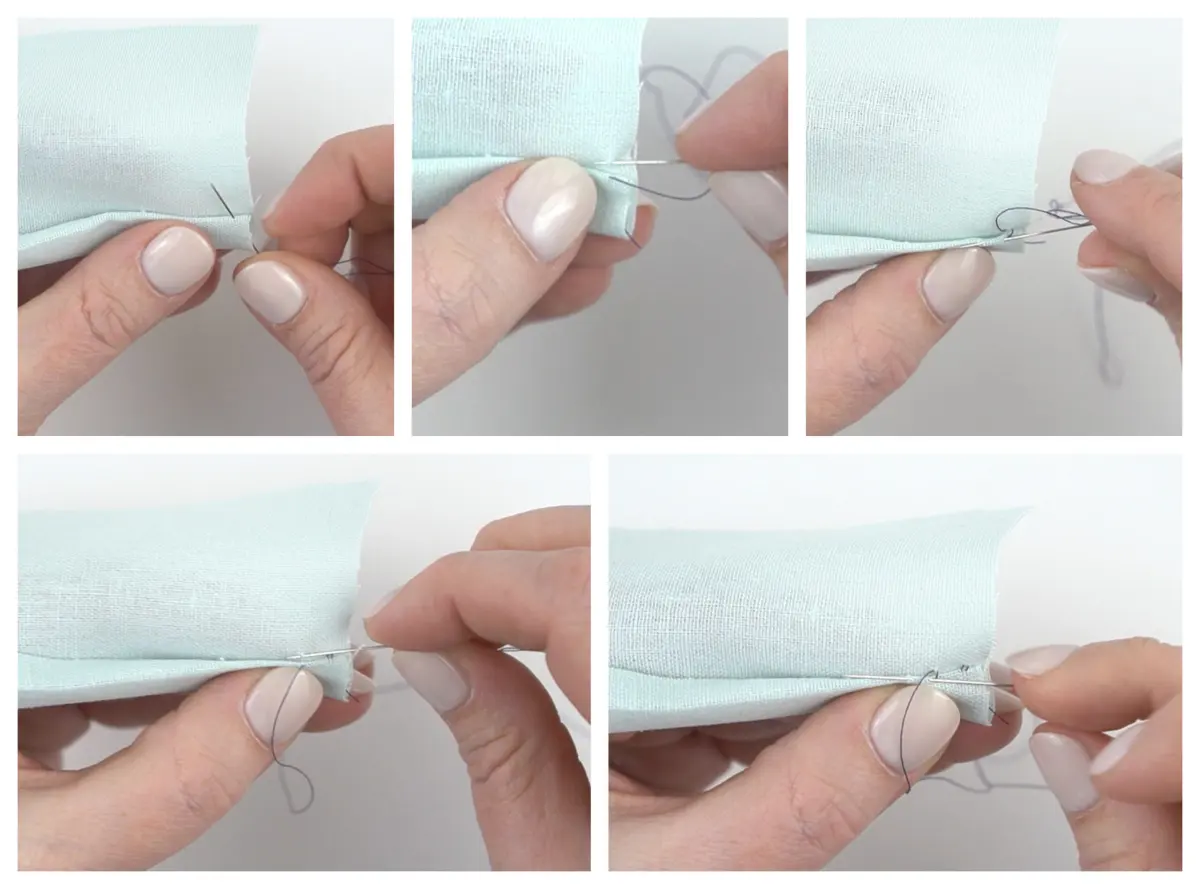
The choice of stitch determines the texture and boldness of your letters. For thin, elegant lines, the backstitch is the industry standard because it creates a solid, unbroken line that mimics handwriting. Simply bring the needle up, take a small step forward, and then insert the needle back into the end of the previous stitch.
For thicker, more decorative lettering, consider these options:
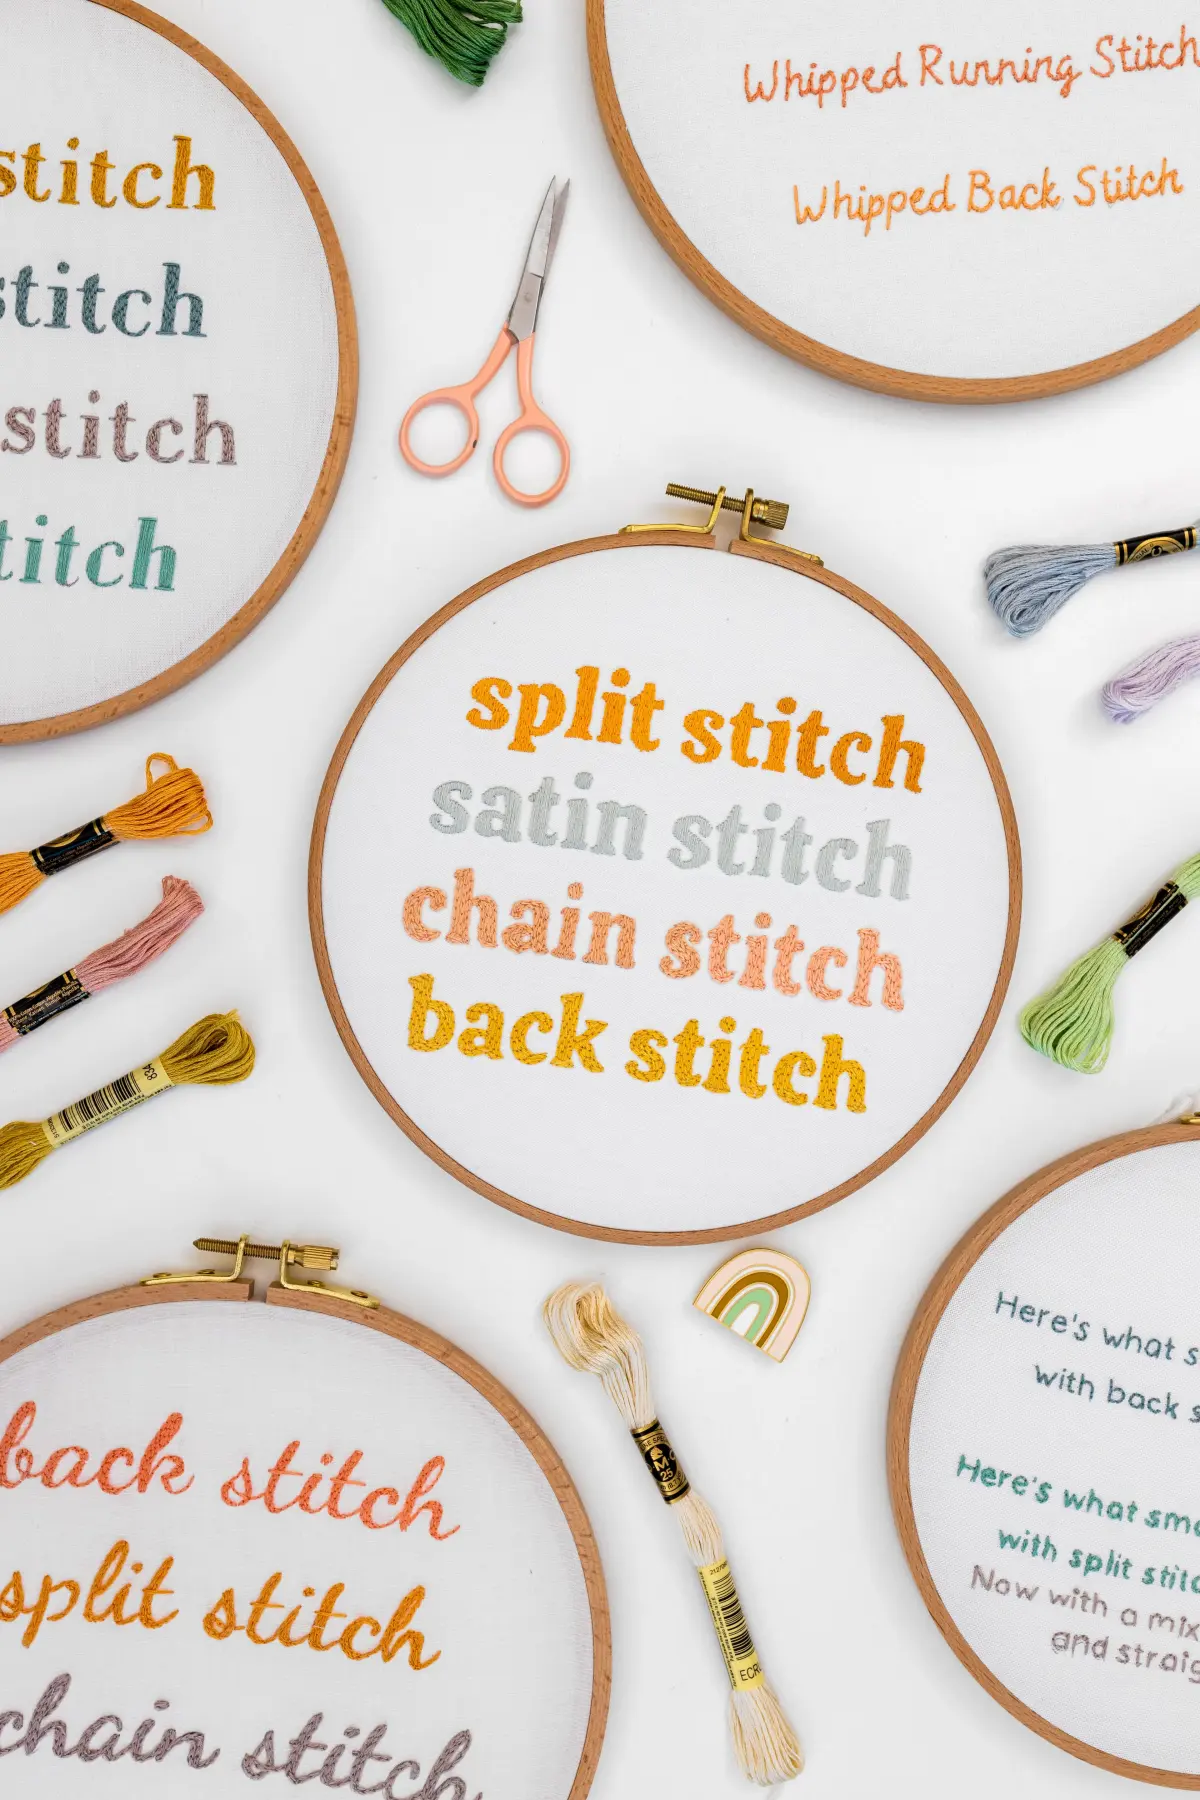
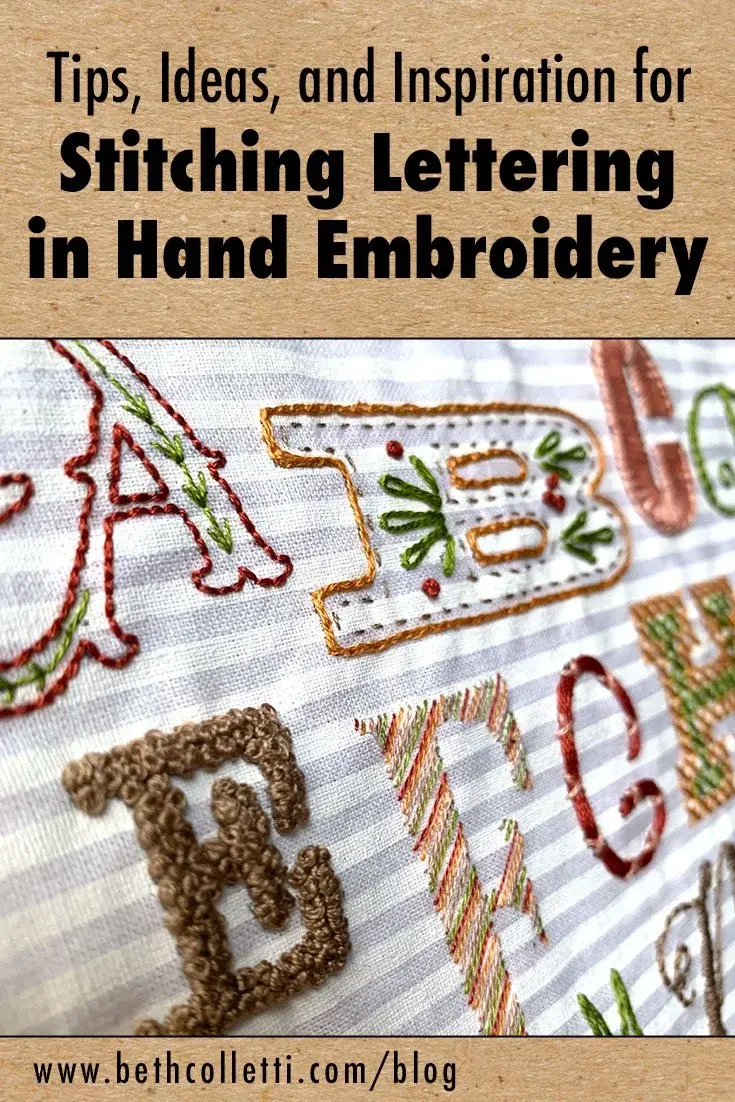
- Stem stitch: Ideal for curves and script fonts, this stitch creates a rope-like texture that follows the path of the letter beautifully.
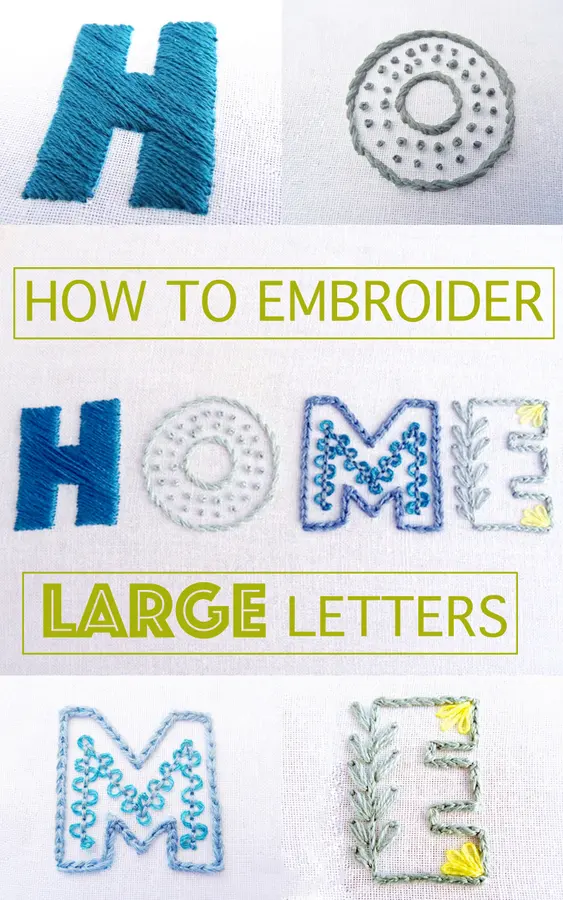
- Satin stitch: Perfect for filling in block letters, this involves laying long, parallel stitches across the entire width of the shape.
- Split stitch: Created by bringing the needle up through the center of the previous stitch, this provides a braided look that is excellent for bold outlines.
Experimenting with different stitches allows you to customize the weight of your text. Always test your chosen stitch on a scrap piece of fabric first to ensure it achieves the desired aesthetic.
How to manage embroidery floss
Embroidery floss typically consists of six individual strands twisted together. Most patterns specify how many strands to use, which drastically changes the appearance of your letters. Using all six strands creates a thick, chunky look, while using one or two strands produces delicate, fine-line lettering suitable for small-scale projects.
To manage your thread effectively, cut a length no longer than 18 inches. Longer threads are prone to knotting and fraying, which can ruin your stitches and waste materials. When you need to change colors or start a new thread, secure the end by weaving it through the back of your existing stitches rather than tying bulky knots. This keeps the reverse side of your work clean and prevents bumps from showing through the front of your fabric. If your thread begins to twist while you stitch, let the needle hang freely for a moment to allow the tension to release.
Common mistakes when embroidering letters
Even experienced embroiderers encounter issues when working with text. One of the most frequent errors is pulling the thread too tightly, which causes the fabric to gather and creates a puckered appearance. Conversely, if your tension is too loose, your letters will look sloppy and lack definition. Aim for a balance where the thread lies flat against the fabric without distorting the weave.
Another common pitfall involves ignoring the direction of the stitches. On curves, you must use smaller stitches to maintain the shape of the letter; using long stitches on a curve will result in jagged, angular edges rather than smooth lines. Additionally, failing to secure your thread properly can lead to unraveling over time. Always ensure your starting and ending stitches are anchored firmly into the fabric or existing thread paths. If you make a mistake, do not be afraid to use a seam ripper to remove the thread and start that specific section over.
How long does it take to embroider letters
The time required to complete a project depends on the size of the letters, the complexity of the font, and the stitch density. A simple, small monogram might take thirty minutes, while a large, intricate quote with satin-stitched fill could take several hours or even days. Beginners should expect to spend more time as they learn to control their needle and maintain even spacing between stitches.
To improve your speed and accuracy, focus on developing a consistent rhythm. Do not rush the process, as embroidery is a craft that rewards patience and precision. As you gain experience, you will naturally develop a faster pace and better muscle memory for common letter shapes. Keep a record of your projects to track your progress and identify which fonts or techniques you find most efficient. By practicing regularly, you will find that your ability to produce clean, professional-looking letters improves significantly with every project you complete.
Key facts
- Use a stabilizer or backing fabric behind your base material to prevent puckering and maintain letter shape.
- The stem stitch is the most versatile technique for creating smooth, flowing lines in cursive lettering.
- Satin stitch is ideal for filling in bold, block-style letters with a smooth, professional sheen.
- Always use a sharp embroidery needle appropriate for the weight of your fabric to avoid snagging fibers.
- Transfer your design using a water-soluble fabric marker or carbon paper to ensure precise stitching lines.
- Keep your thread tension consistent; pulling too tightly will distort the fabric and ruin the letter's alignment.
The bottom line
Embroidering letters requires a combination of proper fabric stabilization, consistent tension, and the selection of appropriate stitches for your chosen font style. By using tools like water-soluble markers and stabilizers, you can ensure your designs remain crisp and professional. Practice fundamental techniques like the backstitch and satin stitch to build confidence, always prioritizing fabric tension to achieve clean, legible, and aesthetically pleasing hand-stitched typography.
People also ask
What is the best stitch for beginners learning to embroider letters?
The backstitch is the most recommended starting point because it is simple to execute and creates a solid, unbroken line. It is highly forgiving and allows for easy control when navigating tight curves or sharp corners.
How do I keep my letters from looking shaky or uneven?
Use a smaller hoop size to ensure your fabric is drum-tight, as loose fabric causes the needle to pull the material out of shape. Additionally, draw your guidelines carefully and take short, uniform stitches to maintain a consistent look.
Can I embroider letters on stretchy fabrics like T-shirts?
Yes, but you must use a fusible iron-on stabilizer on the back of the fabric to prevent the knit from stretching while you work. Without this reinforcement, the letters will pucker and distort as soon as you remove the hoop.
How do I end a thread without leaving a bulky knot?
Instead of knotting, weave your thread under the back of existing stitches for about half an inch before trimming the excess. This method keeps the back of your work flat and prevents the thread from pulling through to the front.
Is it better to use a hoop or a frame?
Hoops are generally better for beginners because they are portable and provide excellent tension for small projects. Frames are typically reserved for larger, professional-grade pieces where maintaining uniform tension across a wide area is necessary.
How do I fix a mistake if I sew a letter incorrectly?
Use a sharp pair of embroidery snips or a seam ripper to carefully cut the stitches from the back side of the fabric. Gently pull the thread out with tweezers to avoid damaging the base material, then re-stitch the area.
This answer was created with the help of AI research tools and reference sources. Spotted an error? Let us know — we correct mistakes quickly. See our editorial policy.
![Brush Calligraphy Letters [A-to-Z Analysis + Free Printables]](/img/f6/what-is-brush-lettering-1.webp)
![How to Knit the Knit Stitch: Step by Step tutorial [+video with slow-mo]](/img/10/what-is-the-easiest-knitting-stitch-1.webp)