How do you draw with chalk?
Short answer
Drawing with chalk involves applying calcium carbonate or gypsum-based sticks to porous surfaces like asphalt, concrete, or chalkboard slate. By varying pressure and stroke angle, artists control line weight and shading. Essential techniques include layering colors, blending with fingers or foam, and using water to create a paint-like consistency for vibrant outdoor murals.
On this page
Which types of chalk are best for beginners?
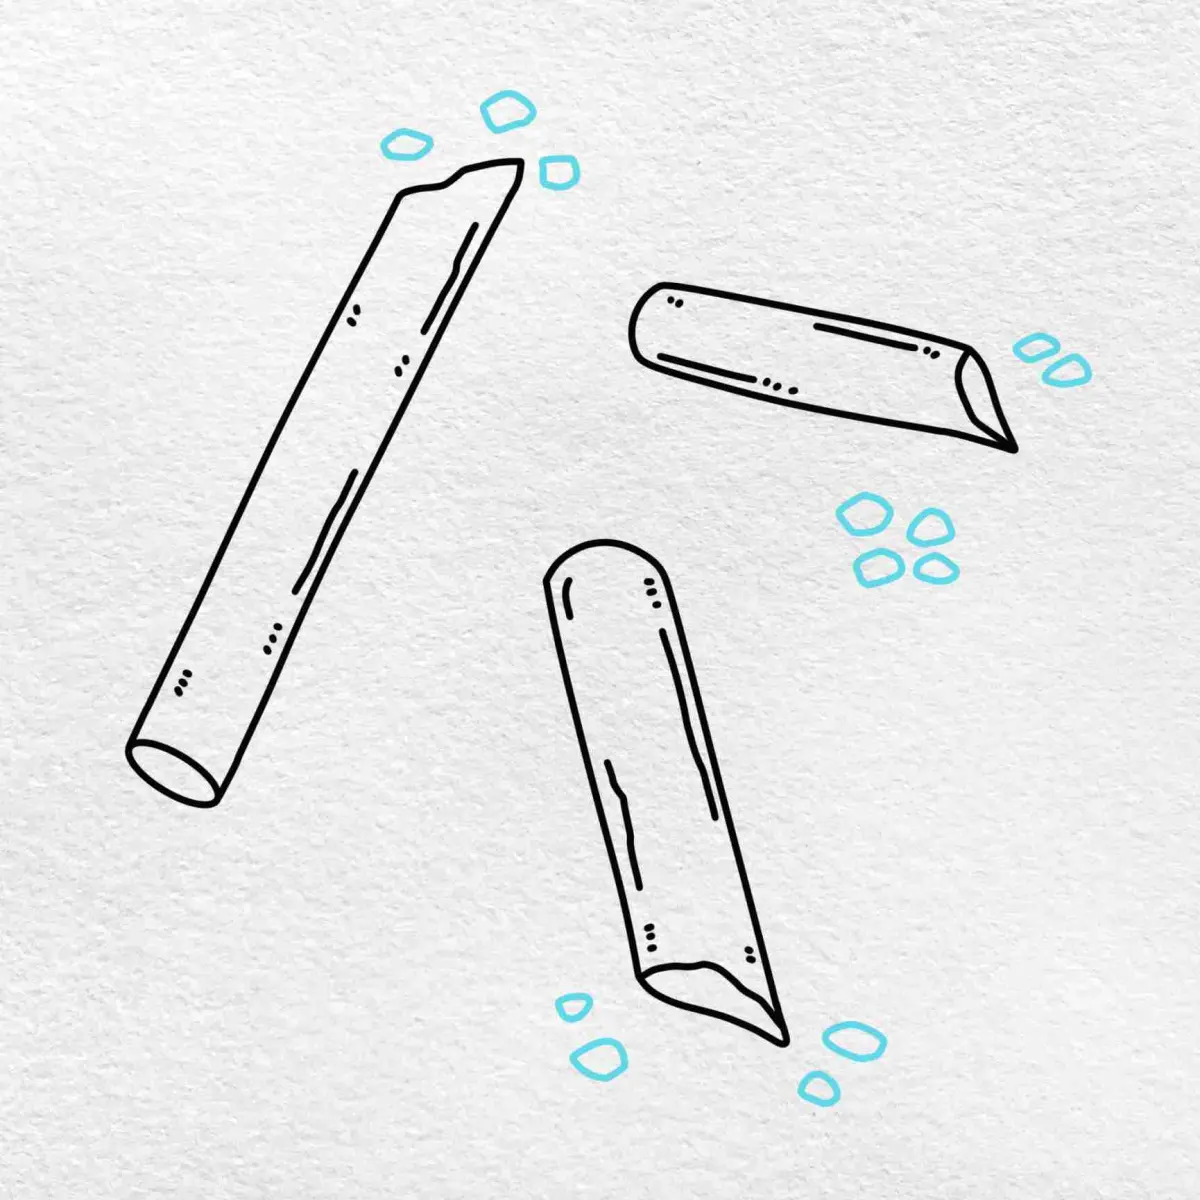
For those starting out, selecting the right medium is essential for achieving desired results. Sidewalk chalk is the most common variety, typically made from compressed gypsum. These sticks are thick, durable, and designed to withstand rough outdoor surfaces. They are ideal for large-scale drawings because they cover significant area quickly and wash away easily with rain or a garden hose.
Artists working on indoor blackboards should opt for dustless chalk or soft pastel chalks. Dustless chalk is formulated to be heavier, causing the particles to fall straight down rather than floating in the air. Soft pastels, while more expensive, offer a much higher pigment concentration and a buttery texture that allows for professional-grade blending. When choosing your first set, look for these features:
- High color saturation for better visibility.
- Non-toxic ingredients for safety.
- A variety of stick shapes, such as round for fine lines or square for broad strokes.
- Consistent density to prevent frequent breakage during use.
How to prepare surfaces for chalk art
The texture of your surface dictates how the chalk adheres and how long your artwork will last. For outdoor projects, choose a flat, clean section of concrete or asphalt. Avoid surfaces with loose gravel or excessive dirt, as these will prevent the chalk from bonding properly. Sweeping the area thoroughly before you begin is a critical step that many beginners overlook.
If you are working on a chalkboard, ensure the surface is properly "seasoned" before your first drawing. To season a new board, rub the side of a piece of white chalk over the entire surface and then wipe it off with a dry cloth. This creates a thin, uniform layer of dust that prevents the first permanent drawing from "ghosting" or leaving a permanent impression on the slate. Follow these steps for the best results:
- Clean the surface with a damp cloth to remove oils or old residue.
- Allow the surface to dry completely to prevent the chalk from clumping.
- Use painter’s tape if you want to create crisp, geometric borders or frames.
- Test a small, inconspicuous area to ensure the chalk is easy to remove later.
What are the basic drawing techniques?
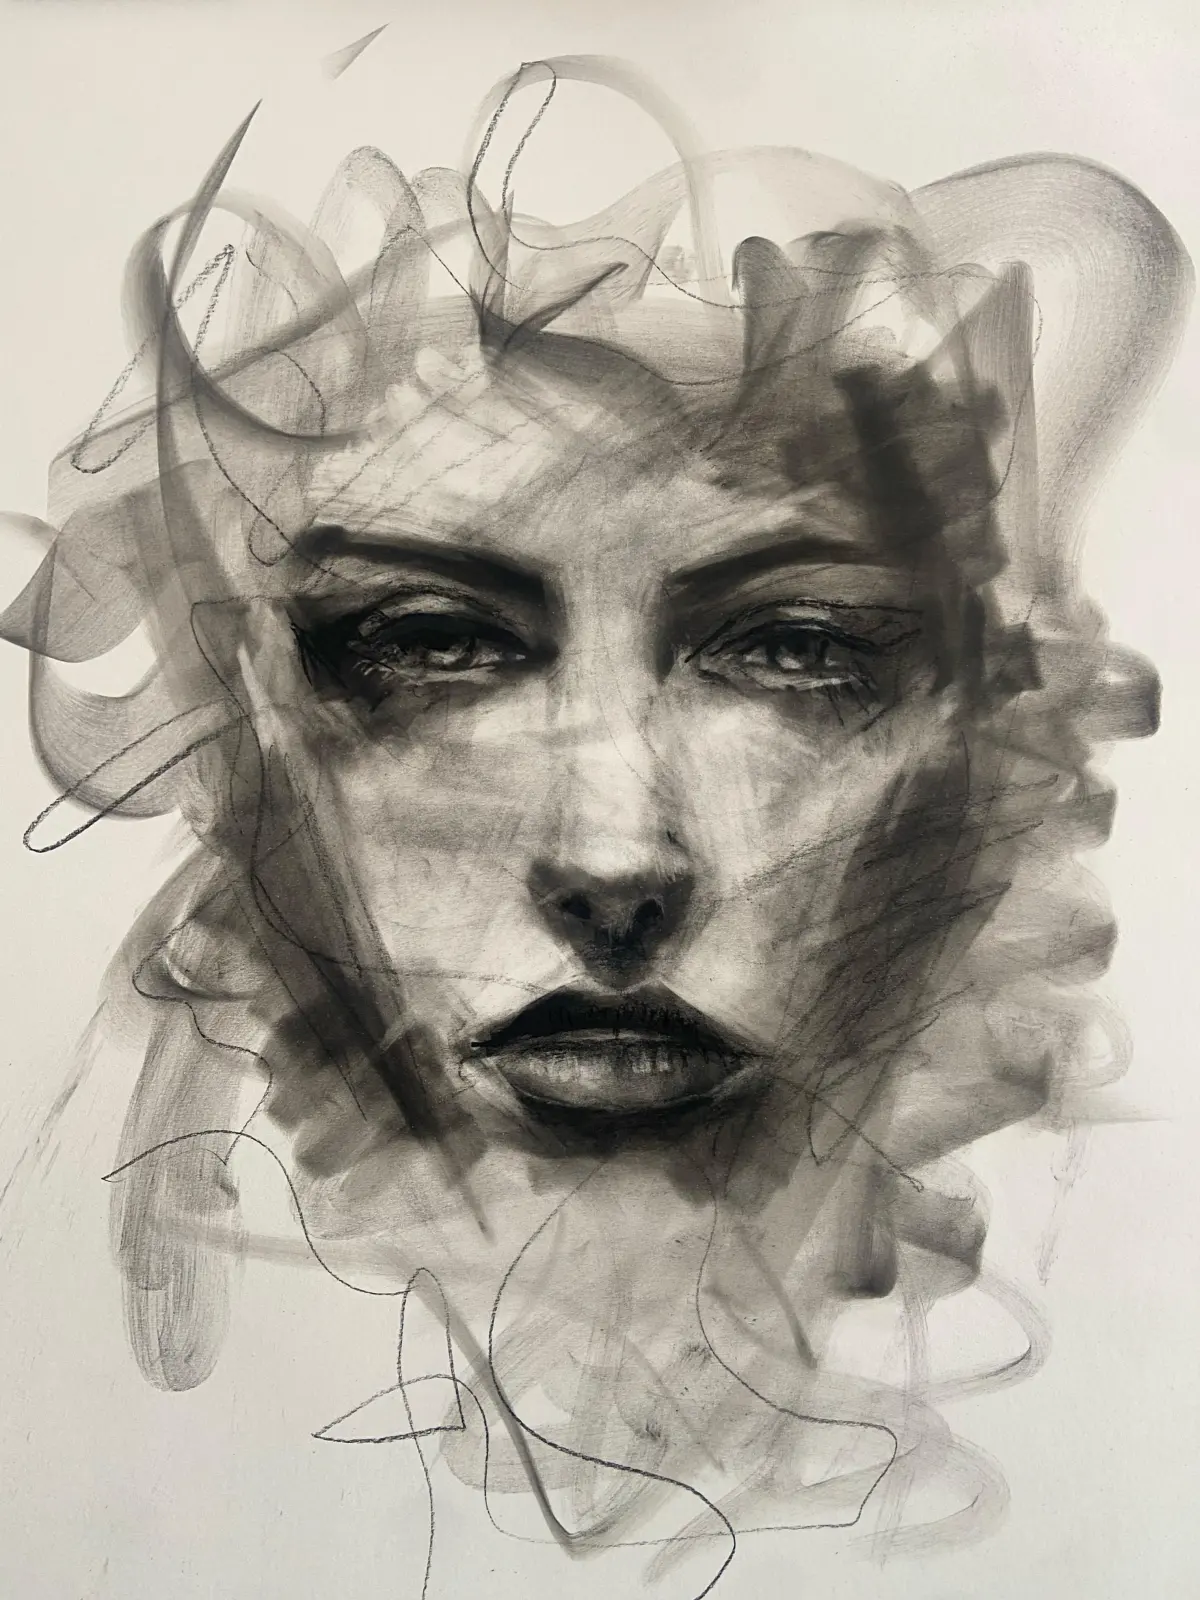
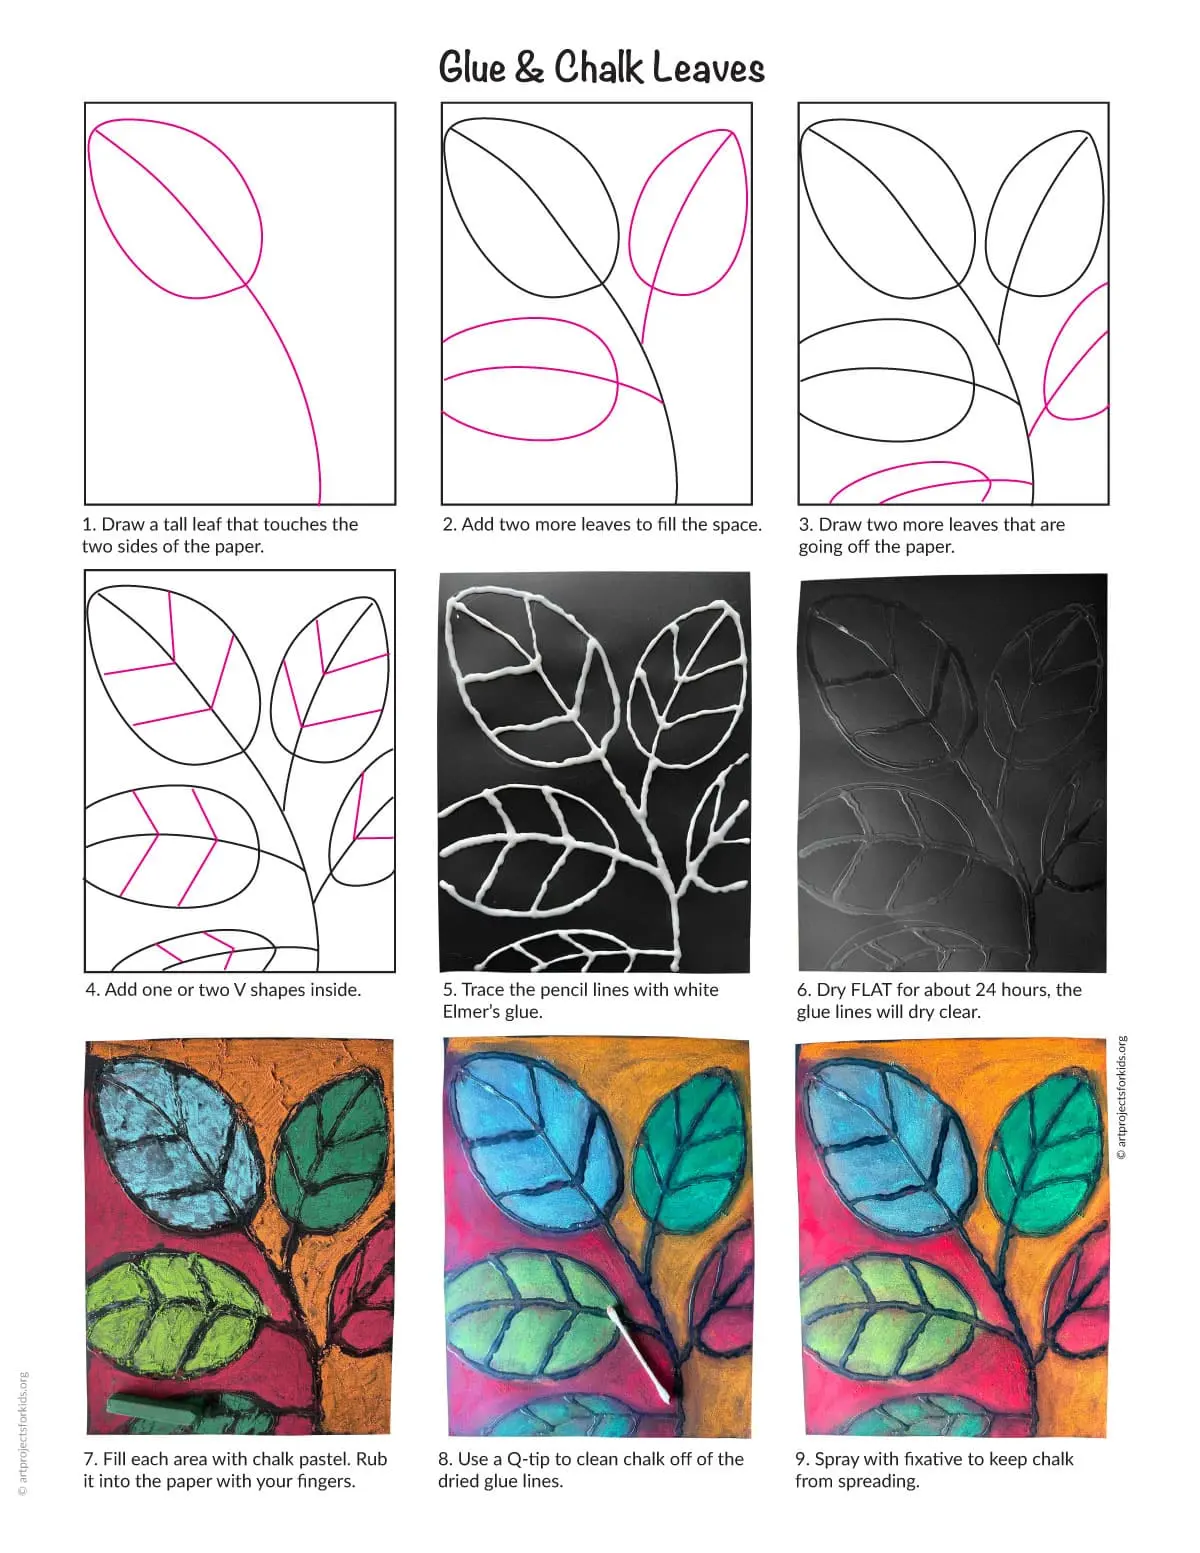
Mastering chalk requires understanding how to manipulate pressure. Use light, feathery strokes to create soft highlights or background gradients. Conversely, apply firm, consistent pressure when you want to lay down bold, opaque colors. Because chalk is a dry medium, you can easily layer colors on top of one another to create depth and transition between shades.
Blending is the secret to professional-looking chalk art. You can use your fingers to smudge the pigment into the surface, which creates a smooth, painterly effect. For more precision, use a foam blending stump or a soft cloth. When drawing outdoors, consider the "wet chalk" technique to make colors pop. By dipping your chalk in water or spraying the surface lightly, you turn the chalk into a paste that dries into a vibrant, semi-permanent finish. Avoid over-blending, as this can muddy the colors and make the drawing look gray or dull.
How to fix common mistakes when drawing
Even experienced artists make errors, but chalk is remarkably forgiving. If you make a line that is too thick or misplaced, you can often erase it using a dry eraser or a clean, microfiber cloth. For stubborn marks on a chalkboard, a damp sponge usually does the trick. However, be careful not to scrub too hard on porous surfaces like concrete, as this can drive the pigment deeper into the pores.
Many beginners struggle with "dust buildup," which can obscure fine details. To manage this, always work from the top of your drawing to the bottom. This prevents your hand from dragging through and smearing the areas you have already completed. If you find that your chalk is breaking constantly, you are likely applying too much pressure. Remember that chalk is a delicate medium; let the pigment do the work rather than forcing it onto the surface. If you accidentally smudge a section, try to incorporate it into a shadow or a background element rather than trying to erase it completely.
How to preserve chalk art for longer
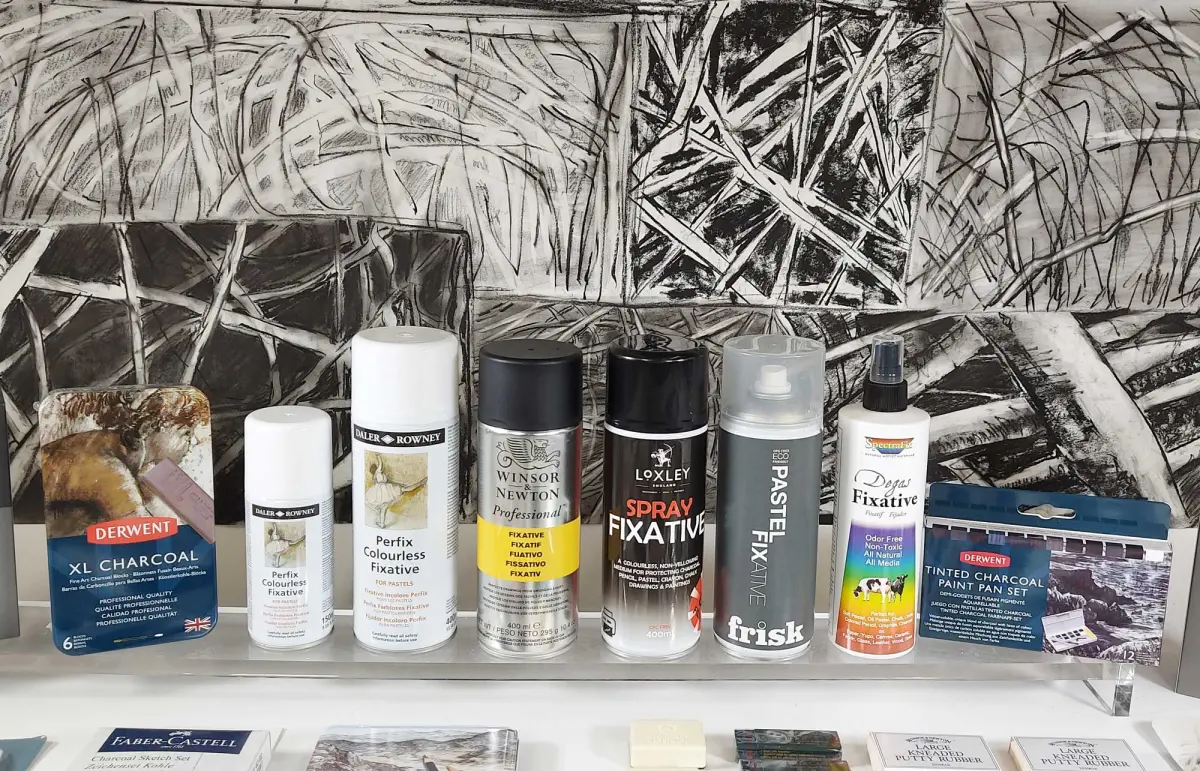
While chalk is intended to be temporary, there are ways to extend the life of your work. For indoor chalkboard art, you can use a fixative spray available at most art supply stores. These sprays create a thin, transparent layer that locks the pigment in place and prevents accidental smudging. Always apply the spray in a well-ventilated area and use short, sweeping motions to avoid creating drips or uneven spots.
For outdoor art, preservation is significantly more difficult due to weather exposure. While you cannot make sidewalk chalk permanent, you can choose a sheltered location, such as a covered porch or a driveway protected by an overhang. Avoid areas where water pools or where foot traffic is heavy. If you want to document your work, take high-resolution photographs during the "golden hour" when the lighting is soft and flattering. This ensures your effort is preserved digitally even after the rain eventually washes your masterpiece away.
Key facts
- Chalk is primarily composed of calcium carbonate, a soft sedimentary rock formed from the shells of microscopic marine organisms.
- Use sidewalk chalk for outdoor concrete surfaces, as its larger diameter and softer texture make it easier to grip and apply.
- Dip your chalk in water for a few minutes before drawing to create more vibrant, saturated colors that resemble paint.
- Apply pressure consistently to create bold lines, or hold the chalk at a shallow angle to shade larger areas quickly.
- Blend colors by using your fingers or a soft cloth to smudge the powder into the surface for smooth transitions.
- Seal your finished artwork with a light mist of hairspray if you wish to prevent it from smearing or washing away in light rain.
The bottom line
Drawing with chalk is a versatile and accessible art form that relies on simple friction to deposit pigment onto porous surfaces. By mastering basic techniques like blending, layering, and using water to intensify colors, you can transform ordinary pavement into a vibrant canvas. Remember to choose the right medium for your surface and enjoy the impermanent nature of this creative process, which encourages experimentation and play.
People also ask
How do I remove chalk drawings from a driveway?
Most sidewalk chalk is water-soluble and will disappear after a heavy rainstorm. If you need it gone sooner, use a garden hose with a spray nozzle or a stiff-bristled push broom to scrub the area with plain water.
Can I use chalk on paper?
Yes, but you should use artist-grade chalk pastels rather than sidewalk chalk. Sidewalk chalk is too coarse for paper and will crumble, whereas pastels are designed to adhere to the fibers of drawing paper.
Why does my chalk break so easily?
Chalk is naturally brittle and prone to snapping under uneven pressure. Avoid applying excessive force and keep the chalk stored in a dry, cool place to prevent the material from becoming overly dry and fragile.
What is the best way to create sharp edges with chalk?
Use the sharp, broken edge of a piece of chalk to draw fine lines. Alternatively, wrap masking tape around the sides of the chalk to create a stencil or use a piece of cardboard as a straightedge guide.
Are there non-toxic options for children?
Most commercial sidewalk chalks are labeled non-toxic and are safe for children to handle. Always check the packaging for the "AP" (Approved Product) seal, which indicates the materials have been evaluated by toxicologists.
How do I make chalk colors pop on dark pavement?
Apply a base layer of white chalk first to create a bright canvas. Drawing directly over this white layer with other colors will make the pigments appear much more vivid against the dark surface.
This answer was created with the help of AI research tools and reference sources. Spotted an error? Let us know — we correct mistakes quickly. See our editorial policy.