How do you draw realistic skin?
Short answer
Drawing realistic skin requires layering translucent colors rather than applying a single flat tone. You must capture subtle shifts in hue, temperature, and texture by building from dark under-layers to light highlights. By observing how light scatters through the dermis and accounting for subsurface scattering, you create depth, luminosity, and lifelike presence.
On this page
How to layer colors for realistic skin
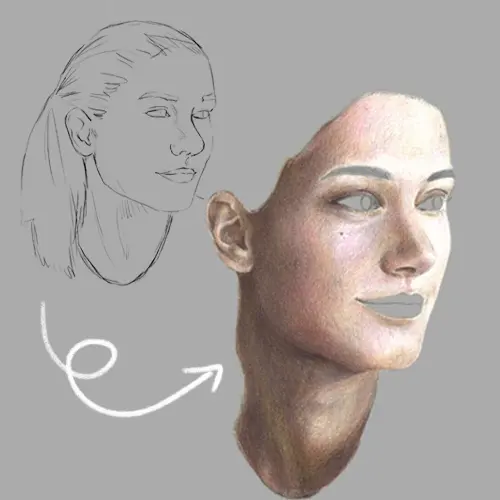
Achieving realism begins with understanding that skin is not a single solid color. It is a complex, semi-transparent surface that reflects the environment and the blood flowing beneath it. Professional artists typically use a glazing technique, applying thin, transparent layers of paint or pencil over a neutral base. This allows light to penetrate the surface and bounce back, mimicking the natural luminescence of human flesh.
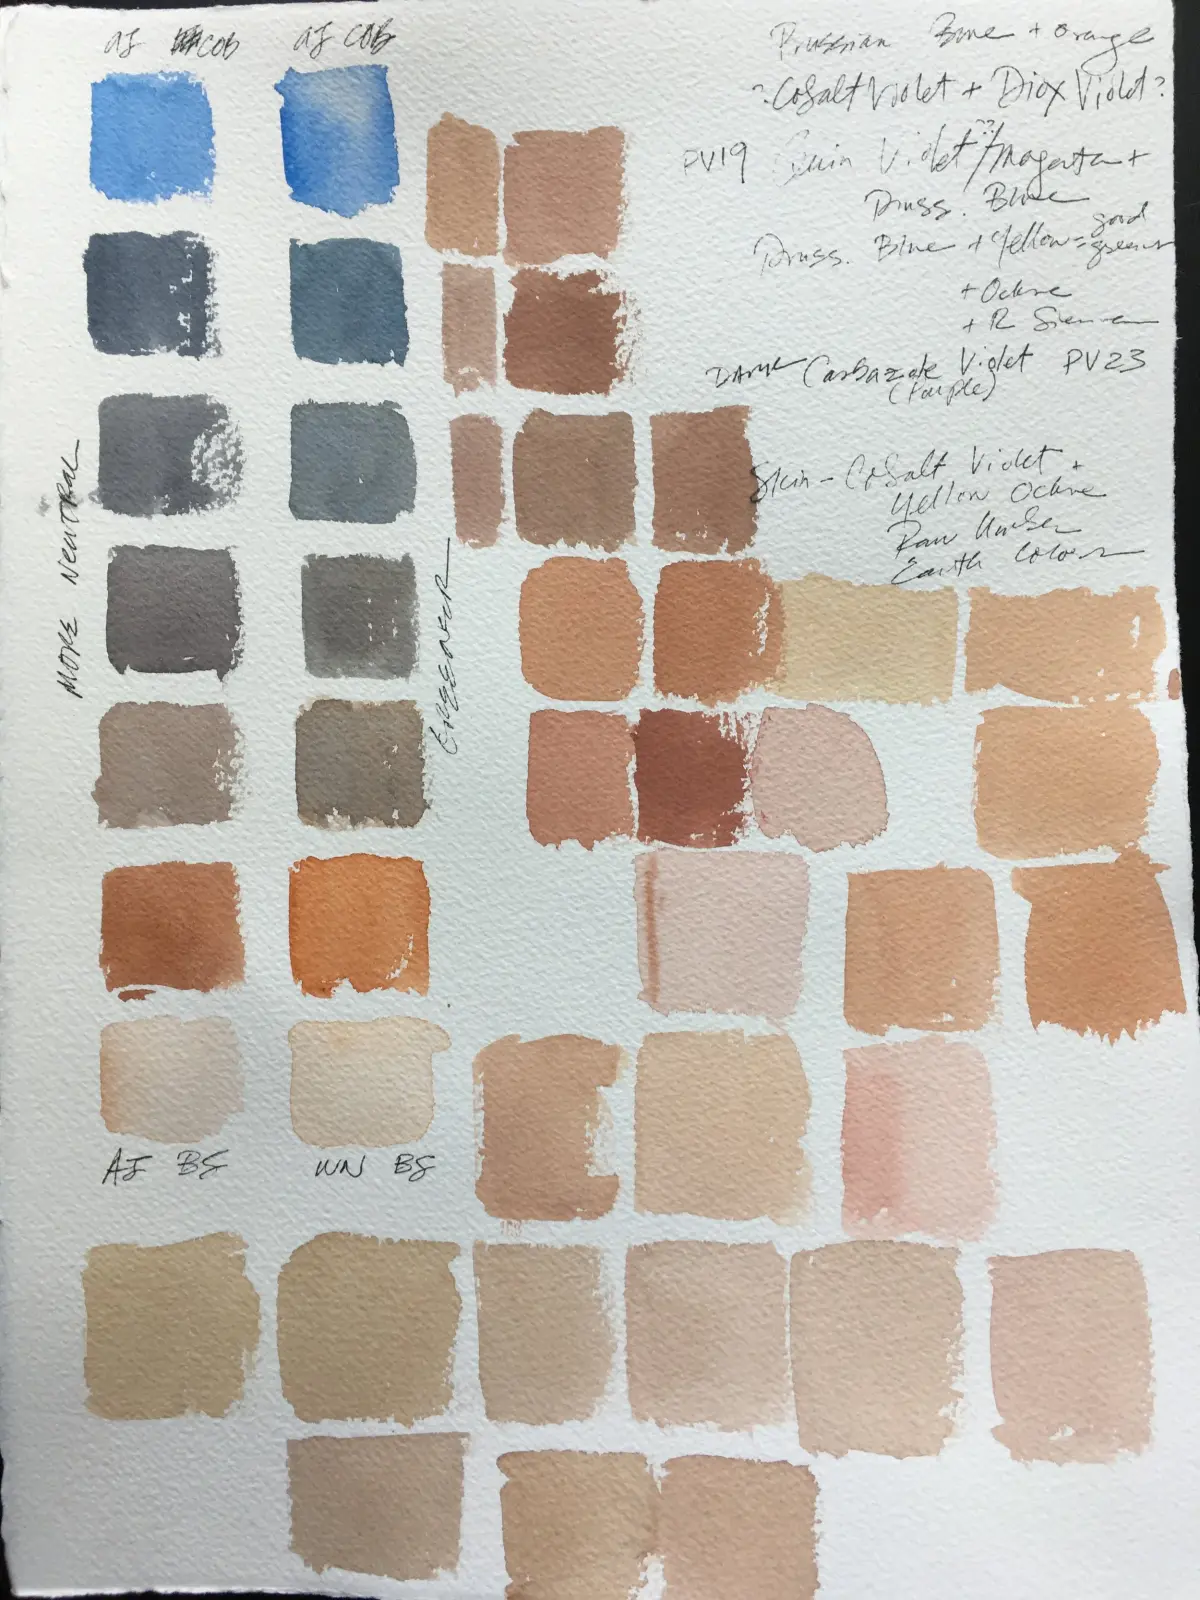
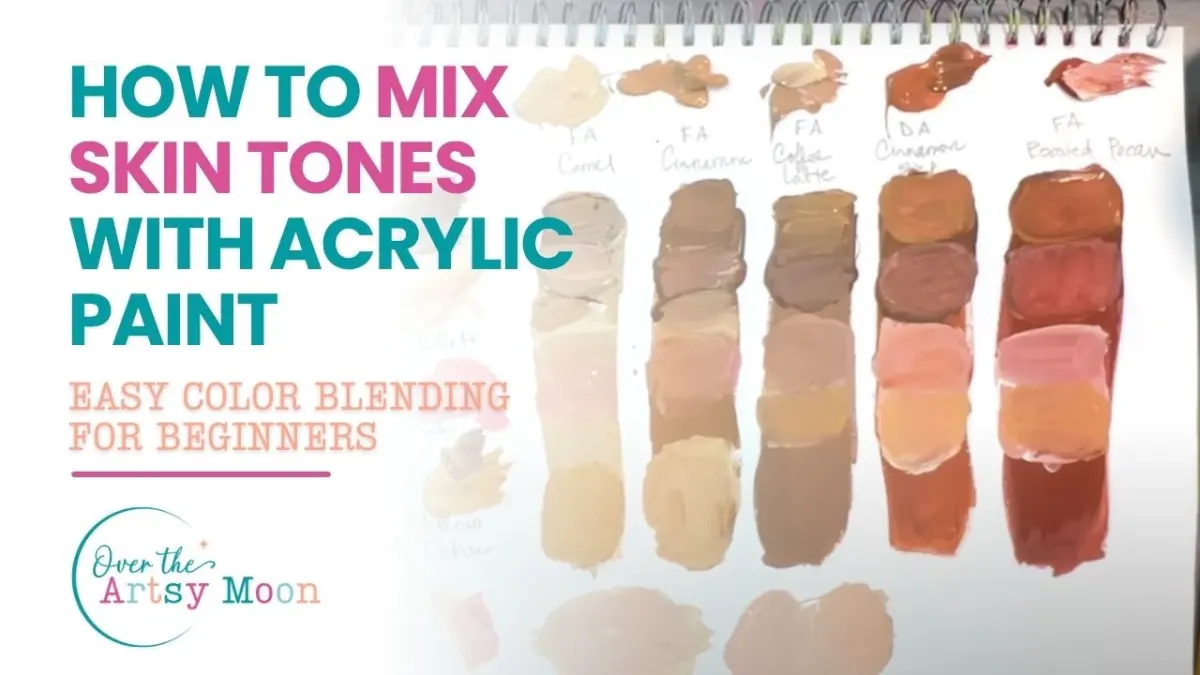
When choosing your palette, avoid using pure white or black. Instead, mix your highlights with pale yellows or cool blues, and create shadows using deep purples, greens, or burnt umbers. This introduces "chromatic vibration," which prevents the skin from appearing dull or plastic. Start with a monochromatic underpainting to establish the values, then introduce color gradually. By layering warm tones in the cheeks and nose with cooler tones in the forehead and jawline, you replicate the organic variation found in nature.
What tools are best for skin textures
The choice of medium significantly influences how easily you can render skin. For graphite or charcoal artists, smooth-surfaced paper is essential to avoid capturing the grain of the page, which can look like artificial texture. Oil painters often prefer fine-weave linen canvases, while digital artists utilize soft, pressure-sensitive brushes that allow for seamless blending. Regardless of the medium, the goal is to control the transition between light and shadow.
- Use a blending stump or a soft synthetic brush to smooth out harsh edges between skin tones.
- Employ a fine-point eraser or a small brush to lift out tiny highlights, such as those on the bridge of the nose or the lower lip.
- Keep a variety of blending tools clean to prevent muddying your colors during the final stages of the process.
- Utilize a high-quality fixative or varnish to preserve the delicate transitions you have created.
Why subsurface scattering matters in portraits
Subsurface scattering is the phenomenon where light enters the skin, bounces around inside the tissue, and exits at a different point. This is most visible where the skin is thin, such as the ears, the nostrils, or the edges of the face where it meets a bright light source. If you ignore this effect, your portrait will appear flat, like a cardboard cutout, rather than a three-dimensional human form.
To simulate this, focus on the "terminator line," which is the boundary between light and shadow. In this region, you should introduce a "color bridge"—a saturated, warm transition color like orange or red. This represents the light being filtered through the blood vessels and tissue before it reaches the shadow side. By softening this transition with a warm hue, you create the illusion that the skin has actual volume and density.
Common mistakes when drawing skin
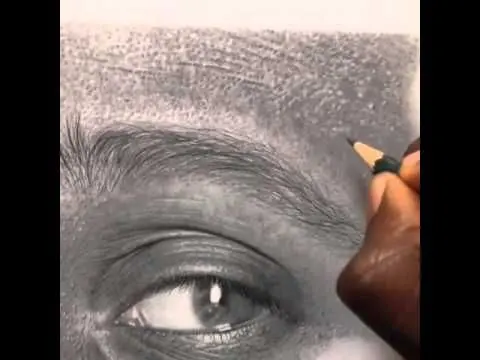
One of the most frequent errors is over-blending, which results in a "porcelain doll" look that lacks character. Skin is not perfectly smooth; it has pores, fine lines, and subtle blemishes that provide authenticity. If you blend every single stroke into a uniform blur, you lose the structural integrity of the facial features. Maintain some crisp edges, particularly around the eyes and the jaw, to ground the face in reality.
Another common mistake is failing to account for reflected light. Shadows are rarely pitch black; they are filled with ambient light bounced from surrounding surfaces, such as a shirt collar or a bright wall. If you paint shadows as flat, dark voids, the face will lose its sense of placement within an environment. Always observe how the environment influences the skin tone, and adjust your shadows to include subtle reflections of the colors found in the background.
How to add realistic skin details
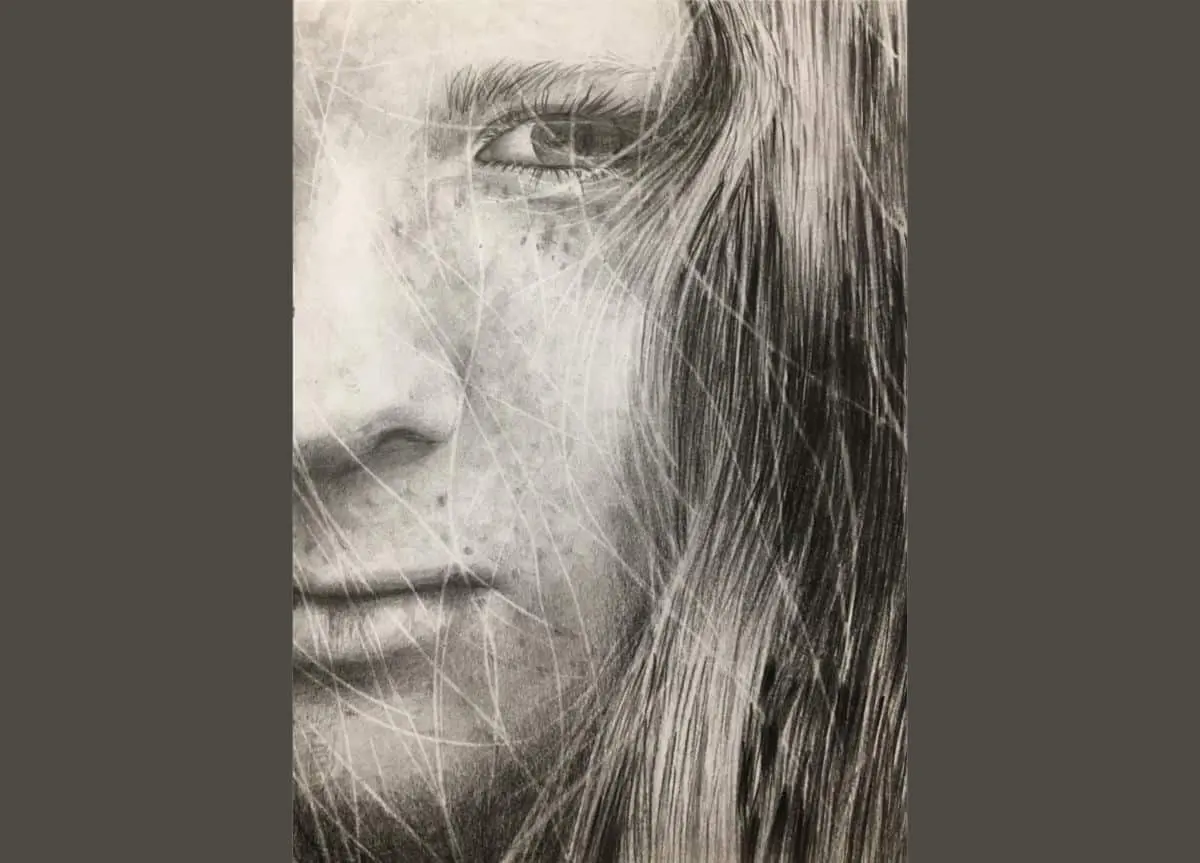
The final stage of drawing skin involves adding the "micro-textures" that define an individual's unique appearance. This includes freckles, pores, fine wrinkles, and the subtle sheen of natural oils. These details should be applied sparingly, as they are meant to enhance the form rather than distract from it. Use a very sharp pencil or a fine-tipped brush to add these irregularities only after the base layers are fully established and blended.
- Use a stippling technique to suggest pore texture on the nose and forehead.
- Add tiny, irregular highlights to the lower lip to indicate moisture.
- Incorporate subtle variations in tone to represent freckles or sunspots, ensuring they follow the contours of the face.
- Soften the edges of these details so they appear to sit beneath the skin rather than on top of it.
By focusing on these minute elements, you transform a generic face into a specific, living person, completing the illusion of realistic, breathing skin.
Key facts
- Skin is never a single flat color; it is composed of translucent layers of reds, yellows, and blues.
- Use a "base tone" to establish the mid-tones before adding shadows or highlights to maintain color harmony.
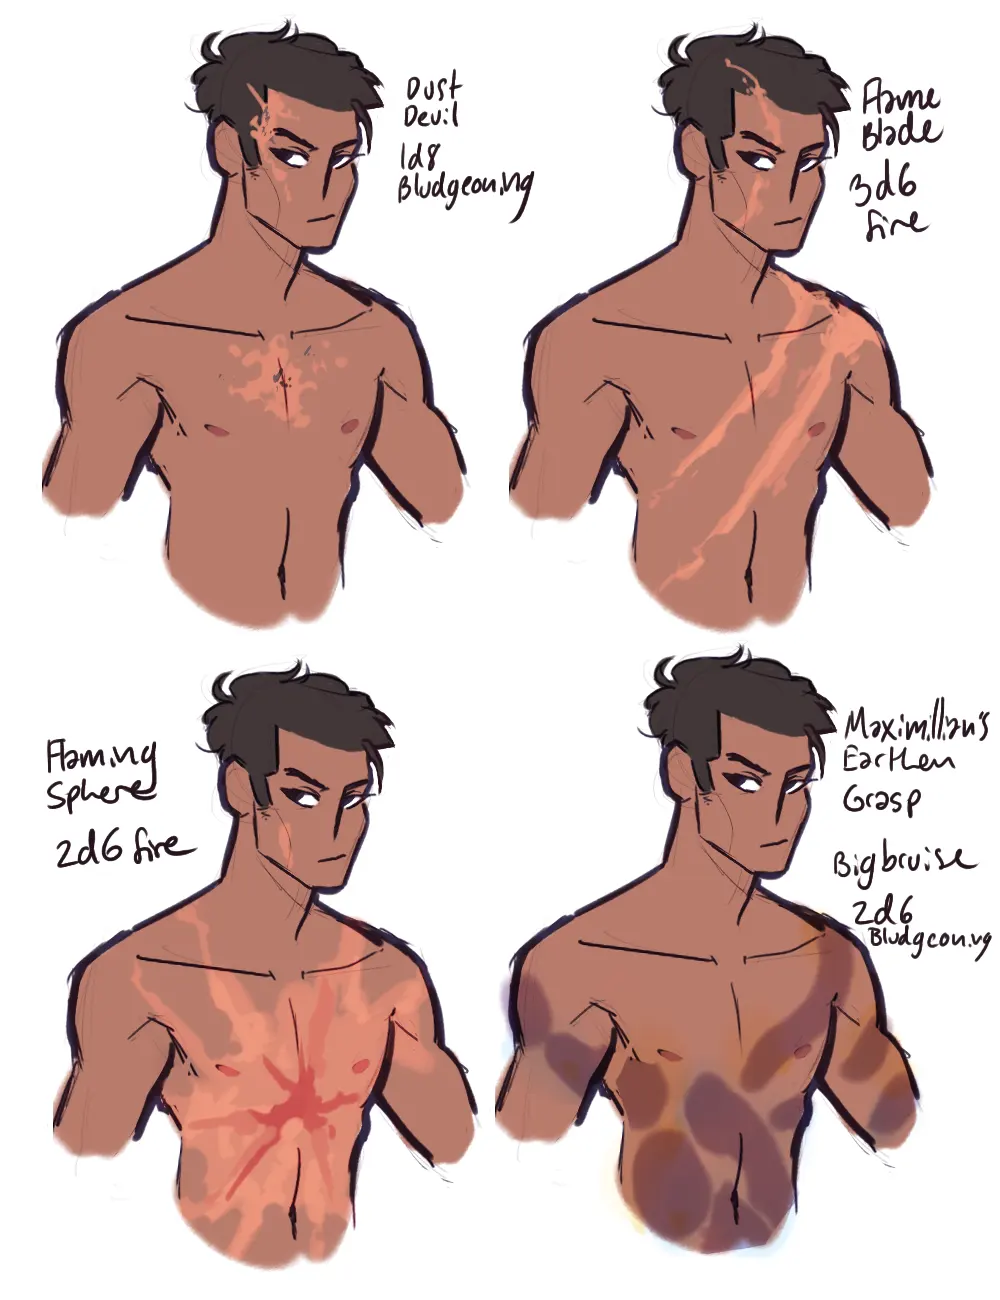
- Avoid using pure black for shadows, as this makes skin look bruised; instead, use deep browns, purples, or dark blues.
- Subsurface scattering is the effect where light penetrates the skin and glows at the edges of shadows.
- Apply highlights sparingly, focusing on high points like the bridge of the nose, cheekbones, and the chin.
- Vary your brush pressure or pencil stroke to create soft, blended transitions rather than harsh, defined outlines.
The bottom line
Drawing realistic skin requires moving beyond a single flesh-toned pencil or paint. By layering translucent colors, respecting the physics of light, and avoiding harsh black shadows, you can replicate the complex, organic nature of human skin. Focus on the subtle shifts in temperature and value rather than individual details. With patience and consistent practice, you will master the depth and luminosity required for true-to-life portraits.
People also ask
How do I choose the right skin tone palette?
Start by identifying the subject's undertone, which is typically cool, warm, or neutral. Use a reference photo to pick a mid-tone, then select a slightly darker version for shadows and a lighter, desaturated version for highlights.
Why does my skin drawing look muddy or gray?
You are likely over-blending or using too many colors with low saturation. Keep your layers distinct and ensure you are using enough contrast between your light and dark values to maintain clarity.
Should I use pure white for skin highlights?
Avoid pure white unless there is a direct, intense light source hitting a wet surface like the eye or a drop of sweat. Use a creamy, off-white shade for natural highlights to keep the skin looking organic.
How do I render skin texture like pores and freckles?
Add texture only after the base shading is complete. Use small, irregular dots or fine hatching marks in the mid-tones to simulate pores, and vary the size and opacity of spots to mimic natural freckles.
What is the best way to blend skin tones?
Use a soft-edged brush or a blending stump to transition between colors while they are still wet or lightly applied. If working with digital media, use a low-opacity brush to build up color transitions gradually.
How do I draw skin in different lighting conditions?
In bright sunlight, shadows will have sharp, defined edges and high contrast. In indoor or diffused light, shadows will be softer with subtle color shifts, requiring more delicate blending and less extreme highlights.
This answer was created with the help of AI research tools and reference sources. Spotted an error? Let us know — we correct mistakes quickly. See our editorial policy.