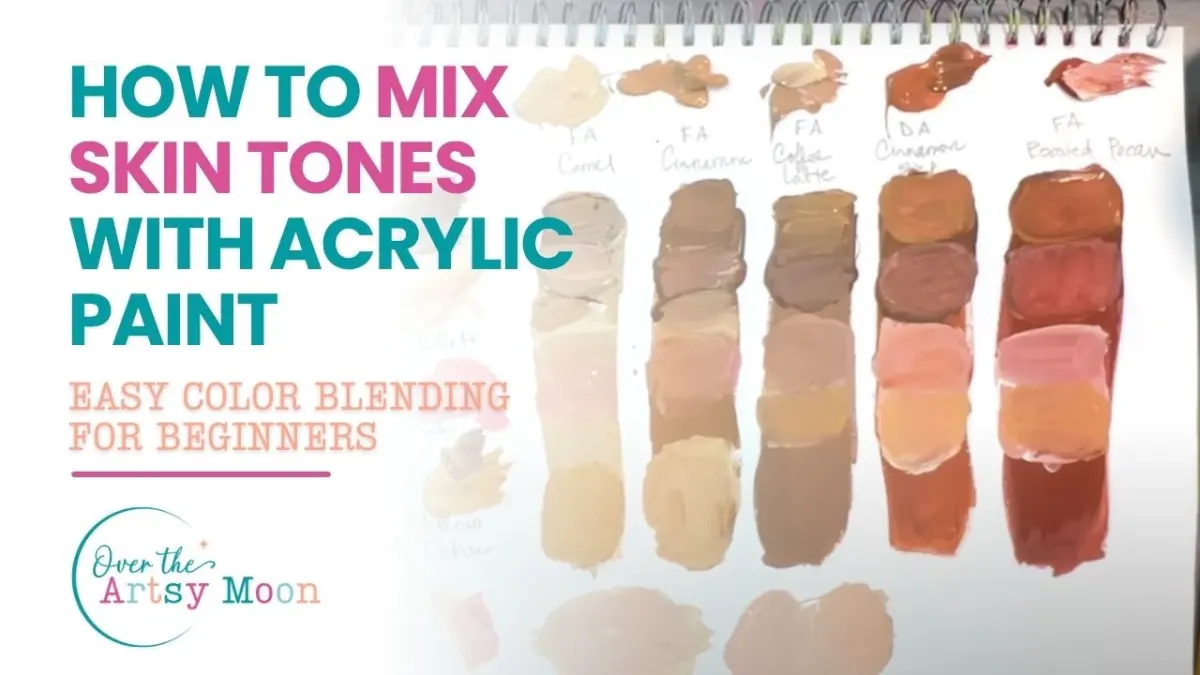
How do you paint realistic skin?
Short answer
Painting realistic skin requires layering translucent glazes rather than using opaque colors. Artists must observe subtle shifts in temperature, moving from cool shadows to warm highlights. By building depth through thin, overlapping applications of paint and mastering the interplay of light and shadow, you can achieve a lifelike, luminous human complexion.

On this page
How to choose a realistic skin tone palette
Achieving realism begins with selecting a limited palette rather than relying on pre-mixed "flesh" tubes. Professional artists typically use a base of Titanium White, Yellow Ochre, Cadmium Red, and Burnt Umber. These four pigments allow you to mix a vast range of natural tones while maintaining color harmony across the entire canvas. Adding a touch of Ultramarine Blue or Viridian Green is essential for creating the muted, neutralized grays found in shadows.
When mixing, avoid using pure black, as it creates a muddy, artificial appearance that kills the vibrancy of the skin. Instead, mix your own darks by combining your red and green pigments or blue and burnt umber. This approach ensures that your shadows contain chromatic depth, which is vital for mimicking the way light scatters beneath the surface of human skin. Always mix more paint than you think you need to maintain consistency throughout your painting session.
How to layer paint for skin depth
Skin is translucent, meaning light penetrates the surface before reflecting back to the viewer. To replicate this, use the "fat over lean" method, starting with thin, fast-drying layers and finishing with thicker, oil-rich applications. Begin with a monochromatic underpainting, often called a grisaille, to establish the foundational values of the face. Once dry, apply thin, transparent glazes of color over this base to build the illusion of fleshy volume.
- Establish your darkest shadows first using thin, transparent washes.
- Apply mid-tones in slightly thicker, more opaque layers to define the form.
- Add highlights last, using a heavy, opaque application of paint to create a sense of physical projection.
- Use a soft, dry brush to blend the transitions between these layers, ensuring there are no harsh, unnatural lines.
Why skin looks different in various lighting
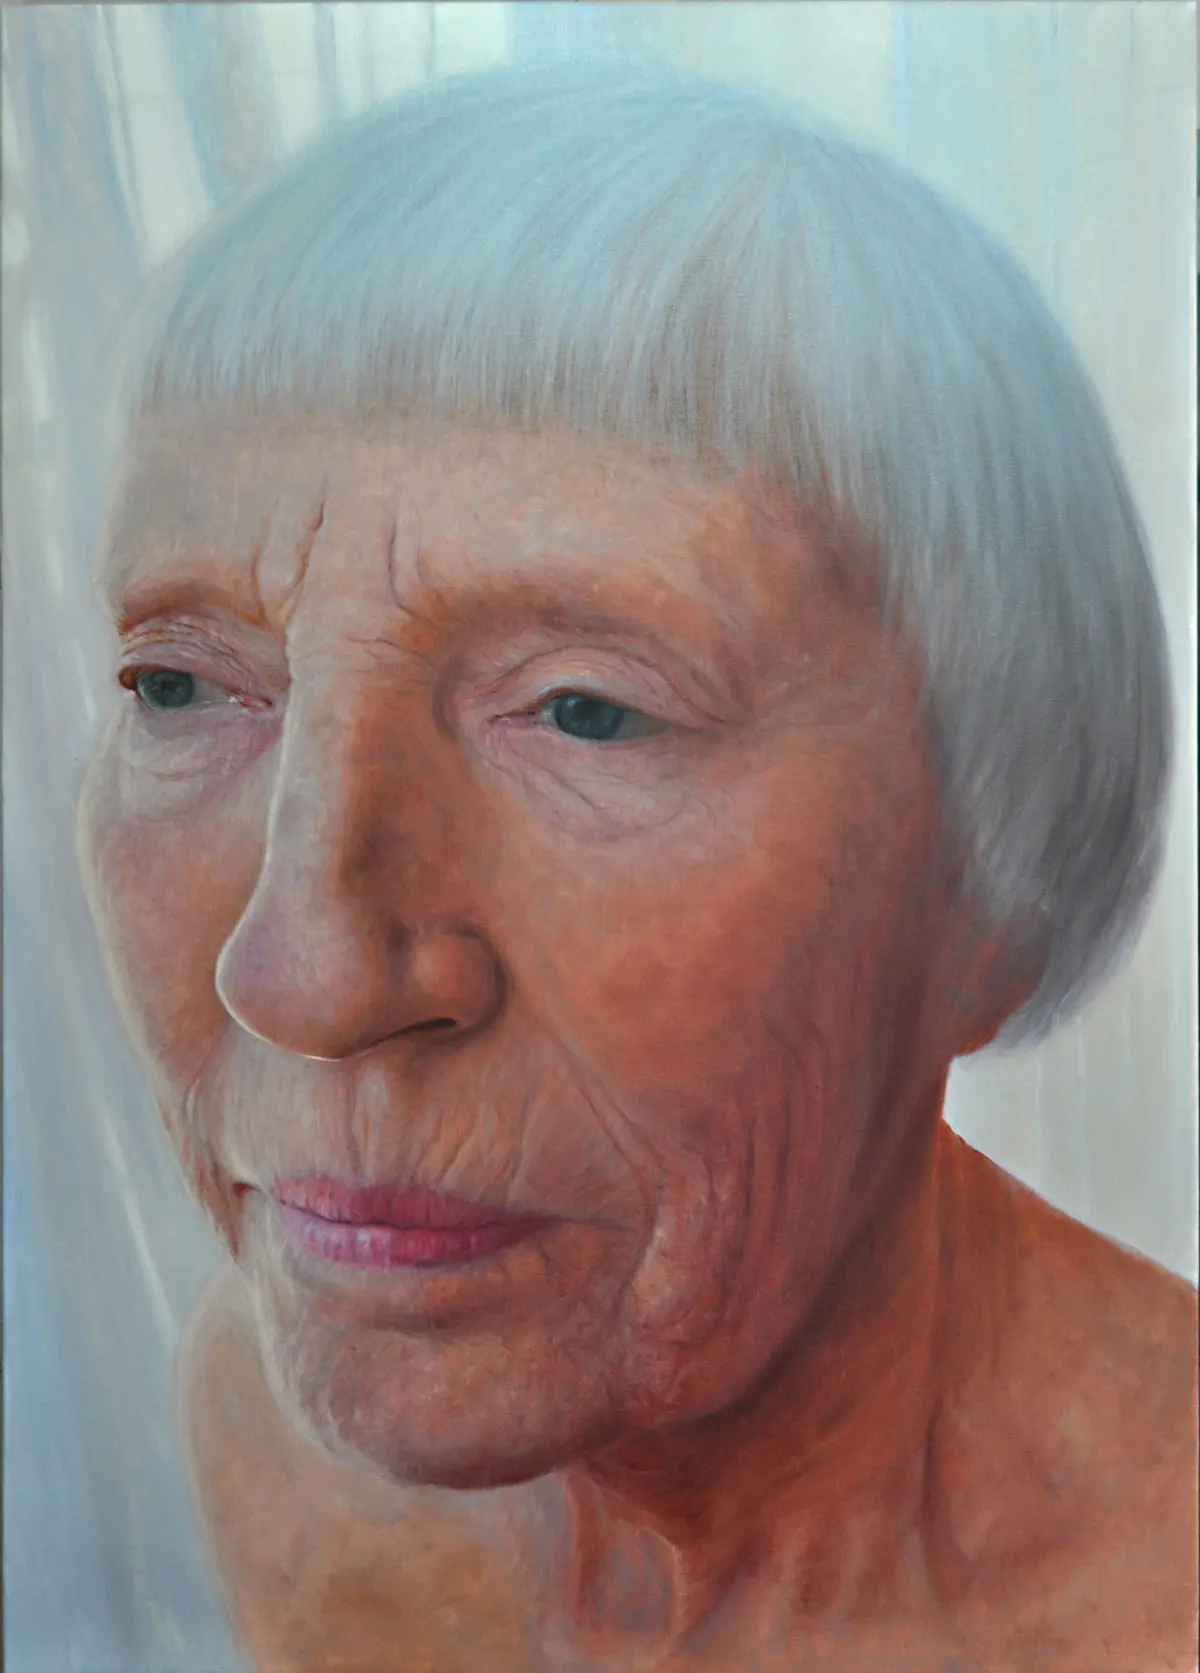
Realistic skin painting relies heavily on understanding the "terminator line," or the boundary where light transitions into shadow. In natural light, skin often exhibits "subsurface scattering," where light enters the skin and picks up the red tones of the blood beneath the surface. This is most visible at the edges of shadows, where a warm, reddish glow often appears. If you ignore this phenomenon, your portrait will look like a flat, plastic mask rather than a living person.
Observe your subject closely to identify the color temperature of the light source. Cool light, such as daylight from a north-facing window, produces warmer shadows, while warm light, such as a candle or incandescent bulb, produces cooler, bluish shadows. Keeping these temperature shifts consistent is the secret to making a portrait feel grounded in a specific environment. If the lighting is inconsistent, the skin will appear disconnected from the background and lose its three-dimensional quality.
Common mistakes when painting skin
Many beginners make the mistake of over-blending, which results in a smooth, waxy texture that lacks the pores and imperfections of real skin. While smooth transitions are important, skin is naturally textured and contains tiny variations in color and value. If you blend every stroke into oblivion, you remove the "life" from the face. Allow some brushstrokes to remain visible to suggest the structure of the underlying bone and muscle.
- Using too much white, which creates a chalky, desaturated look.
- Ignoring reflected light, which bounces off surfaces and hits the underside of the chin or jawline.
- Painting the eyes and mouth as isolated objects rather than integrating them into the surrounding skin planes.
- Failing to vary the saturation, resulting in a uniform, flat color across the entire face.
How to finish and refine a portrait
The final stage of painting skin involves adding the "accents" that bring the features to life. These include the sharpest highlights on the bridge of the nose, the tip of the chin, and the moist areas of the eyes or lips. Use a small, firm brush to place these highlights precisely, as they act as visual anchors for the viewer. These tiny details provide the necessary contrast to make the softer, blended areas of the skin appear more delicate.
Take a step back from your canvas frequently to view the portrait from a distance. Up close, it is easy to get lost in the details, but the overall realism depends on the balance of the entire composition. If the skin looks too uniform, add subtle glazes of blue or violet to the shadows and touches of orange or pink to the cheeks and ears. By carefully adjusting these final values, you ensure the skin looks vibrant, healthy, and entirely authentic.
Key facts
- Skin is rarely a single flat color; it contains a complex mix of warm, cool, and neutral undertones.
- Use a "limited palette" of four colors—titanium white, yellow ochre, cadmium red, and ultramarine blue—to mix almost any skin tone.
- Avoid using pure black for shadows, as it makes skin look bruised; instead, mix burnt umber with ultramarine blue.
- Apply paint in thin, translucent layers, known as glazes, to mimic the way light penetrates human skin.
- Place cool colors in the shadows and warm colors in the highlights to create the illusion of three-dimensional volume.
- Observe the "terminator line," where light transitions into shadow, as this is where the most saturated colors usually reside.
The bottom line
Painting realistic skin requires moving beyond a single "flesh" tone to embrace the subtle interplay of light and shadow. By layering translucent glazes, balancing warm and cool temperatures, and avoiding the use of flat black in shadows, you can replicate the depth and luminosity of human skin. Focus on observing how light hits the face, and remember that patient, incremental color adjustments always yield superior results.
People also ask
Why does my skin painting look like plastic or wax?
This usually happens because the transitions between light and shadow are too smooth or the colors lack variation. Introduce subtle color shifts and texture to break up the uniform surface and mimic the natural irregularities of skin.
Should I use pure white for the brightest highlights?
Use pure white sparingly, as it can make skin look chalky. Save the brightest white for the tiny specular highlights, such as the reflection in the eye or the wet edge of the lip.
How do I mix a realistic shadow color?
Never use black paint for shadows, as it creates a dead, flat appearance. Mix a dark complementary color, such as burnt umber and ultramarine blue, to create a deep, chromatic neutral that retains life.
What is the best brush technique for skin?
Use soft, synthetic brushes to blend edges gently, but leave some edges sharp to define features like the nose or jawline. Varying between soft and hard edges prevents the painting from looking blurry or undefined.
How do I paint skin with different ethnicities?
Focus on the underlying color temperature rather than just the lightness or darkness of the pigment. Use more burnt sienna and deep violets for darker skin tones, and ensure the highlights remain vibrant rather than just adding white.
How can I tell if my color mixing is accurate?
Hold your palette knife or brush against the reference subject to compare the value and hue directly. Squinting your eyes also helps you ignore detail and focus solely on whether your color values are correct.
This answer was created with the help of AI research tools and reference sources. Spotted an error? Let us know — we correct mistakes quickly. See our editorial policy.