How do you draw a vase step by step?
Short answer
Drawing a vase requires establishing a vertical axis and symmetrical horizontal ellipses to create volume. By sketching a central line, marking height constraints, and connecting the curves with smooth, tapered lines, you build a balanced structure. Refining these shapes with shading adds depth, transforming a simple geometric outline into a realistic form.
On this page
How to draw a vase step by step
To begin your drawing, place a piece of paper in a portrait orientation. Use a sharp pencil to draw a long, vertical line down the center of the page; this serves as the axis of symmetry. Next, draw a horizontal line at the top and bottom to define the height of the vase.
Follow these steps to construct the basic shape:
- Sketch an oval at the top for the opening and a smaller oval at the bottom for the base.
- Mark points along the vertical axis where you want the widest part of the body and the narrowest part of the neck to be.
- Draw horizontal lines through these points, ensuring they are centered on your axis line.
- Connect the edges of these ovals and lines with smooth, sweeping curves to complete the outline.
Focus on keeping your hand loose during these initial stages. If the lines are too rigid, the vase will look mechanical rather than organic.
Best tools for drawing vases for beginners
For those starting out, a standard HB graphite pencil is the most versatile tool. It allows for light initial sketches that are easy to erase without damaging the paper surface. You should also use a high-quality kneaded eraser, which can be molded into specific shapes to lift graphite gently or create highlights.
Consider using these materials to improve your results:
- Smooth-finish drawing paper, which prevents unwanted texture from interfering with your lines.
- A 2B or 4B pencil for adding darker shadows once the structure is finalized.
- A blending stump or a soft tissue to smooth out shading transitions on the body of the vase.
- A ruler to ensure your initial vertical axis is perfectly straight before you begin sketching.
Using the right paper weight, typically around 80 to 100 pounds, ensures that your erasing will not tear the page. Consistency in your tool selection helps you focus on technique rather than equipment.
Why symmetry is important in vase drawing
Symmetry is the foundational element that makes a vase appear stable and realistic. Because most vases are turned on a potter’s wheel, they possess rotational balance. If one side of your drawing is wider or more angled than the other, the viewer’s eye will immediately detect the distortion, making the object look lopsided or fragile.
To maintain this balance, frequently check the distance from your central axis to the outer edges. You can use your pencil as a measuring tool by holding it against the paper to compare the width of the left side versus the right side. If you notice an imbalance, adjust the curves before you commit to darker lines. Achieving symmetry is not about perfection, but about creating a sense of visual weight that makes the vase look like it could actually hold water.
Common mistakes when drawing vases
A frequent error is failing to draw the ellipses for the top and bottom of the vase correctly. Many beginners draw flat ovals, which makes the opening look like a straight line rather than a three-dimensional circle seen from an angle. To avoid this, ensure the curves of your ellipses are consistent with the perspective of the viewer.
Other common pitfalls include:
- Making the neck of the vase too thin, which can make the structure look unrealistic.
- Forgetting to shade the inside of the rim, which creates a flat, two-dimensional appearance.
- Using heavy, dark outlines for the entire shape, which prevents the object from looking rounded.
- Ignoring the light source, which leads to shading that does not accurately reflect the object's volume.
By identifying these mistakes early, you can adjust your drawing process. Always remember to check your proportions against the central axis before you begin adding final details.
How to shade a vase for realism
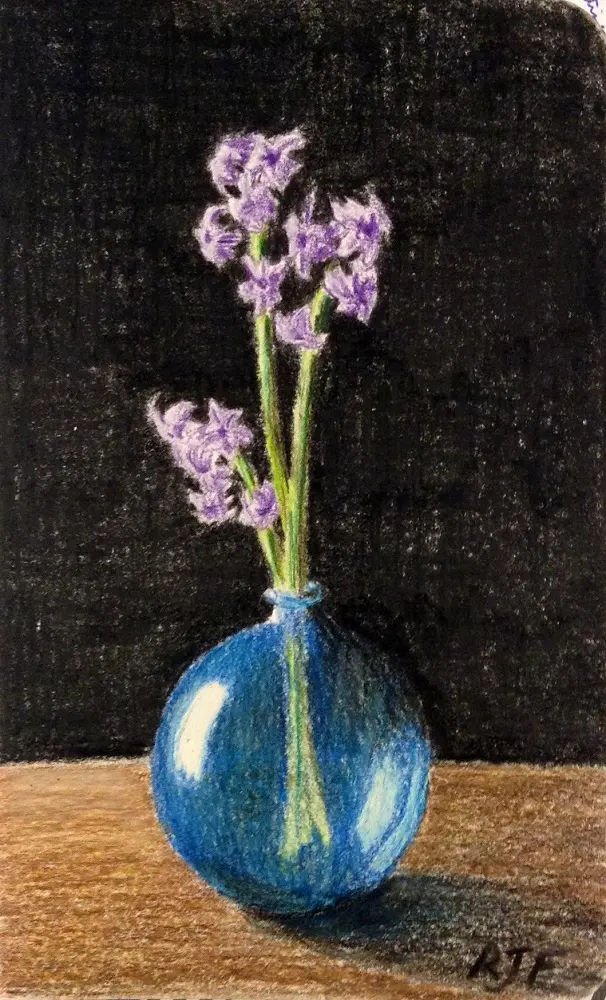
Shading is what gives your drawing the illusion of depth and mass. Start by identifying where the light source is coming from, such as a lamp or a window. The side of the vase facing the light will be the brightest, while the opposite side will feature the deepest shadows.
Apply your shading in smooth, curved strokes that follow the contour of the vase. This technique, known as cross-contouring, reinforces the rounded nature of the object. As you move toward the shadow side, gradually increase the pressure of your pencil to create a smooth gradient. Do not forget to include a "cast shadow" on the surface where the vase sits, as this anchors the object in space. Adding a small, bright highlight on the side closest to the light source will provide the final touch of realism, making the surface appear smooth or even reflective.
Key facts
- Use a light pencil to draw a vertical center line to ensure your vase remains symmetrical.
- Start by marking the top and bottom heights to define the overall scale of your drawing.
- Draw horizontal ellipses at the top and bottom to create the opening and the base.
- Connect the top and bottom ellipses with curved lines to establish the vase's silhouette.
- Apply shading on one side of the vase to create a three-dimensional, rounded appearance.
- Avoid drawing perfectly straight lines for the sides, as most vases feature subtle, organic curves.
The bottom line
Drawing a vase is an exercise in symmetry and structural observation. By establishing a center axis and defining the top and bottom ellipses, you create a solid framework for the vessel's form. Focus on the organic curves of the silhouette rather than rigid lines, and use consistent shading to define volume. With practice, these simple geometric steps will allow you to render realistic, balanced decorative objects.
People also ask
How do I make the vase look symmetrical?
Use a ruler to draw a vertical axis down the center of your paper. Measure equal distances from this line to the left and right sides as you sketch the contours.
What is the best way to draw the top opening?
Draw a thin, flattened oval to represent the rim. The wider the oval, the more the viewer is looking down into the vase.
How do I add depth to the drawing?
Identify a light source and shade the side opposite to it. Use a blending stump or your finger to soften the transition between light and dark tones.
Should I use a template for the shape?
You can trace household objects to get a perfect curve, but freehand drawing helps improve your motor skills. Practice sketching basic ovals to build muscle memory for rounded forms.
What kind of pencil is best for shading?
Use a 2B or 4B pencil for shading because the softer graphite allows for darker, richer tones. Keep a harder HB pencil for the initial light construction lines.
How do I draw a vase with handles?
Sketch the handles as separate C-shaped or S-shaped curves attached to the main body. Ensure they are aligned horizontally with each other to maintain balance.
This answer was created with the help of AI research tools and reference sources. Spotted an error? Let us know — we correct mistakes quickly. See our editorial policy.