How do you draw a bottle?
Short answer
Drawing a bottle requires establishing a vertical axis and using geometric shapes to define its volume. By sketching a central line, you ensure symmetry before adding ellipses for the mouth and base. Refining these contours with light pressure allows you to achieve the realistic curves and proportions characteristic of glass vessels.
On this page
How to draw a bottle step by step
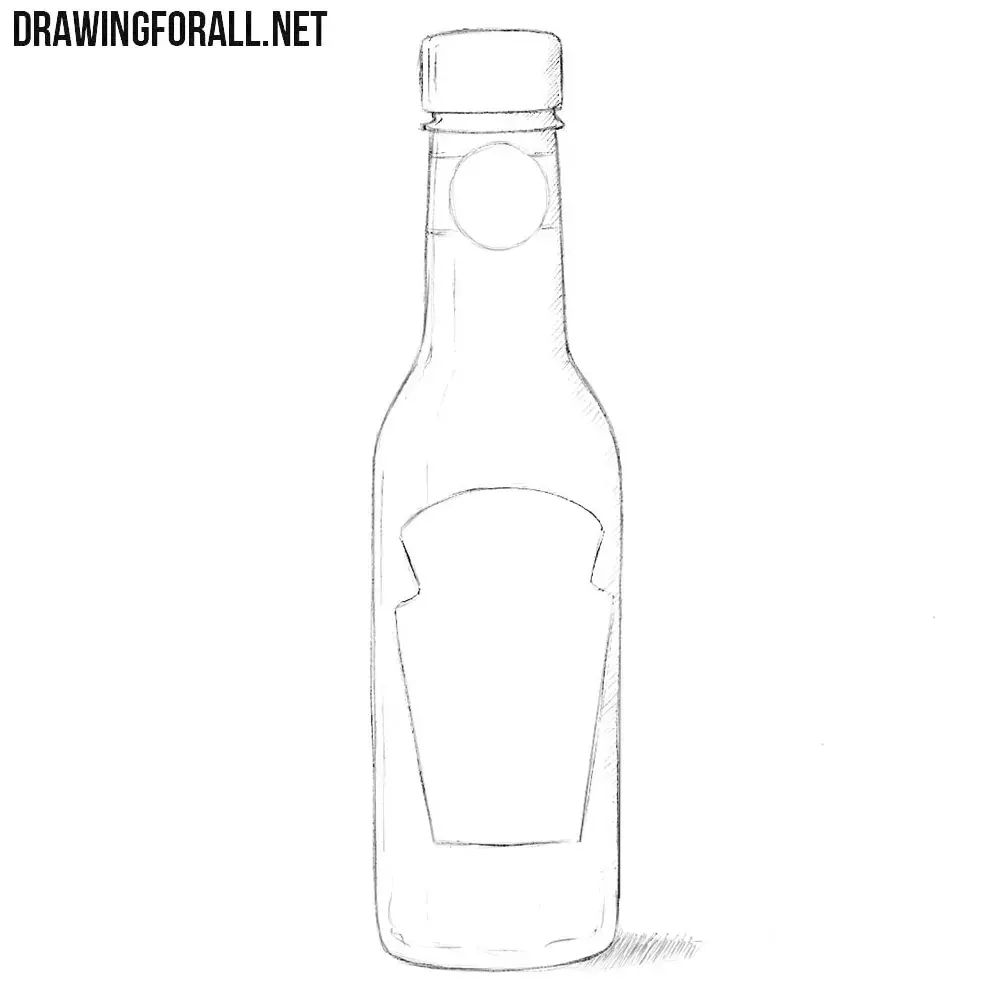
To begin drawing a bottle, you must create a structural foundation that ensures the object remains balanced. Start by drawing a long, vertical line down the center of your paper to act as the axis of symmetry. This line serves as a guide for every part of the bottle, from the narrow neck to the widest part of the body.
Once the axis is set, use these steps to build the form:
- Draw a horizontal line at the top to mark the bottle’s mouth and another at the bottom for the base.
- Sketch light, elongated rectangles or cylinders along the central axis to represent the neck and the main body.
- Draw ellipses at the top, shoulder, and base of the bottle to define its circular profile.
- Connect these shapes with smooth, continuous lines to create the final silhouette.
Always keep your initial lines very light so they can be easily erased or adjusted. If the silhouette looks lopsided, check your measurements against the central axis to ensure both sides are identical.
Best drawing tools for beginners
For those just starting, using a graphite pencil set ranging from HB to 2B is ideal. An HB pencil is perfect for the initial structural layout because it leaves faint marks, while a 2B pencil allows for darker, more expressive shading later. Using high-quality drawing paper with a slight tooth, or texture, will help the graphite adhere better and allow for smoother blending.
Beyond the pencils, you will need a few essential accessories to refine your work:
- A kneaded eraser, which can be molded into specific shapes to lift graphite and create highlights.
- A blending stump or tortillon to soften transitions between light and shadow.
- A sharpener to maintain a precise point for detailing the rim or reflections.
Investing in a simple set of drawing tools prevents frustration and allows you to focus on learning the fundamental principles of form and light. Avoid using heavy pressure early on, as this creates indentations in the paper that are impossible to remove.
Why symmetry is important in drawing
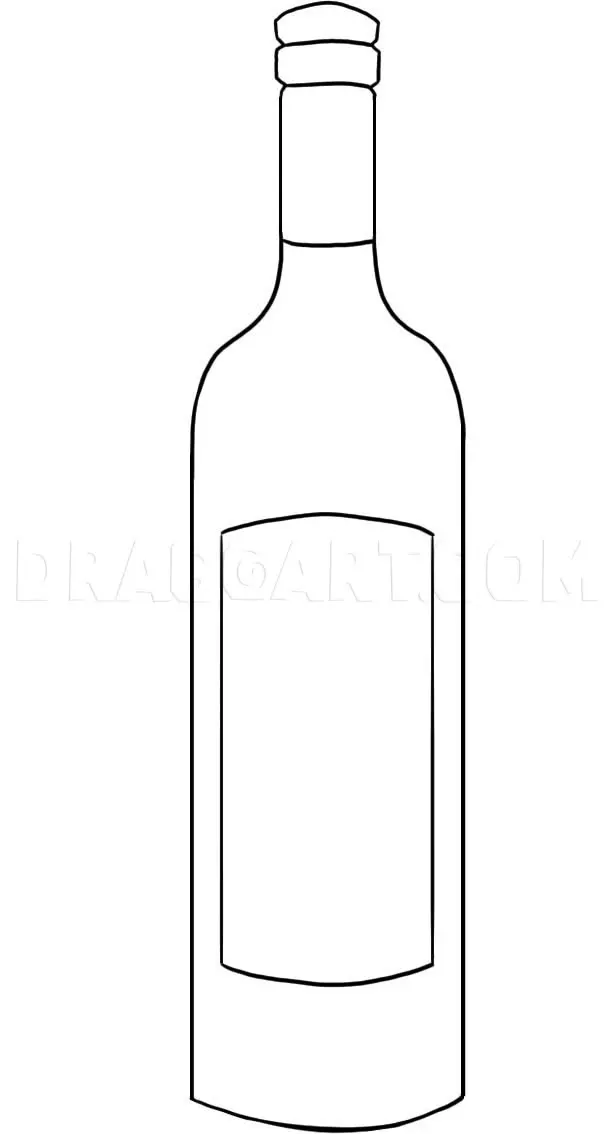
Symmetry is the most critical element when drawing man-made objects like bottles, as even slight deviations can make the object appear deformed. Because bottles are typically mass-produced, they possess a mechanical perfection that the human eye immediately recognizes. If one side of your drawing curves outward more than the other, the bottle will look like it is leaning or collapsing.
To maintain symmetry throughout the process, use a technique called "sighting." Hold your pencil at arm’s length to measure the width of the neck versus the width of the base. By checking these proportions frequently, you can catch errors before you commit to dark, permanent lines. If you find yourself struggling, try turning your paper upside down; this trick helps your brain see the shapes as abstract lines rather than a "bottle," making it easier to spot asymmetrical flaws.
Common mistakes when drawing glass
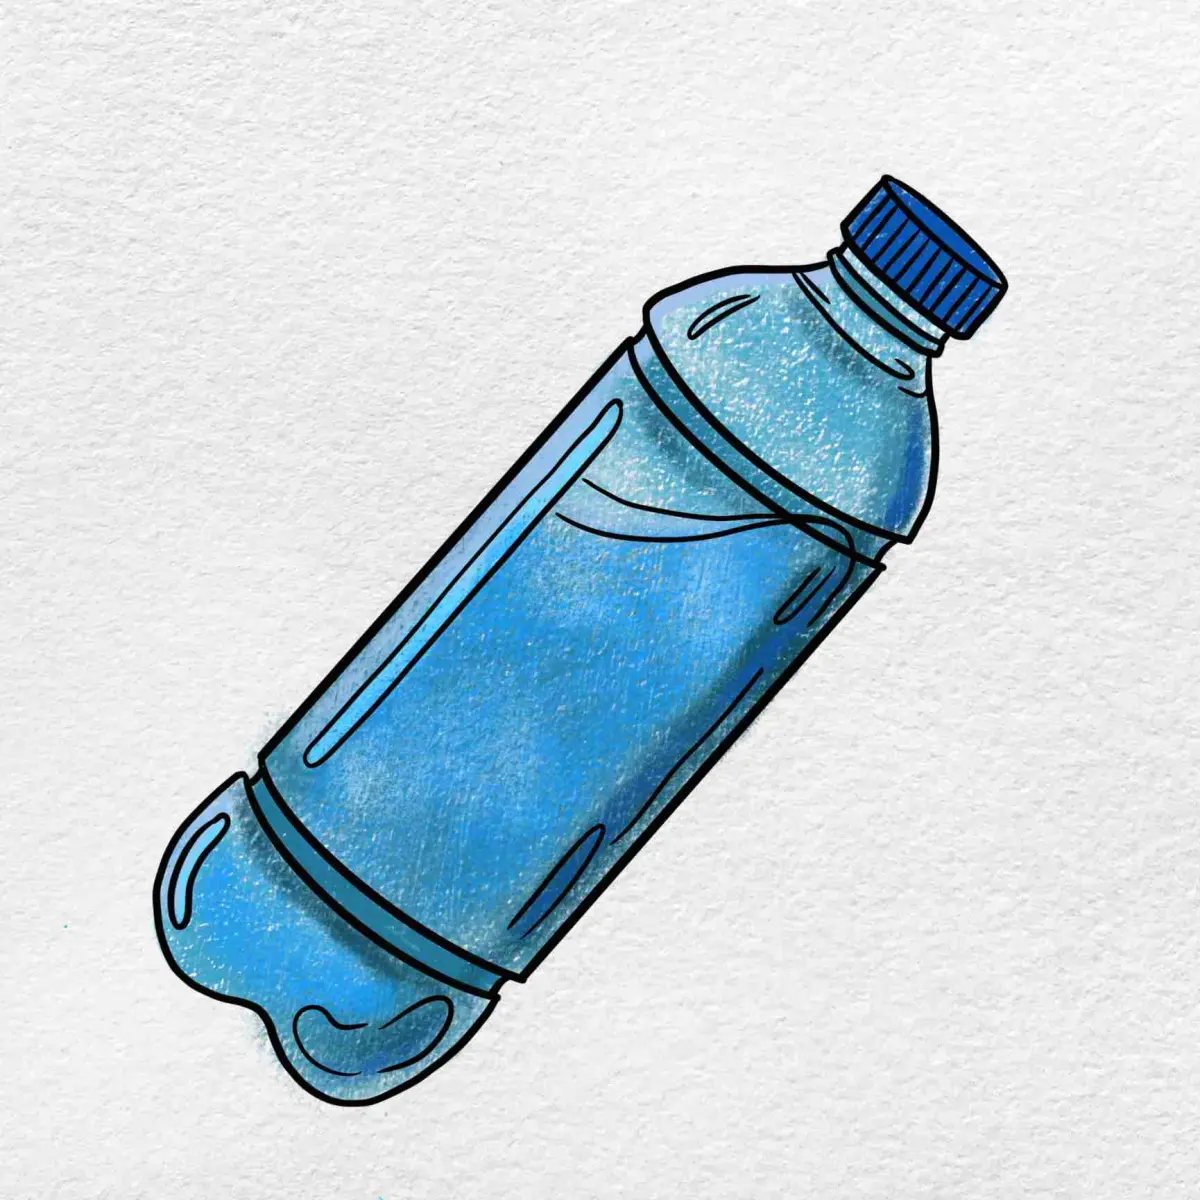
One of the most frequent errors artists make when drawing glass bottles is failing to account for transparency and refraction. Beginners often treat the bottle as an opaque object, drawing only the outer edges and ignoring the light passing through the glass. In reality, light reflects off the surface, and the liquid inside—or the background behind the bottle—is visible through the walls.
To avoid these common pitfalls, keep these tips in mind:
- Do not outline the entire object with a heavy, uniform line, as this flattens the image.
- Remember that the bottom of a glass bottle is often thicker, creating a distinct "base" shadow or refraction pattern.
- Pay attention to the highlights, which are usually sharp, bright white spots where light hits the curved surface directly.
- Use a variety of values, from deep blacks to stark whites, to represent the high contrast found in reflective glass.
By focusing on these light patterns, you create the illusion of depth and material density that defines a realistic glass vessel.
How to add shading to a bottle
Shading is what transforms a flat, two-dimensional outline into a three-dimensional object that occupies space. Start by identifying your light source; if the light comes from the top left, the shadows will naturally fall on the bottom right. Use hatching or cross-hatching to build up the dark areas, gradually transitioning to lighter tones as you move toward the highlights.
When shading a cylindrical or rounded object, follow the curvature of the form with your pencil strokes. This technique, known as contour shading, reinforces the roundness of the bottle. If you are drawing a clear glass bottle, remember that the darkest shadows are often found near the edges where the glass is thickest. Use your blending stump sparingly to smooth out the transition between mid-tones and shadows, but leave the brightest highlights untouched to maintain the sparkle of the glass. Practice these techniques consistently to master the interplay of light and shadow on curved surfaces.
Key facts
- Start by drawing a vertical center line to ensure the bottle remains symmetrical on both sides.
- Use basic geometric shapes like rectangles for the body and cylinders for the neck to map out proportions.
- Ellipses are essential for representing the circular openings of the bottle and the curvature of the base.
- Identify your light source early to determine where the highlights and shadows will fall on the glass.
- Glass bottles often feature a "refraction" effect where the background appears distorted or shifted through the material.
- Use a kneaded eraser to lift graphite and create the sharp, thin white highlights that define a glossy surface.
The bottom line
Drawing a convincing bottle requires mastering symmetry and the geometry of ellipses. By establishing a central axis and mapping out the structure with simple shapes, you create a solid foundation. Focus on the interplay of light, shadow, and reflection to capture the unique properties of glass. With consistent practice of these core principles, you will gain the confidence to render complex objects with depth and realism.
People also ask
How do I make a bottle look like glass instead of plastic?
Glass is highly reflective and transparent, so you must include sharp, high-contrast highlights and show objects behind the bottle. Plastic is typically more opaque and features softer, diffused reflections.
Should I use a ruler to draw the sides of the bottle?
While a ruler helps establish a straight center line, avoid using it for the final outlines. Hand-drawn lines feel more organic and natural, which prevents the bottle from looking like a stiff technical diagram.
Why do my ellipses look flat at the top of the bottle?
Ellipses must become wider as they move further away from your eye level. If the top of the bottle looks flat, you are likely drawing the curve too shallow for the viewer's perspective.
How do I handle the label on a curved bottle?
Remember that the label follows the cylindrical form of the bottle. Draw the top and bottom edges of the label as curved lines that match the perspective of the bottle's base.
What is the best pencil grade for drawing bottles?
Use an HB pencil for the initial light sketch and a 4B or 6B pencil for the deep, dark shadows. A range of leads allows you to build the necessary contrast for a realistic finish.
How do I draw the liquid inside a bottle?
The liquid line should be horizontal regardless of the bottle's tilt, unless it is sloshing. Draw the surface of the liquid as a slightly curved ellipse to show it is contained within a cylinder.
This answer was created with the help of AI research tools and reference sources. Spotted an error? Let us know — we correct mistakes quickly. See our editorial policy.