How do you draw a milkshake step by step?
Short answer
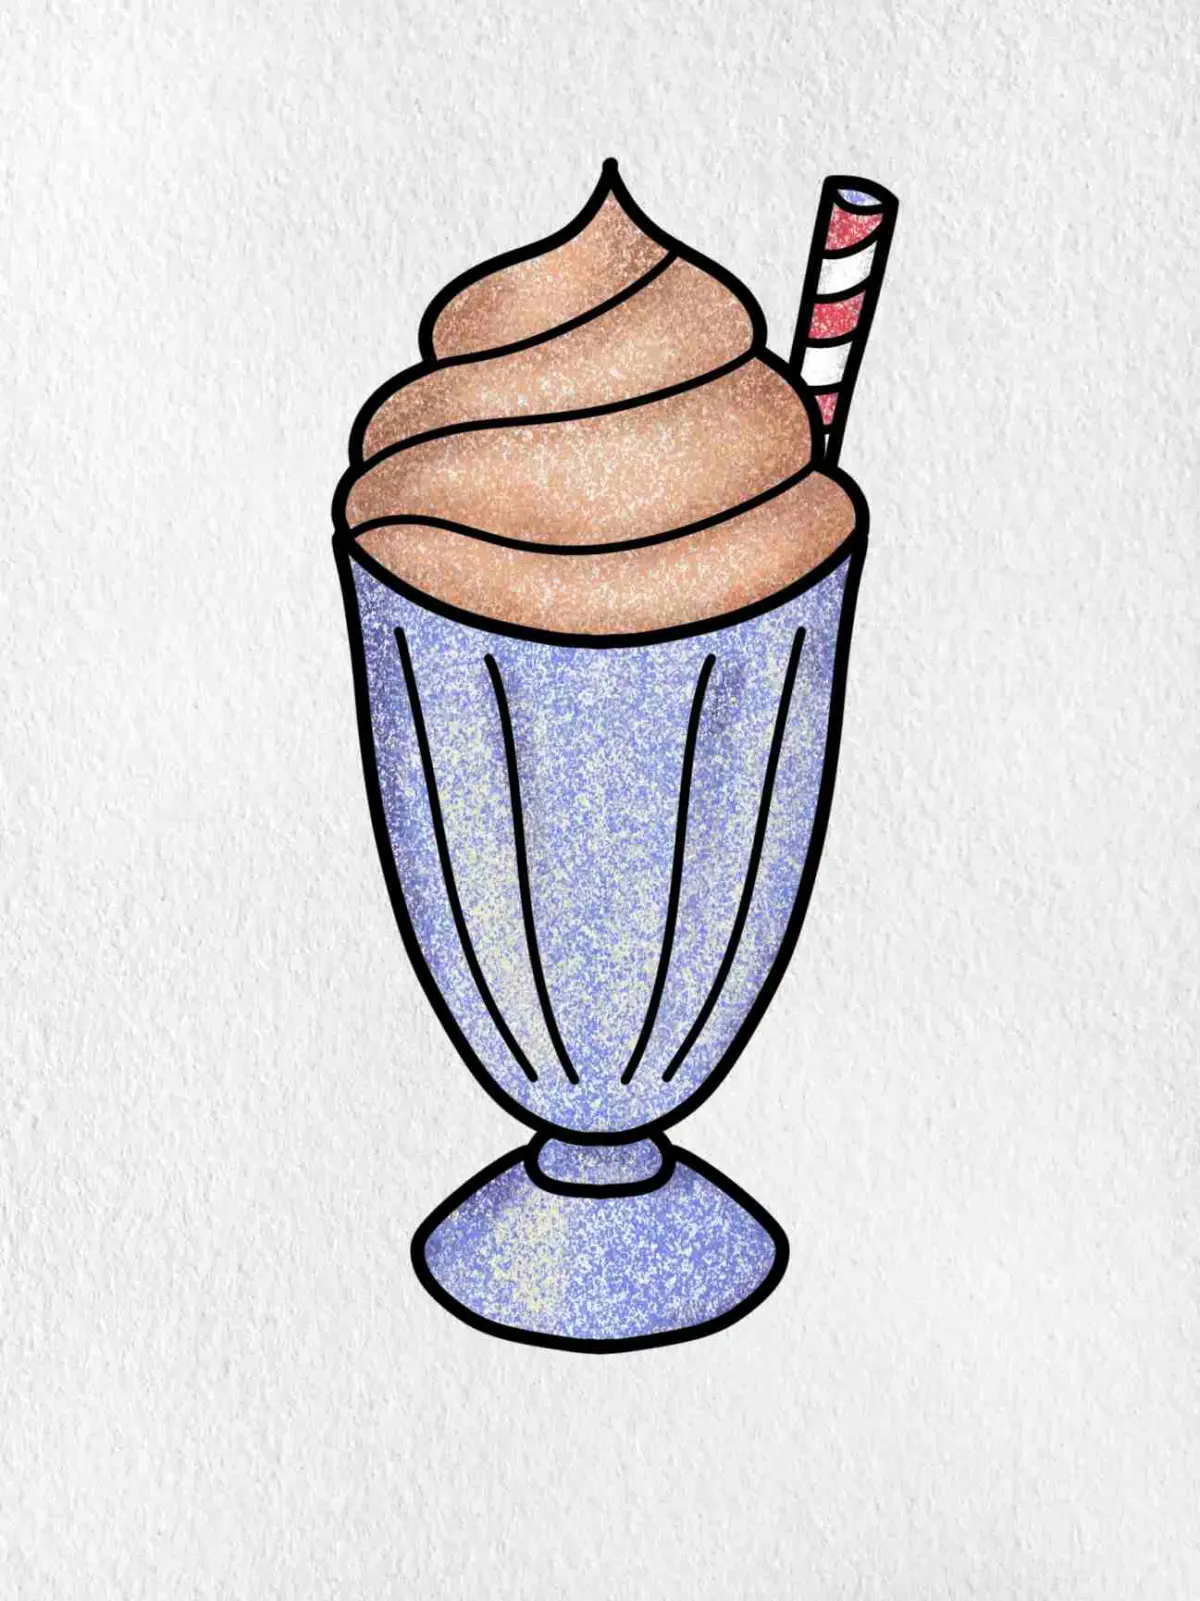
Drawing a milkshake involves constructing a cylindrical glass, adding a rounded mound for the whipped cream, and detailing the straw and garnish. By layering simple geometric shapes—ovals for the rim and base, and vertical lines for the glass—you create a realistic three-dimensional effect that captures the classic soda fountain aesthetic.
On this page
How to draw a milkshake structure
To begin your drawing, focus on the basic geometry of the glass. Start by sketching a long, narrow rectangle with rounded corners or a tall cylinder to represent the main body of the milkshake container. Add a smaller, flattened oval at the top to define the rim and a slightly wider oval at the bottom for the base. This establishes the perspective and ensures your glass looks symmetrical and stable on the page.
Once the frame is set, refine the shape by connecting the top and bottom ovals with gentle, slightly curved vertical lines. Avoid drawing perfectly straight lines, as glass containers often have a slight taper or flare toward the top. Adding these subtle curves creates the illusion of volume and depth, which is essential for making the object look like a real, three-dimensional vessel rather than a flat, two-dimensional shape.
How to add the milkshake details
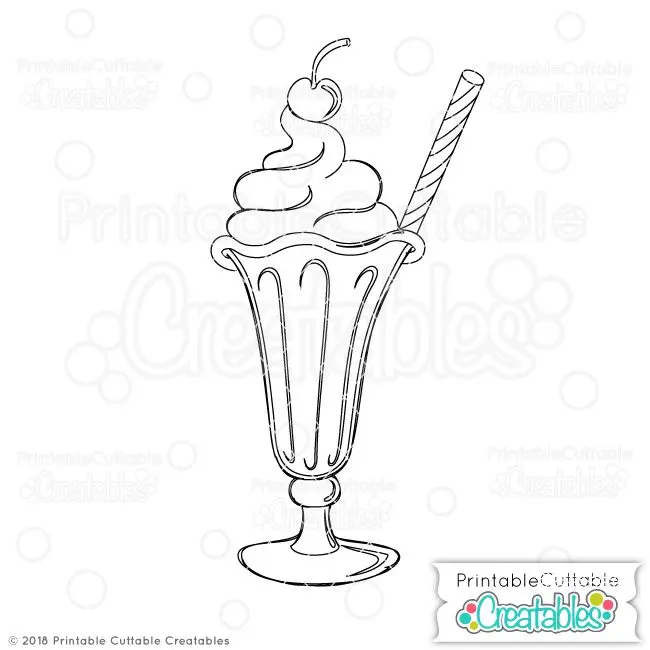
The texture of the milkshake is defined by the contrast between the liquid and the toppings. Draw a wavy, cloud-like line slightly above the rim of the glass to represent a generous swirl of whipped cream. You can add a small circle or a curved shape on top to suggest a cherry, which provides a clear focal point for the viewer. Ensure the whipped cream looks soft and voluminous by using short, overlapping curved strokes.
Inside the glass, indicate the liquid level with a horizontal line near the top. You can add small bubbles or drips along the inside walls to suggest a thick, creamy consistency. If you want to show the drink’s texture, use light shading or small dots to represent the airiness of the mixture. Keep these details relatively simple to avoid cluttering the drawing and losing the overall shape of the glass.
How to draw the straw and garnish
The straw is a key element that adds height and interest to your drawing. Draw two parallel lines extending from the top of the milkshake, angled slightly to the side to suggest it is resting in the glass. Add a small oval at the top of the straw to show the opening and a few horizontal lines along the shaft to indicate the classic striped pattern often found on soda fountain straws.
- Draw the straw as a long, thin tube emerging from the whipped cream.
- Add a small, circular garnish like a cherry or a piece of fruit on the side.
- Use a few short, jagged lines to represent a wafer or a cookie tucked into the cream.
- Ensure the straw appears to be submerged by erasing the lines where it passes behind the whipped cream.

Common mistakes when drawing milkshakes
One frequent error is failing to align the top and bottom ovals of the glass, which makes the entire drawing appear crooked or lopsided. Always use a light pencil to sketch a vertical center line through your shape to ensure both sides remain balanced. Beginners often make the glass too wide, which can make the milkshake look more like a bowl than a tall, refreshing drink. Keep the proportions narrow to maintain the classic look.
Another common mistake is neglecting the perspective of the rim. If the top oval is drawn too flat, the glass will look like it is being viewed from the side, but if it is too round, it will look like it is being viewed from directly above. Aim for a moderate, narrow oval shape to suggest a standard eye-level view. Additionally, avoid making the whipped cream look too rigid; use soft, rounded lines rather than sharp, angular ones to convey the airy texture of dairy.
Best shading techniques for beginners
Shading is what transforms a simple line drawing into a realistic illustration. Identify a light source, such as a lamp to the top left, and keep your highlights consistent on that side of the glass. Use a soft graphite pencil to add light gray tones to the opposite side of the glass to create a sense of roundness. Leave a thin, white strip along the edge of the glass to represent the reflection of light on the smooth surface.
- Apply light, circular motions with your pencil to create the texture of whipped cream.
- Use a blending stump or a piece of tissue to soften the transitions between light and dark areas.
- Darken the base of the glass and the area directly underneath the rim to create a grounded, heavy appearance.
- Add a soft, oval-shaped shadow on the surface beneath the glass to anchor your drawing firmly to the ground.
By following these layering techniques, you can effectively communicate the weight and volume of the milkshake, resulting in a polished and professional-looking final piece of artwork.
Key facts
- Start by drawing a tall, slightly tapered cylinder to define the glass shape.
- Add a thick, wavy line across the top of the glass to represent whipped cream.
- Use a small circle or oval on top of the cream to indicate a cherry.
- Draw a thin, straight rectangle extending from the side to serve as a straw.
- Add vertical lines inside the glass to simulate reflections or light hitting the liquid.
- Use shading at the base of the glass to ground the object and create depth.
The bottom line
Drawing a milkshake is an exercise in combining simple geometric shapes with soft, organic details. By establishing a solid cylindrical base and layering textures like whipped cream and a straw, you create a recognizable and appetizing illustration. Focus on light reflections and shading to give the glass a realistic, three-dimensional quality, ensuring your final drawing looks refreshing and professional through careful attention to perspective and detail.
People also ask
What is the best medium for drawing a milkshake?
Colored pencils are excellent for beginners because they allow for easy blending of the creamy textures. Markers provide bold, vibrant colors that mimic the look of classic diner advertisements.
How do I make the milkshake look cold?
Add small, irregular white highlights on the glass to represent condensation or frost. A few blue or light gray streaks near the bottom of the glass also suggest a chilled temperature.
Should I draw the straw straight or bent?
A bent straw adds more visual interest and suggests a casual, ready-to-drink feel. If you choose a straight straw, angle it slightly to the side to break the vertical symmetry of the glass.
How do I draw the texture of whipped cream?
Use short, rounded, overlapping "C" shapes to create the appearance of peaks and swirls. Keep your pencil strokes light and soft to avoid making the cream look heavy or solid.
What is the most common mistake when drawing a glass?
Many artists forget to draw the thickness of the glass rim or the base. Always include a double line at the top and bottom to show that the container has physical volume.
How can I show the liquid level inside the glass?
Draw a horizontal line across the middle of the cylinder to define the surface of the drink. Keep this line slightly curved to match the perspective of the glass opening.
This answer was created with the help of AI research tools and reference sources. Spotted an error? Let us know — we correct mistakes quickly. See our editorial policy.