How do you draw a cupcake?
Short answer
Drawing a cupcake involves constructing a simple geometric base topped with a rounded, textured mound. Start by sketching an inverted trapezoid for the liner and a large semicircle for the frosting. Refine these shapes with vertical lines for the paper pleats and swirling, overlapping curves to create a realistic, appetizing dessert illustration.
On this page
How to draw a basic cupcake shape
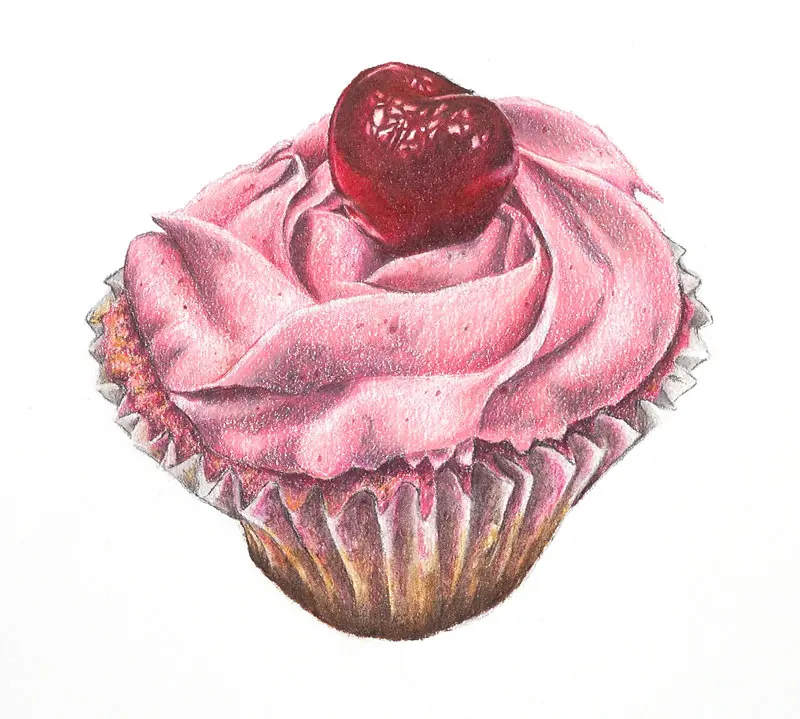
To begin your drawing, focus on the fundamental geometry that defines a cupcake. Start by sketching an inverted trapezoid to represent the paper liner. Ensure the top edge is slightly wider than the bottom, which should be rounded to give it a three-dimensional appearance. Above this base, draw a large, soft semicircle that will serve as the foundation for your frosting.
Once the basic outlines are in place, you can refine the proportions to ensure the cupcake looks balanced. A standard cupcake usually has a frosting-to-cake ratio of about one-to-one, though you can make the top larger for a more whimsical look. Keep your initial lines light so that you can easily erase or adjust them later. Using a 2B pencil is ideal for these early construction lines because it allows for soft, erasable marks that won't leave deep indentations on your paper.
How to add detail to the cupcake liner
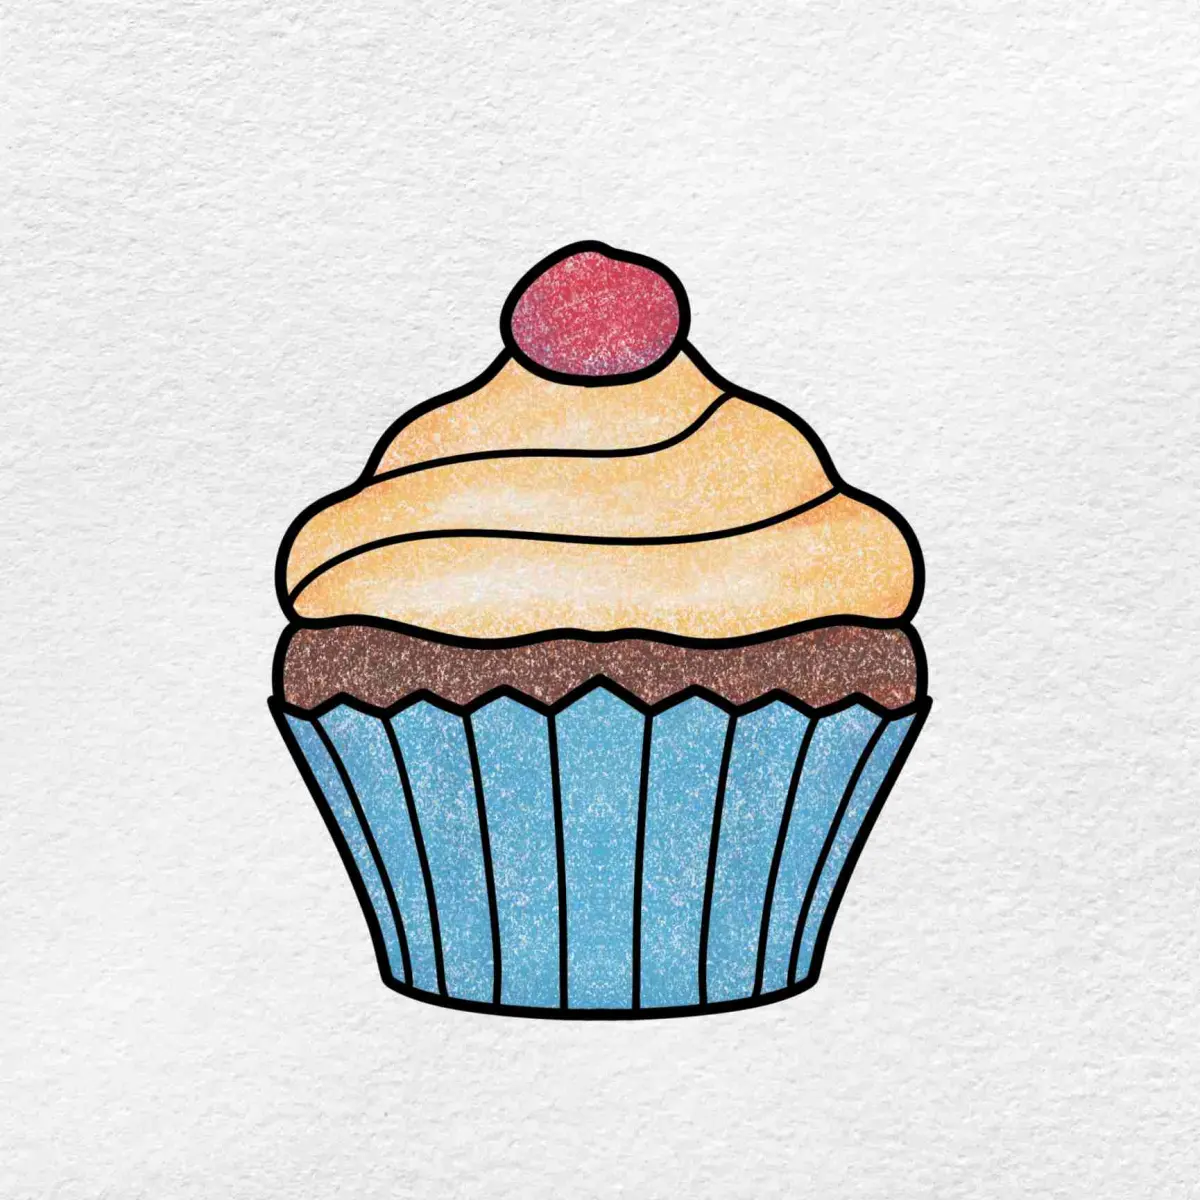
The liner is what gives a cupcake its distinct identity. To create the pleated effect, draw a series of vertical lines spaced evenly across the trapezoid base. These lines should follow the curve of the bottom edge, which helps create the illusion of depth and volume. If you want to add more realism, draw small, shallow "v" shapes at the bottom of each vertical line to suggest the folds of the paper.
- Draw the vertical lines starting from the top rim down to the base.
- Curve these lines slightly toward the center to mimic the cylindrical shape of the paper.
- Add subtle shading between every other line to create a sense of light and shadow.
- Ensure the lines at the edges of the liner are slightly angled to match the perspective of the trapezoid.
How to draw realistic cupcake frosting
Frosting is the most expressive part of a cupcake, often depicted as a spiraling mound. Start from the center of your semicircle and draw a continuous, coiled line that moves outward and upward. Use soft, rounded "u" shapes to represent the layers of icing, making each layer slightly smaller as you reach the peak. The key is to avoid rigid, straight lines, as frosting is naturally soft and pliable.
- Use overlapping curves to suggest depth within the swirls.
- Leave small gaps between the layers to indicate where the icing folds over itself.
- Add a small dollop or a point at the very top to finish the swirl.
- Vary the pressure of your pencil to create darker shadows in the crevices of the frosting.
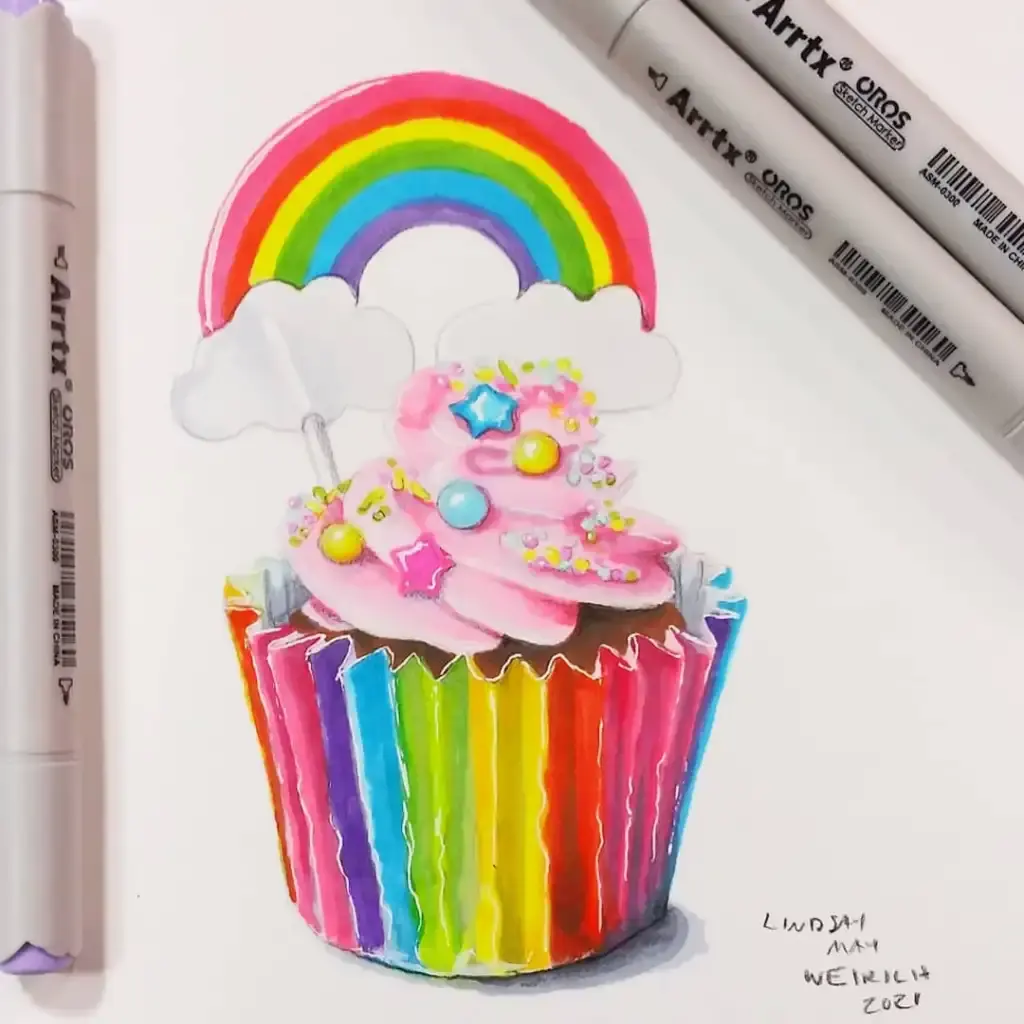
- Consider adding small circles or rectangles to represent sprinkles or decorative toppings.
Common mistakes when drawing cupcakes
One of the most frequent errors is making the cupcake look flat or two-dimensional. This often happens when the vertical lines on the liner are perfectly straight rather than curved, or when the frosting lacks overlapping layers. Always remember that a cupcake is a three-dimensional object; therefore, every line you draw should follow the curvature of the form. Another common mistake is ignoring the light source.
If you do not define where the light is coming from, your drawing will lack contrast and look dull. Pick a side for your light source and ensure that all shadows on the frosting and the liner are placed on the opposite side. Avoid using heavy, dark outlines for the entire drawing, as this can make the cupcake look like a cartoon sticker. Instead, use varied line weights to create a more sophisticated and professional appearance.
Best tools for drawing desserts
While you can draw a cupcake with any basic pencil, using the right tools can significantly enhance your results. A set of graphite pencils ranging from HB to 4B is excellent for creating a full spectrum of tones. Use the HB pencil for your initial sketching and the 4B pencil to add deep, rich shadows in the folds of the liner and the deepest parts of the frosting swirls.
For those who enjoy color, colored pencils or markers are excellent choices for adding personality to your work. When coloring, start with a base layer of a lighter shade and gradually build up your darker tones to create volume. If you are using markers, work quickly to avoid streaks, and consider using a blending tool to soften the transitions between colors. Practice these techniques consistently, and you will soon be able to draw a variety of delicious treats with confidence and artistic flair.
Key facts
- Start by drawing a trapezoid with a curved bottom to represent the cupcake liner.
- Use a series of overlapping, rounded humps at the top to create the appearance of piped frosting.
- Add vertical lines inside the trapezoid to mimic the pleats found on standard paper baking cups.
- Incorporate a small circle or oval at the very peak of the frosting to represent a cherry.
- Keep your initial lines light and sketchy so you can easily erase them before finalizing the outline.
- Vary the size of your frosting humps to make the cupcake look more natural and less mechanical.
The bottom line
Drawing a cupcake is a rewarding exercise in combining basic geometric shapes with organic, flowing lines. By mastering the trapezoidal liner and the rounded, layered frosting, you can create a charming illustration. Focus on consistent light sources for shading and add small details like sprinkles or a cherry to enhance realism. With practice, these simple techniques will allow you to sketch delicious treats with confidence and ease.
People also ask
How do I make the frosting look realistic?
Use a spiral motion for the frosting, starting from the outside edge and working your way toward the center. Adding small dots or dashes across the surface can simulate sprinkles, which adds texture and depth to your drawing.
What is the best way to draw the cupcake liner?
Draw the base as a flat-bottomed shape with slanted sides. Ensure the vertical pleat lines are spaced evenly to create a sense of symmetry and perspective.
Should I use ink or pencil for the final drawing?
Pencils are ideal for beginners because they allow for shading and easy corrections. Once you are satisfied with the structure, using a fine-liner pen can help define the edges and make the image pop.
How do I add shading to a cupcake?
Identify a light source, usually from the top left or right, and apply darker pencil strokes to the opposite side of the cupcake. This creates a three-dimensional effect that prevents the drawing from looking flat.
What are the most common mistakes when drawing cupcakes?
A frequent error is making the frosting too symmetrical, which looks unnatural. Another common mistake is neglecting to draw the pleats on the liner, which makes the base look like a solid block rather than paper.
Can I customize the cupcake design?
Absolutely, you can add details like chocolate shavings, a drizzle of syrup, or even a wrapper with a decorative pattern. Personalizing these elements helps you practice different line weights and textures.
This answer was created with the help of AI research tools and reference sources. Spotted an error? Let us know — we correct mistakes quickly. See our editorial policy.