What is the easiest way to draw an airplane?
Short answer
The easiest way to draw an airplane is to utilize a simplified geometric approach. By sketching a long, horizontal oval for the fuselage and adding triangular shapes for the wings and tail, you create a recognizable silhouette. This method relies on basic shapes that are easy to refine into a detailed aircraft.
On this page
How to draw a simple airplane for beginners
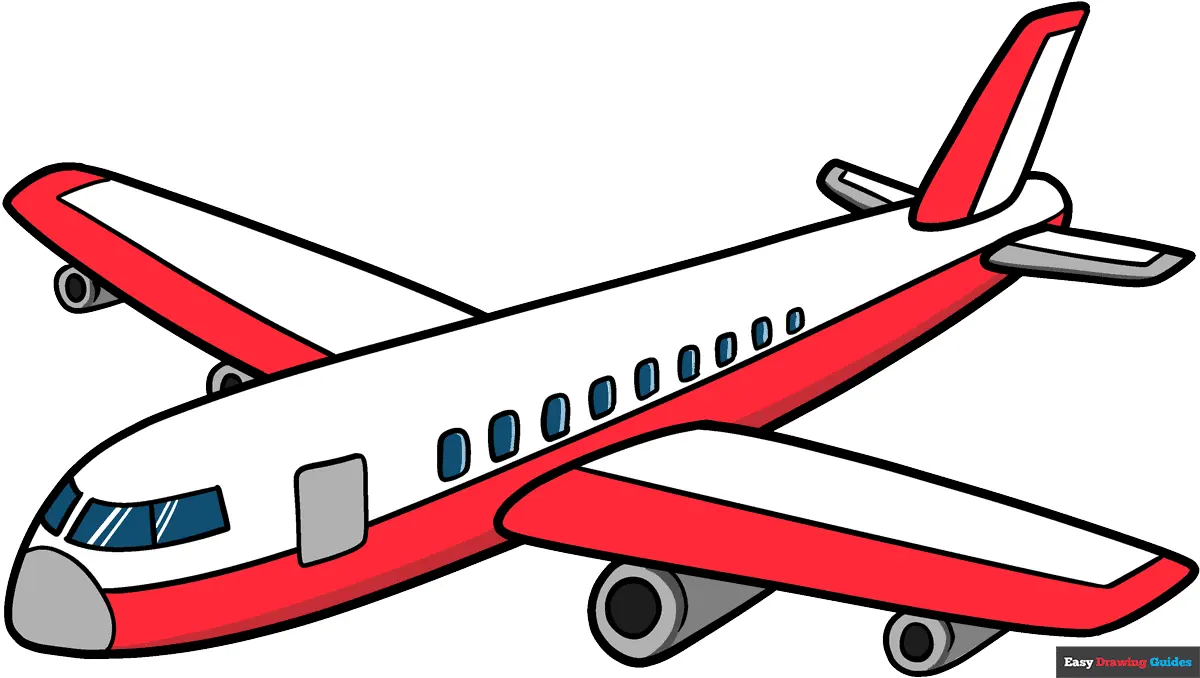
Drawing an airplane is best approached by breaking the complex machine down into basic geometric primitives. Start by drawing a long, thin horizontal oval or a "cigar" shape to serve as the fuselage. This central body provides the anchor for all other components. Once the fuselage is established, draw a large triangle on top for the vertical stabilizer and two smaller triangles on the sides for the main wings.
Using these simple shapes allows you to maintain correct proportions without getting overwhelmed by mechanical details. Keep your initial lines light so they can be easily erased or adjusted later. Focus on the placement of the wings relative to the center of the fuselage to ensure the aircraft looks balanced. Once the basic outline is set, you can add a small circle at the front for the propeller or a cockpit window to finalize the look.
Best drawing techniques for airplanes
The most effective technique for capturing the essence of an airplane involves using a "skeleton" method. Begin by drawing a single horizontal line that acts as the centerline for the entire aircraft. This helps keep the nose, tail, and wings aligned. From this line, build your shapes outward, ensuring that the wings are symmetrical on both sides of the fuselage.
- Sketch a horizontal centerline to guide your proportions.
- Add the fuselage as a stretched oval centered on your line.
- Attach the main wings at the midpoint of the fuselage.
- Draw the tail assembly at the rear using two small, perpendicular triangles.
- Add landing gear or engines as small circles or rectangles under the wings.
Consistency is key when using this method. If you are drawing a side profile, ensure the wings are angled slightly upward to suggest lift. If you are drawing from a front-facing perspective, use ellipses to represent the wings to show depth and perspective.
Why airplane proportions are important
Proportions are the most critical factor in making a drawing look like a functional aircraft rather than a random collection of shapes. If the wings are too small, the plane will look like a rocket; if the fuselage is too short, it will look like a toy. Most commercial aircraft follow a standard ratio where the wingspan is roughly equal to or slightly wider than the length of the fuselage.
Pay close attention to the placement of the wings. On most modern jetliners, the wings are attached to the lower half of the fuselage. Placing them too high or too low can drastically change the type of aircraft you are depicting. By studying photographs of real planes, you can observe how the tail section tapers off and how the engines are positioned relative to the wing's leading edge.
Common mistakes when drawing airplanes
Many beginners struggle with the "perspective trap," where they attempt to draw a 3D object from a 2D mindset. A common error is drawing the wings as flat, straight lines that stick out from the sides. In reality, wings have thickness and often feature a slight sweep or curve. Failing to account for this volume makes the drawing look flat and unrealistic.
- Drawing wings that are perfectly straight instead of slightly swept back.
- Forgetting to include the cockpit windows or the nose cone shape.
- Making the tail section too large or too small compared to the wings.
- Neglecting to add the landing gear, which makes the plane look like it is floating.
- Using heavy, dark outlines for the entire sketch, which prevents you from adding fine detail later.
Avoid these pitfalls by spending more time on the initial sketch. If the basic outline looks wrong, no amount of shading or detail will fix the final appearance.
How to add detail to your airplane drawing
Once the structure is solid, you can add details that define the specific type of airplane you are creating. Start by adding a cockpit window, which is usually positioned near the front of the fuselage. You can also draw lines across the wings to represent flaps and ailerons, which are the moving parts pilots use to control the flight. These small details add a sense of realism and mechanical complexity.
Shading is another powerful tool for adding depth to your drawing. Identify where the light source is coming from and shade the underside of the fuselage and wings accordingly. Adding a subtle shadow beneath the plane can make it appear as though it is hovering or sitting on a runway. Finally, consider adding engine pods under the wings, which provide the necessary visual weight to ground the design. By carefully layering these details, you transform a simple geometric sketch into a professional-looking illustration that captures the spirit of flight.
Key facts
- Start with a long, horizontal oval to represent the airplane's fuselage.
- Draw a large triangle on the back for the tail fin and two smaller triangles for the horizontal stabilizers.
- Place the main wings slightly forward of the center of the fuselage for better balance.
- Use simple geometric shapes like rectangles and circles to represent windows and engines.
- Keep your lines light and sketchy initially to allow for easy adjustments before finalizing.
- Add a slight upward angle, known as a dihedral, to the wings to make the drawing look more realistic.
The bottom line
Drawing an airplane is best approached by breaking the complex machine down into basic geometric shapes. By starting with a central oval and attaching simple triangles for wings and stabilizers, you establish a solid foundation. Focus on maintaining symmetry and correct proportions before adding smaller details like windows or engines. With practice, these fundamental structural steps allow you to draw various aircraft models with confidence and ease.
People also ask
How do I make the airplane look like it is flying?
Draw the airplane at a slight diagonal angle rather than perfectly horizontal. Adding thin, streaking lines behind the wings helps simulate speed and movement.
Should I use a ruler for the wings?
Using a ruler is helpful for beginners to ensure the wings are symmetrical. However, freehand drawing often gives the plane a more organic and dynamic appearance.
What is the most common mistake when drawing a plane?
The most frequent error is placing the wings too far back on the fuselage. This makes the plane look unbalanced and aerodynamically impossible.
How can I add detail to the cockpit?
Draw a small, curved trapezoid on the top front of the fuselage. Keep the lines clean to distinguish the glass area from the metal body.
Do I need to draw landing gear?
Landing gear is only necessary if you are drawing the plane on the ground. For a plane in flight, omit these details to keep the silhouette clean.
Is it better to use ink or pencil?
Always start with a graphite pencil so you can erase mistakes. Once the proportions are correct, you can go over the lines with ink for a professional finish.
This answer was created with the help of AI research tools and reference sources. Spotted an error? Let us know — we correct mistakes quickly. See our editorial policy.