What is the easiest way to draw a dolphin?
Short answer
The easiest way to draw a dolphin is to use a simple "S" shape as a foundation. By sketching a horizontal, elongated curve and building the body around it, you establish the sleek, hydrodynamic form of the animal. This method prioritizes basic geometric shapes before adding the characteristic dorsal fin and snout.
On this page
How to draw a dolphin for beginners
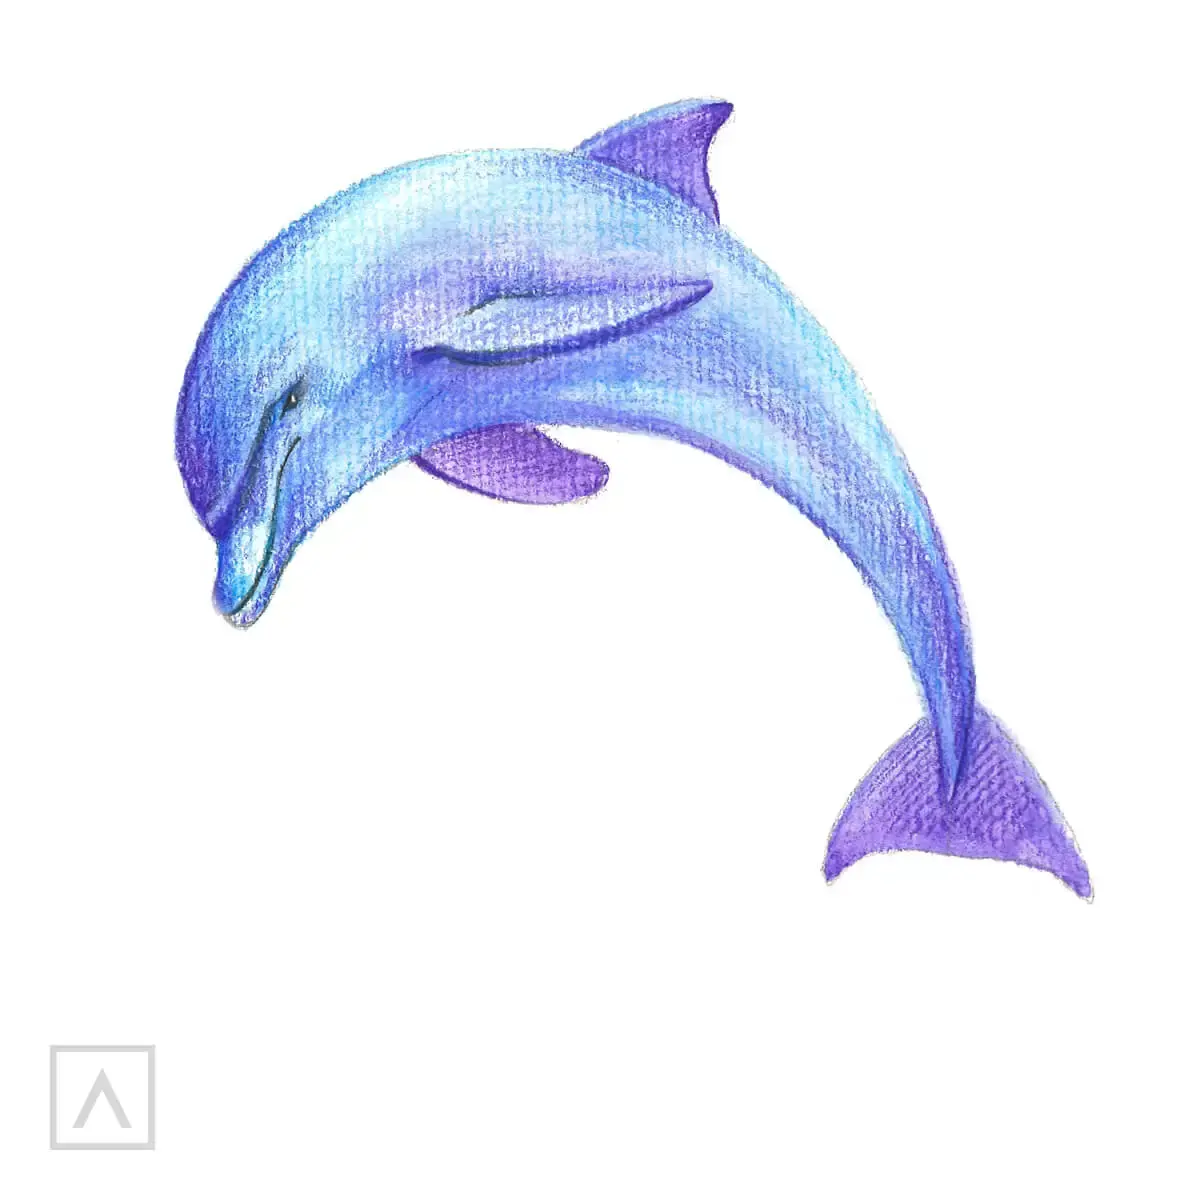
The most effective approach for beginners is the "bean and curve" technique. Start by drawing a horizontal bean shape to represent the main torso of the dolphin. From the front of this bean, extend a short, curved line to create the snout, or rostrum. This simple geometric foundation ensures that your proportions remain accurate before you begin adding the complex details that define the creature.
Once the body shape is set, you can refine the silhouette. Follow these steps to complete the basic outline:
- Sketch a smooth, curved line for the back, arching it slightly upward.
- Draw a concave line for the belly, keeping it flatter than the back.
- Add a small, triangular dorsal fin on the top curve of the back.
- Draw two small, pointed pectoral fins on the lower side of the body.
- Finish the tail with two horizontal flukes that resemble a wide, flattened heart.
Best tools for drawing dolphins
Choosing the right equipment significantly impacts your ability to create clean, flowing lines. For initial sketching, a 2B graphite pencil is ideal because it is soft enough to draw light guidelines that can be easily erased later. Avoid using dark, heavy pressure during the first stage, as this creates indentations in the paper that are difficult to correct if your proportions shift.
When you are ready to finalize your drawing, consider using a fine-liner pen or a darker 4B pencil. The goal is to emphasize the graceful, curved lines of the dolphin's body while keeping the internal construction lines invisible. If you are working on a digital tablet, ensure your brush settings are set to a pressure-sensitive mode, which allows you to vary the thickness of your strokes. Thicker lines on the underside of the dolphin can help suggest shadow and depth, making the drawing appear more three-dimensional.
Why dolphin anatomy is important for artists
Understanding the physical anatomy of a dolphin helps you avoid drawing a generic fish. Unlike fish, which move their tails side-to-side, dolphins are mammals that move their tails up and down. When drawing the tail flukes, ensure they are positioned horizontally rather than vertically. This anatomical detail is the most common indicator of whether an artist understands the subject matter or is simply guessing at the form.
Furthermore, the placement of the dorsal fin is crucial for a realistic look. It should be positioned slightly behind the midpoint of the back, rather than directly in the center. The snout should also be integrated smoothly into the head, rather than appearing as a separate, boxy attachment. By studying photographs of bottlenose dolphins, you can observe how the curve of the forehead, known as the melon, transitions seamlessly into the rostrum. These subtle anatomical nuances turn a cartoonish doodle into a recognizable, accurate representation of the marine mammal.
Common mistakes when drawing dolphins
One of the most frequent errors is making the body too rigid or straight. Dolphins are highly flexible and agile, so their bodies should always feature a sense of movement or curvature. If your drawing looks like a stiff log, try exaggerating the arch of the back. Another common mistake involves the eye placement; beginners often place the eye too far back on the head. In reality, the eye is located relatively close to the corner of the mouth, which gives the dolphin its characteristic friendly expression.
To avoid these pitfalls, keep the following tips in mind:
- Avoid drawing perfectly symmetrical fins, as they often look unnatural; slight variations in angle add realism.
- Do not make the tail base too thick, as it should taper significantly toward the flukes.
- Refrain from adding too many surface details like scales, which dolphins lack; their skin is smooth and should be rendered with clean, uninterrupted lines.
- Ensure the blowhole is placed on the top of the head, not the front of the snout.
How to add shading to your dolphin
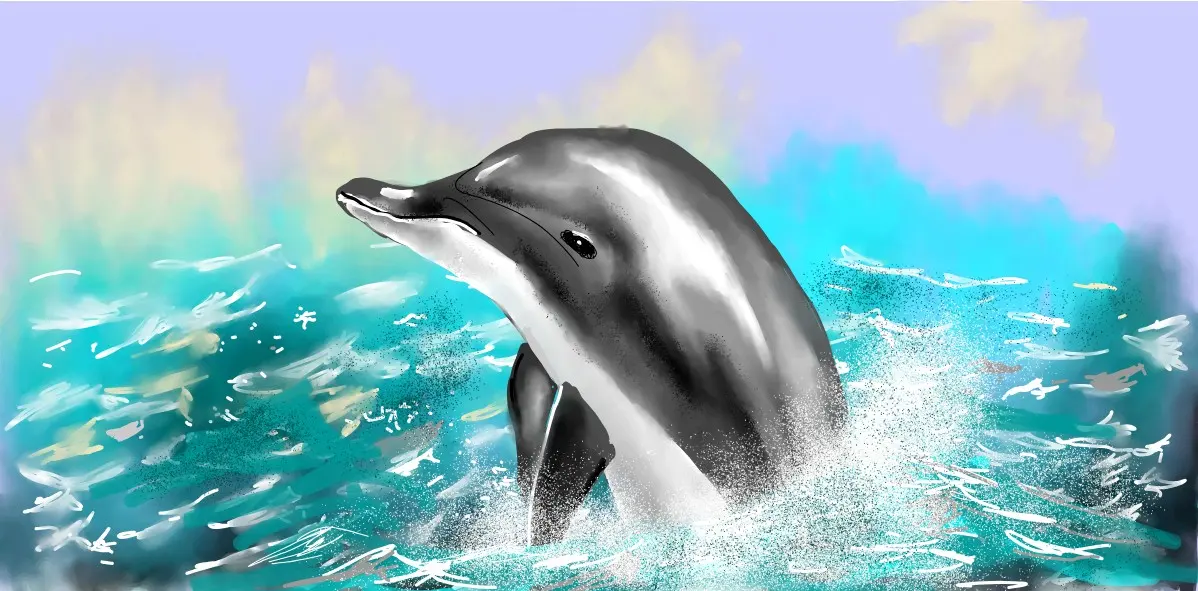
Shading is the final step that brings your drawing to life by defining the light source. Because dolphins have smooth, wet skin, they often have highlights along their backs where light reflects off the surface. Use a blending stump or a soft tissue to smudge your pencil marks, creating a smooth transition between the dark underbelly and the lighter top. This gradient effect mimics the countershading found in nature, which helps dolphins camouflage in the water.
Start by identifying where the light is coming from in your scene. If the light is coming from above, the top of the dolphin should be the lightest area, while the belly should be shaded with darker tones. Use short, curved hatching strokes that follow the contours of the body to build up the shadow. As you move toward the tail, you can increase the depth of the shadows to emphasize the muscular structure. By carefully controlling the contrast, you create an image that feels solid and alive, successfully capturing the essence of the dolphin in its natural environment.
Key facts
- Dolphins are streamlined mammals with a curved dorsal fin located on the center of their backs.
- A basic dolphin shape is constructed by drawing an elongated, horizontal oval or a "teardrop" silhouette.
- The beak of a dolphin is a small, rounded protrusion at the front of the head, not a sharp point.
- Drawing a slight "S" curve for the spine helps capture the natural fluidity of a dolphin in motion.
- The tail fluke consists of two horizontal lobes, which distinguishes them from fish that have vertical tail fins.
- Using light pencil strokes allows you to refine the curved belly and sleek snout before finalizing the outline.
The bottom line
To draw a dolphin effectively, focus on the sleek, aerodynamic silhouette rather than intricate details. Start with a horizontal teardrop shape, add a curved dorsal fin, and ensure the tail flukes are positioned horizontally. By practicing these simple geometric foundations, you can capture the essence of this marine mammal. Consistency in your curved lines will ultimately create a graceful, lifelike representation of the animal in motion.
People also ask
How do I draw the eye of a dolphin correctly?
Place the eye slightly above and behind the corner of the mouth. Keep it small, circular, and dark to maintain a realistic look relative to the body size.
Should I draw the dolphin jumping or swimming?
A horizontal swimming pose is the easiest for beginners. Jumping poses require more complex foreshortening and attention to the curve of the body arc.
What is the most common mistake when drawing a dolphin?
Many people draw the tail fins vertically like a goldfish. Always remember that dolphin flukes are horizontal to allow them to propel themselves upward.
How do I add shading to make the dolphin look 3D?
Focus your shading on the underside of the belly and the lower part of the tail. This creates the illusion of a rounded, cylindrical body shape.
Do dolphins have teeth that should be drawn?
In a simple, stylized drawing, you do not need to draw individual teeth. A smooth, clean line for the mouth is sufficient for most artistic representations.
How do I make the dolphin look like it is underwater?
You can add light ripples or bubbles around the body to suggest movement. Keeping the lines soft and fluid helps convey the aquatic environment.
This answer was created with the help of AI research tools and reference sources. Spotted an error? Let us know — we correct mistakes quickly. See our editorial policy.