How do you draw a boat step by step?
Short answer
Drawing a boat involves sketching a basic hull shape and adding structural details like a deck, mast, or cabin. By breaking the vessel into simple geometric forms—such as trapezoids, rectangles, and triangles—you can construct a realistic maritime scene. Practice consistent perspective and light shading to give your drawing depth and professional character.
On this page
How to sketch a basic boat hull
The hull is the foundation of any boat drawing. Start by drawing a long, shallow, horizontal curve that looks like a wide letter "U" or a flattened crescent. This represents the waterline and the bottom of the boat. Above this, draw a straight or slightly angled line to define the gunwale, which is the top edge of the boat's side. Connect these two lines at the ends to create the bow and the stern.
Keep your initial lines light so you can easily erase them later. If you want a more modern look, make the bow pointed and the stern flat. If you prefer a classic rowboat, make both ends rounded and symmetrical.
- Draw a wide, shallow curve for the bottom.
- Add a horizontal line above it for the deck edge.
- Connect the ends with angled lines to define the shape.
- Erase overlapping guidelines to clean up the silhouette.
How to add details to a boat
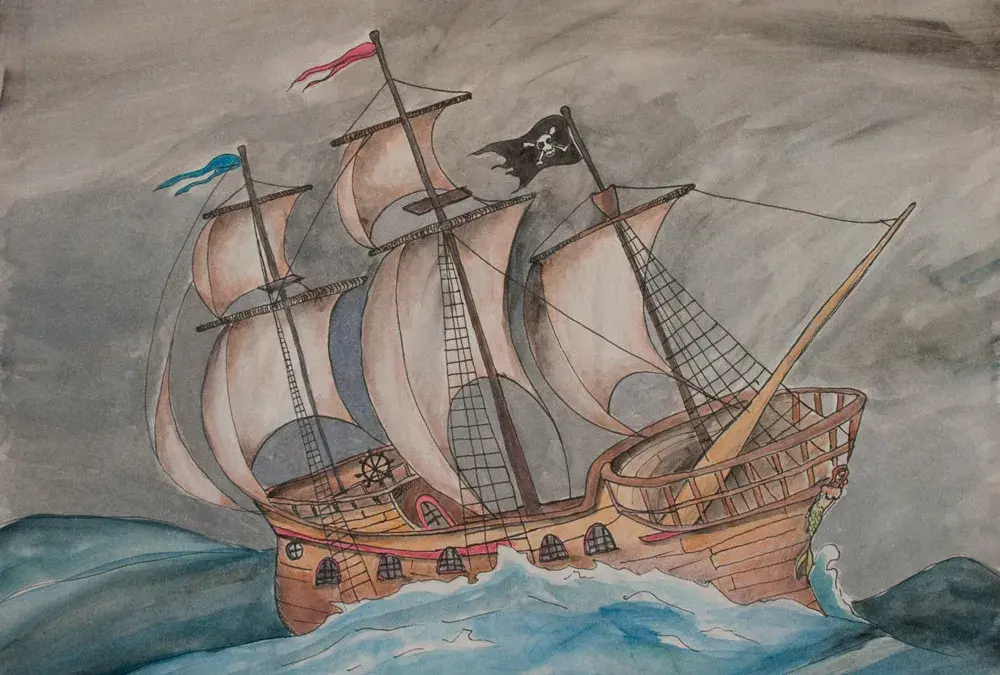
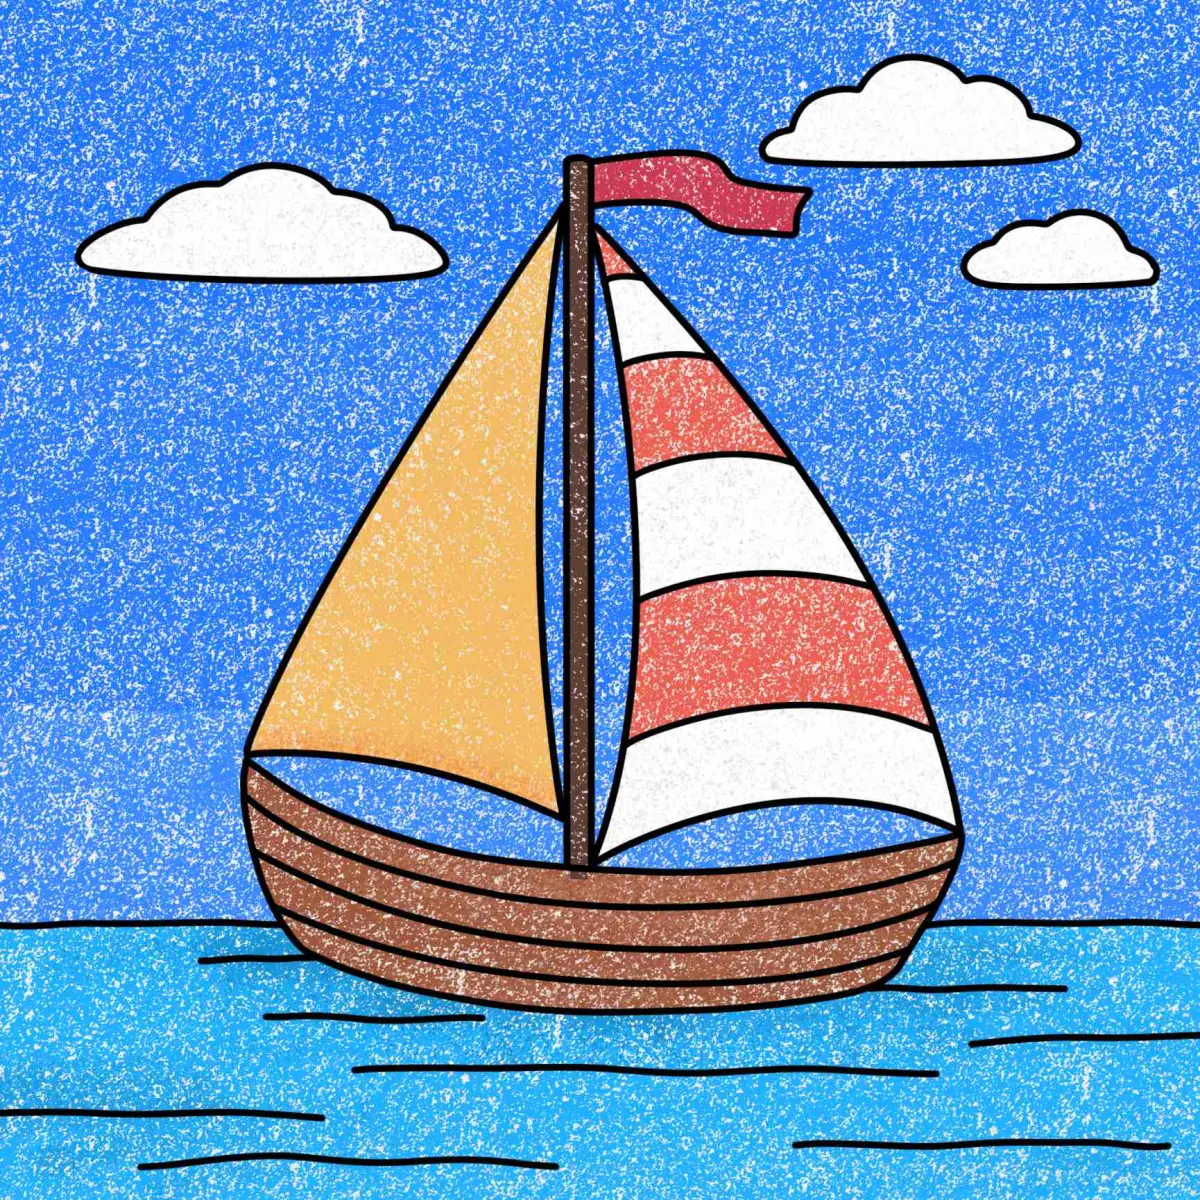
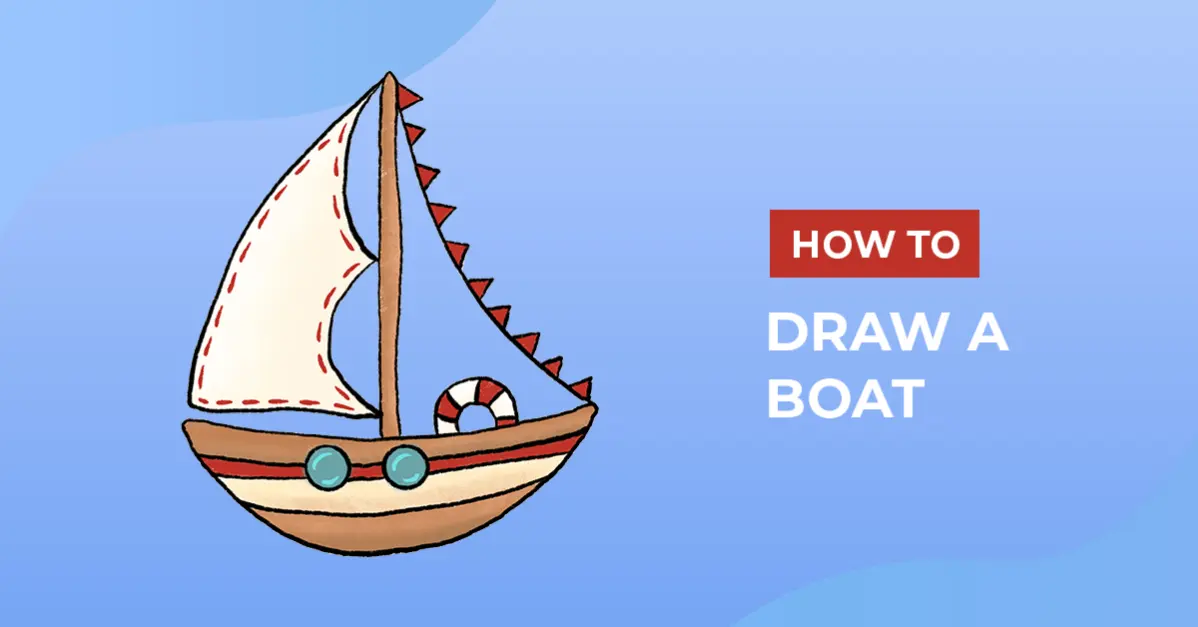
Once the hull is established, you must add structural elements to give the vessel purpose. For a sailboat, draw a tall, vertical line rising from the center or front of the boat to serve as the mast. Attach a large triangle to this line to represent the mainsail. For a motorboat, draw a small rectangle on the stern to represent the outboard motor and a curved shape on the deck to indicate a windshield or cabin.
Adding these features provides scale and context to your drawing. Use a ruler if you want the mast to be perfectly straight, or keep it slightly curved to suggest the movement of wind. Ensure that the size of your cabin or mast is proportional to the hull; a mast that is too tall can make the boat look unstable, while a cabin that is too small may look like a toy.
How to create perspective in boat drawings
Perspective is what makes a flat drawing look like a three-dimensional object sitting on water. To achieve this, use a horizon line that sits behind the boat. If you are drawing the boat from a side view, ensure the lines of the deck and the waterline remain parallel. If you are drawing from a front-quarter angle, the lines on the side of the boat should appear to converge toward a single vanishing point on the horizon.
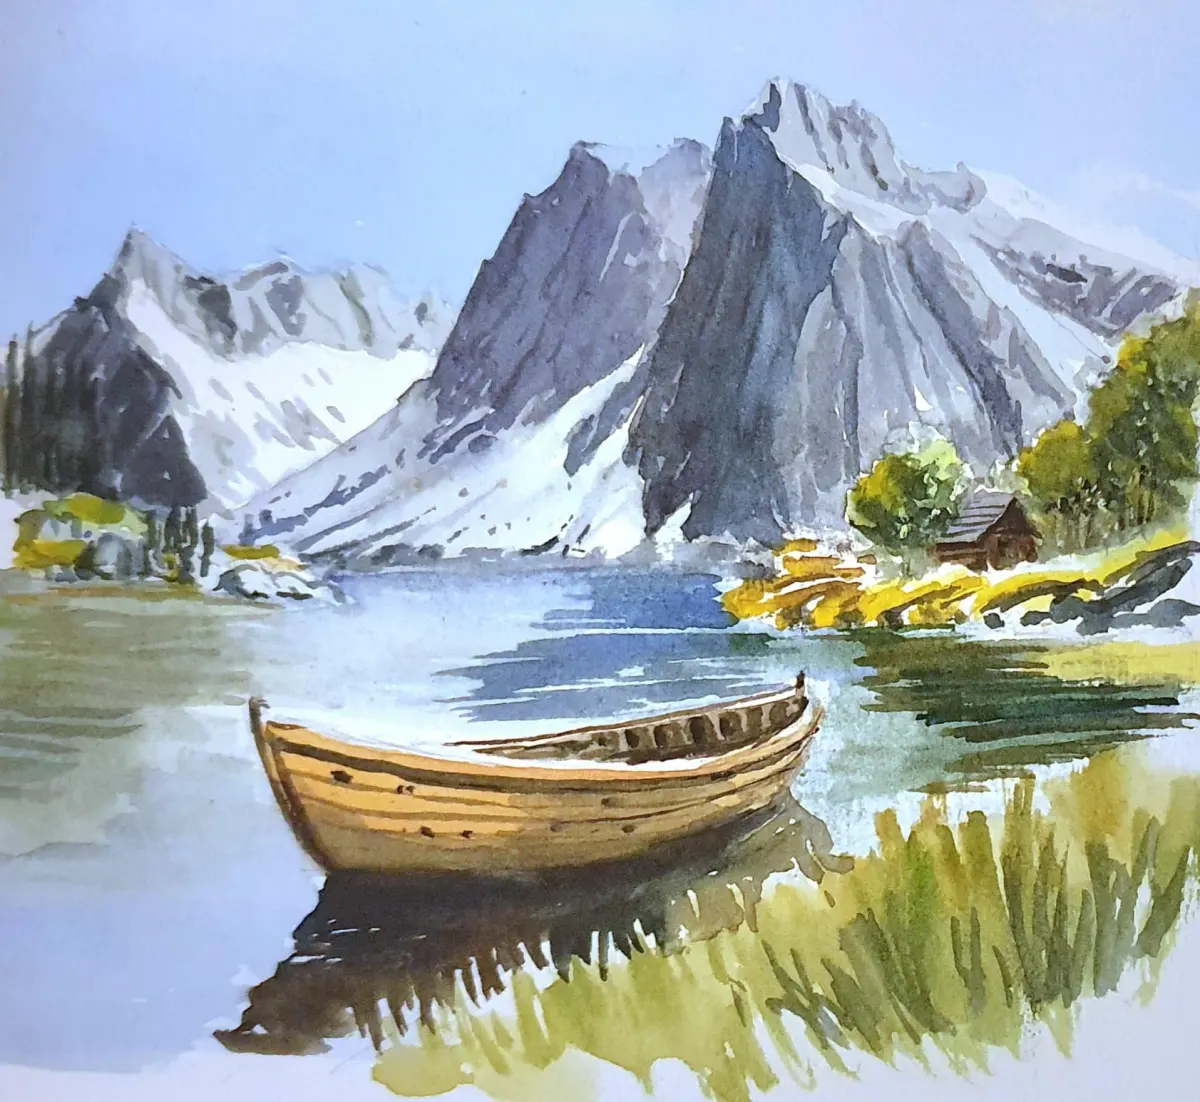
Adding a reflection in the water is the most effective way to ground your boat. Draw a faint, distorted version of the hull directly beneath the boat, using vertical, wavy lines to simulate the surface of the water. This simple technique immediately creates the illusion of buoyancy and depth, making the boat appear as if it is truly floating rather than hovering in space.
Best tools for drawing boats
For beginners, a standard HB graphite pencil is the best tool for initial sketching because it is easy to erase. Once you have the basic outline, switch to a 2B or 4B pencil to add darker shadows and crisp details. A kneaded eraser is essential for lifting graphite off the paper without damaging the texture, which is helpful when you need to create highlights on the water or the boat's surface.
- HB pencil for light construction lines and planning.
- 2B or 4B pencils for adding depth, shadows, and contrast.
- Kneaded eraser for precise corrections and creating highlights.
- Fine-liner pens if you want to create a permanent, professional ink finish.
- Smooth-surface sketchbook paper to prevent graphite from smudging or catching on texture.
Using high-quality paper ensures that your erasing does not leave messy streaks. If you plan to add color, consider using watercolor pencils, which allow you to blend colors smoothly to mimic the appearance of water and wood.
Common mistakes when drawing boats
The most frequent error is neglecting the waterline, which makes the boat appear as if it is flying. Always ensure the bottom of the hull is partially obscured by the water or that the water level is clearly defined against the sides. Another common mistake is inconsistent lighting. If your light source is coming from the right, all shadows on the hull, cabin, and mast should fall to the left. Failing to maintain this consistency will make the drawing look flat and confusing to the viewer.
Finally, avoid over-detailing the boat before you have finalized the perspective. If the proportions of the hull are incorrect, no amount of detail on the deck or rigging will fix the structural imbalance. Focus on the geometry first, then layer in the smaller elements like ropes, windows, and railings. By following these steps methodically, you will produce a balanced and realistic maritime illustration that captures the essence of a vessel on the open sea.
Key facts
- Start with a horizontal line to represent the waterline, which grounds the drawing and provides a reference for the boat's depth.
- Use a simple trapezoid shape for the hull to ensure the boat looks stable and structurally sound.
- Place the mast slightly forward of the center point to maintain visual balance and follow classic nautical design proportions.
- Draw the sail as a triangle with a slight curve on the edges to suggest the presence of wind.
- Keep your pencil lines light during the initial sketching phase so you can easily erase guidelines later.
- Add small details like a flag or a porthole only after the main structural shapes are finalized to avoid clutter.
The bottom line
Drawing a boat is an exercise in balancing geometric shapes with organic curves. By establishing a solid waterline and a stable hull, you create a credible foundation for your sketch. Focus on the interplay between the rigid mast and the wind-filled sails to convey motion. With practice, these fundamental steps allow you to capture the essence of maritime vessels while developing your own unique artistic style.
People also ask
Why does my boat drawing look like it is sinking?
This usually happens because the waterline is drawn at an angle or the hull is too rounded at the bottom. Ensure your waterline is perfectly horizontal and the hull has a flat or slightly curved base to provide a stable foundation.
How can I make the water look realistic around the boat?
Use horizontal, wavy lines near the hull to represent ripples and small V-shapes extending outward to indicate a wake. Varying the thickness of these lines helps create the illusion of depth and movement.
What is the best way to draw a realistic sail?
Avoid drawing perfectly straight lines for the sail edges, as fabric naturally bows under wind pressure. Adding a subtle inward or outward curve to the triangle sides makes the sail appear filled with air.
Should I use a ruler for the straight parts of the boat?
While a ruler ensures precision, freehand lines often look more natural and artistic for nautical sketches. If you are a beginner, use a ruler for the mast but keep the hull and sails freehand to maintain a fluid look.
How do I show that the boat is far away?
Draw the boat smaller and place it higher up on the page relative to the horizon line. You can also use less detail and lighter shading to simulate atmospheric perspective.
What is the most common mistake when drawing a boat?
The most frequent error is ignoring the center of gravity, which makes the boat look like it will tip over. Always align the mast vertically and ensure the hull is symmetrical to keep the vessel appearing seaworthy.
This answer was created with the help of AI research tools and reference sources. Spotted an error? Let us know — we correct mistakes quickly. See our editorial policy.