How do you draw a village?
Short answer
Drawing a village requires establishing a clear perspective and layering elements from the background to the foreground. Begin by sketching a horizon line and placing simple geometric shapes for houses. Add organic details like trees, paths, and fences to create depth, ensuring that objects appear smaller as they recede into the distance.
On this page
How to choose a perspective for a village drawing
The most effective way to draw a village is to use one-point or two-point perspective. One-point perspective is ideal for beginners, as it features a single vanishing point on the horizon line where all parallel lines converge. This creates a sense of depth that makes streets and buildings appear to stretch into the distance naturally. To start, draw a horizontal line across your page to represent the horizon, then place a small dot near the center.
When using two-point perspective, you place two vanishing points on the horizon line, which allows you to show the corners of buildings facing the viewer. This technique adds a more dynamic, three-dimensional quality to your village scene. Regardless of the method, always keep your initial construction lines light so they can be erased later. Focusing on these structural foundations ensures that your village does not look flat or distorted once you begin adding architectural details.
How to structure village buildings
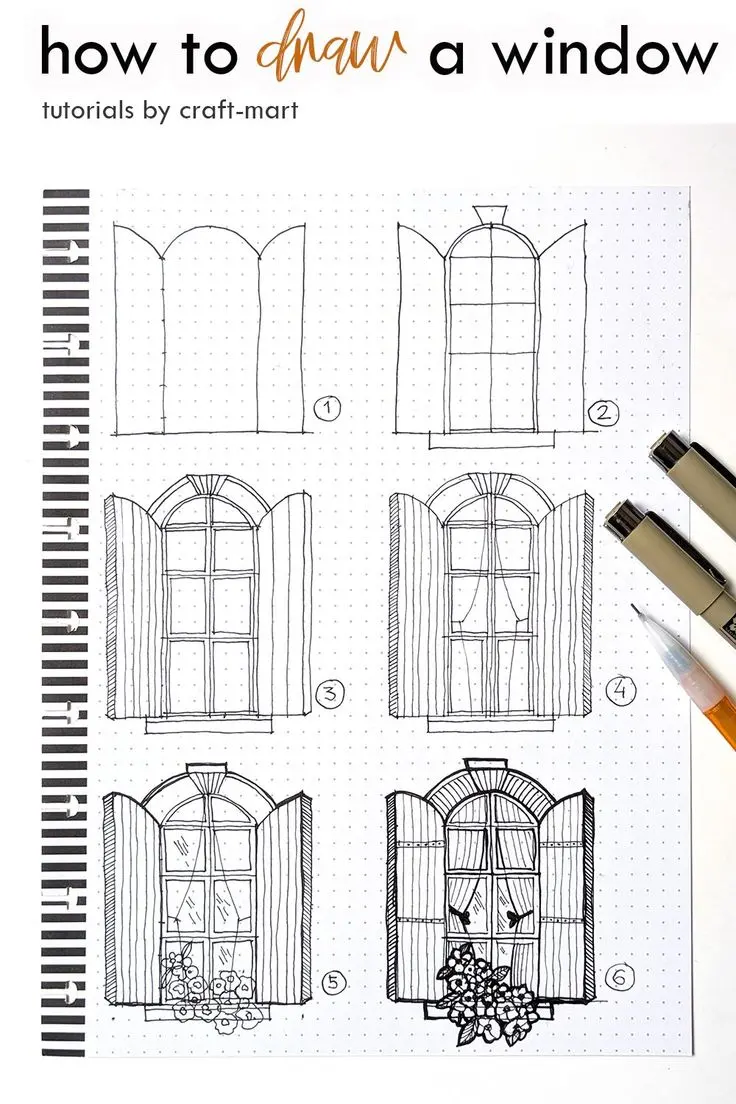
Buildings in a village are essentially collections of basic geometric shapes. Start by sketching cubes for the main body of a house and triangular prisms for the roofs. Once the basic forms are in place, you can refine them by adding details like chimneys, window frames, and door panels. Remember that structures closer to the viewer should be drawn with more detail and larger proportions than those further away.
- Sketch the base rectangle for the house structure.
- Add a triangle on top for the roofline.
- Define the depth by drawing lines toward your vanishing point.
- Add architectural features like windows, doors, and roof tiles.
Avoid making every house identical, as this creates a monotonous appearance. Vary the heights, roof styles, and window placements to give the village a lived-in, organic character. Small imperfections, such as slightly slanted chimneys or varied roof pitches, often make a drawing feel more authentic and charming.
How to add natural elements and landscape
A village is incomplete without the natural environment that surrounds it. Trees, bushes, and rolling hills break up the rigid lines of man-made structures and add visual interest. When drawing trees, avoid making them perfectly symmetrical; instead, use loose, jagged lines to suggest foliage. Place larger trees in the foreground to frame the village, while using smaller, simplified shapes for trees located in the distance.
- Use clusters of dots or small circles to imply dense leaves.
- Draw winding paths or dirt roads to lead the viewer’s eye through the village.
- Add rocks or patches of grass to ground the buildings to the earth.
- Vary the thickness of your lines to create a sense of atmospheric perspective.
By layering these elements, you create a sense of space. Ensure that natural elements overlap with buildings occasionally, as this helps integrate the architecture into the landscape rather than having it look like it is floating on top of the ground.
Common mistakes when drawing a village
One of the most frequent errors is ignoring the scale of objects relative to one another. If a door is drawn too large compared to the house, or if a tree looks taller than a nearby building, the entire perspective will feel off. Always check your proportions by comparing the height of a house to the height of a person or a fence. Another common mistake is drawing all buildings on a perfectly flat plane, which ignores the natural topography of the land.
Even a small village usually sits on slightly uneven ground. Incorporating gentle slopes or hills can add significant realism to your sketch. Additionally, many beginners fail to account for light and shadow. Without a consistent light source, your buildings will lack volume. Pick a direction for the sun and ensure that all shadows fall on the opposite side of your structures. Consistent shading is the key to making your village look solid rather than like a collection of paper cutouts.
Best materials for drawing a village
For those starting out, a standard graphite pencil set ranging from 2H to 6B is sufficient for creating both light construction lines and deep, dark shadows. A 2H pencil is excellent for the initial structural layout because it is hard and leaves faint marks, while a 4B or 6B pencil is perfect for adding contrast and texture to roofs or tree bark. Use a high-quality kneaded eraser to lift graphite without damaging the paper surface.
If you prefer working with ink, fine-liner pens with varying tip sizes (0.1mm to 0.8mm) allow for precise architectural lines and delicate cross-hatching. Pair these with a smooth, acid-free sketchbook that can handle light erasing. While professional tools can enhance your work, the most important factor is consistent practice. By focusing on the fundamentals of perspective and layering, you will gradually develop the ability to create complex and visually engaging village scenes with confidence and artistic flair.
Key facts
- Start by drawing a horizon line about one-third of the way up your paper to establish depth.
- Use one-point perspective by drawing all road lines toward a single vanishing point on the horizon.
- Vary the height and width of your buildings to prevent the village from looking like a uniform grid.
- Include organic elements like trees, bushes, and winding paths to break up the rigid lines of architecture.
- Add overlapping shapes, such as a fence in front of a house, to create a sense of physical space.
- Use "atmospheric perspective" by drawing distant mountains or buildings with lighter, less detailed lines.
The bottom line
Drawing a village requires balancing structural perspective with natural variety. By establishing a clear vanishing point and using overlapping shapes, you create a believable three-dimensional environment. Focus on building simple geometric forms first, then layer in textures and environmental details like trees or paths. Avoiding uniform shapes and overly rigid lines will ensure your village feels like a lived-in, organic space rather than a static architectural model.
People also ask
How do I make buildings look three-dimensional?
Draw the front face of the building as a simple rectangle, then add a slanted top and side to show depth. Ensure all horizontal lines on the sides of the structure angle toward your vanishing point.
What is the best way to draw a realistic roof?
Sketch a triangle on top of your building rectangle, then extend a line from the peak to create a slanted plane. Adding a slight overhang beyond the wall creates a realistic shadow effect.
How do I draw windows that look proportional?
Keep windows consistent in size and align them horizontally across the building facade. A common mistake is drawing them too large; they should generally occupy less than 20 percent of the wall space.
Should I draw the village in pen or pencil first?
Always start with a light graphite pencil sketch to map out your composition and perspective lines. Once you are satisfied with the layout, use ink to finalize the permanent outlines and details.
How do I add texture to stone or wood buildings?
Use short, irregular marks or cross-hatching to suggest the roughness of stone or the grain of wood. Avoid drawing every single brick, as subtle hints of texture are more effective than excessive detail.
How do I create a sense of scale in a village?
Place a small figure of a person or a lamp post near the foreground buildings. Comparing these familiar objects to the houses helps the viewer immediately understand the size of the village.
This answer was created with the help of AI research tools and reference sources. Spotted an error? Let us know — we correct mistakes quickly. See our editorial policy.