How do you draw a heron?
Short answer
Drawing a heron requires capturing its signature S-shaped neck, long stilt-like legs, and sharp, dagger-like beak. By breaking the bird’s complex form into basic geometric shapes—ovals for the body and lines for the limbs—you can establish accurate proportions before adding the refined details that define this elegant wading bird.
On this page
How to structure a heron drawing
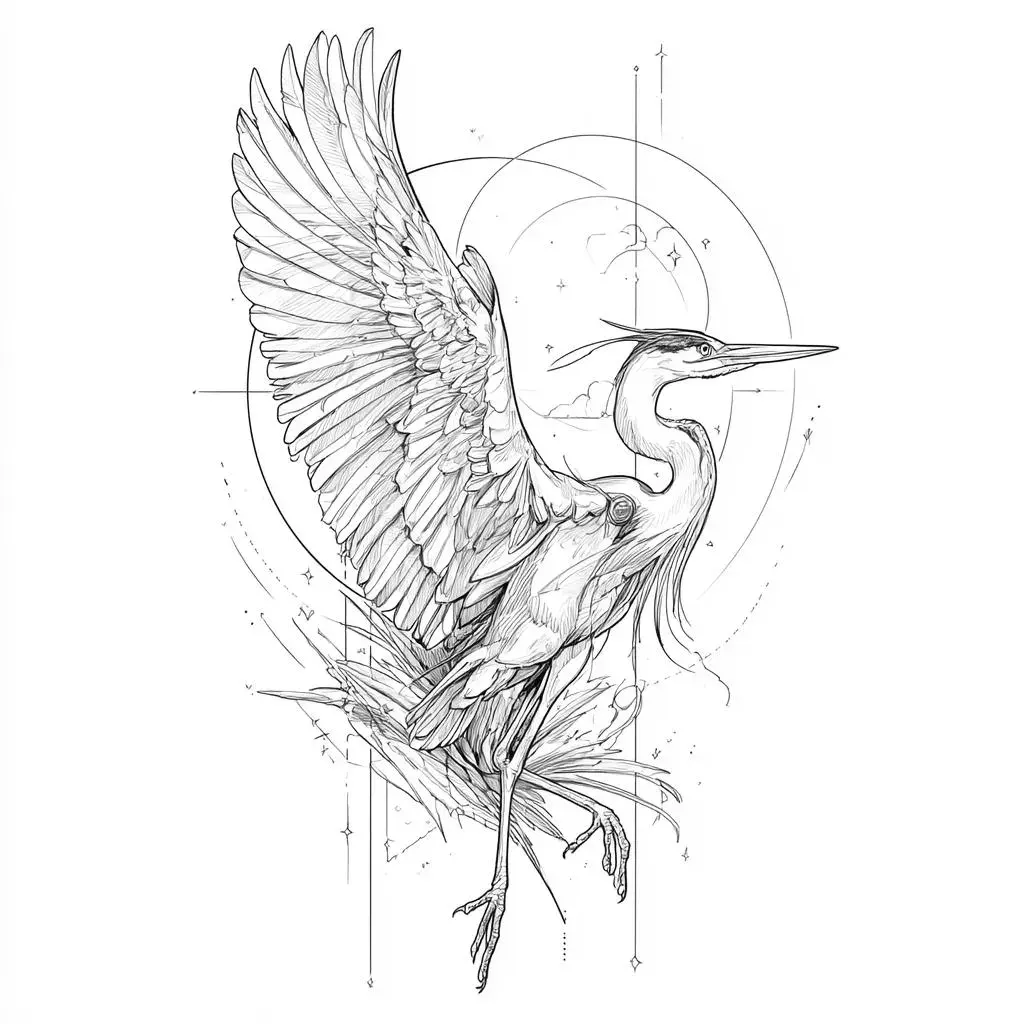
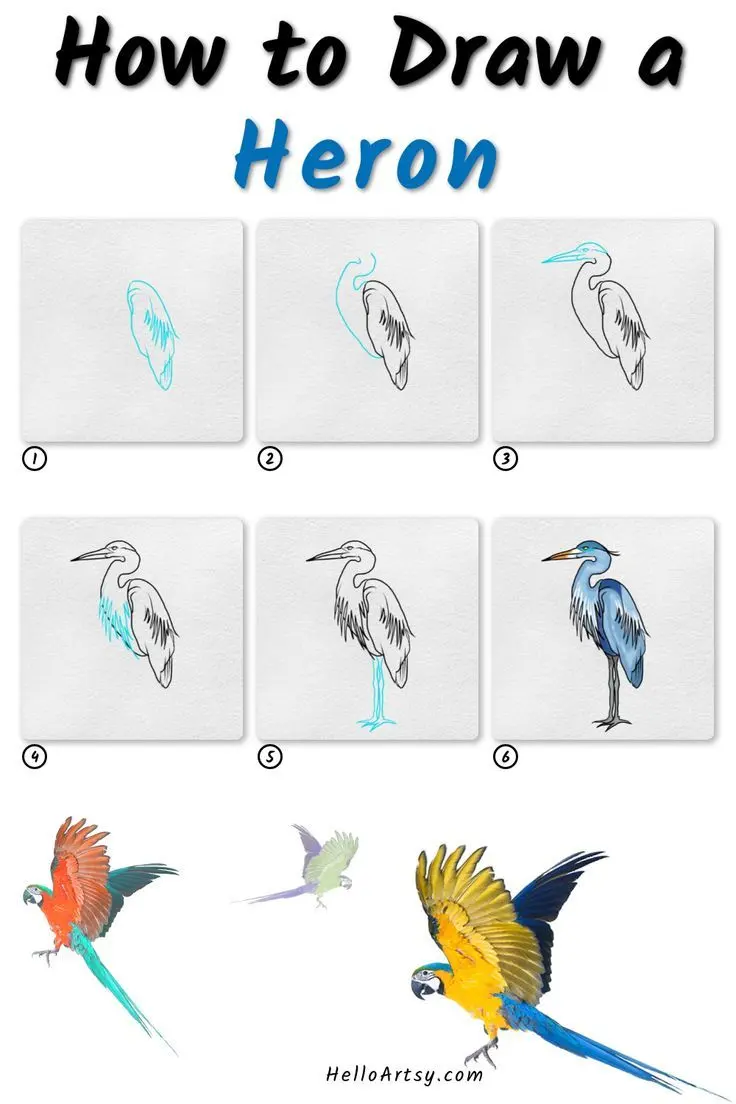
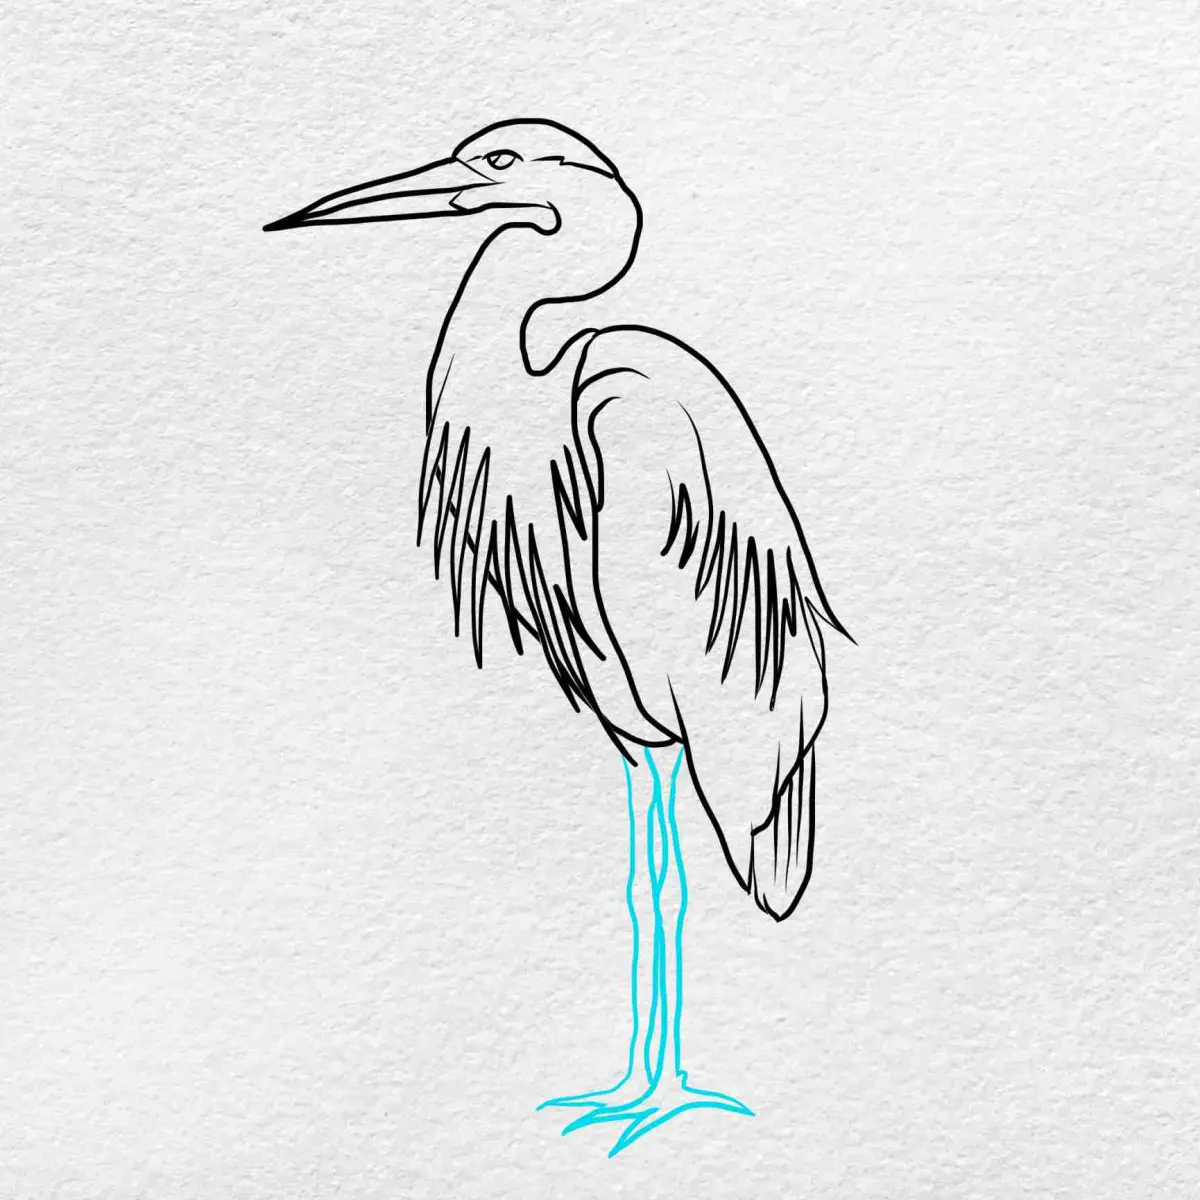
Begin by observing the heron’s unique posture, which is defined by a distinct "S" curve in the neck. Start your sketch by drawing a small circle for the head and a larger, elongated oval for the main body. Connect these two shapes with a flowing, serpentine line that represents the neck. This backbone of your drawing ensures the proportions remain balanced before you commit to permanent lines.
Once the primary shapes are placed, add the legs and beak. Herons have exceptionally long, thin legs that act as stilts, and a heavy, pointed beak that serves as a tool for hunting. Keep your initial lines light, as you will need to erase or refine them later. Focus on the following steps to establish the frame:
- Draw a horizontal oval for the torso, tilted slightly downward toward the tail.
- Sketch a curved line for the neck, ensuring it looks flexible rather than rigid.
- Add two long, thin lines for the legs, remembering to include the "knee" joint that bends backward.
- Extend a straight, sharp triangle from the head to form the beak.
Best drawing tools for beginners
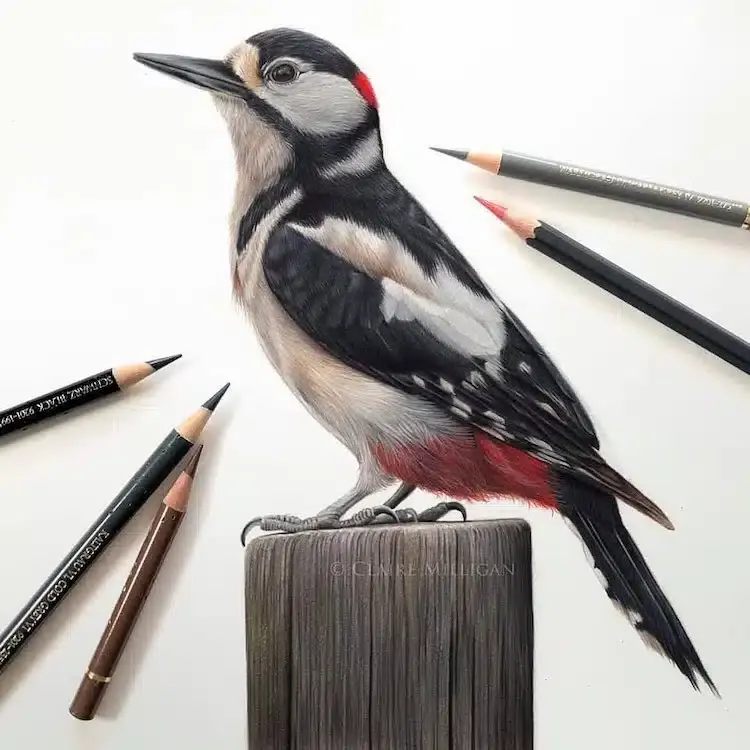
For those new to bird illustration, graphite pencils ranging from HB to 2B are ideal. The HB pencil is perfect for the initial light sketching phase, as it does not leave deep indentations on the paper. A 2B pencil allows for darker, more expressive lines when you are ready to define the feathers and the heron's intense eyes. Use a high-quality kneaded eraser to lift away graphite without damaging the paper surface.
Paper choice also influences your success. A medium-weight, acid-free drawing paper with a slight tooth or texture helps the graphite grip the surface, allowing for better shading. Avoid ultra-smooth printer paper, as it can make blending difficult and may lead to smudging. Keep a sharpener nearby, as the heron’s beak and legs require fine, precise points to look realistic. Having these tools prepared allows you to focus entirely on the bird's anatomy rather than struggling with equipment.
How to draw heron feathers and texture
Herons possess a complex plumage that varies from the sleek, tight feathers on their heads to the long, flowing plumes found on their backs during breeding season. To capture this texture, avoid drawing every individual feather. Instead, use short, directional strokes that follow the contour of the body. Focus on the "wing fold," where the feathers overlap in a dense, layered pattern against the side of the bird.
When shading, think about the light source. If the light comes from the upper left, the right side of the heron’s body will be in shadow. Use hatching—a series of parallel lines—to build up the darker areas under the wings and along the underside of the neck. For the legs, use smooth, vertical shading to emphasize their cylindrical shape. Adding a few stray, wispy lines near the chest can suggest the loose, shaggy appearance of the bird’s plumage, providing a sense of realism and movement.
Common mistakes when drawing herons
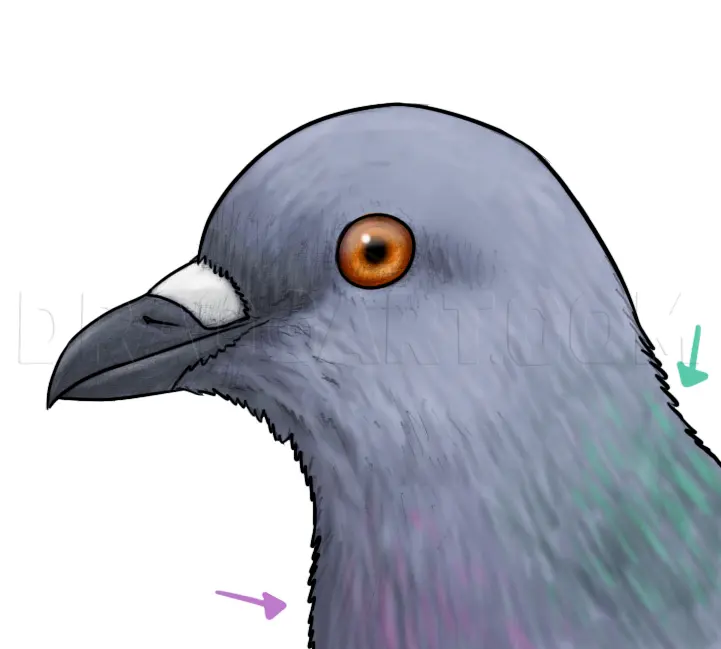
A frequent error is making the neck too thick or too straight. Because the heron’s neck is essentially a flexible tube of muscle and bone, it should never look like a solid, rigid pillar. If the neck appears stiff, the entire drawing loses its natural grace. Another common issue is misplacing the eye; it should be positioned high on the head, directly aligned with the base of the beak. An eye placed too low can make the bird look unnatural or cartoonish.
Pay close attention to the feet as well. Beginners often draw feet that are too small or lack the necessary detail of the toes. Remember that herons are wading birds, meaning their feet are designed to distribute weight on soft mud. Ensure the toes are long and spread out, which provides the necessary stability for the bird to stand still in water. Checking your work against a photograph frequently will help you catch these anatomical inconsistencies before you finalize your drawing.
How to add a realistic environment
A heron is rarely seen in isolation, so placing it in its natural habitat significantly enhances the final piece. Whether you choose a marsh, a pond, or a riverbank, the background should complement the bird without distracting from it. Use simple, horizontal lines to represent the water’s surface, and add subtle reflections directly beneath the heron’s legs to ground the figure. These reflections should be slightly darker and more distorted than the bird itself.
Incorporate elements of the shoreline, such as reeds, tall grasses, or lily pads, to create depth. Keep these background elements less detailed than the heron to ensure the bird remains the focal point of the artwork. By using atmospheric perspective—making distant objects lighter and less defined—you can create an illusion of space. This technique guides the viewer's eye toward the heron, emphasizing its role as a master predator in its environment. Once you have balanced the bird with its surroundings, your drawing will appear complete and professional.
Key facts
- Herons are defined by their S-shaped necks, which fold tightly against their bodies when in flight.
- Focus on the long, dagger-like bill, which is typically straight and serves as the bird's primary tool for hunting.
- The legs of a heron are exceptionally long and thin, often appearing fragile despite their ability to support the bird in shallow water.
- Use a light pencil to sketch a vertical oval for the body and a smaller circle for the head before connecting them with a curved neck line.
- Observe the "knee" joint, which is actually the bird's ankle; it should be positioned high on the leg, closer to the body than the foot.
- Avoid drawing the neck as a straight tube; it must have a distinct curve or "kink" to capture the bird's natural anatomy.
The bottom line
Drawing a heron requires careful attention to its unique, angular silhouette. By prioritizing the S-shaped neck, the high-set ankle joints, and the sharp, elongated bill, you can effectively capture the bird’s elegant and predatory nature. Focus on the overall gesture rather than minute details, allowing the bird's distinct posture to communicate its identity. With practice, these structural foundations will help you render realistic and graceful avian illustrations.
People also ask
What is the most common mistake when drawing a heron's posture?
Many beginners draw the neck too straight, ignoring the characteristic S-curve. Always ensure the neck bends sharply at the base and near the head to reflect the bird's skeletal structure.
How do I make the heron look like it is standing in water?
Draw horizontal ripples or lines around the base of the legs to imply depth. Ensure the legs disappear into the water line rather than ending abruptly on a flat surface.
Should I focus on individual feathers?
Avoid drawing every single feather, as this creates a cluttered look. Instead, suggest texture with a few strategic lines along the wings and back to imply volume and softness.
How do I get the proportions of the bill right?
The bill should be roughly the same length as the distance from the back of the head to the eye. It should taper to a sharp point, emphasizing the bird's predatory nature.
What is the best way to draw the heron's eyes?
Place the eye relatively high on the head, often situated near the base of the upper bill. A small, dark dot with a slight highlight creates a focused, alert expression.
How do I capture the heron's movement?
Use gestural, sweeping lines for the wings if the bird is in flight. A heron's wings are broad and rounded at the tips, creating a slow, rhythmic flap pattern.
This answer was created with the help of AI research tools and reference sources. Spotted an error? Let us know — we correct mistakes quickly. See our editorial policy.