How do you draw a sparrow?
Short answer
Drawing a sparrow requires breaking the bird’s compact, rounded form into simple geometric shapes. Start by sketching an oval for the body and a smaller circle for the head. Refine these by adding a short, conical beak, distinct wing markings, and slender legs. Focus on the sparrow’s characteristic plump posture and earthy plumage.
On this page
How to structure the sparrow's body
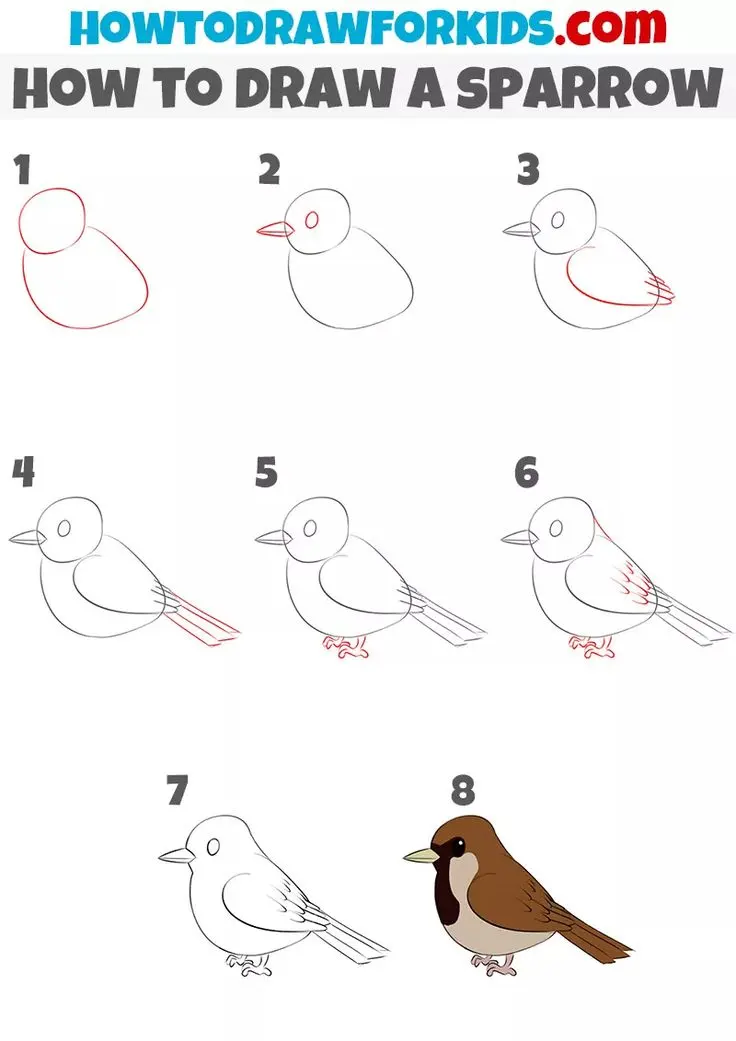
To draw a realistic sparrow, begin by visualizing the bird as a collection of basic shapes. The sparrow is known for its stout, rounded physique, which distinguishes it from more slender songbirds. Start by drawing a horizontal oval for the torso, tilted slightly forward. Place a smaller, circular shape overlapping the upper front of the oval to serve as the head. Connect these two shapes with a short, curved line to represent the neck, ensuring the transition looks smooth rather than abrupt.
Once the primary shapes are established, add guidelines for the wings and tail. The wing should be an elongated teardrop shape resting along the side of the body, while the tail is a narrow, rectangular extension from the rear. Keep your initial lines very light, as these are merely structural foundations. Following this structural approach ensures that the bird maintains its characteristic "chunky" silhouette throughout the drawing process.
Step by step guide for beginners
Following a logical sequence helps maintain proportion and detail. By building the drawing in stages, you avoid common errors like making the head too large or the beak too thin. Follow these steps to construct your sparrow:
- Sketch a light oval for the body and a circle for the head.
- Draw a small triangle for the beak and a line for the eye placement.
- Outline the wing, keeping it tucked close to the body.
- Add two thin, multi-jointed lines for the legs and feet.
- Define the tail feathers with a few straight, overlapping strokes.
- Erase your initial construction lines once the main form is complete.
Focus on the connection points between the head and body. A sparrow’s neck is very short, so ensure the head sits snugly against the torso. If the neck appears too elongated, the drawing will lose the sparrow’s signature compact appearance.
Best tools for drawing birds
Selecting the right materials can significantly improve the quality of your bird sketches. For beginners, a standard HB pencil is ideal for initial sketching because it is easy to erase. As you progress to shading and adding texture to the feathers, move to a 2B or 4B pencil to achieve deeper, richer tones. Using a kneaded eraser is also essential, as it allows you to lift graphite gently without damaging the paper surface.
The choice of paper also matters when you move beyond simple sketches. A medium-weight, acid-free drawing paper provides enough texture to hold graphite well while allowing for smooth blending. For those interested in adding color, colored pencils or watercolor pencils work exceptionally well for capturing the subtle brown, grey, and cream tones found in house sparrow plumage. Regardless of the medium, always keep your pencils sharp to ensure clean, precise lines when defining the beak and feet.
Common mistakes when drawing sparrows
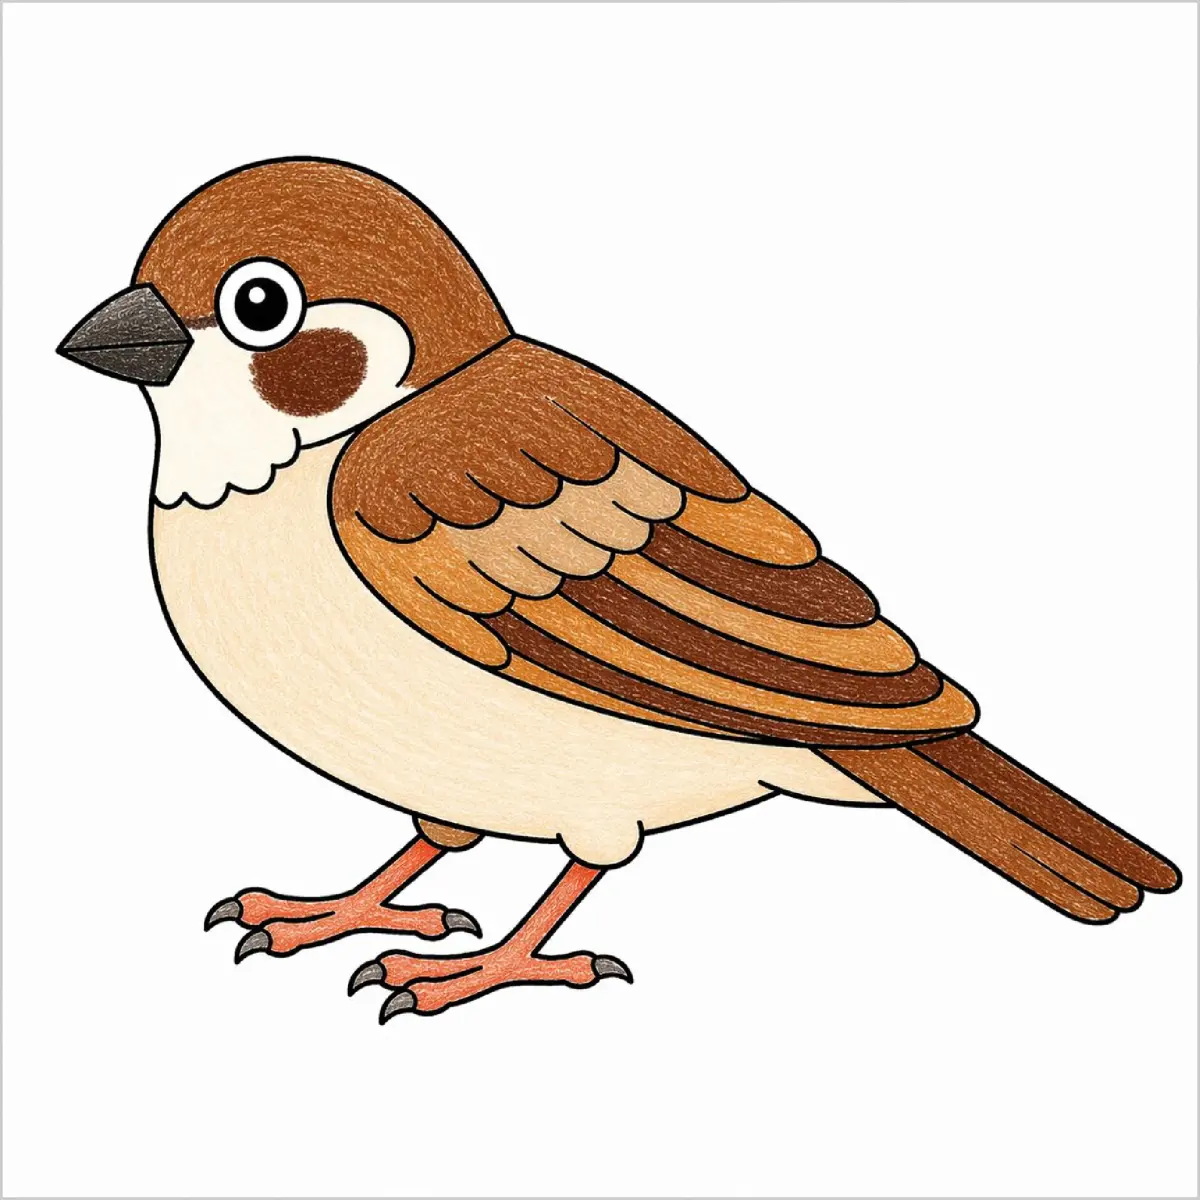
One of the most frequent errors is neglecting the sparrow’s specific beak shape. Sparrows are granivores, meaning they have short, thick, conical beaks designed for cracking seeds. If you draw a long, thin, or pointed beak, the bird will look more like a warbler or a finch. Always check your reference images to ensure the beak is stout and matches the proportions of the head.
Another common mistake involves the positioning of the legs. Beginners often draw the legs too far back or too close to the tail. In reality, a sparrow’s legs are attached toward the center of the body to support its weight while hopping. Additionally, ensure the feet are drawn with three toes pointing forward and one pointing backward, which is the standard arrangement for perching birds. Paying attention to these anatomical details prevents the bird from looking stiff or structurally incorrect.
How to add realistic feather texture
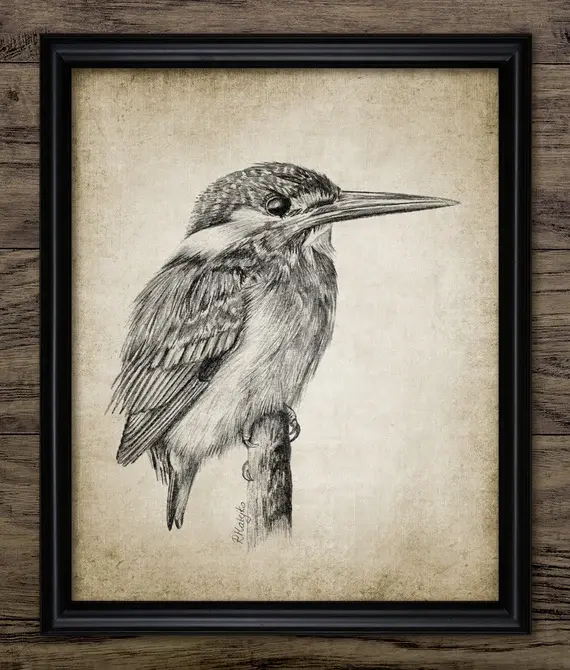
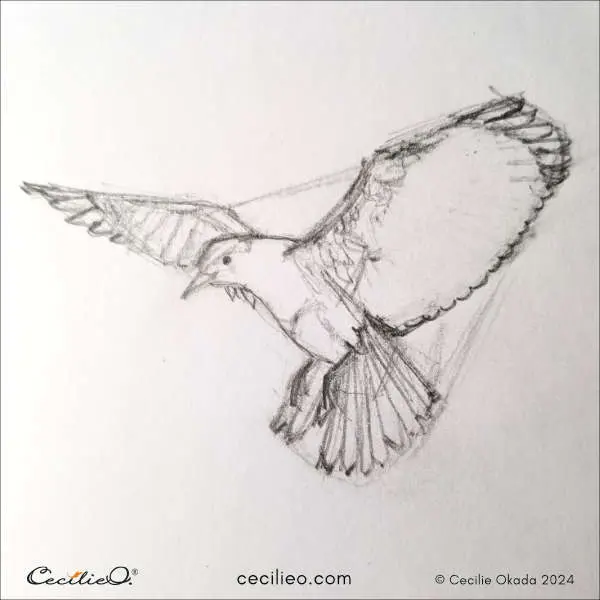
Feather detail is what brings a drawing to life, but it is easy to overcomplicate the process. Instead of drawing every individual feather, focus on the "feather tracts" or groups. Use short, rhythmic strokes that follow the contour of the bird’s body. On the wings, use longer, overlapping lines to suggest the primary and secondary flight feathers, while using smaller, softer marks on the chest and head to imply downy fluff.
When shading, remember that a sparrow’s plumage is often mottled. Use a cross-hatching technique to build up the darker patches on the wings and back. Leave some areas of the paper white to represent the lighter highlights, particularly around the throat and belly. By varying the pressure of your pencil, you can create a sense of depth and volume. Always observe how light hits the bird in your reference, and use your shading to mimic those shadows, which will make your sparrow appear three-dimensional.
Key facts
- Sparrows are characterized by a compact, rounded body shape, a short neck, and a sturdy, cone-shaped beak.
- Start your sketch by drawing two overlapping circles: a smaller one for the head and a larger, oval-shaped one for the body.
- The tail of a sparrow is relatively short and squared-off at the end, unlike the long, forked tails of swallows.
- Focus on the eye placement, which is positioned high on the head, just above the midline of the beak.
- Use quick, light strokes to suggest feathers rather than drawing every individual line, as this keeps the bird looking natural.
- Common mistakes include making the legs too long or the beak too thin; sparrows are ground-dwelling birds with short, thick appendages.
The bottom line
Drawing a sparrow is an exercise in capturing simple, rounded geometry. By focusing on the bird's compact, plump body and sturdy, cone-shaped beak, you can create a recognizable silhouette. Remember to keep your initial sketches light and prioritize the overall proportions over minute details. With practice, these foundational shapes will allow you to render the sparrow’s characteristic posture and charm with just a few confident strokes.
People also ask
What is the best pencil grade for sketching birds?
An HB or 2B pencil is ideal for initial outlines because it is easy to erase. You can switch to a 4B pencil later to add depth and darker shadows to the wings.
How do I make the sparrow look like it is perched?
Draw a diagonal line for the branch and ensure the bird's feet are gripping it firmly. The body should lean slightly forward to show the bird is balanced on its toes.
Should I start with the beak or the body?
Always start with the general body shape to establish proportions. Adding the beak and eyes once the frame is set helps ensure the facial features are correctly aligned.
How do I draw the wings when the bird is at rest?
Keep the wings tucked tightly against the body. Draw them as a single, elongated oval shape that tapers toward the tail.
Why does my sparrow look like a different bird species?
You likely made the beak too long or the body too slender. Sparrows are famously "chunky," so prioritize a rounded, plump silhouette to capture their specific anatomy.
Is it better to draw from a photo or a live bird?
Photos are excellent for beginners because they provide a static subject. Once you master the basic shapes, observing live birds will help you capture more dynamic poses.
This answer was created with the help of AI research tools and reference sources. Spotted an error? Let us know — we correct mistakes quickly. See our editorial policy.