What is the easiest way to draw a cedar tree?
Short answer
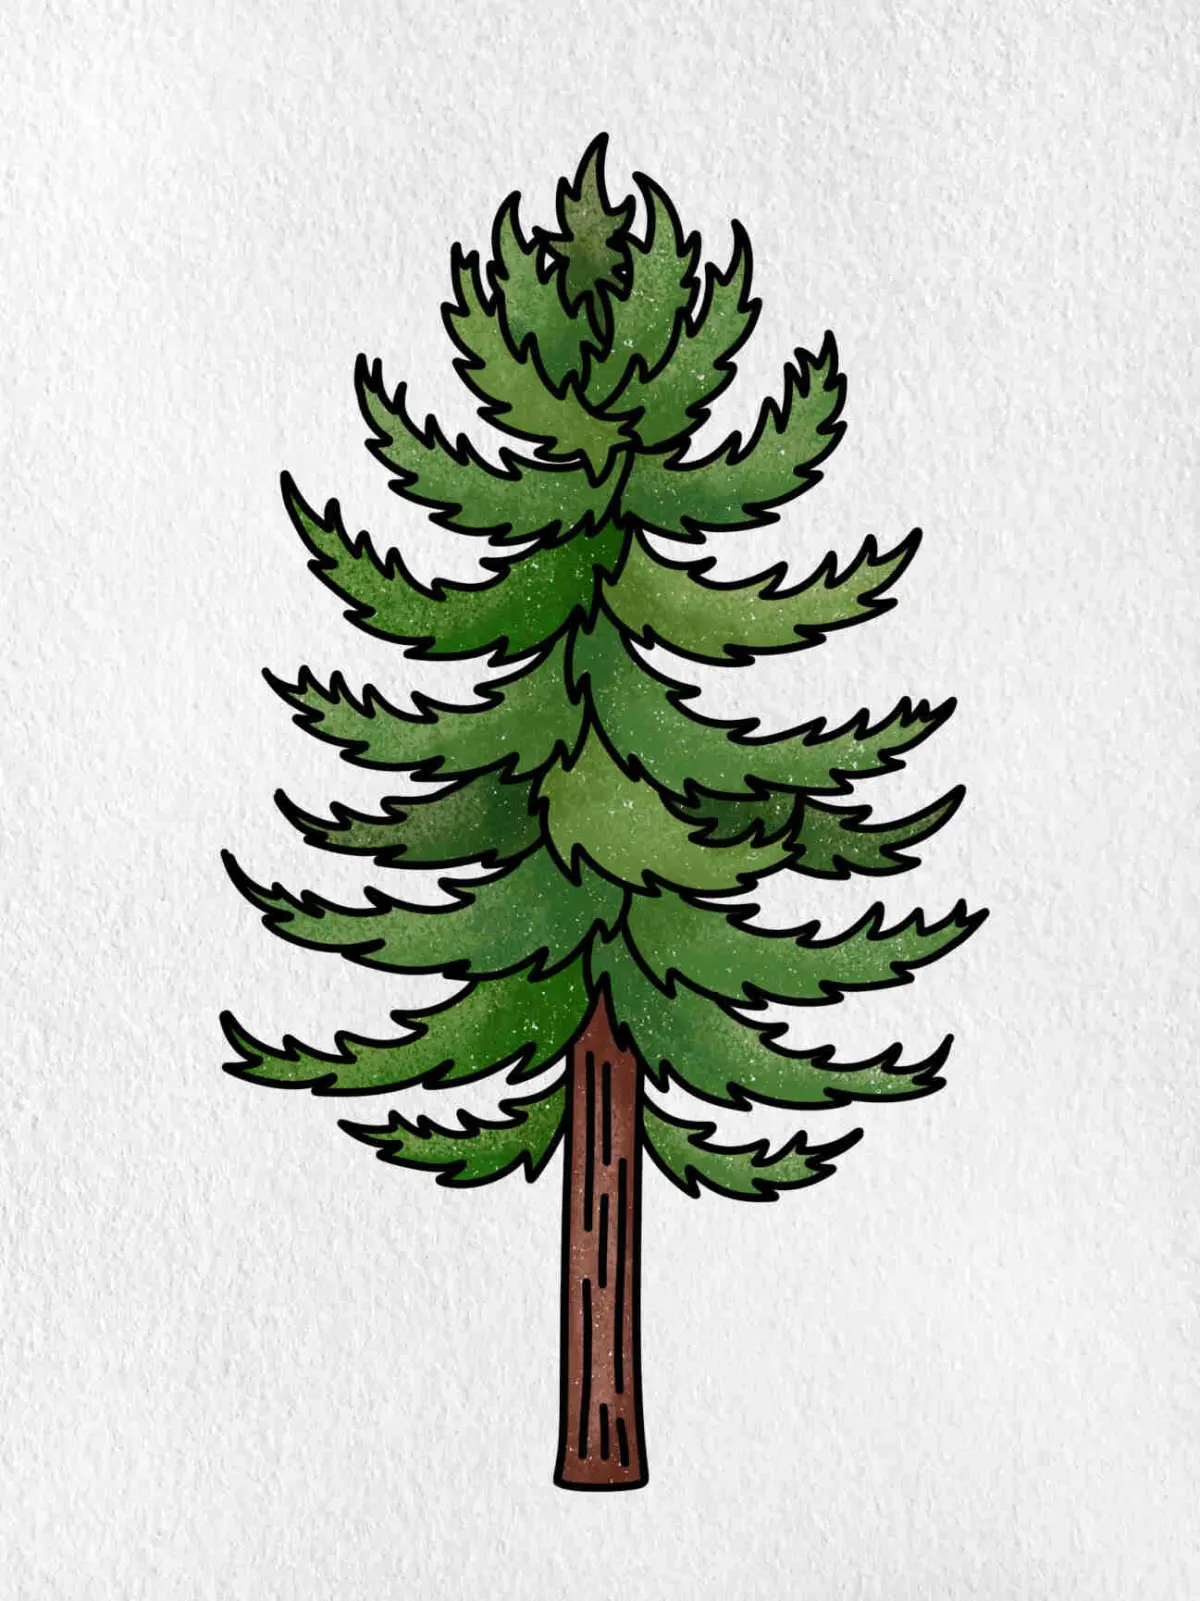
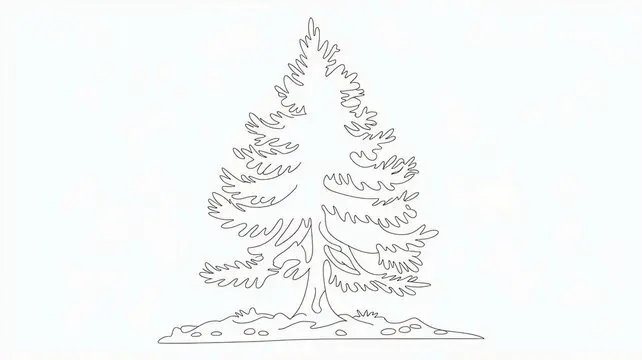
The easiest way to draw a cedar tree is to sketch a tall, narrow triangle and fill it with layered, horizontal "V" shapes. By focusing on the tree’s signature tiered silhouette rather than individual needles, you can quickly capture its distinct, elegant form using simple geometric layering and soft, downward-curving pencil strokes.
On this page
How to draw a cedar tree shape
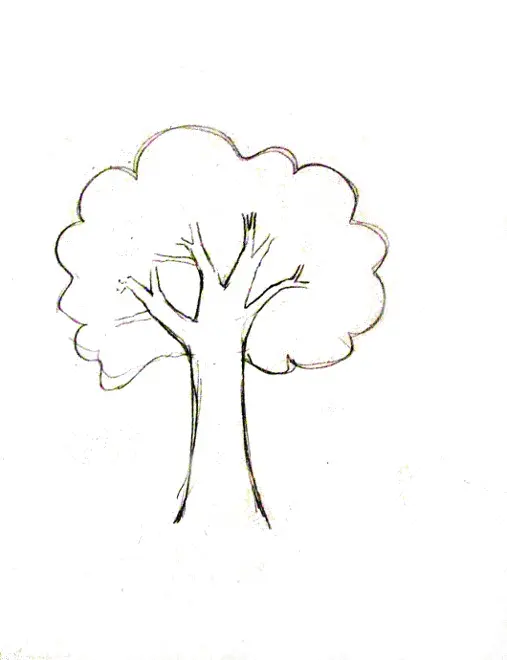
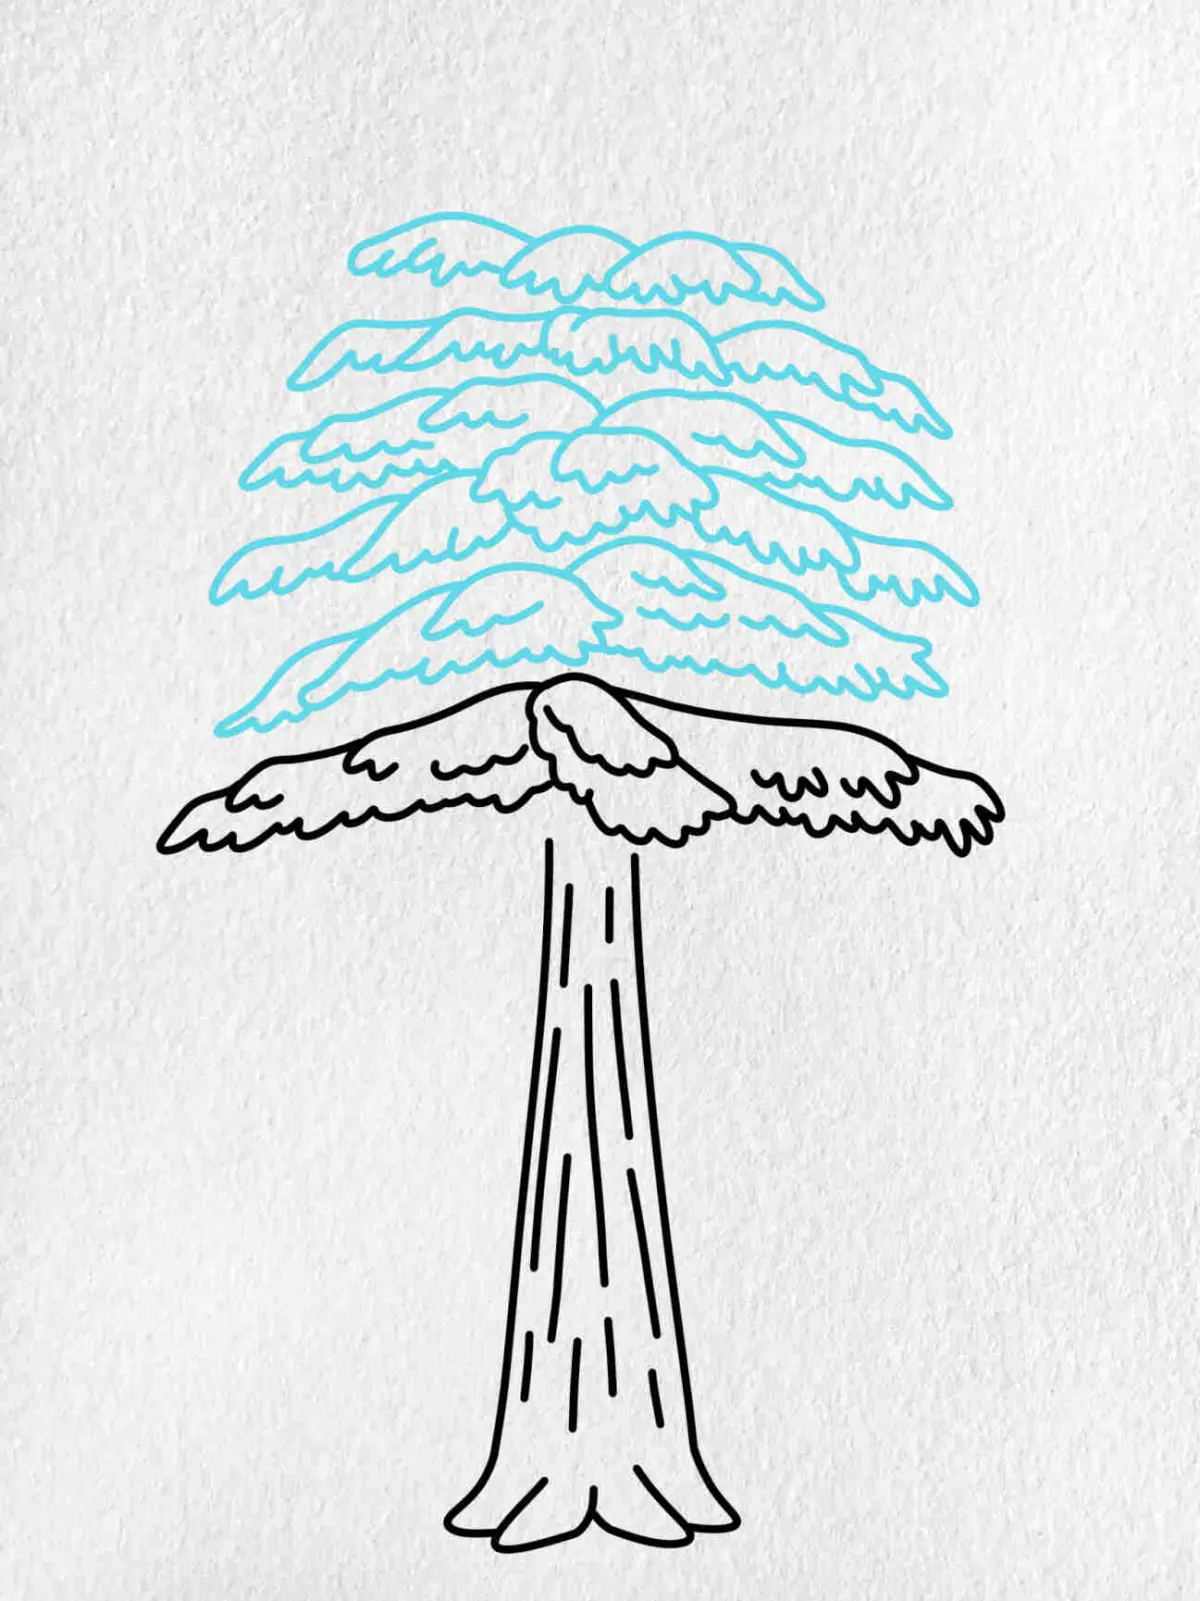
The most effective method for drawing a cedar tree begins with establishing its iconic, tiered structure. Unlike deciduous trees, cedars grow in distinct, horizontal layers that narrow toward the top, creating a silhouette that resembles a series of stacked, flattened cones. Start by drawing a light, vertical line to serve as the central trunk, which will act as your guide for symmetry.
Once the trunk is set, lightly sketch the outer perimeter of the tree. Use a series of downward-sloping, jagged lines to define the branches. Keep the base wide and allow the tiers to become progressively shorter and more compact as you move toward the apex. This geometric foundation ensures that your final drawing maintains the correct proportions and the characteristic "stair-step" profile that defines the cedar species.
Best drawing techniques for beginners
For those new to sketching trees, the secret lies in simplifying the foliage into manageable clusters. Instead of attempting to draw every individual needle, focus on creating the impression of texture through repetitive, light strokes. Use the side of your pencil lead to create soft, feathery marks that mimic the drooping nature of cedar boughs.
- Draw the central trunk line with a light, vertical stroke.
- Outline the tiers using a light, zig-zag motion that slopes downward.
- Add clusters of foliage at the ends of these tiers to suggest weight and density.
- Darken the undersides of each branch tier to create a sense of depth and shadow.
- Refine the trunk by adding texture lines that suggest rough, peeling bark.
By focusing on these five steps, you avoid the common trap of over-detailing, which often makes a drawing look stiff or cluttered.
Why cedar trees look different from other pines
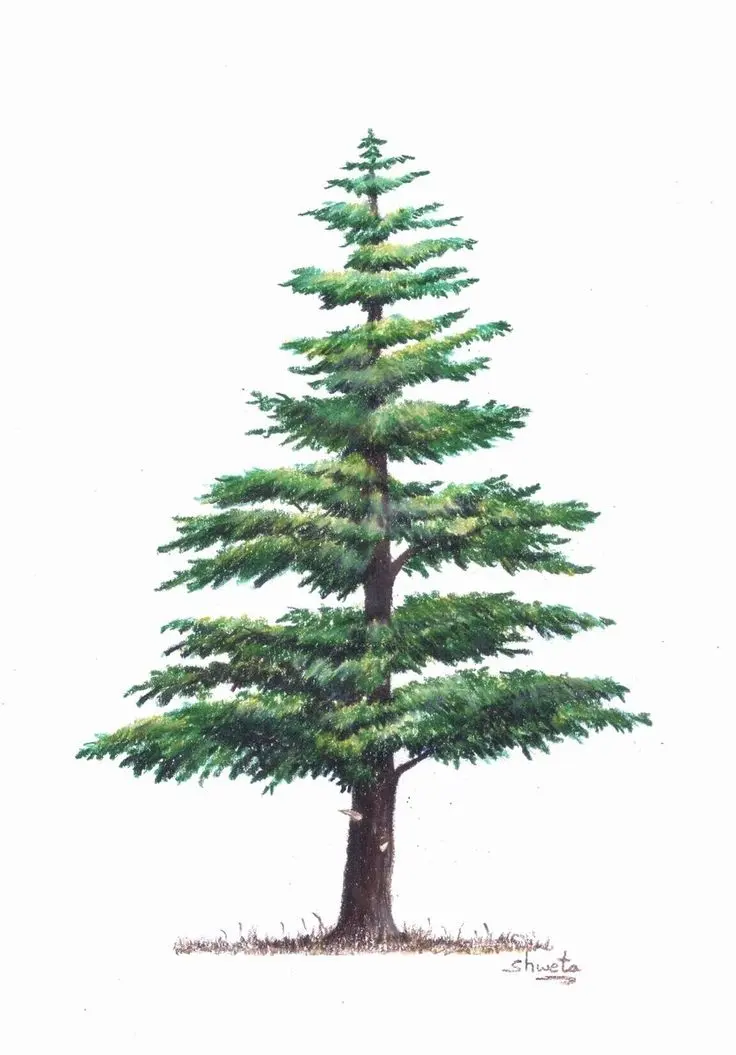
Cedars are distinguished by their unique growth patterns, specifically the way their branches extend horizontally before drooping at the tips. While many pine trees grow in a uniform, bushy, or rounded shape, the cedar maintains a sophisticated, layered look. Understanding this biological difference is key to making your drawing look authentic rather than generic.
Notice how the branches near the bottom of a mature cedar are often longer and more spread out, while the top branches are shorter and reach toward the sky. This variation in branch length creates a natural focal point at the base. When sketching, ensure that the branches do not look perfectly symmetrical; nature is rarely uniform, and adding slight irregularities in branch length will make your cedar look significantly more realistic.
Common mistakes when drawing cedar trees
One of the most frequent errors is drawing the branches pointing upward. In reality, cedar branches typically grow horizontally or slightly downward, especially as the tree matures and the weight of the foliage pulls them toward the ground. Another common mistake is making the trunk perfectly straight and smooth. Cedar bark is naturally rugged and textured, so use short, broken vertical lines to represent the bark’s surface.
- Avoid drawing a solid, uniform outline around the entire tree.
- Do not make the branches identical in length or spacing.
- Refrain from using heavy, dark outlines that flatten the image.
- Ensure the tree tapers smoothly toward the top to avoid a "lollipop" appearance.
- Avoid placing the tree on a perfectly flat horizon line, which can make the composition feel static and disconnected from the landscape.
How to add depth and detail to your drawing
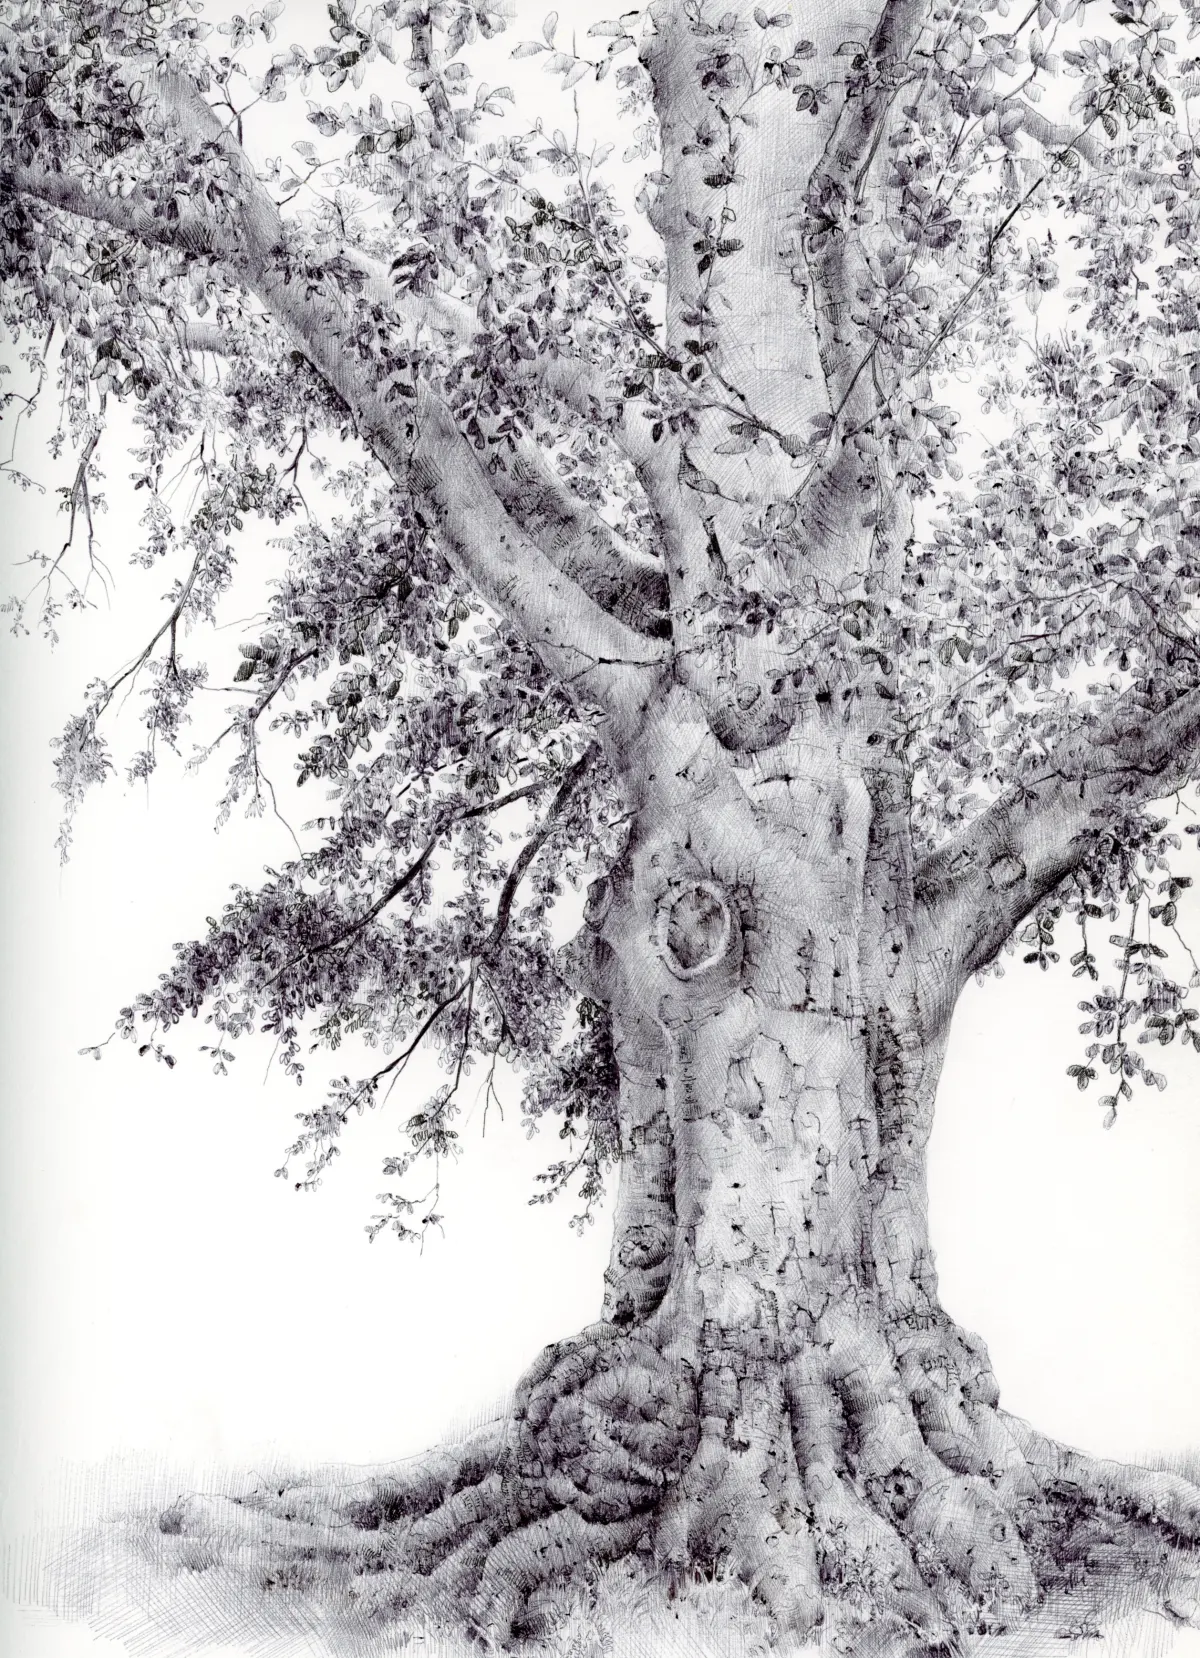
Once the basic shape is established, you can enhance the drawing by focusing on light and shadow. Identify where your light source is coming from and apply darker shading to the opposite side of the tree. Because cedar foliage is dense, the undersides of the branch tiers should be significantly darker than the tops, which helps define the layers and creates a three-dimensional effect.
Finally, consider the environment surrounding your tree. Adding a few subtle ground lines or small, nearby bushes can anchor the cedar to the earth. If you are using graphite, use a blending stump or a soft cloth to gently smudge the shadow areas, which creates a more organic, atmospheric look. By layering these details carefully, you transform a simple geometric sketch into a convincing and artistic representation of a majestic cedar tree.
Key facts
- Cedar trees typically feature a conical or pyramidal shape when young, becoming more irregular and flat-topped as they age.
- Use a "layered" approach by drawing horizontal, overlapping triangular shapes to represent dense foliage clusters.
- The trunk of a cedar is often thick, gnarled, and textured, requiring jagged, vertical lines rather than smooth ones.
- Branches on cedars often grow in distinct tiers, with lower branches drooping slightly toward the ground.
- Avoid drawing individual needles; instead, use short, quick, downward strokes to suggest the texture of the foliage.
- Vary the pressure of your pencil to create depth, keeping the foliage on the side facing the light source lighter than the shaded side.
The bottom line
To draw a cedar tree effectively, prioritize its signature layered silhouette over individual detail. By sketching irregular, overlapping triangles and using vertical, textured strokes for the trunk, you capture the tree’s rugged character. Remember to emphasize light and shadow to create depth, and avoid perfectly symmetrical outlines. With practice, these simple techniques will help you render a convincing, natural-looking cedar in any landscape drawing.
People also ask
What is the most common mistake when drawing evergreen trees?
Many beginners draw a single, solid triangle, which makes the tree look artificial. Instead, break the outline into smaller, irregular segments to mimic the natural, layered growth of branches.
How do I make the tree look three-dimensional?
Focus on shading the underside of each foliage layer while leaving the tops brighter. This contrast creates the illusion of volume and depth within the canopy.
Should I use a specific pencil grade for sketching trees?
An HB pencil is ideal for initial outlines, while a 4B or 6B pencil works best for adding dark, dramatic shadows. Soft graphite allows for the smudging and texture needed for bark and needles.
How do I draw the bark of a cedar tree?
Use vertical, broken lines and cross-hatching to represent the deep furrows found in mature cedar bark. Avoid long, continuous lines, as they make the trunk look like a smooth pole.
Are all cedar trees shaped the same way?
No, species like the Deodar cedar have a distinct weeping habit, while the Eastern red cedar often appears more compact and columnar. Observe the specific silhouette of the tree you wish to capture.
How can I make my drawing look more realistic?
Add "negative space" by leaving small gaps between foliage clusters. These holes allow the background to show through, which breaks up the density and adds a professional, airy quality to the sketch.
This answer was created with the help of AI research tools and reference sources. Spotted an error? Let us know — we correct mistakes quickly. See our editorial policy.