How do you use a sandpaper block?
Short answer
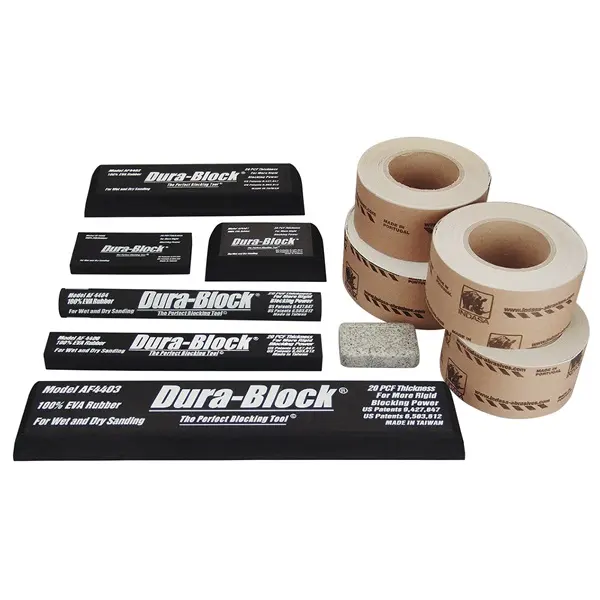
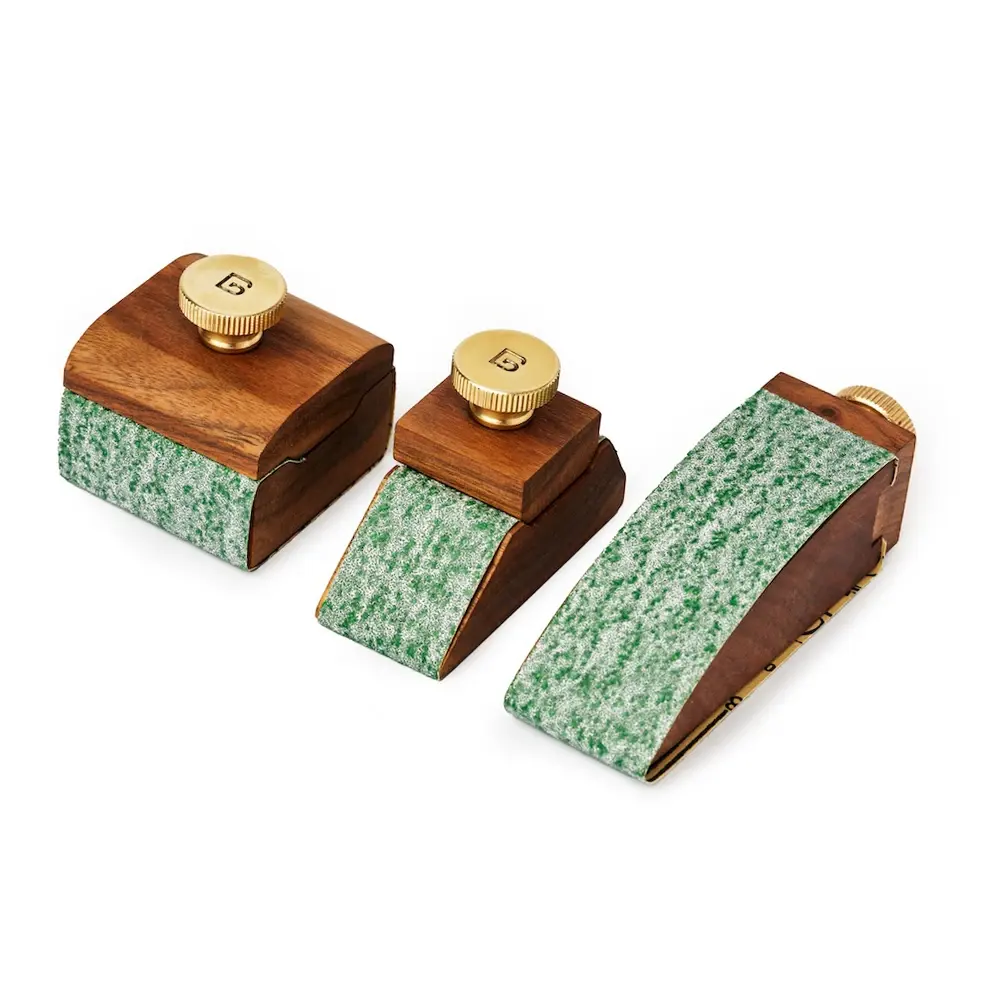
A sandpaper block is a handheld tool used to provide a flat, even surface for sanding wood, metal, or drywall. By wrapping abrasive paper around a rigid foam or wood block, you gain better control and apply uniform pressure, which prevents gouging and ensures a smooth, professional finish on your project.
On this page
How to use a sandpaper block correctly
Using a sandpaper block effectively requires consistent technique and proper grip. Before starting, ensure your sandpaper is tightly wrapped around the block so it does not shift during use. Hold the block firmly with your palm, applying light, even pressure as you move it across the surface. Always sand in the direction of the wood grain to avoid creating deep, unsightly scratches that are difficult to remove later.
When working on flat surfaces, keep the entire face of the block in contact with the material. If you tilt the block, the edges may dig into the surface, causing uneven spots or "waves" in your finish. As you progress, periodically check your work by wiping away dust with a tack cloth or a clean rag. This allows you to see if you have achieved the desired smoothness or if more sanding is required.
- Secure the sandpaper tightly to the block using the built-in clips or adhesive backing.
- Place the block flat against the surface and apply gentle, downward pressure.
- Move the block in long, steady strokes, following the direction of the grain.
- Periodically lift the block to remove dust and inspect the surface for uniformity.
How to choose the right sandpaper grit
Selecting the correct grit is essential for achieving the desired surface quality. Grit numbers indicate the size of the abrasive particles; lower numbers (such as 60 or 80) are coarse and used for aggressive material removal, while higher numbers (such as 220 or higher) are fine and used for final smoothing. For most wood projects, starting with a medium grit like 120 and working your way up to 180 or 220 is standard practice.
Understanding the progression of grits is vital for a high-quality finish. If you jump from a very coarse grit directly to a fine one, you will likely fail to remove the deep scratches left by the initial sanding. Instead, move through the sequence incrementally, such as 80, then 120, then 180. This systematic approach ensures that each successive grit removes the scratches left by the previous one, resulting in a surface that is smooth to the touch.
- 60–80 grit: Heavy material removal and stripping old finishes.
- 100–150 grit: Smoothing rough wood and removing minor imperfections.
- 180–220 grit: Final sanding before applying stain or primer.
- 300+ grit: Polishing between coats of finish or paint.
Why sanding blocks are better than hand sanding
Hand sanding without a block often leads to uneven results because your fingers naturally exert more pressure in certain areas. This can create dips, valleys, and rounded edges where you intended to have a crisp, flat profile. A sandpaper block distributes pressure across a wide, rigid surface area, ensuring that you remove material uniformly across the entire workpiece. This is particularly important when working on furniture or cabinetry where flat surfaces are essential for aesthetics.
Beyond consistency, using a block is significantly more comfortable for the user. Holding a small piece of sandpaper can lead to hand fatigue and cramping, especially during long sanding sessions. A block provides a larger, more ergonomic handle that allows you to use your arm and shoulder muscles rather than just your fingers. This reduction in strain allows you to work longer and maintain better control over the sanding process, ultimately leading to a more professional outcome.
Common mistakes when using a sandpaper block
One of the most frequent errors is applying too much pressure, which can cause the sandpaper to clog prematurely or burn the wood. Let the abrasive particles do the work rather than forcing the block into the material. Another common mistake is failing to clear the dust frequently. A buildup of sawdust between the block and the surface acts as a lubricant, reducing the effectiveness of the sandpaper and potentially causing uneven scratching.
Neglecting to sand in the direction of the grain is another major pitfall, particularly with softwoods like pine. Cross-grain sanding leaves marks that are notoriously difficult to hide, even with thick coats of paint or stain. Finally, many beginners fail to change their sandpaper often enough. Once the abrasive grains become dull or clogged, the paper will stop cutting and start rubbing, which generates heat and can glaze the surface of the wood, making it resistant to stains.
How to maintain your sanding equipment
Proper maintenance extends the life of your sandpaper and ensures consistent results. If you are using a block with replaceable paper, ensure the clips are tight and the paper is taut. If the paper is loose, it will wrinkle and tear, which can damage your project. After each use, tap the block against a hard surface or use a vacuum to remove trapped dust particles from the abrasive surface.
For specialized rubber or foam sanding blocks, keep the material clean by using a crepe rubber cleaning stick. These sticks are designed to pull dust and debris out of the abrasive grains, effectively "resetting" the sandpaper and allowing you to get much more use out of a single sheet. Store your blocks in a dry, cool environment to prevent the backing of the sandpaper from degrading or the adhesive from losing its tackiness. By keeping your tools clean and organized, you ensure they are ready for the next project.
Key facts
- A sanding block provides a flat, rigid surface that prevents uneven gouging often caused by using fingers alone.
- Always sand in the direction of the wood grain to avoid creating unsightly cross-grain scratches.
- Use a lower grit number, such as 80, for heavy material removal and a higher number, like 220, for fine finishing.
- Wrap the sandpaper tightly around the block so it does not slide, which ensures consistent pressure across the surface.
- Clean the sanding block periodically by tapping it against a hard surface to remove built-up dust and debris.
- Apply light, even pressure; let the abrasive grit do the work rather than forcing the block into the material.
The bottom line
Using a sanding block is the most effective way to achieve a professional, level finish on any woodworking project. By maintaining a flat contact surface and following the wood grain, you avoid the common pitfalls of hand-sanding. Always select the appropriate grit for your stage of work and remember that light, consistent pressure is the key to a smooth, uniform surface ready for your final finish.
People also ask
Can I use a piece of wood as a sanding block?
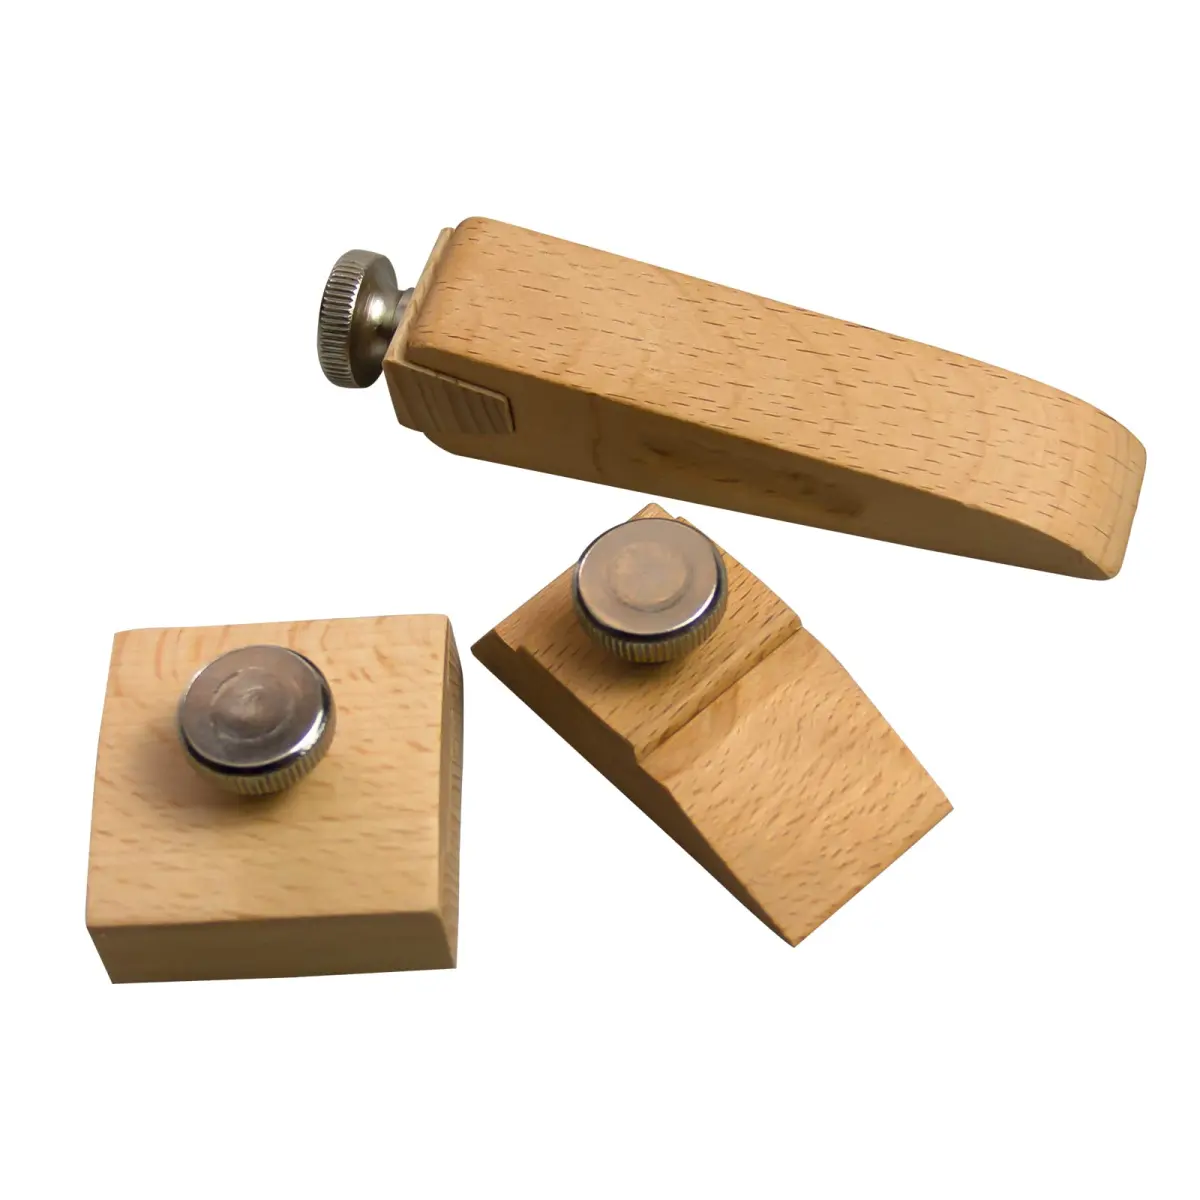
Yes, a scrap piece of hardwood with a flat face makes an excellent sanding block. Simply wrap your sandpaper around it and secure the edges with a clamp or your hand to create a stable, professional-grade tool.
How do I know which grit of sandpaper to choose?
Choose grit based on the task: 60-80 for stripping old finishes, 100-150 for smoothing bare wood, and 180-220 for final sanding before applying stains or paint. Always start with a coarser grit and progress to finer ones.
Should I sand wet or dry?
Most wood projects require dry sanding to prevent the wood fibers from swelling. Wet sanding is generally reserved for automotive finishes or specific metalwork where water acts as a lubricant to prevent clogging the paper.
How often should I change the sandpaper on the block?
Change the paper as soon as it becomes clogged with dust or the abrasive particles feel dull to the touch. Using worn-out paper requires more effort and often leads to uneven results or heat damage to the surface.
Is it necessary to wear a mask while sanding?
Yes, always wear a dust mask or respirator to protect your lungs from fine particulate matter. Sanding generates microscopic dust that can cause respiratory irritation, especially when working with hardwoods or materials containing old lead paint.
What is the biggest mistake beginners make when using a sanding block?
The most common error is applying too much downward pressure, which can lead to uneven surfaces or "burn" marks. Consistent, light pressure combined with steady, long strokes yields the smoothest results and preserves the life of the abrasive.
This answer was created with the help of AI research tools and reference sources. Spotted an error? Let us know — we correct mistakes quickly. See our editorial policy.