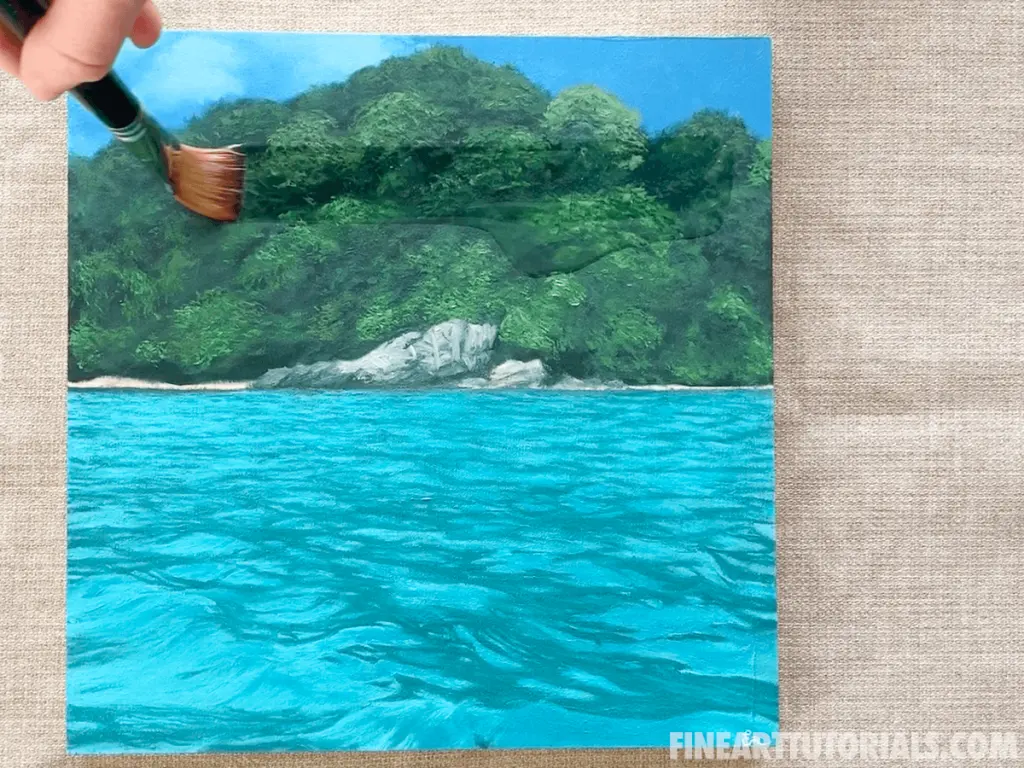
How do you start oil painting?
Short answer
Start oil painting by gathering essential supplies: a few primary-colored oil paints, a selection of hog-bristle brushes, a palette, and a primed canvas. Begin by sketching your composition, then apply thin layers of paint mixed with a solvent like odorless mineral spirits, gradually building toward thicker, opaque applications of color.
On this page
Essential oil painting supplies for beginners
You do not need a vast array of materials to begin painting with oils. A basic starter kit should include a limited palette of colors, such as titanium white, ivory black, cadmium yellow, cadmium red, and ultramarine blue. These allow you to mix almost any hue required for a landscape or still life. You will also need a few hog-bristle brushes in varying shapes, specifically flats and filberts, which are durable enough to push thick paint across a surface.
Beyond paint and brushes, you must acquire a few auxiliary items to manage your medium effectively. A wooden or plastic palette is necessary for mixing colors, and a palette knife is essential for scraping off mistakes or mixing large piles of paint. Ensure you have a sturdy, primed canvas or a gessoed wood panel to prevent the oil from rotting the fabric fibers. Finally, keep a jar of odorless mineral spirits for cleaning brushes and a small amount of linseed oil to thin your paint as needed.
How to set up your workspace
Safety and ventilation are the most critical factors when establishing an oil painting area. Oil paints and the solvents used to thin them can emit fumes, so always work in a room with an open window or a fan to ensure proper airflow. Dedicate a stable table or an easel to your practice, ensuring it is positioned where you have consistent, natural light. Avoid painting in direct, harsh sunlight, as this can cause glare and make it difficult to judge the true value and intensity of your colors.
Organization helps maintain focus during long painting sessions. Arrange your materials in a way that minimizes movement, keeping your palette on your dominant side and your water or solvent jar nearby. Lay down a drop cloth or newspaper to protect your floor or table from inevitable drips. If you are using rags to wipe your brushes, keep a metal container with a lid nearby to dispose of them safely, as oil-soaked rags can pose a fire hazard if left in a pile.
Step-by-step guide to your first painting
The process of oil painting relies on the principle of "fat over lean," which dictates that each subsequent layer of paint should contain more oil than the one beneath it. Follow these steps to complete your first work:
- Sketch your subject lightly on the canvas using a thin wash of burnt umber mixed with mineral spirits.
- Block in the large, dark shapes first, keeping the paint thin and fluid to establish the composition.
- Gradually add lighter colors and thicker paint, focusing on the mid-tones and highlights.
- Use a clean, dry brush to soften edges between colors, creating a smooth transition.
- Allow the painting to dry for several days or weeks before applying a final varnish to protect the surface.

Why oil paint takes so long to dry
Oil paint does not dry through evaporation like acrylics or watercolors; instead, it dries through a chemical process called oxidation. When the oil in the paint reacts with oxygen in the air, it forms a solid, flexible film. This process is intentionally slow, which is one of the primary advantages of the medium. Because the paint remains wet for hours or even days, artists have ample time to blend colors directly on the canvas, rework sections, or refine details that would be impossible with faster-drying materials.
Environmental factors significantly influence the drying time of your work. Humidity and temperature play major roles; in a cold or damp environment, the oxidation process slows down significantly. Some pigments also dry faster than others. Earth tones, such as umber and sienna, contain natural drying agents and will set quickly, while whites and certain blacks remain wet for a long time. If you find your paint is staying wet for too long, avoid adding too much extra oil to your mixtures, as this will further extend the drying period.
Common mistakes when starting oil painting
Beginners often struggle with technical errors that can be easily avoided with a bit of patience. One frequent mistake is over-blending, which results in "muddy" colors that lose their vibrancy and clarity. To prevent this, apply your paint with confident, deliberate strokes and avoid scrubbing the brush back and forth excessively on the canvas. Another common issue is failing to clean brushes thoroughly. If oil paint dries in the bristles, it can ruin the shape and flexibility of the brush, making it difficult to achieve precise marks in future sessions.
Avoid these pitfalls to improve your technique:
- Do not use too much solvent, as it can break down the binder and make the paint brittle.
- Avoid applying thick paint over a thin, wet layer, as this can cause the surface to crack as it dries.
- Do not ignore the importance of value; ensure your darks are dark enough and your lights are bright enough to create depth.
- Do not rush the process; allow yourself the time to observe your subject closely before placing every stroke.
Key facts
- Oil paint consists of pigment particles suspended in a drying oil, typically linseed, walnut, or safflower oil.
- Unlike acrylics, oil paint does not dry by evaporation but through a slow oxidation process that can take days or weeks.
- The "fat over lean" rule dictates that each subsequent layer of paint should contain more oil than the previous one to prevent cracking.
- You must use a solvent like odorless mineral spirits or turpentine to thin paint and clean brushes, as water will not dissolve oil.
- Priming a canvas with gesso is essential to create a barrier that prevents the acidic oil from rotting the fabric fibers.
- Always work in a well-ventilated area, as the fumes from solvents and certain pigments can be hazardous if inhaled over long periods.
The bottom line
Starting oil painting requires patience and an understanding of chemical compatibility. By following the fundamental rule of applying fatter layers over leaner ones and ensuring proper ventilation, you can safely master this traditional medium. Focus on quality materials, such as artist-grade pigments and sturdy, primed supports, to ensure your work remains vibrant and structurally sound for generations to come. Embrace the slow drying time as an advantage.
People also ask
How long does an oil painting take to dry?
Oil paintings typically become "touch dry" within a few days to two weeks depending on the thickness of the application. However, a painting may take six months to a year to fully cure and be ready for a final varnish.
Can I paint over an old oil painting?
Yes, artists often paint over old canvases, a practice known as painting on a "recycled" surface. Ensure the previous layer is completely dry and lightly sand the surface to provide "tooth" for the new paint to adhere properly.
What is the purpose of a medium?
A medium is an additive, such as linseed oil or alkyd, mixed with paint to alter its consistency, drying time, or transparency. Using a medium allows you to customize how the paint flows from your brush onto the canvas.
Do I need to wear gloves while oil painting?
It is highly recommended to wear nitrile gloves, especially when handling pigments that contain heavy metals like cadmium or cobalt. Gloves also protect your skin from absorbing solvents used during the cleaning process.
How do I store my brushes between painting sessions?
Never leave brushes standing on their bristles in a jar of solvent, as this will permanently deform the hair. Instead, clean them thoroughly with soap and water after each session and lay them flat to dry.
Is it possible to mix oil and acrylic paint?
You should never mix oil and acrylic paint together on the palette or in a single layer. While you can paint oil over acrylic, you can never paint acrylic over oil, as the flexible acrylic will eventually peel off the non-porous oil surface.
This answer was created with the help of AI research tools and reference sources. Spotted an error? Let us know — we correct mistakes quickly. See our editorial policy.