How do you shade with colored pencils?
Short answer
Shading with colored pencils involves layering pigments to create depth, dimension, and smooth transitions. By controlling pressure and utilizing techniques like cross-hatching or blending, artists build values from light to dark. Consistent practice with light strokes and high-quality wax or oil-based pencils allows for realistic gradients and vibrant, professional-looking color saturation.
On this page
How to achieve smooth shading with colored pencils
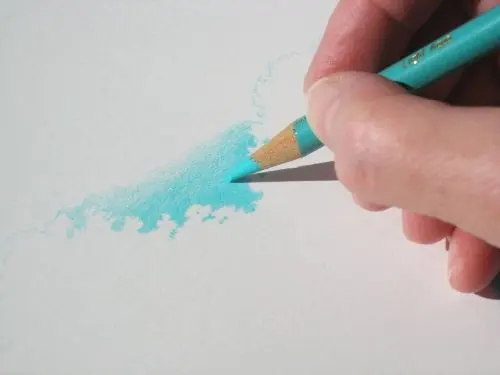
The foundation of smooth shading lies in your grip and pressure control. Hold the pencil further back from the tip to reduce the amount of force applied to the paper, which prevents the wax or oil binder from creating a waxy buildup too early. Start with very light, circular motions to deposit a thin, even layer of pigment. Building up color in multiple light layers, rather than one heavy application, ensures the paper’s "tooth" remains open to accept more pigment.
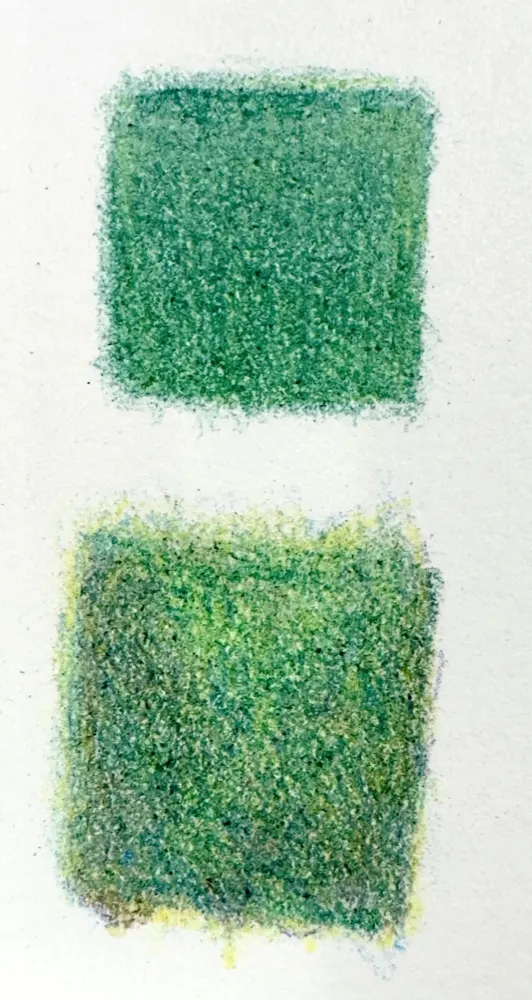
When transitioning between colors, overlap the edges of each hue slightly. Using a lighter color to burnish or push the darker pigment into the paper fibers helps create a seamless gradient. Remember that colored pencils are translucent, so the order of application matters significantly. Always work from light to dark to maintain control over the final value, as it is nearly impossible to lighten a dark area once heavy pigment is applied.
Best colored pencil shading techniques for beginners
Mastering a few fundamental techniques will drastically improve your shading capabilities. These methods allow you to manipulate how pigment sits on the paper, helping you achieve everything from soft shadows to crisp edges.
- Hatching: Drawing parallel lines close together to create value.
- Cross-hatching: Layering sets of intersecting lines to darken areas quickly.
- Scumbling: Using small, irregular circular strokes to build texture and depth.
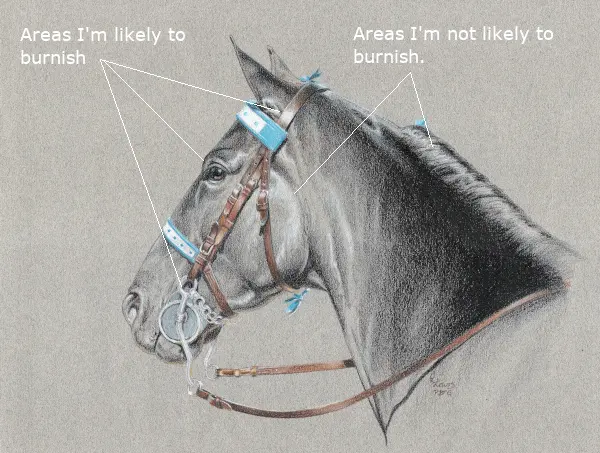
- Burnishing: Applying heavy pressure with a light-colored or colorless blender pencil to fuse layers into a solid, enamel-like finish.
Practice these techniques on a scrap piece of paper before starting a project. By testing how much pressure is required to transition from a light tint to a deep shade, you gain the muscle memory necessary for complex drawings. Experimenting with these strokes helps you understand how different paper surfaces influence the final look of your shading.
How to blend colored pencils effectively
Blending is the process of softening the transitions between colors to eliminate harsh lines. You can use several tools and methods to achieve a professional finish. A colorless blender pencil is a wax-based tool that moves pigment around without adding new color, perfect for smoothing out grainy areas. Alternatively, using a light-colored pencil, such as cream or white, can push darker pigments into the tooth of the paper to create a softer, more integrated appearance.
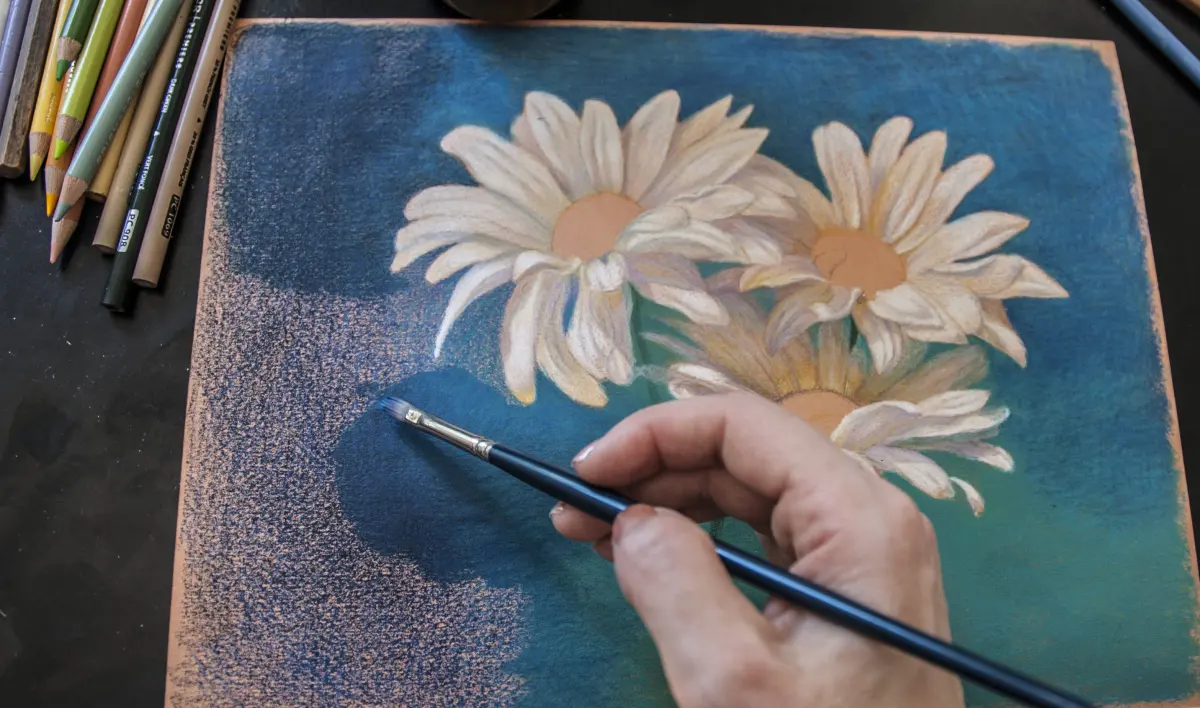
Solvent blending is another popular method for those seeking a painterly effect. By applying a small amount of odorless mineral spirits with a soft brush, you can dissolve the binders in the pencil, allowing the pigment to flow like watercolor. This technique is highly effective for covering large areas quickly. Regardless of the method, always ensure your layers are dry or set before adding final details, as working over wet or heavily burnished surfaces can lead to muddy colors.
Common mistakes when shading with colored pencils
Even experienced artists encounter issues when they rush the layering process. One of the most frequent errors is pressing too hard too soon, which creates a "burnished" surface that rejects further layers of pigment. Once the paper’s tooth is filled, you cannot add more depth or detail, effectively locking the drawing at its current stage. Always keep your pencil sharp to reach into the valleys of the paper texture, ensuring even coverage.
Another common pitfall is ignoring the direction of the light source. Shading should always follow the form of the object being drawn; for example, shading a sphere requires curved strokes that mimic its roundness. Flat, unidirectional shading on a curved object makes it appear two-dimensional and unrealistic. Pay close attention to your reference image, noting exactly where the highlights and core shadows fall. By constantly checking your work against the light source, you ensure that your shading reinforces the intended volume and structure of your subject.
How to choose the right paper for shading
The surface of your paper, known as its "tooth," is the most critical factor in how well your pencils shade. A paper with a medium-to-heavy tooth is ideal because the tiny craters in the surface trap the pigment as you draw. If the paper is too smooth, the pencil will slide over the surface and produce uneven, patchy results. Conversely, paper that is too rough will make it difficult to achieve fine details and smooth gradients.
Look for high-quality, acid-free drawing paper or specialized colored pencil pads. Bristol board is a popular choice for artists who prefer a smoother finish, while cold-press watercolor paper offers a textured surface that is excellent for building up many layers of color. Always test your pencils on a small corner of the paper to see how they respond to pressure and blending. By matching your paper choice to your desired style—whether it is hyper-realistic or soft and painterly—you set yourself up for success in every shading project you undertake.
Key facts
- Use a light touch to build layers gradually, as heavy pressure can crush the paper's tooth and prevent further pigment application.
- Apply colors in circular motions rather than back-and-forth strokes to achieve a smooth, even distribution of pigment.
- Utilize a colorless blender pencil or a small amount of solvent to dissolve wax-based pigments for a painterly, uniform finish.
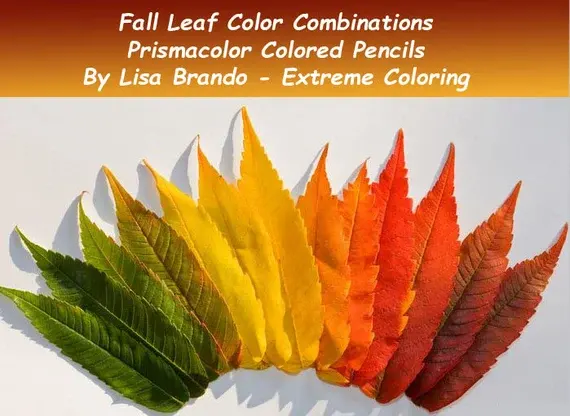
- Create gradients by overlapping two colors, applying the lighter shade first and transitioning to the darker shade with lighter pressure.
- Keep your pencils sharp at all times to reach the small textures of the paper and ensure clean, precise shading.
- Work from light to dark values to maintain control over the depth and luminosity of your drawing.
The bottom line
Mastering colored pencil shading is a process of patience, layering, and careful pressure control. By starting with light applications and gradually building depth, you can create smooth transitions and vibrant color transitions. Remember to keep your pencils sharp, choose the right paper for your desired texture, and utilize blending tools to refine your work. With consistent practice, you will achieve professional results and rich, luminous artistic effects.
People also ask
Can I use water to blend colored pencils?
You can only blend with water if you are using water-soluble or watercolor pencils. Standard wax or oil-based pencils will not dissolve in water and may be damaged if exposed to moisture.
Why does my shading look grainy or streaky?
Graininess often occurs because you are pressing too hard or using a paper with too much texture. Try using a lighter touch and filling the paper's tooth by rotating your pencil frequently.
Should I use a fixative on my finished drawing?
A fixative spray helps protect the artwork from smudging and environmental damage over time. Ensure you use a spray specifically designed for colored pencils in a well-ventilated area.
How do I achieve a deep black without it looking muddy?
Avoid using pure black pencil for shadows; instead, layer complementary colors like dark blue or deep purple underneath. This adds visual complexity and prevents the color from appearing flat or dull.
What is the best paper for colored pencil shading?
Smooth or medium-tooth drawing paper is ideal for detailed work, while heavier, textured paper is better for layering. Avoid standard printer paper, as it lacks the tooth necessary to hold multiple pigment layers.
How do I fix a mistake if I shaded too darkly?
Use a high-quality vinyl or kneaded eraser to lift excess pigment from the surface. If the error is significant, a battery-operated eraser can provide the precision needed to remove stubborn wax-based marks.
This answer was created with the help of AI research tools and reference sources. Spotted an error? Let us know — we correct mistakes quickly. See our editorial policy.