How do you scan artwork?
Short answer
Scanning artwork involves using a high-resolution flatbed scanner or a digital camera to create a faithful digital reproduction. For optimal results, ensure even lighting, use a high dots-per-inch (DPI) setting, and capture the image in a raw or high-quality format to preserve color accuracy and fine textural details for professional-grade printing.
On this page
How to choose the right equipment for scanning
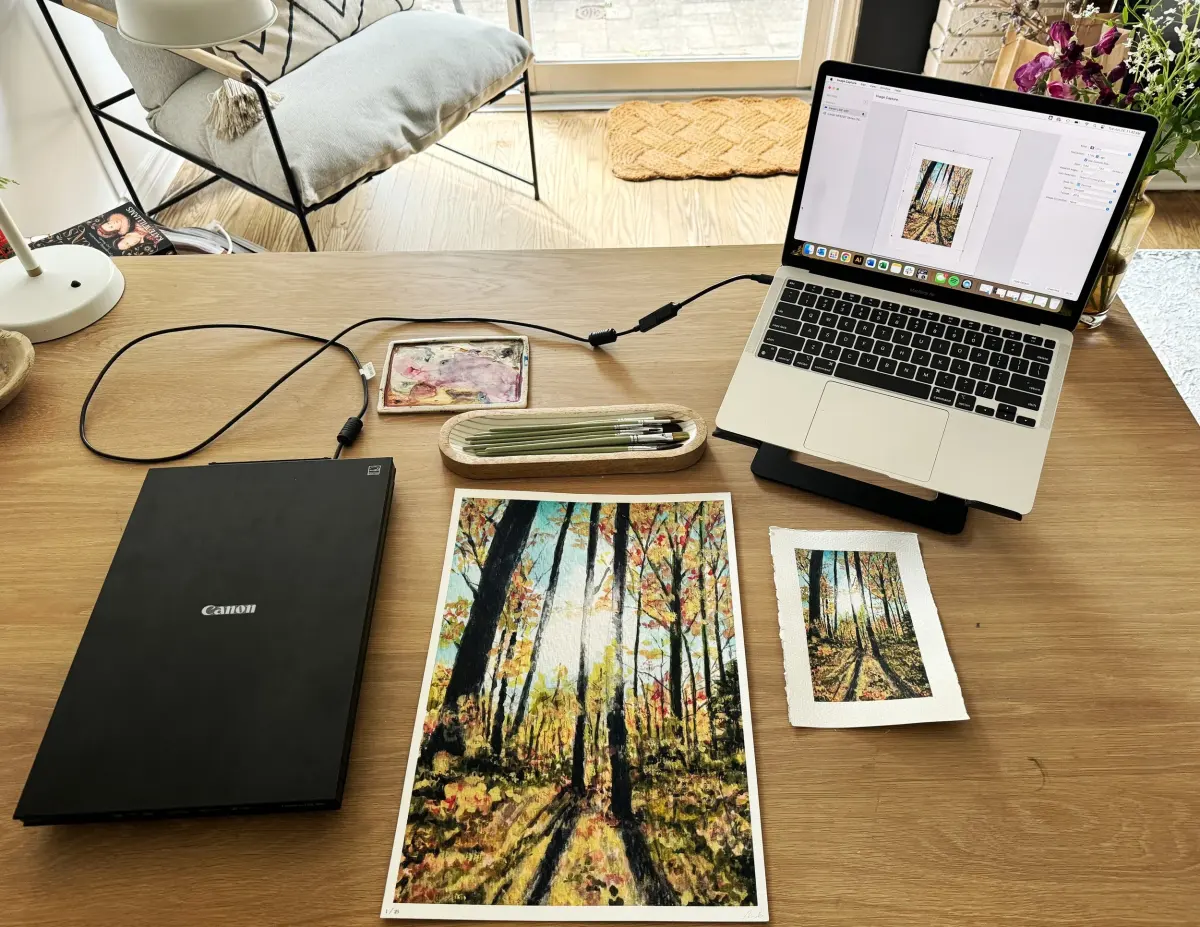
The quality of your digital file depends heavily on your hardware. For small, flat pieces like watercolors, drawings, or photographs, a flatbed scanner is the gold standard. These devices use a consistent light source and a moving sensor bar that eliminates perspective distortion. Look for models that offer an optical resolution of at least 1200 DPI to ensure you capture every brushstroke and paper grain.
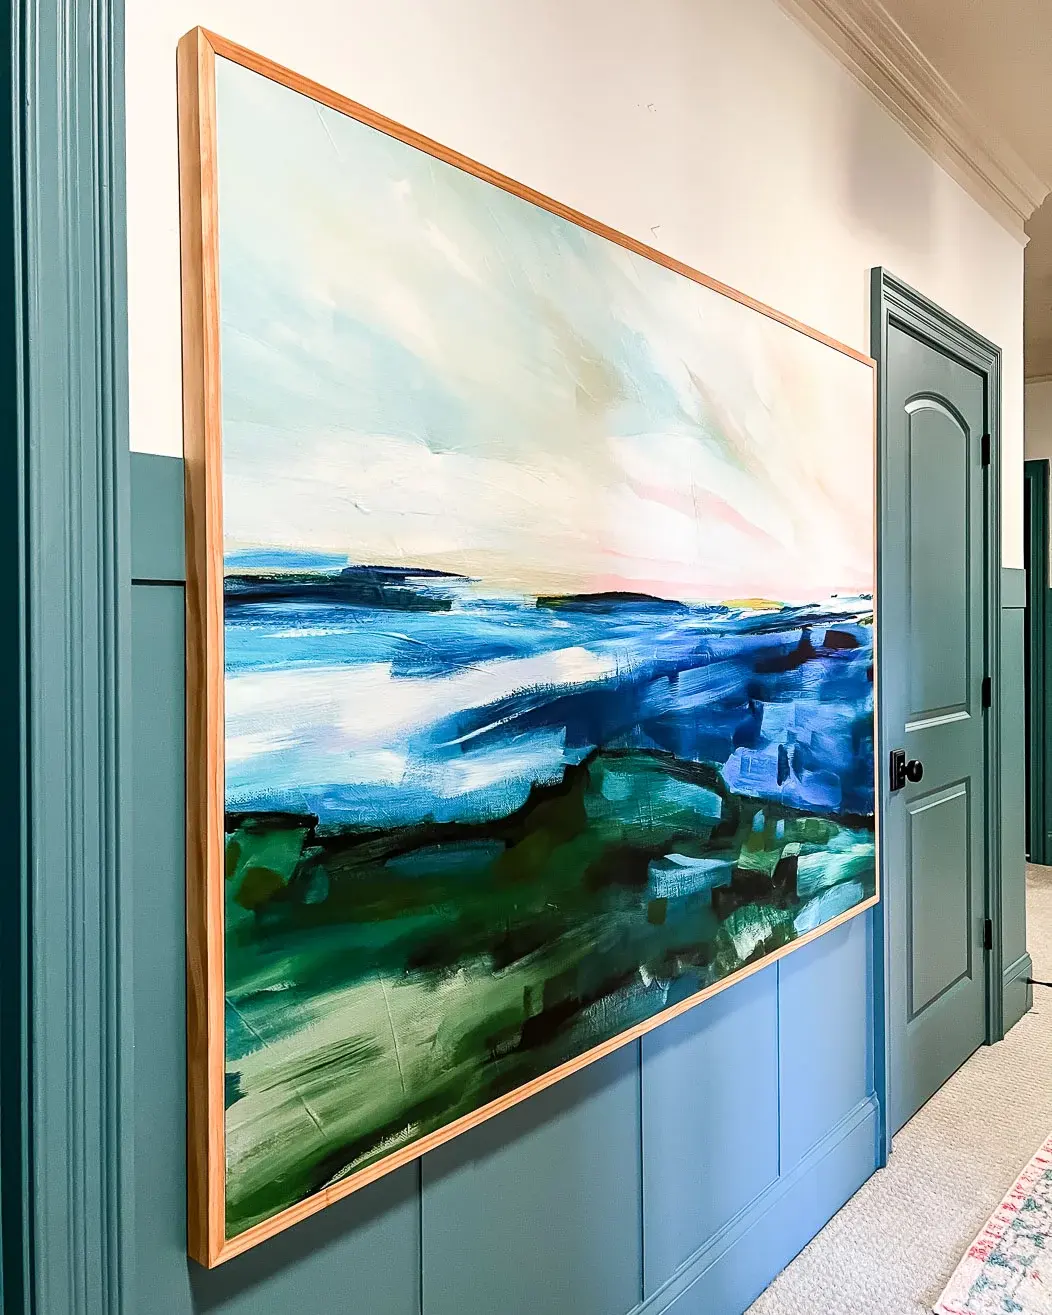
For larger artworks, textured canvases, or three-dimensional mixed media, a digital camera is often superior to a scanner. A camera allows you to control the distance from the subject and manage light reflections that might otherwise damage or obscure the work. When using a camera, pair it with a prime lens to minimize distortion and use a sturdy tripod to keep the sensor perfectly parallel to the artwork's surface.
- Flatbed scanners: Best for paper-based art up to A4 or A3 size.
- DSLR or Mirrorless cameras: Essential for large canvases or textured oil paintings.
- Tripods: Non-negotiable for camera setups to prevent motion blur.
- Color checkers: Small cards used to calibrate white balance and color accuracy.
How to set up proper lighting for artwork
Lighting is the most critical factor in achieving an accurate scan. If you are using a flatbed scanner, the lid acts as a controlled environment, but it can sometimes create unwanted glare on glossy surfaces. If you are photographing your art, avoid using the camera's built-in flash, as it creates harsh shadows and hot spots. Instead, use two softbox lights placed at 45-degree angles on either side of the artwork.
Positioning your lights at a 45-degree angle helps push reflections away from the camera lens rather than bouncing them directly back. This setup ensures even illumination across the entire surface of the piece. If you are working in a room with windows, turn off all ambient lights and close the curtains to prevent color shifts caused by mixed light temperatures. A consistent light environment is the only way to ensure the digital file matches the original.
- Turn off all overhead room lighting to prevent color casts.
- Use two identical light sources for balanced exposure.
- Place lights at 45-degree angles to the artwork surface.
- Use a neutral gray card to set your white balance before shooting.
How to prepare files for high-quality printing
Once you have captured the image, the file settings determine how the art will look when printed. Always scan or shoot in a high-resolution format, typically 300 DPI or higher for the final output size. If you plan to enlarge the artwork, consider scanning at 600 DPI to provide enough data for high-quality scaling. Save your work in a lossless format like TIFF or a high-quality JPEG to avoid compression artifacts that degrade fine detail.
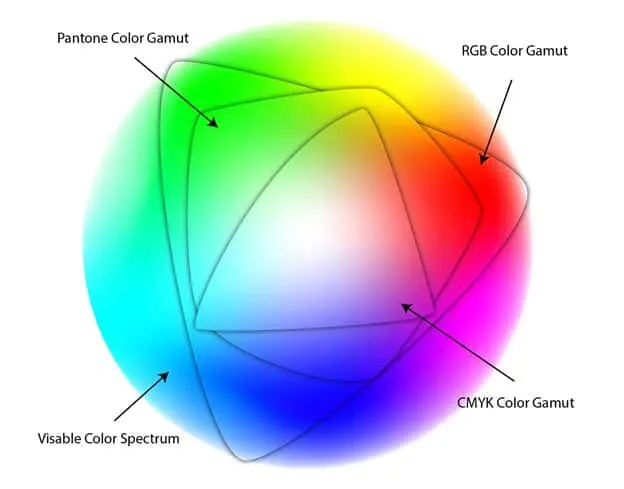
Color management is equally important. Most scanners and cameras default to the sRGB color space, which is intended for web viewing. For professional printing, you should set your device to capture in Adobe RGB or ProPhoto RGB. These spaces contain a wider gamut of colors, ensuring that vibrant pigments in your original artwork are not dulled or clipped during the digital conversion process. Always embed the color profile into your final file to ensure consistency across different software.
Common mistakes when scanning artwork
Many beginners fail to account for the physical distance between the sensor and the art. In scanners, if the artwork is not perfectly flat against the glass, the image will appear blurry or out of focus. Use a heavy, non-reflective weight or a specialized document frame to keep paper flat. If the edges of your paper are curled, the scanner's depth of field will not be deep enough to capture the entire surface in sharp focus.
Another frequent error is neglecting to clean the equipment. A single speck of dust on a scanner bed can appear as a massive, distracting mark on a high-resolution scan. Before starting, wipe the glass with a microfiber cloth and a small amount of non-abrasive glass cleaner. Similarly, check your camera lens for smudges. It is much easier to spend thirty seconds cleaning your gear than it is to spend hours using editing software to remove dust spots from your digital files.
- Forgetting to clean the scanner glass before starting.
- Using the wrong color profile for print reproduction.
- Allowing the artwork to sit unevenly on the scanner bed.
- Relying on automatic settings that adjust contrast and saturation.
How to edit and finalize your digital files
After the capture process, you may need to perform minor adjustments to ensure the digital file is a perfect representation of the original. Use image editing software to crop out the edges of the scanner bed or the background area around your canvas. Straighten the image if it was captured at a slight angle, as even a one-degree tilt can be noticeable in a large print. Use a levels or curves tool to ensure your black and white points are accurate.
When adjusting colors, compare your screen to the physical artwork in a well-lit area. Avoid the temptation to "improve" the art by over-saturating the colors or increasing the contrast beyond what is present in the original. The goal is a faithful reproduction, not a new interpretation. Once you are satisfied, save a master copy of the file as an uncompressed TIFF and export a separate, smaller version for sharing or web use. Always keep a backup of your master file on an external drive.
Key facts
- Use an optical resolution of at least 600 dots per inch (DPI) for high-quality prints and 300 DPI for web display.
- Ensure the artwork lies perfectly flat against the scanner bed to prevent focus blur or depth-of-field distortion.
- Always use a clean, microfiber cloth to wipe the scanner glass before every session to avoid dust spots.
- Save your digital files in a lossless format like TIFF or PNG to preserve color accuracy and image integrity.
- Disable all automatic image enhancement settings in your scanning software to maintain raw, neutral color data.
- Calibrate your monitor periodically to ensure that the colors you see on screen match the physical artwork.
The bottom line
Digitizing artwork requires a balance of high-resolution settings and careful physical preparation. By prioritizing lossless file formats, maintaining a clean glass surface, and disabling automatic software corrections, you ensure the most accurate reproduction of your original piece. Whether you are archiving sketches or preparing files for professional printing, consistent lighting and flat positioning remain the most critical factors in achieving a high-quality digital result.
People also ask
Can I scan textured artwork like oil paintings?
Flatbed scanners are generally poor for textured art because the light source is too close, creating harsh shadows. Use a high-resolution camera on a tripod with diffuse lighting instead to capture the depth and texture.
Should I scan in color or grayscale?
Always scan in 24-bit or 48-bit color mode, even for black-and-white drawings. This captures subtle tonal variations that grayscale mode might compress or discard during the initial scan.
How do I prevent Newton’s rings when scanning glossy prints?
Newton’s rings occur when the glossy surface sticks to the glass, creating interference patterns. Place a thin, anti-reflective overlay or a sheet of matte acetate between the artwork and the scanner glass to break the contact.
What is the benefit of scanning in TIFF format?
TIFF is a lossless format that stores all image data without compressing it. Unlike JPEG, which discards information every time you save, TIFF preserves the original quality for professional editing and printing.
How do I handle artwork larger than my scanner bed?
Use a technique called "stitching" by scanning the artwork in overlapping sections. You can then use photo editing software to align and merge these segments into a single, seamless high-resolution image.
Why does my scan look blurry?
Blurriness often results from the artwork not being perfectly flush with the glass or the scanner's focus depth being too shallow. Ensure the lid is closed firmly or use a heavy, flat object to press the paper down.
This answer was created with the help of AI research tools and reference sources. Spotted an error? Let us know — we correct mistakes quickly. See our editorial policy.